
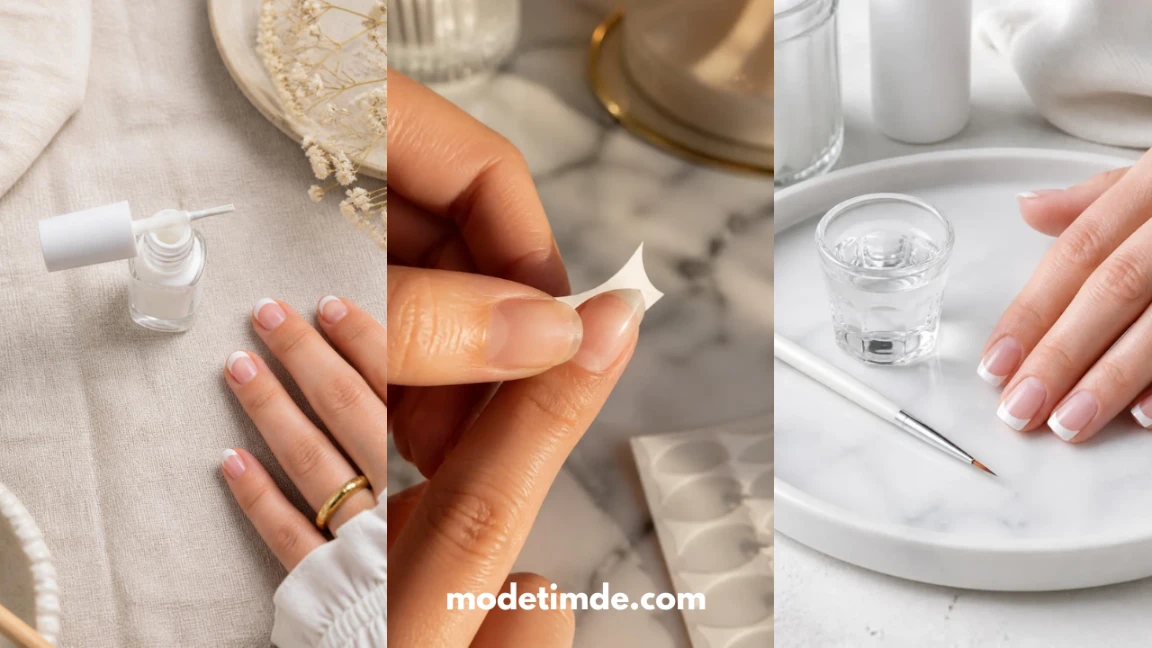
If you’ve painted your own French tips and ended up with a smudged edge, a crooked white line, or polish that chipped within two days, you’ve run into one (or more) of the five mistakes beginners make with French tips almost every single time.
It’s rarely a shaky hand — it’s usually one specific step done out of order, and that one slip throws off everything painted after it.
One of these mistakes happens before you even touch a brush, and it’s the reason so many first attempts look uneven no matter how carefully someone paints.
This guide walks through the exact order to prep, guide, paint, clean up, and seal your French tips — fixing each common mistake as you go — so by the end you’ll have a manicure that actually holds up, not just one that looks fine for a photo. Total time: about 45 minutes.
It’s a beginner-friendly process, but the small details matter more than speed.
Step 1- Buff and Shape Your Nails Before Anything Else
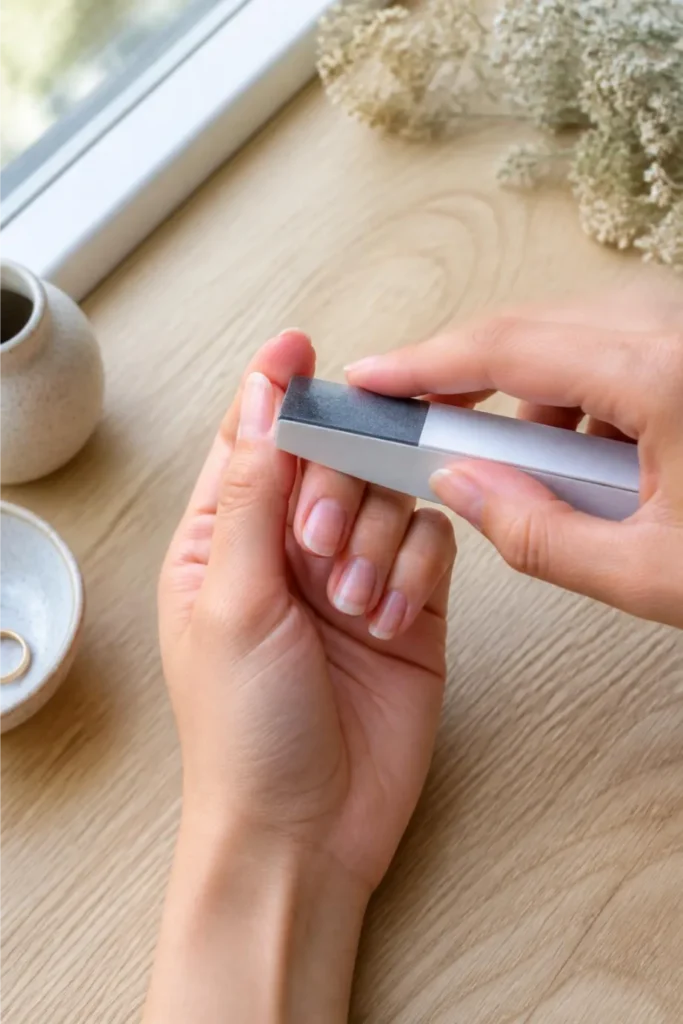
Run a 4-way buffer block over each nail for 5–10 light strokes, focusing on removing shine from the surface — polish can’t grip a glossy nail plate, which is why it lifts within days.
File all ten nails to the same length and shape first, since even a slightly longer nail will throw off where the white tip line should sit.
Gently push back cuticles with a pusher so painted polish never touches skin.
Step 2- Mark Your Guide Line Before You Pick Up the Brush
Most crooked tips happen because there’s no reference point — the brush is moving freehand against a hand that isn’t perfectly steady.
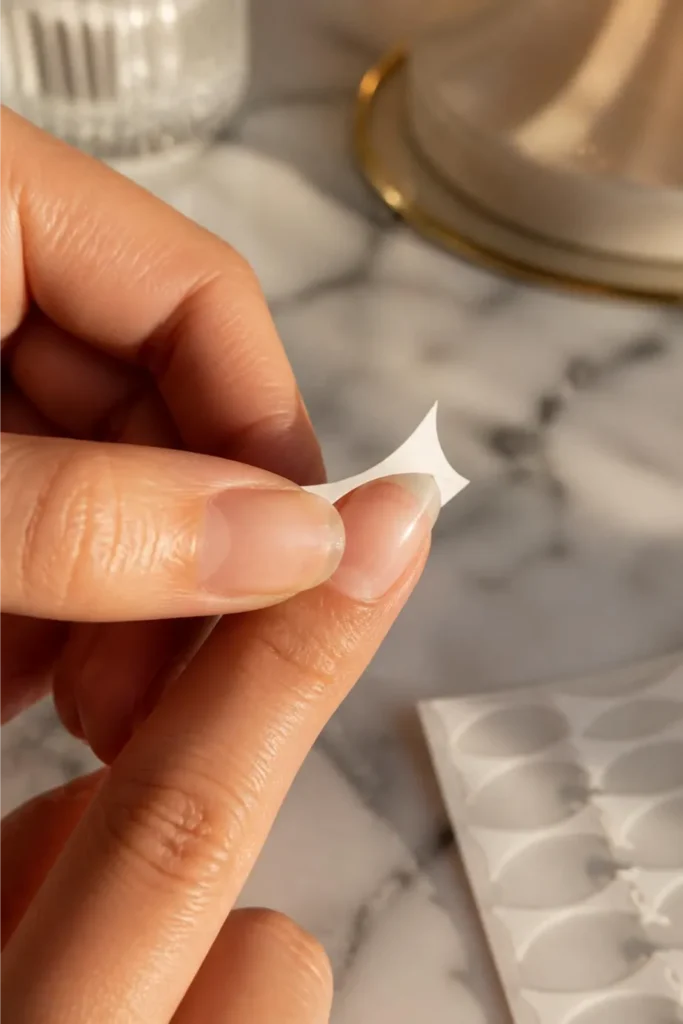
Press a French tip guide sticker onto the nail where you want the white to start, angled to match your natural nail curve.
Paint the white polish right up to the sticker’s edge, then peel it off before the polish fully dries.
Step3- Load Your Brush and Paint in Thin Layers
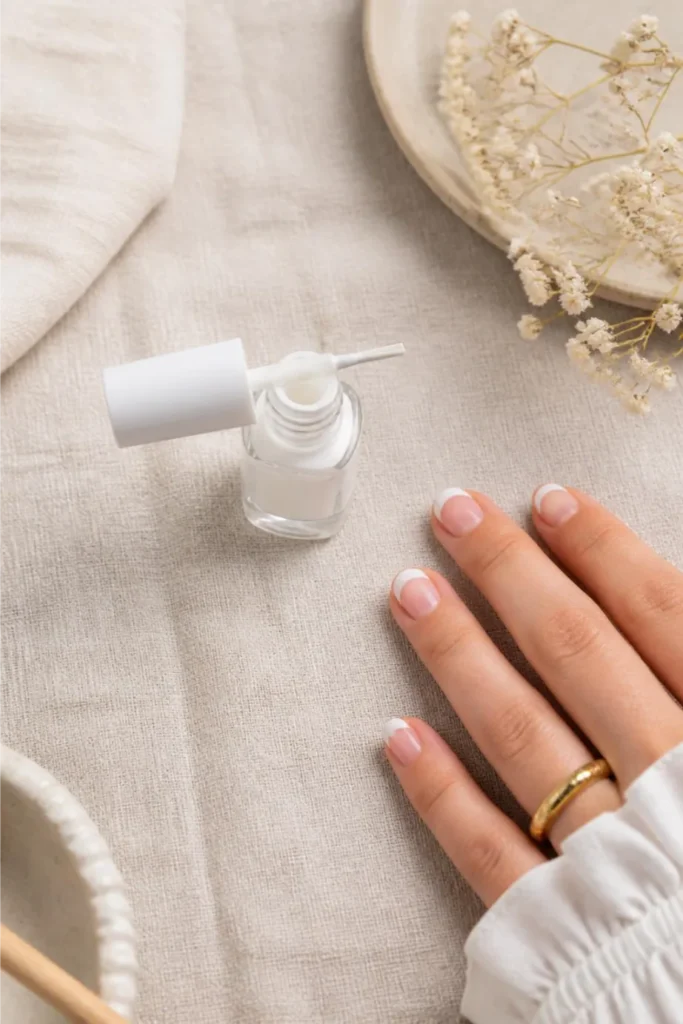
Dip the brush into the white polish, then wipe one side of the bristles against the bottle rim so polish sits on only one side — this is what keeps the line thin instead of flooding.
Starting at the guide, drag the brush outward to the tip in one smooth stroke per side: one stroke from center to the left corner, one from center to the right.
Let this coat sit for 2–3 minutes before deciding whether it needs a second layer.
Step 4- Clean Up the Edges While the Polish Is Still Wet
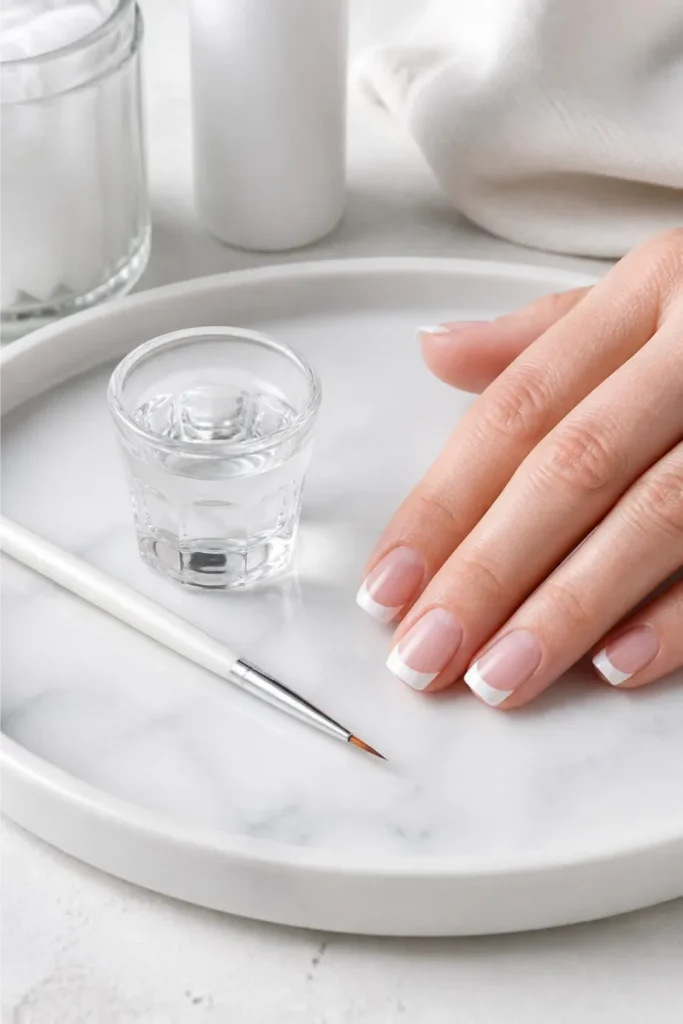
Wet polish only forgives mistakes for about 90 seconds before it starts to set.
Dip a thin, clean brush in acetone and trace along the edge of the white tip, wiping the brush clean between each pass so you’re never dragging old polish back onto the nail.
Work one nail at a time instead of painting all ten first — by the time you’d circle back, nail one would already be too dry to fix without starting over.
Step 5- Seal With a Quality Top Coat and Let It Cure Fully
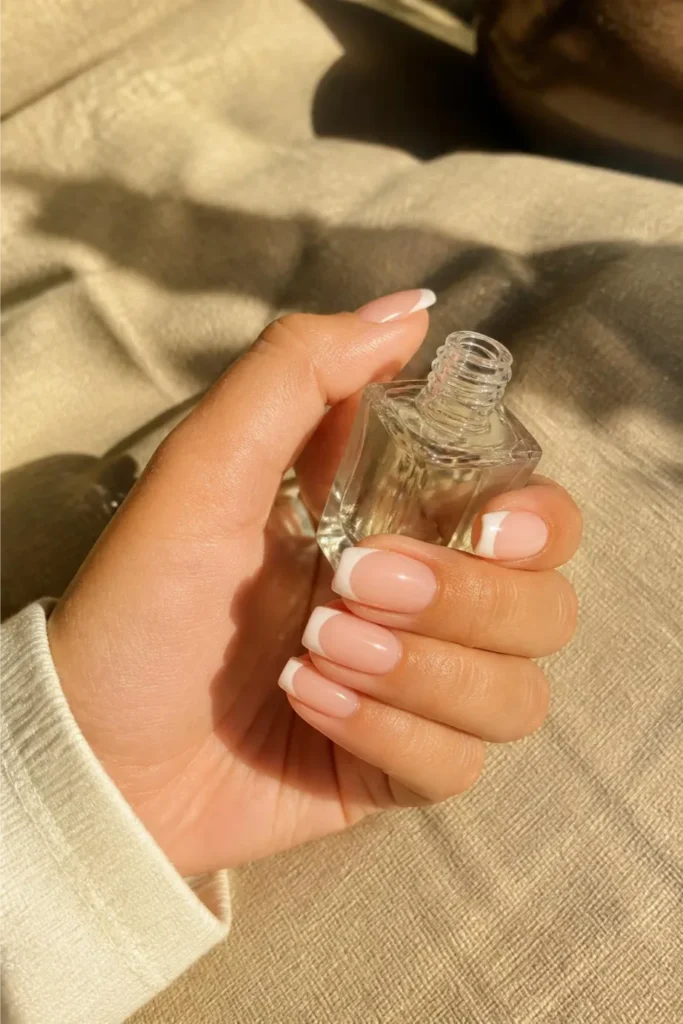
Apply one thin, even layer of clear top coat over each nail, making sure it swipes over the very tip edge — this is the layer that actually locks the white line in place and prevents it from catching on fabric or hair.
Polish is usually dry to the touch within 20–30 minutes, but it isn’t fully hardened for 6–8 hours, so avoid tight gloves, dishwashing, or digging through a bag during that window.
That fifth mistake — rushing the cure time — is the one that quietly undoes a manicure that looked perfect an hour earlier, which is exactly what the troubleshooting section below is built to catch.
Troubleshooting Table
Helpful Questions and Answer
Five small habits are really all that separate a French manicure that peels by Tuesday from one that still looks clean a week later — buffing before you paint, guiding the line instead of freehanding it, and giving the top coat time to actually cure. Investing in essential tools for french manicure can elevate your nail care routine significantly. High-quality polish and proper brushes ensure a smoother application and a longer-lasting finish. Additionally, using a base coat will help protect your nails and enhance the overall durability of your manicure.
Once you’ve caught yourself making one of these French tip mistakes beginners make on the first try, the second attempt tends to go a lot smoother. Perfectly straight french tip nails can elevate your manicure game. Consistency is key, so practice makes perfect. You’ll find that with each attempt, your skills improve and the results become more polished and professional. To achieve a chic look, consider following an ombre french tips nail tutorial that can highlight your personal style. This technique adds a beautiful gradient effect that complements various nail shapes. As you experiment, you’ll discover which color combinations work best for your unique aesthetic.
Save this so it’s there next time you sit down to paint — and if you try it, that’s exactly the kind of before-and-after worth pinning.


