
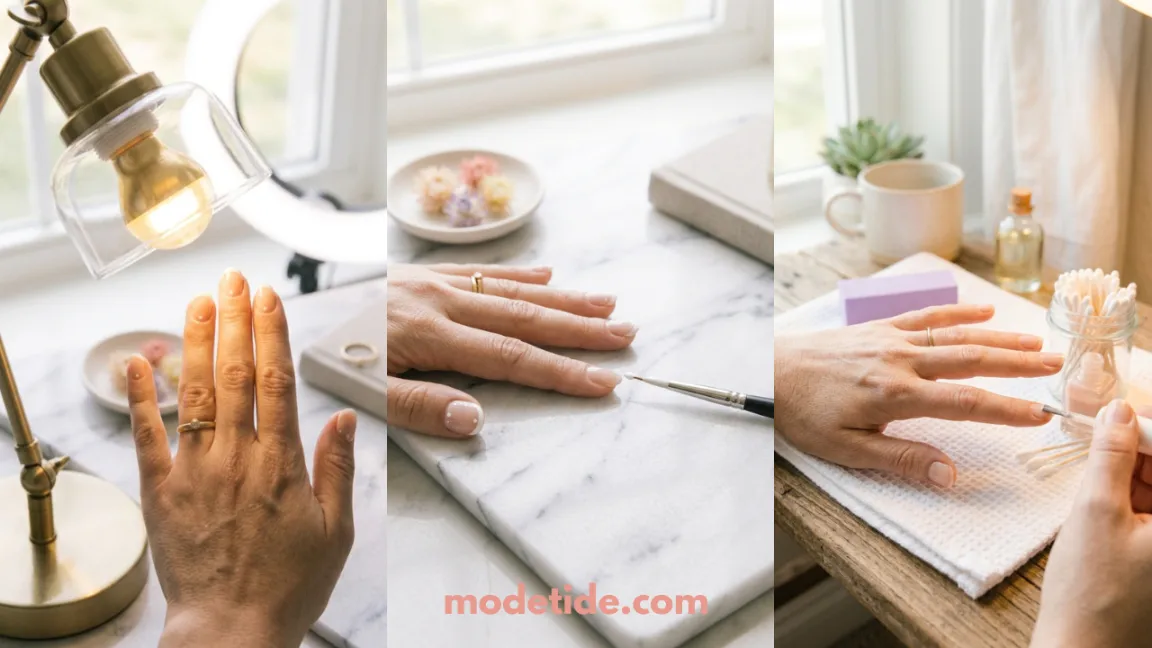
You’ve tried the sticker guides. You’ve tried freehanding it with a regular polish brush. Either the tape lifts and lets polish bleed underneath, or your line wobbles halfway across and you’re stuck reaching for acetone and a cotton swab, again. Getting straight french tip lines without relying on stick-on guides is a real skill — but it’s a learnable one, not a talent some people just have.
This guide walks you through two beginner-friendly ways to do it: painting freehand with a thin liner brush, and marking your line with striping tape instead of a shaped sticker. Both methods rely on the same three things — a steady hand anchor, the right brush load, and patience while things dry. You don’t need an airbrush kit or years of salon practice. You need about **45 minutes**, a few supplies most nail kits already have, and a workspace where you can rest your elbow flat on a table.
By the end, you’ll have a set of tips with crisp, even lines on both hands — and you’ll know which of the two methods actually fits the way your hands work.
What You Need
- Base coat
- Nude or sheer pink polish
- White polish, or white gel + UV/LED lamp
- Thin nail art liner brush (size 000 or 10/0)
- Thin striping tape (1–2mm width)
- Nail file and buffer
- Cuticle stick or orange stick
- Small dish of acetone
- Angled cleanup brush
- Cotton swabs
- Lint-free wipes or paper towel
- Top coat
At a Glance
- Prep your nails before you touch any polish
- Shape your free edge into a clean, even line
- Apply your base color and let it fully cure
- Choose your method: liner brush or striping tape
- Load your liner brush the right way (Method A)
- Steady your hand against a solid anchor point
- Paint the first side of the tip from corner to center
- Paint the second side to meet your first line
- Apply striping tape to mark your tip line (Method B)
- Paint over the tape in one smooth pass
- Peel the tape at the exact right moment
- Clean up smudges along the smile line
- Fill in any thin or patchy spots
- Seal everything with a glossy top coat (or cure if gel)
1 – Prep your nails before you touch any polish
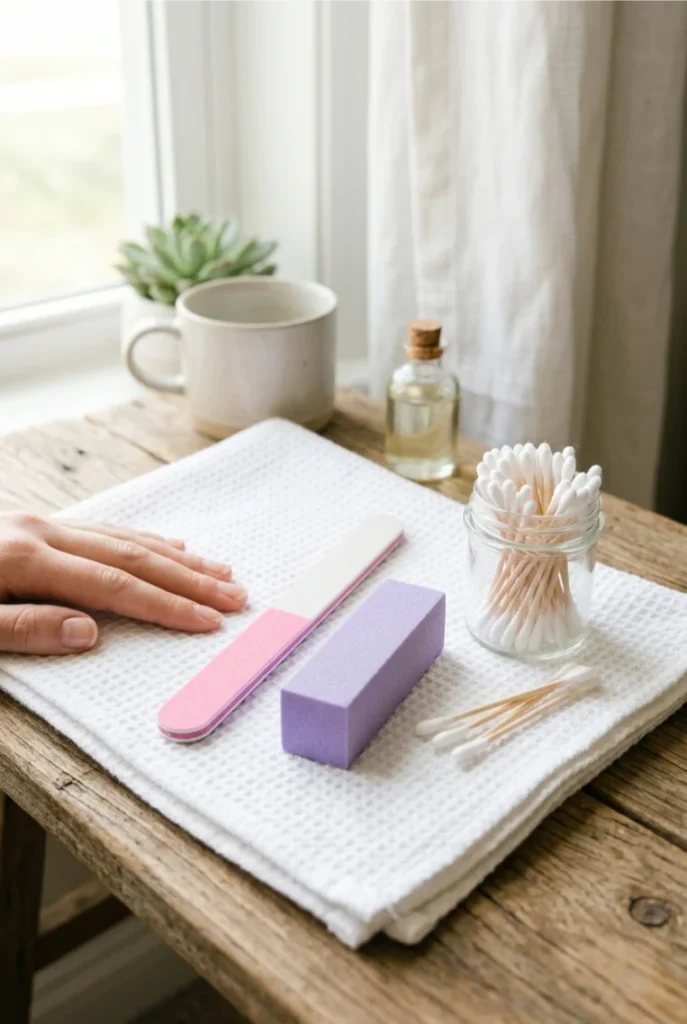
Wash your hands, then push back your cuticles with an orange stick so you’re not painting over dry skin.
Buff the surface of each nail lightly — just enough to knock down the shine, not enough to thin the nail.
Finish by wiping every nail with acetone on a cotton swab. Any leftover oil here is the reason polish peels off in one piece a few days later.
2. Shape your free edge into a clean, even line
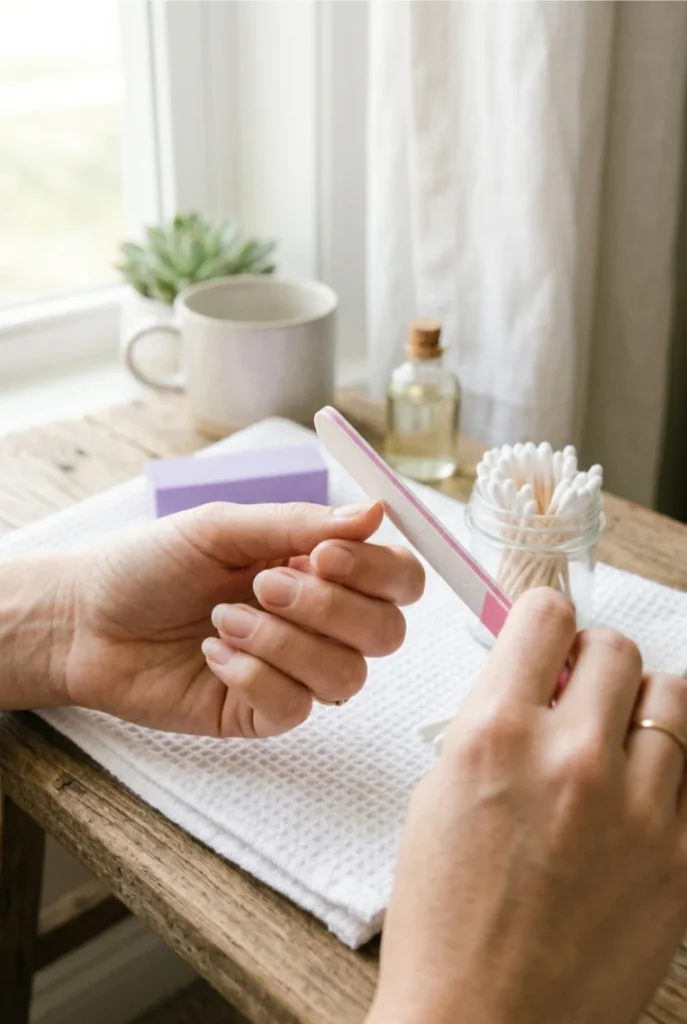
Your tip line will only look as straight as the nail edge underneath it.
File the tip of each nail into a smooth, symmetrical curve or square — whatever your natural shape is, just make both sides match.
A wavy or lopsided free edge makes even a perfect brushstroke look crooked once it’s on the nail.
Check the shape from above, not just from the side.
3. Apply your base color and let it fully cure
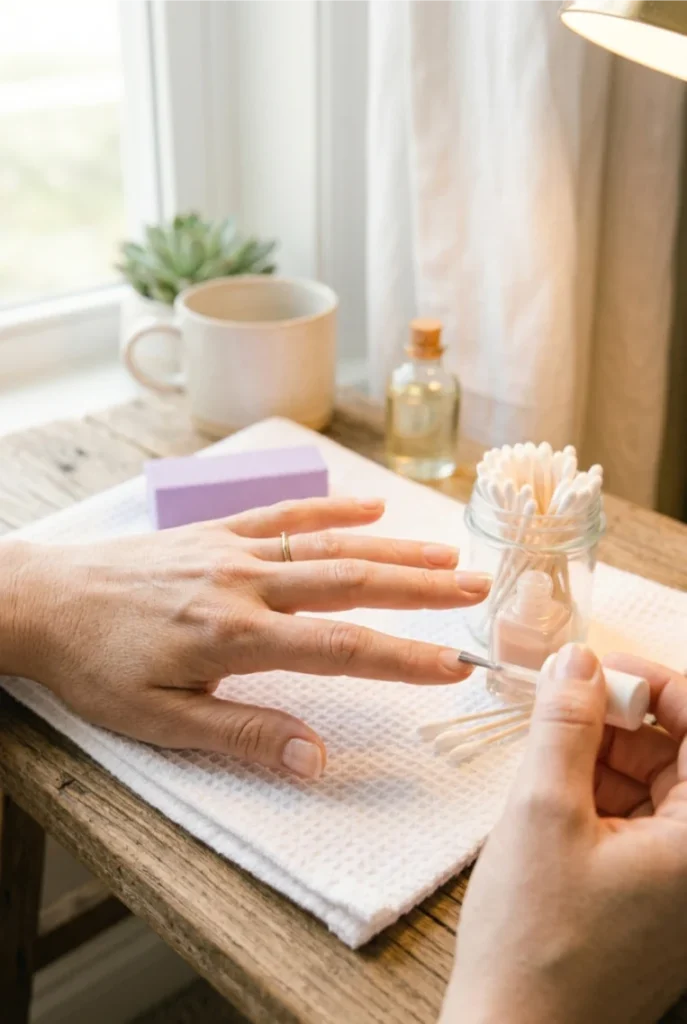
Paint one thin coat of your nude or sheer pink polish across all ten nails, keeping it off your cuticles.
Regular polish needs about 20 minutes to fully harden before you touch it again; gel needs 60 seconds under an LED lamp or 2 minutes under UV.
Don’t rush this part. A base that’s still soft will drag and smear the second your liner brush touches it.
4. Choose your method: liner brush or striping tape
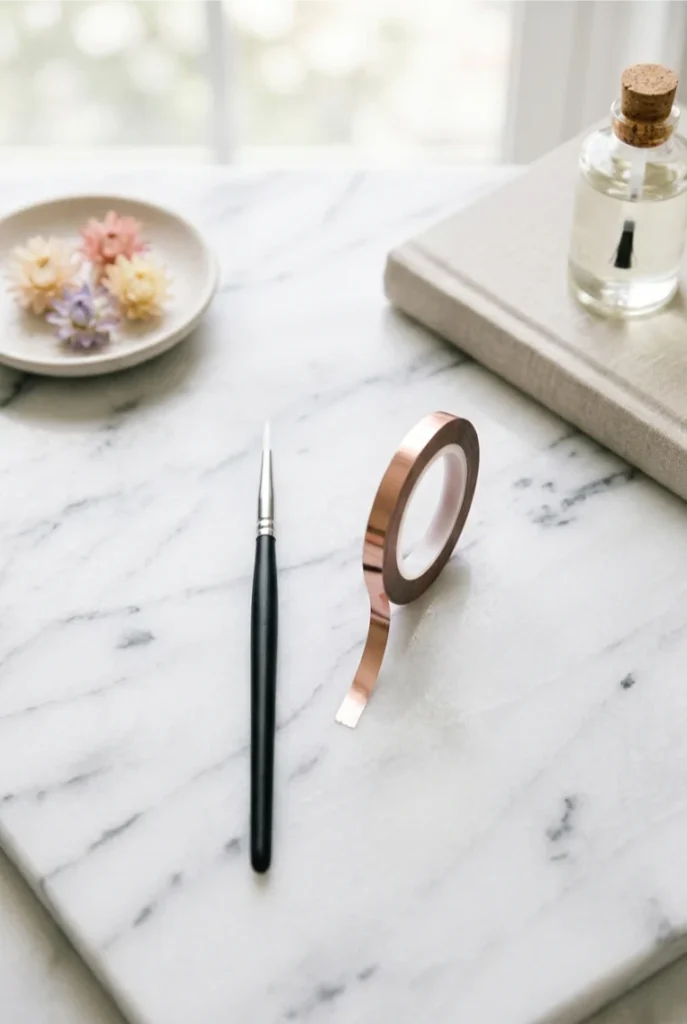
Both methods land you at a straight line, but they suit different hands. If your fingers are naturally steady and you like more control, freehand with a liner brush.
If your hand shakes or this is your first time attempting french tips at all, striping tape gives you a physical edge to paint against.
Neither is more “correct” — pick based on what your hands actually do, not what looks more advanced.
5. Load your liner brush the right way (Method A)
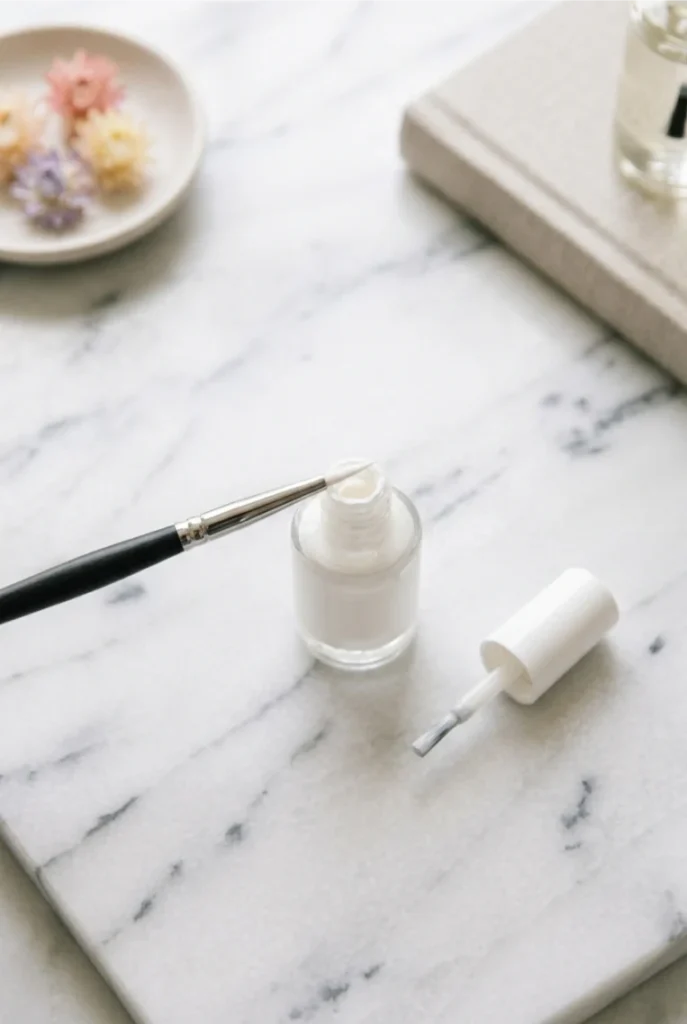
Dip your liner brush into white polish, then drag it once across the bottle’s neck to remove excess.
Twist the bristles between your fingers so they come to a fine point — a splayed brush is the number one reason lines come out ragged instead of crisp.
The brush should hold enough polish for one full stroke, no more. Reload before every single line rather than trying to stretch one load across two nails.
6. Steady your hand against a solid anchor point
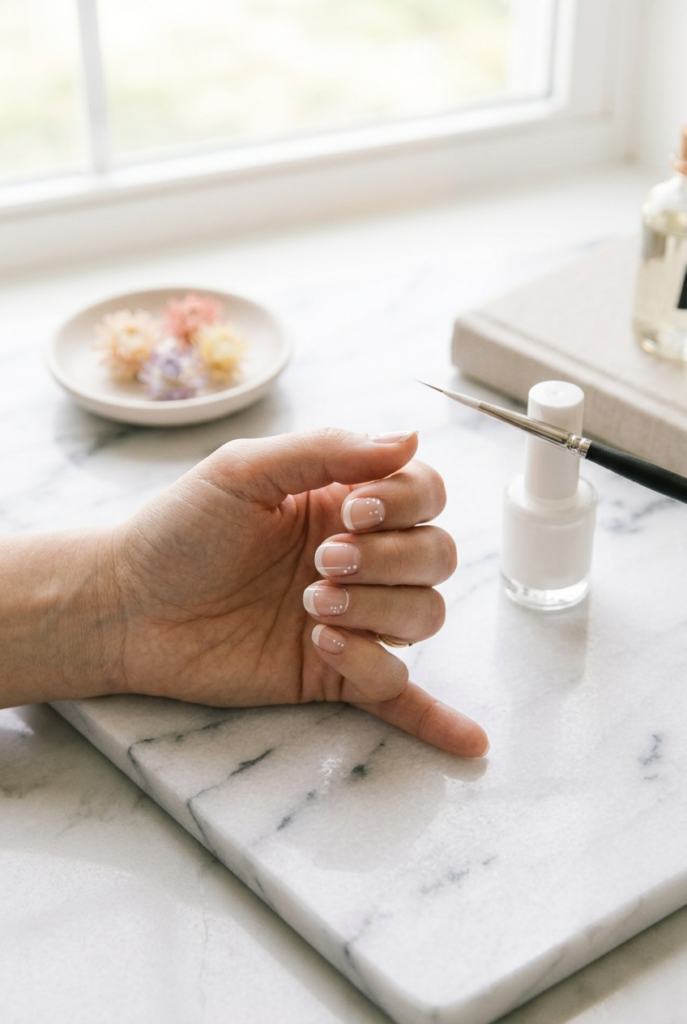
Rest your painting elbow flat on the table, then brace the pinky of your painting hand against the table or against the hand you’re painting.
This one change removes most of the shake that ruins straight lines. Sit somewhere with good, even light — a dim room hides wobbles until it’s too late to fix them cheaply.
Take a breath before each stroke instead of painting mid-exhale.
7. Paint the first side of the tip from corner to center
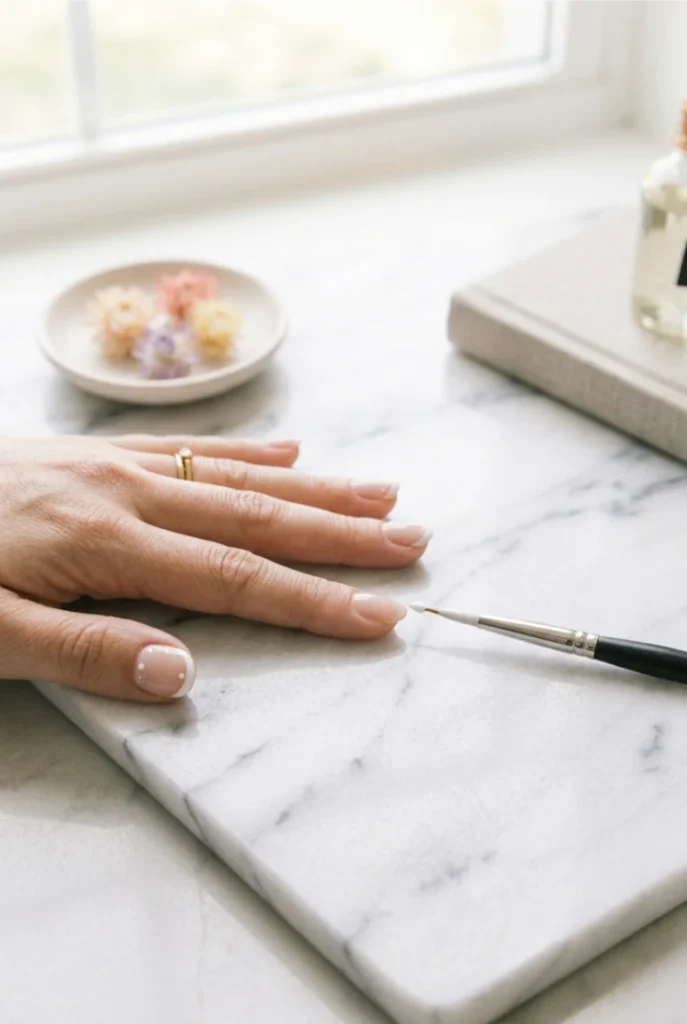
Starting at one corner of the free edge, drag the brush in a single confident stroke toward the center tip of the nail, following the curve of your natural smile line.
Keep the stroke slow and continuous — stopping partway and restarting is what causes the little step or bump beginners always ask about. One stroke, one side. If it looks off, wipe it clean now rather than trying to paint over it.
8. Paint the second side to meet your first line
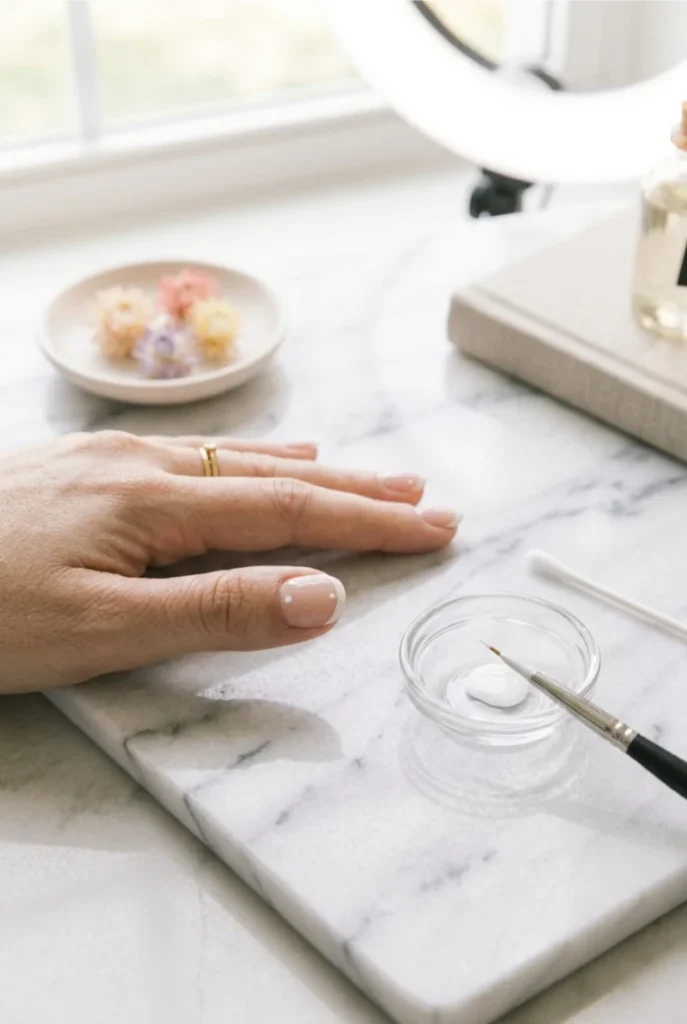
Repeat the same motion from the opposite corner, aiming to meet your first line right at the center peak.
The two strokes rarely land perfectly the first few times, and that’s fine — a slightly uneven meeting point is easy to fix later with a cleanup brush.
What matters more here is that each side stays thin and even along its own length, not that the peak is instantly flawless.
9. Apply striping tape to mark your tip line (Method B)
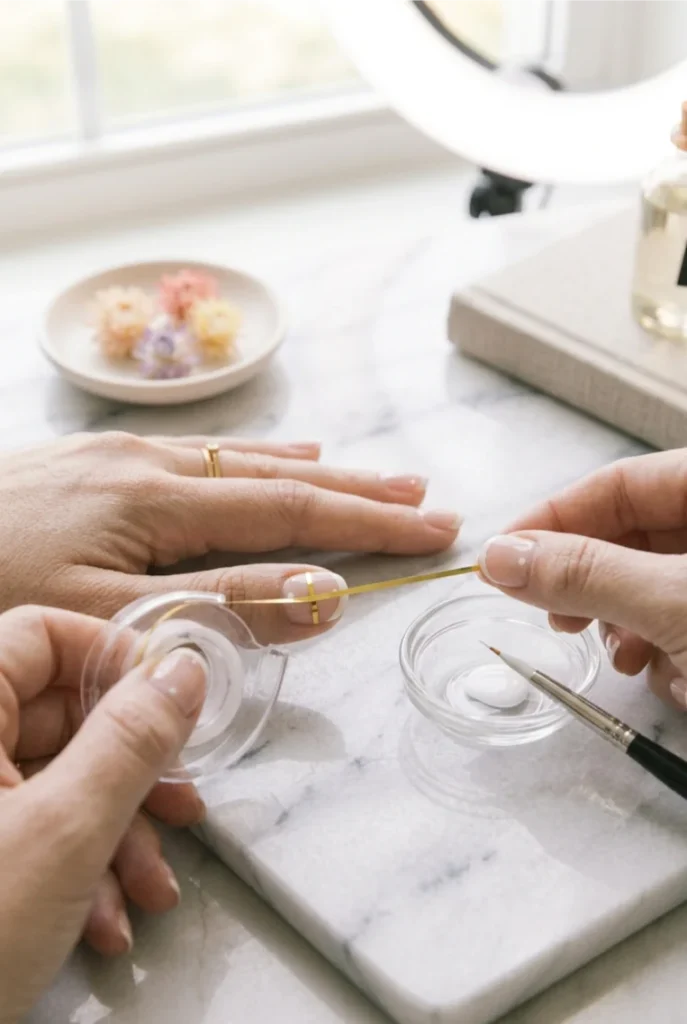
Cut a strip of striping tape long enough to cross the whole nail.
Press it down starting from one corner of the free edge, curving it to follow your desired smile line, and smooth it flat with your fingertip so no edge is lifting.
Any gap under the tape lets polish bleed through, so run your thumbnail along the whole strip once it’s placed. Repeat on the second side to form a V or U shape.
10. Paint over the tape in one smooth pass
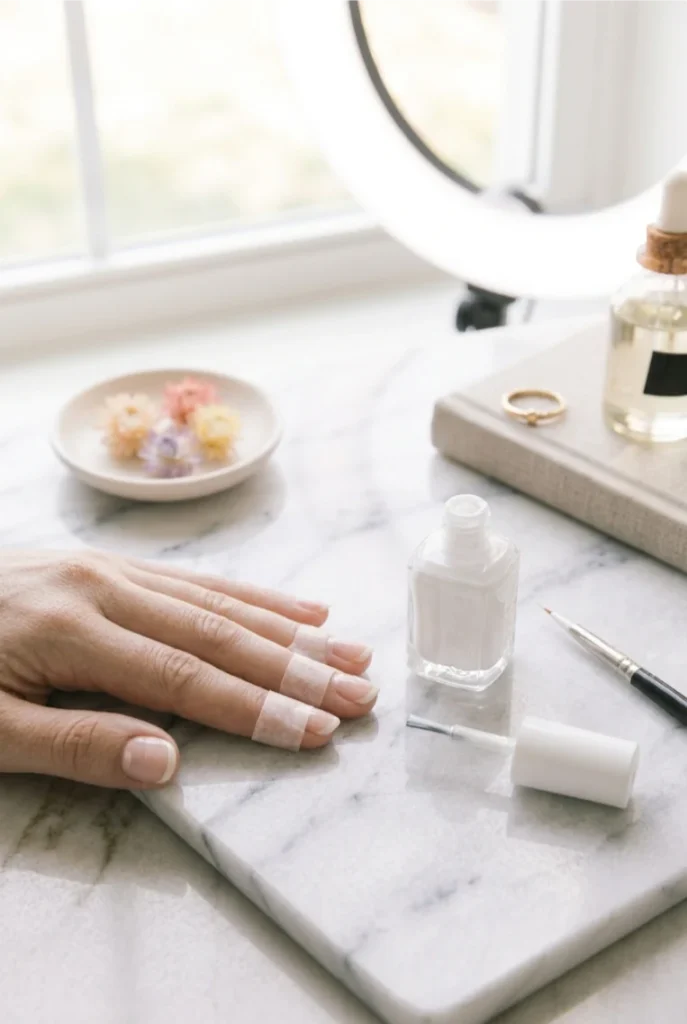
Load your brush or a flat nail art brush with white polish and pull one even coat across the exposed tip area, working from the tape edge outward toward the free edge.
You don’t need to be careful about staying inside a line here — the tape is doing that job for you.
Cover the whole tip in a single pass rather than going back over the same spot twice, which is what causes streaking under the tape’s edge.
11. Peel the tape at the exact right moment
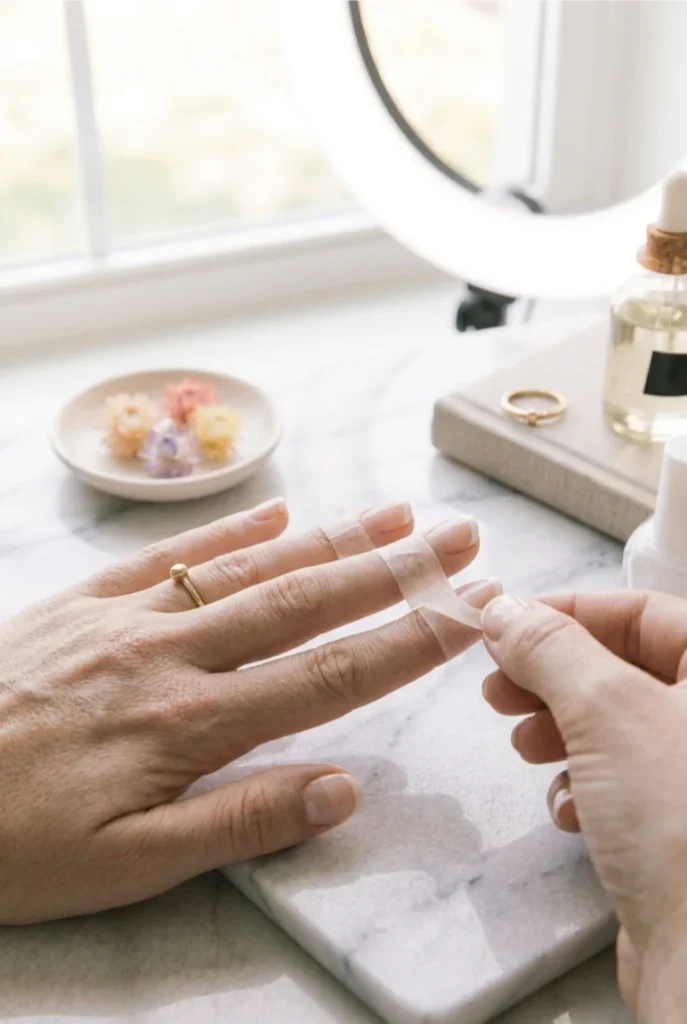
Wait about 30 seconds, until the polish is tacky but not fully dry, then peel the tape back slowly at a low angle, almost flat against the nail rather than straight up.
Pulling too early drags wet polish with it; waiting until the polish is fully dry can chip the edge as the tape lifts.
If your line still comes out slightly uneven after peeling, that’s completely normal on a first attempt — Step 12 covers the fix.
12. Clean up smudges along the smile line
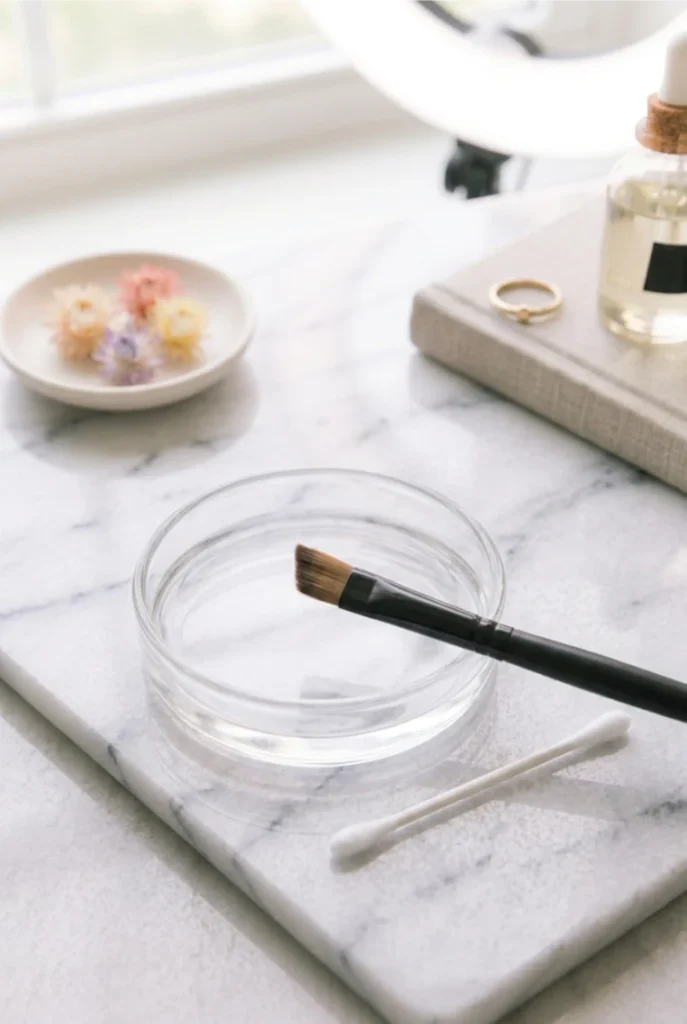
Dip your angled cleanup brush in acetone and tap off the excess so it’s damp, not dripping.
Trace along the outer edge of your white tip, wiping away any polish that landed on the nude base.
Work in short strokes rather than long drags, and rinse the brush in a separate dish of clean acetone between nails so you’re not smearing white polish back onto the next one.
13. Fill in any thin or patchy spots
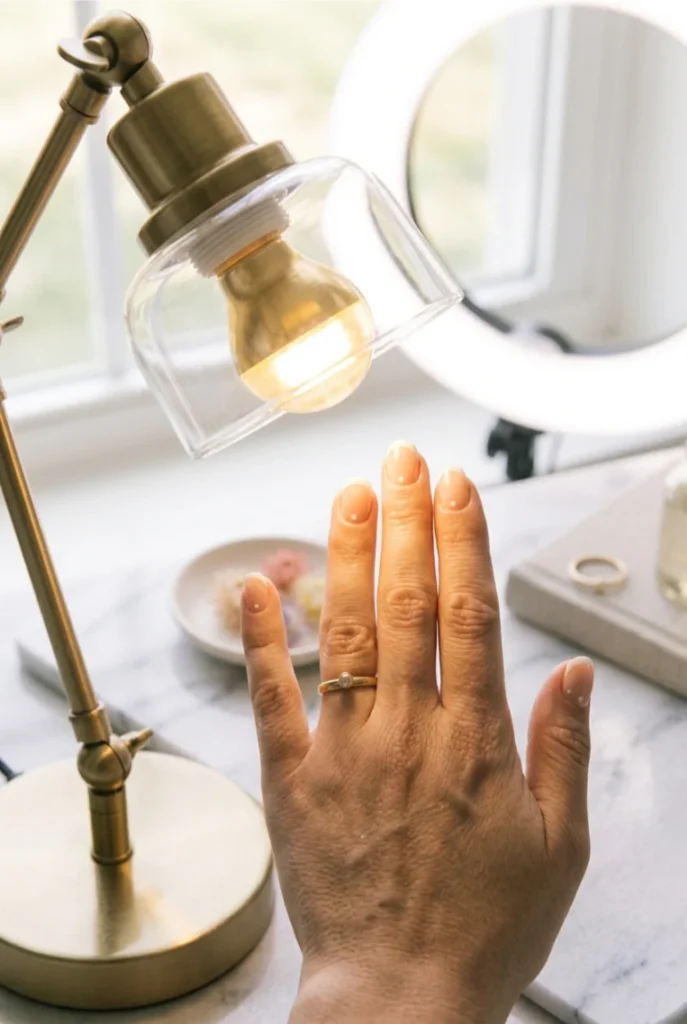
Hold your hand under direct light and check each tip for spots where the white looks thin or streaky — this shows up most at the very center peak, where two strokes meet.
Load your liner brush again and add a light second pass only over those spots, not the whole tip. Let it sit for 5 minutes before you touch it again, since a patchy second coat will smear if you rush straight to cleanup.
14. Seal everything with a glossy top coat (or cure if gel)
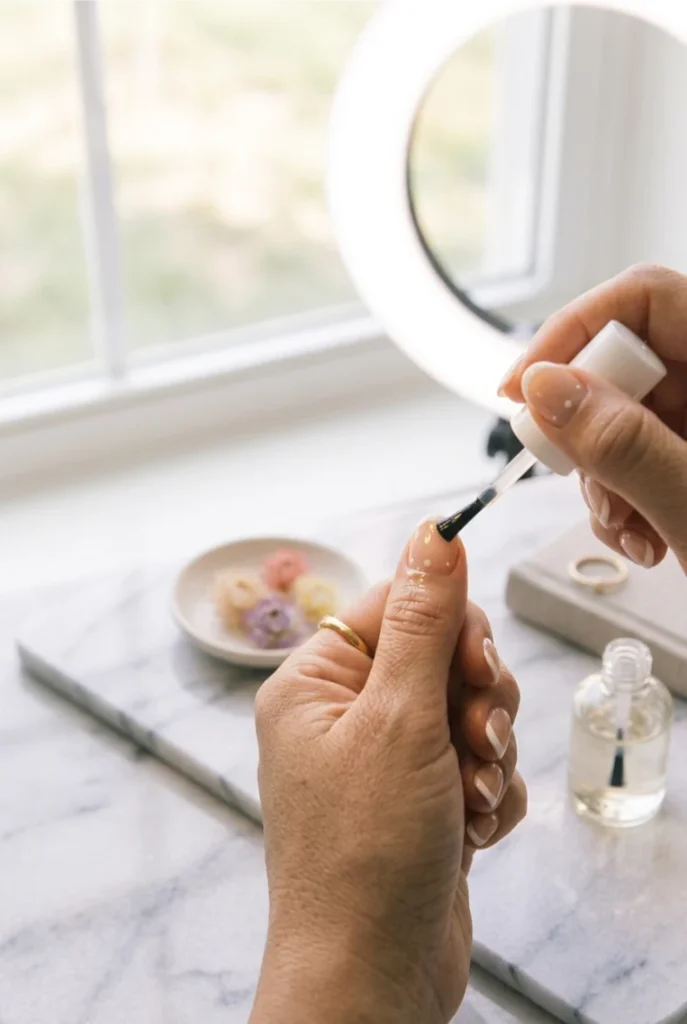
Apply one coat of top coat across the entire nail, sweeping over the tip and base color together so there’s no visible ridge where they meet.
For regular polish, let it dry for a full 20 minutes before doing anything with your hands.
For gel, cure under the lamp for 60 seconds, then wipe away the tacky layer with an alcohol pad.
This coat is what keeps your tip line from chipping at the edge within the first few days.
Conclusion
You’ve got two real ways to get straight french tip lines now, without a single sticker guide involved.
Whichever method felt more natural today, do it two more times this week — your hand remembers this faster than you’d think.
The lines get straighter, the cleanup gets shorter, and soon you won’t second-guess the brush at all.
Save this one to your Pinterest nail board so it’s ready next time you’re staring at a bare set of nails and a bottle of white polish.


