
If you’ve been searching for a French manicure for beginners tutorial because your last at-home attempt left you with a smudged, uneven tip line, you’re in the right place.
That crooked white tip isn’t bad luck — it comes down to one tiny mistake almost every first-timer makes with their brush angle, and we’ll get to exactly what that is further down.
For now, know this: a clean, salon-style French manicure is doable at home, even if you’ve never painted your own nails past a single coat of color before.
This guide walks you through every step, from prepping bare nails to sealing in a glossy top coat, in the exact order you need to do them.
Expect to spend about 35 to 45 minutes total, with roughly 25 minutes of hands-on work — the rest is spent waiting for polish to dry between coats. You don’t need salon tools or steady artist hands.
A few basic supplies from the drugstore and a little patience will get you there. By the end, you’ll have ten neat, even white tips you actually want to show off.
1. Prep Your Nails First
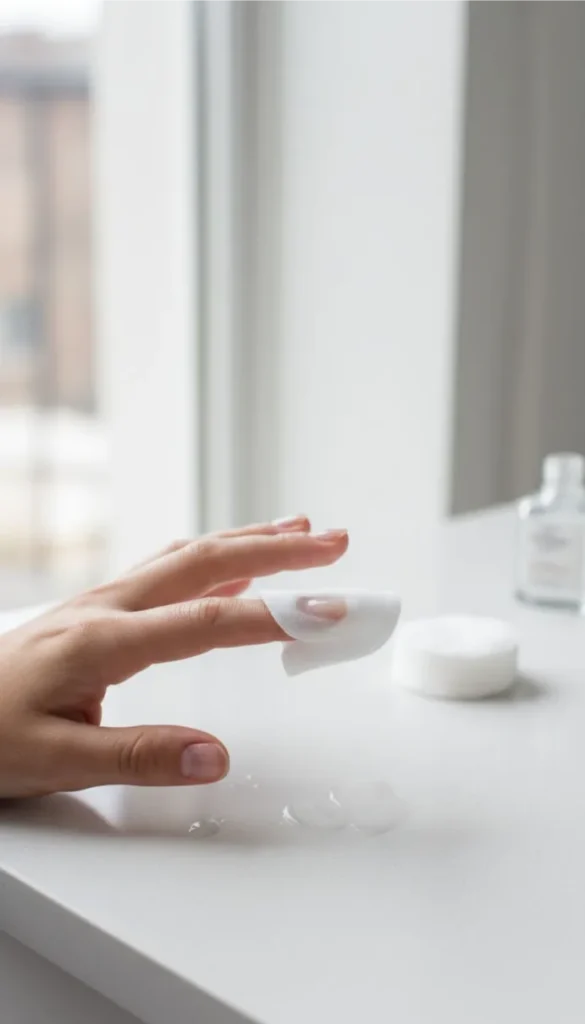
Start with completely bare, clean nails. Remove any old polish with a cotton pad soaked in acetone remover, pressing for 5 seconds before wiping in one direction — scrubbing back and forth roughens the nail surface, which makes it harder to apply polish smoothly later.
No pure acetone on hand? A non-acetone remover works too, though it usually takes an extra pad or two.
Once nails are bare, wash your hands with soap and water to strip away leftover oil from lotion or remover — polish won’t grip an oily nail bed, no matter how carefully you apply it.
2. File and Shape Each Nail
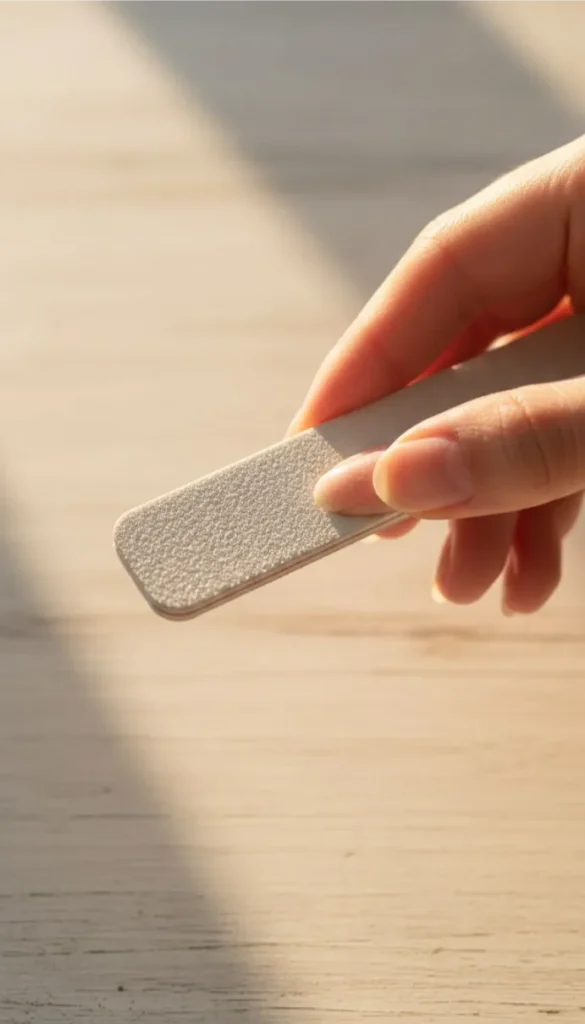
Trim any overly long nails with clippers, leaving about 1–2 millimeters of white tip. French manicures look best on nails that are roughly the same length, so aim for consistency across all ten.
File in one direction only, from the outer corner toward the center — sawing back and forth weakens and splits the nail edge.
A rounded or squoval (square-with-rounded-corners) shape is the most forgiving choice for a first attempt.
3. Push Back Your Cuticles
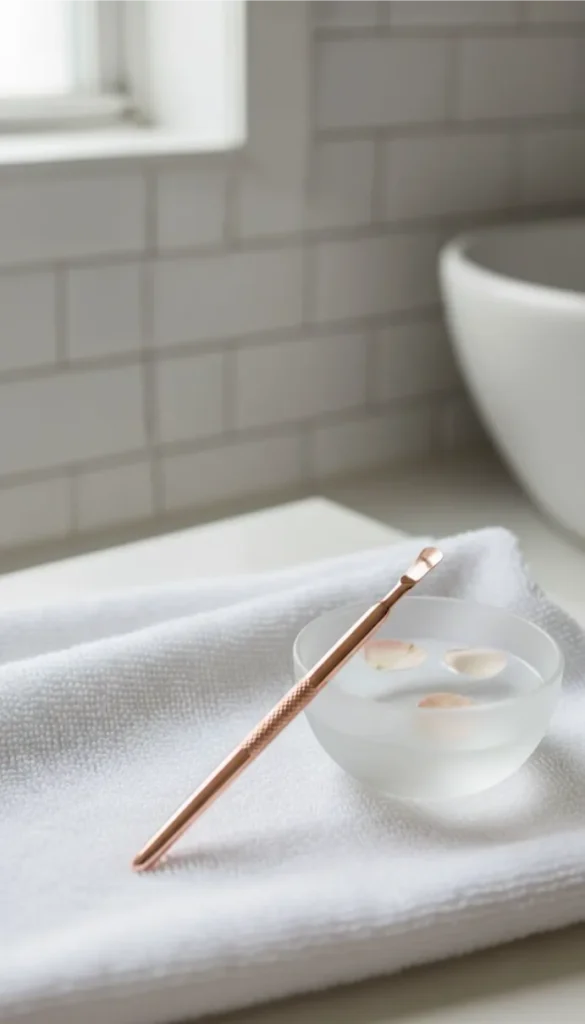
Soften your cuticles first by soaking fingertips in warm water for 2–3 minutes, or do this step right after a shower when skin is already softened.
Using a cuticle pusher (a small metal or wooden tool with a flat, angled edge), gently push the skin back from the base of each nail in small circular motions — never cut healthy cuticle skin with scissors, since that opens the door to infection and painful hangnails.
No cuticle pusher on hand? The flat edge of an orange stick, or even a clean, dampened washcloth wrapped around your fingertip, works as a substitute.
4. Apply a Base Coat
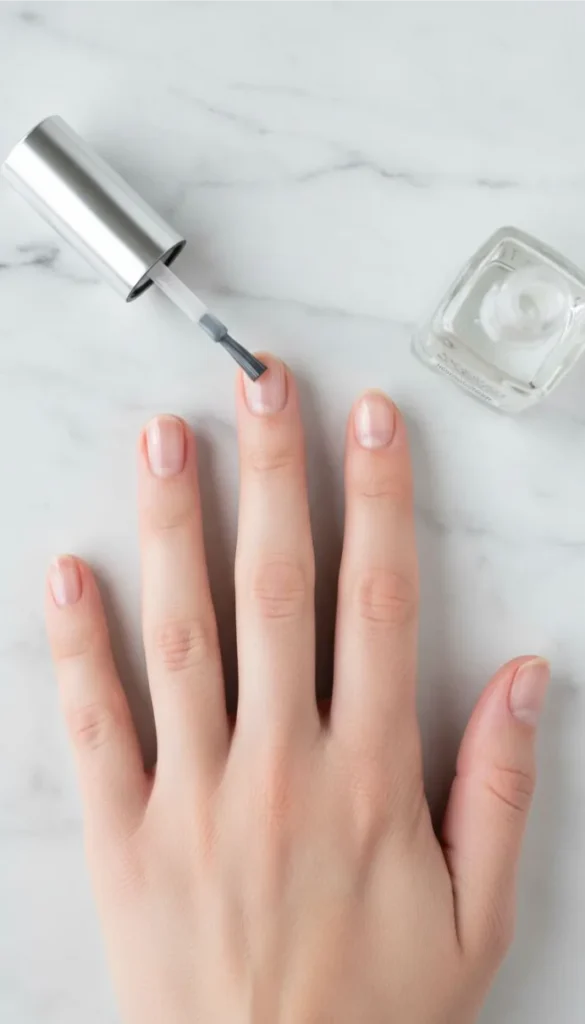
A clear base coat isn’t optional, even though it disappears once color goes on top. It creates a barrier between your natural nail and the pigment in colored polish, which stops your nails from staining yellow after you remove it later — a common headache with darker or bolder shades.
Apply one thin layer, brushing from the cuticle base to the tip in a single stroke.
Let it dry for a full 2 minutes before moving on; painting over tacky base coat is exactly what causes bubbling and smudges down the line.
5. Paint the Nude or Pink Base Color
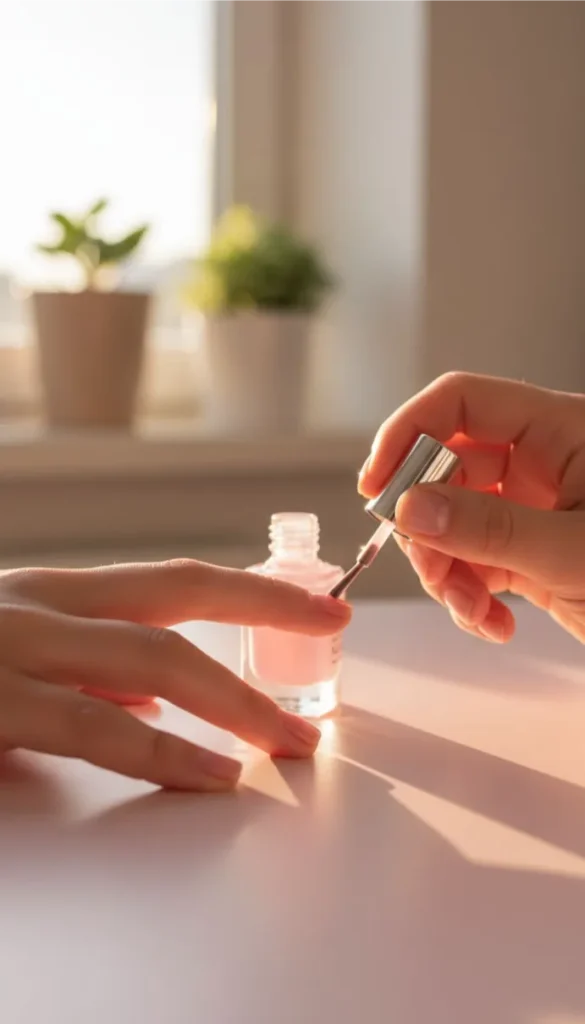
Two thin coats beat one thick coat every time — a thick single coat takes longer to dry and is far more likely to smudge before it sets.
Dip the brush and wipe off the excess on the bottle’s rim so each stroke isn’t overloaded.
Paint in three swipes per nail: one down the center, then one on each side. Wait 5 minutes between coats.
If you’re using a sheer pink or nude shade, that second coat is what gives you the even, opaque finish salon manicures are known for.
6. Create the White Tip Line
Here’s the mistake that ruins most at-home French manicures: holding the brush flat against the nail instead of at a slight angle, which drags white polish into the pink base and blurs the line.
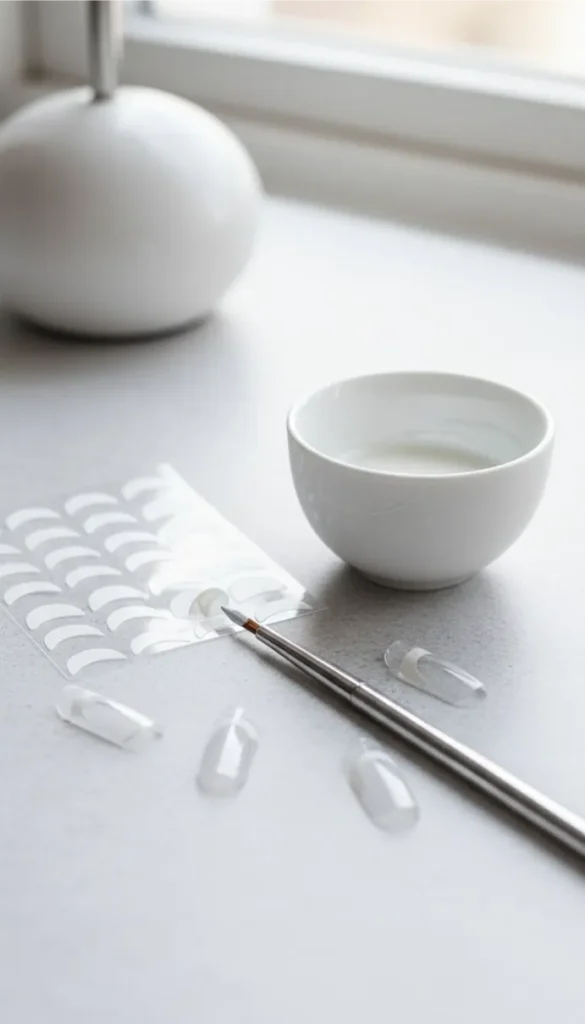
If this is your first attempt, skip freehanding entirely and use French tip guide stickers instead — press one onto each nail just below where you want the tip to start, then paint white polish over the exposed area.
Peel the sticker off while the polish is still slightly wet, pulling at a 45-degree angle away from the nail rather than straight up, which keeps the edge crisp instead of tearing it.
7. Clean Up the Edges
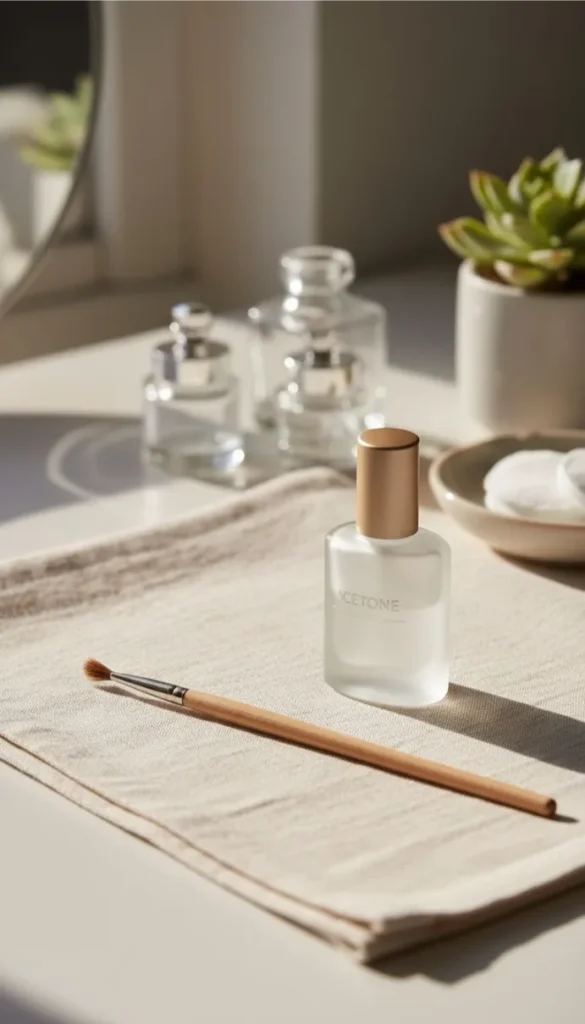
Even with a guide sticker, a little polish almost always creeps onto the surrounding skin.
Dip a thin, pointed brush (an angled eyeliner brush works if you don’t own a dedicated nail art brush) into pure acetone and trace along the edges of each nail to lift away stray polish.
Work slowly — rushing this step tends to smear color back onto the nail you just cleaned up.
Rinse the brush between fingers so you’re not dragging removed polish from one nail onto the next.
8. Seal with a Top Coat
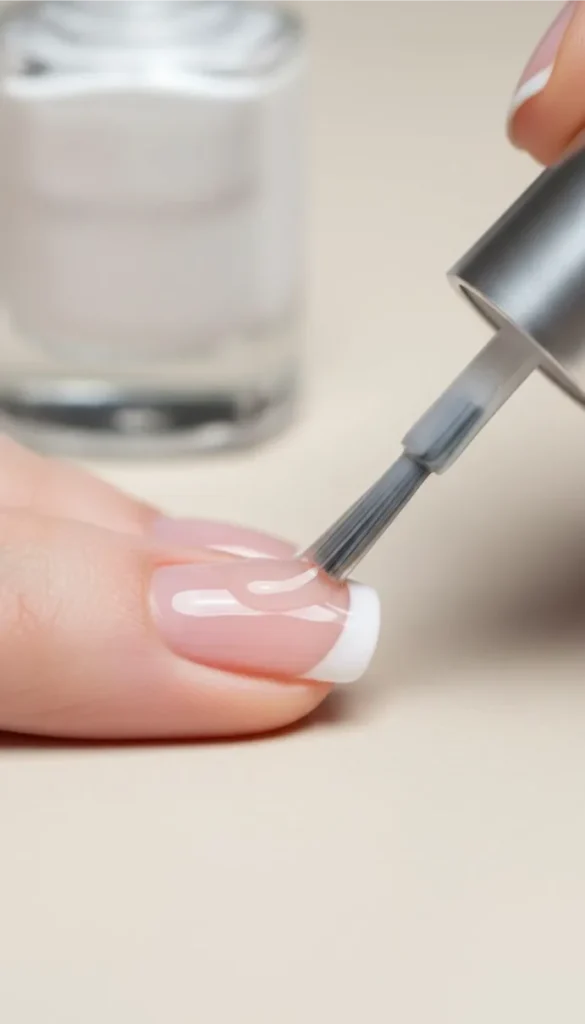
Top coat does two jobs: it locks in the tip line so it can’t lift or chip, and it gives the whole manicure that glossy, salon-fresh shine.
Apply one generous layer, making sure to swipe over the very tip edge of the nail, not just the top surface — this “capping” step is what actually seals the polish and adds days to how long your manicure lasts.
Skipping the tip edge is the single biggest reason French manicures chip within 48 hours.
9. Let Nails Cure Fully
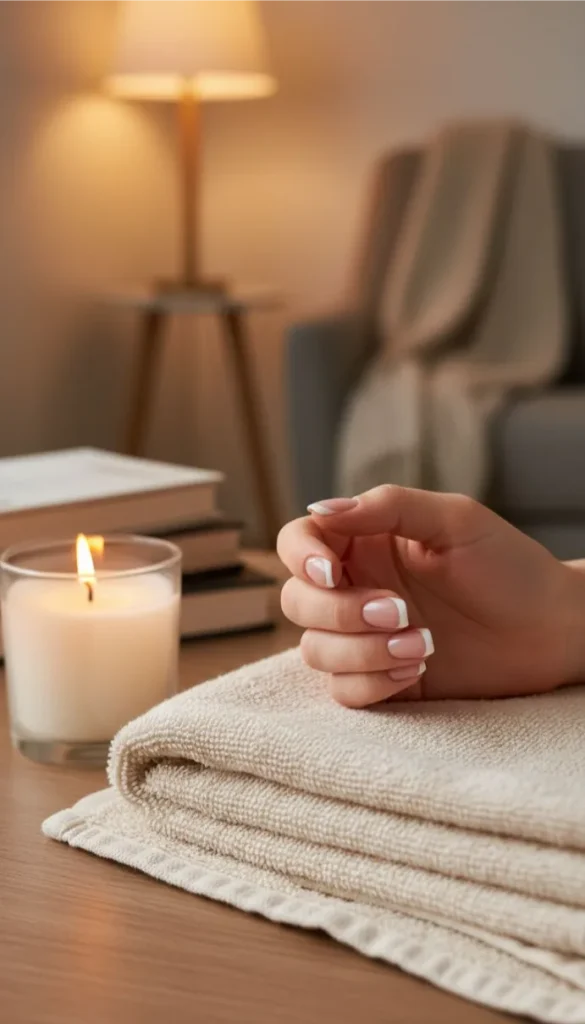
Touch-dry isn’t the same as fully cured, and this is where most beginners undo all their careful work.
Give your nails at least 1 full hour before doing anything hands-on, and avoid hot water, tight gloves, or digging through your bag for 6–8 hours if you can manage it — regular polish stays soft underneath even after the surface feels dry.
Running nails under cold water for a minute or two after the hour mark can help speed up the final set if you’re in a rush.
Wrapping Up
That’s the whole process, start to finish — bare nails to a crisp, even French tip that actually holds up.
The tip-line mistake that trips up most first-timers isn’t about talent; it’s brush angle and knowing when to peel the guide, and now you’ve got both. Give yourself a bit of grace on your first try — the second and third attempts always go noticeably faster once your hands know the rhythm.
Save this french manicure for beginners guide to Pinterest so it’s right there next time you’re ready to sit down and try it again. Learning the essential french manicure techniques for beginners can be both fun and rewarding. There are plenty of online tutorials and videos that can guide you step by step. Experimenting with different colors and designs will help you master this chic nail art style.


