
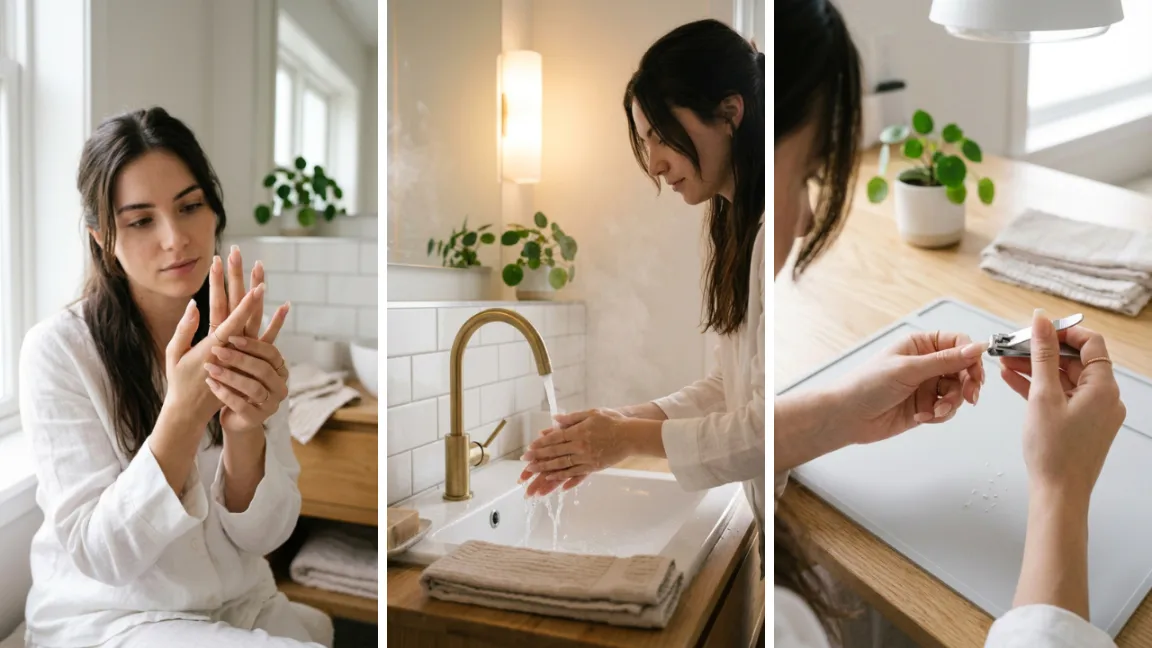
Somewhere between the salon chair and your bathroom mirror, a lot of long-nail owners hit the same wall: they want shorter nails, but every attempt at cutting them down ends in a jagged split or a nail that snaps two days later.
If you’re used to length, your nails have gotten used to being handled a certain way, and going shorter changes the pressure points completely.
This guide walks you through exactly how to transition to short nails without losing a single one to breakage.
You’ll learn how to trim in the right order, file without weakening the free edge, and finish with a shape that actually holds up to daily use — typing, dishes, phone scrolling, all of it.
The whole process takes about **20 minutes** once you sit down to do it, and none of the steps require anything you don’t already have in a basic manicure kit.
By the end, you’ll have a short, rounded shape that feels stronger than the length you started with, not more fragile.
- Nail clippers or nail scissors
- Fine-grit nail file (180–240 grit)
- Buffer block
- Bowl of warm water (optional)
- Soft towel
- Cuticle oil
- Strengthening top coat
- Check your nail length and health
- Soften your nails before cutting
- Trim in small sections
- Cut straight across before shaping
- File down the corners gradually
- File in one direction only
- Round off the sharp edges
- Smooth the free edge with a buffer
- Seal the tips with cuticle oil
- Lock in the shape with a top coat
Step 1 — Check Your Nail Length and Health First

Look at each nail before you touch a clipper. Note where any splits, thin spots, or peeling layers sit near the free edge — those spots decide how much length you can safely remove in one sitting.
Nails with visible damage close to the tip need a shorter first cut than healthy ones.
Skipping this check is why people end up trimming past a weak point and creating a fresh crack instead of removing the old one.
Step 2 — Soften Your Nails Before You Cut

Dry nails are brittle nails, and brittle nails crack under a clipper blade. Wash your hands in warm water for about **60 seconds**, or time this step right after a shower when your hands are already warm and damp.
If your nails are especially hard or ridged, soak them in a bowl of warm water for **3 minutes** first.
Step 3 — Trim in Small Sections, Not One Big Cut
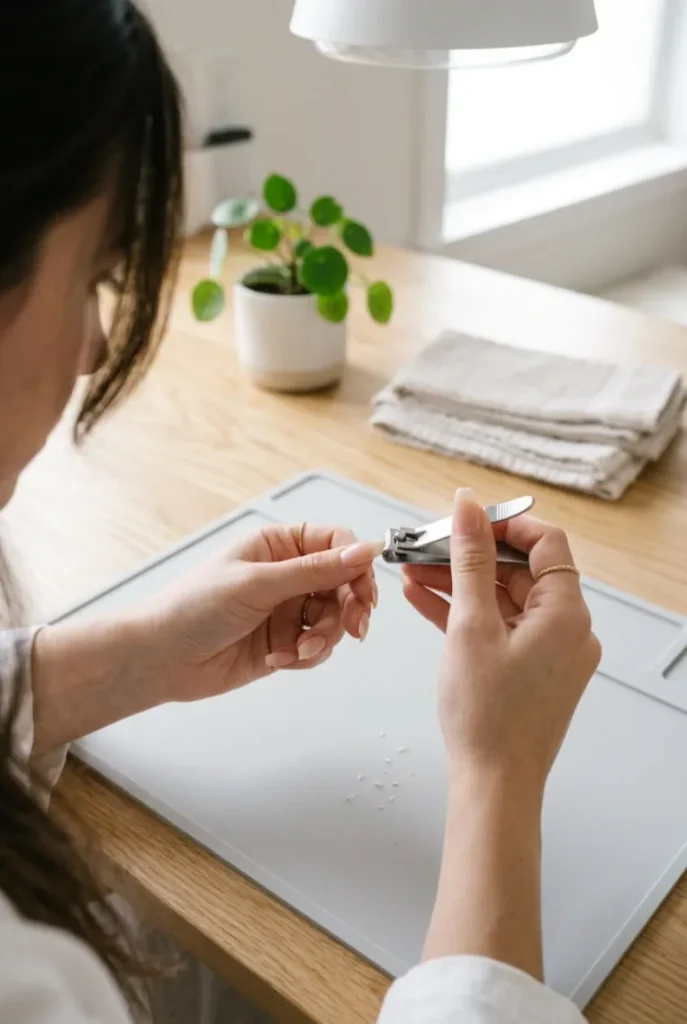
One clip across the whole nail concentrates pressure right at the center of the blade, and that’s exactly where hairline cracks start.
Instead, clip in from each corner toward the middle in two or three small bites, working toward the same target length gradually.
Line the clipper up with the shape you want, not with speed — a nail trimmed slowly rarely splits.
Step 4 — Cut Straight Across Before Shaping
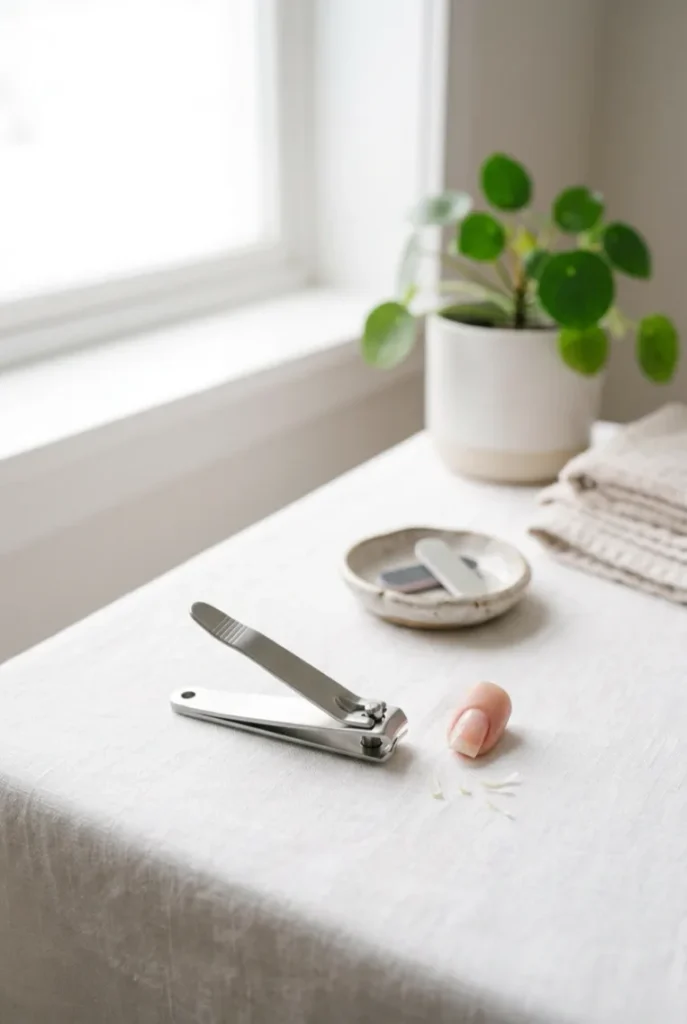
Resist the urge to round the nail while cutting — clippers are for length, not shape.
Position the blade parallel to your fingertip and take the nail straight across to your target length.
This gives you a flat, even edge to build the final shape from, so every filing step after this stays accurate.
Step 5 — File Down the Corners Gradually
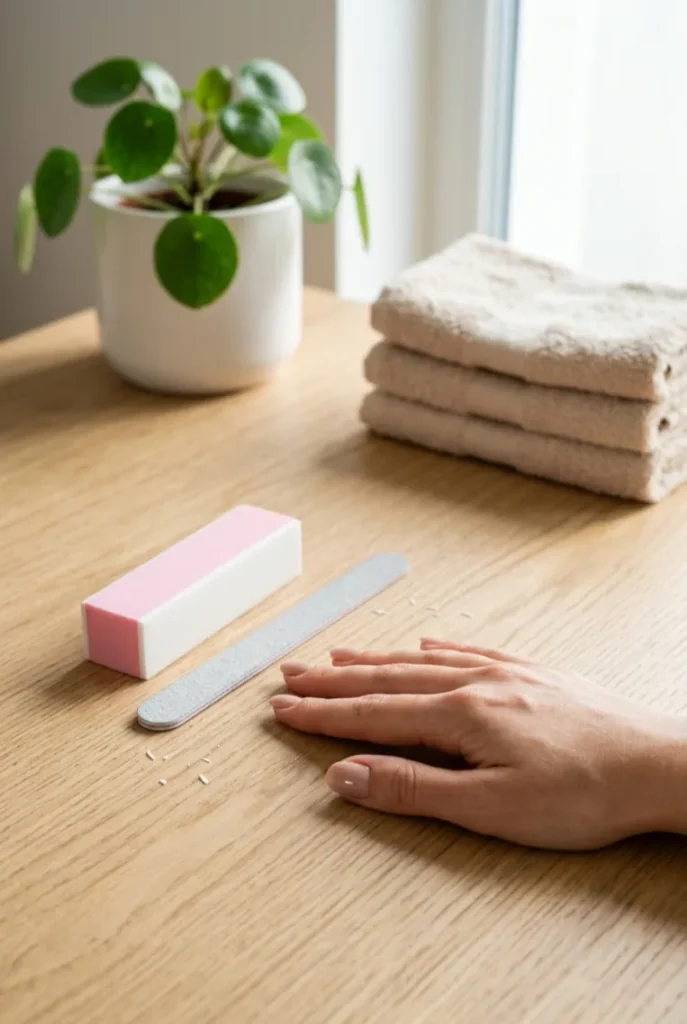
Once the top edge is flat, angle your file at roughly **45 degrees** against each corner.
Two or three light passes per side is usually enough here — you’re softening the edge, not carving a whole new shape yet.
Hold your hand up and check the nail from above every few passes so both sides stay even, since one corner filed more than the other throws off the entire shape.
This is also where most beginners overcorrect, filing one side down too far while chasing symmetry.
Step 6 — File in One Direction Only
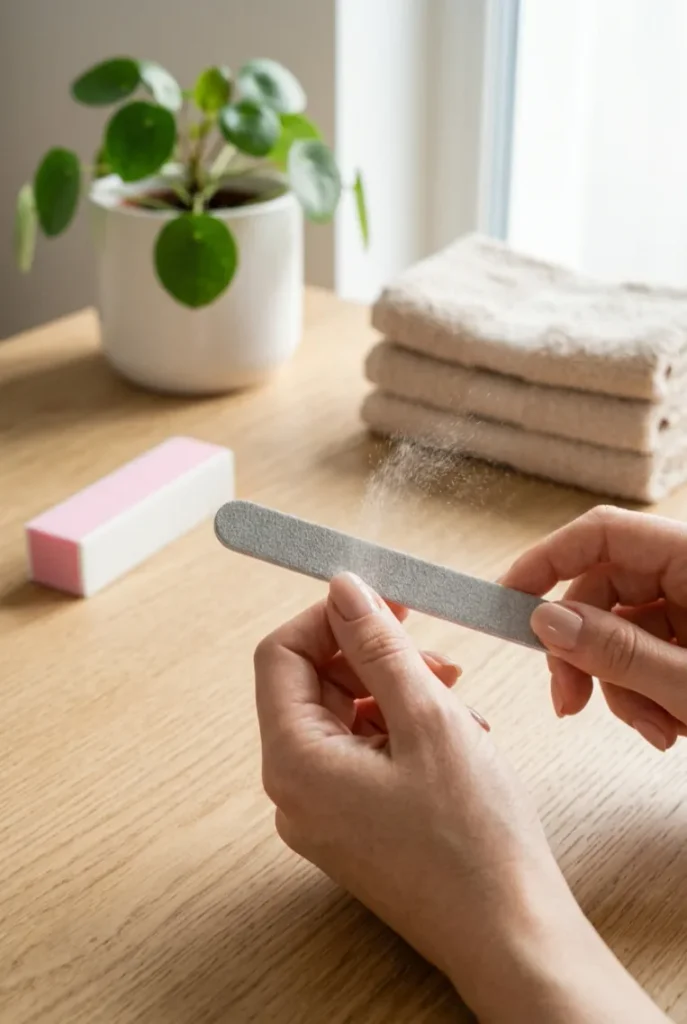
Back-and-forth sawing motions heat up the nail plate and cause its layers to separate — one of the more common reasons a fresh transition doesn’t hold.
File in a single direction only: sweep from the outer corner toward the center, lift the file, then reset for the next pass. It feels slower. It isn’t. It just skips the mistake that costs you the whole nail.
Step 7 — Round Off the Sharp Edges
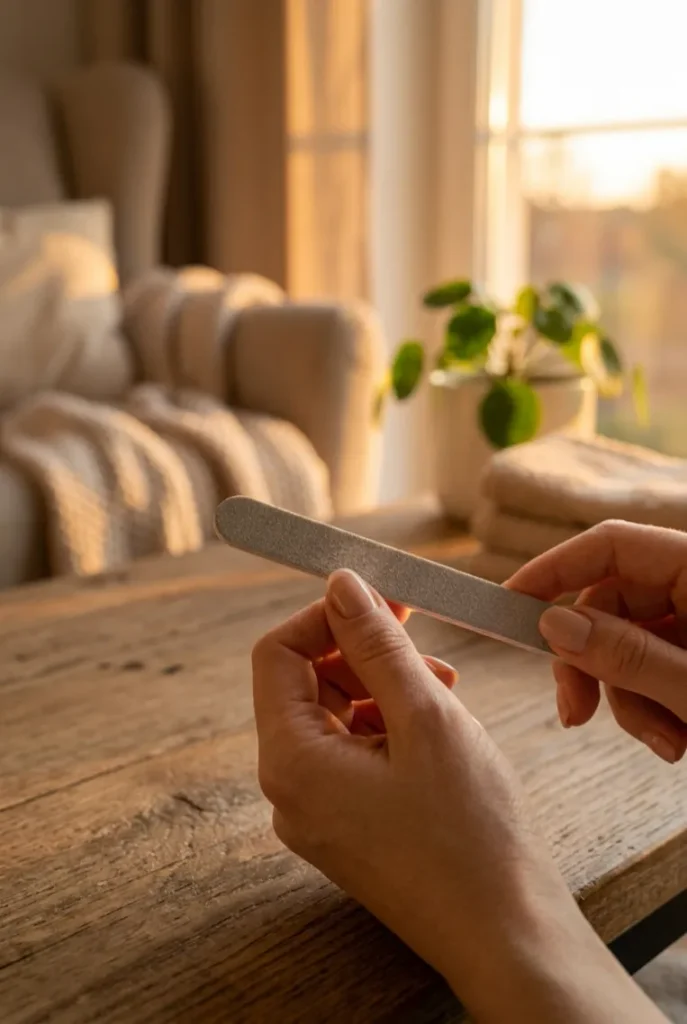
After filing the corners down, each side is left with a slight point — the exact spot that catches on sweaters, hair ties, and skin.
Turn your file onto its edge and sweep it lightly around each corner until the point softens into a curve.
Hold the nail against your fingertip as you go; a good round shape follows the natural curve of the finger instead of sitting flat like the original clip did.
Step 8 — Smooth the Free Edge With a Buffer
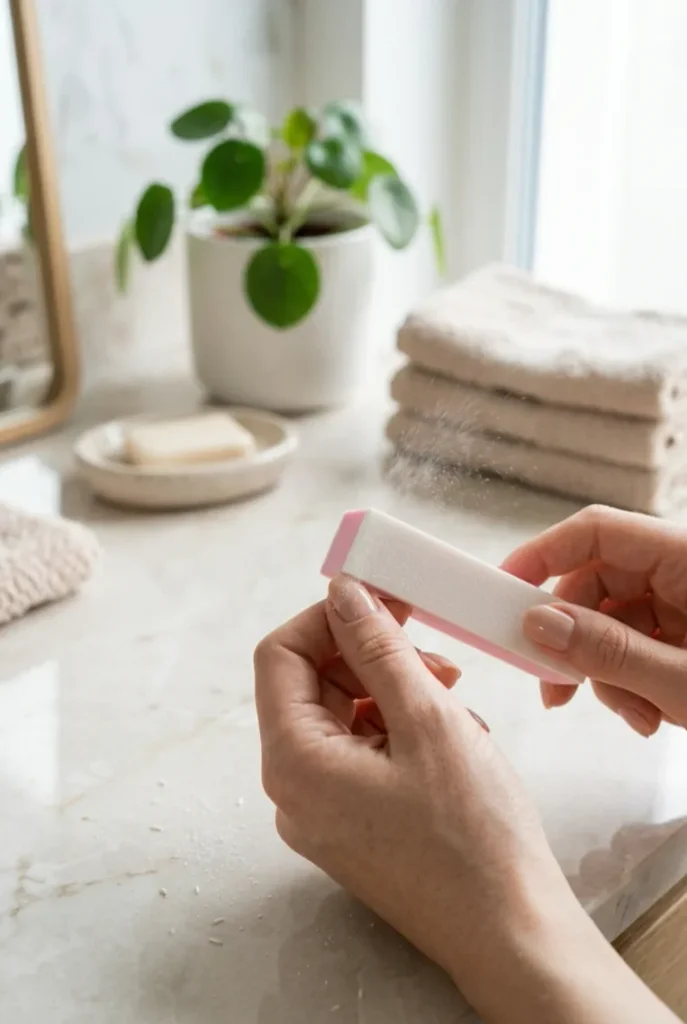
Even a well-filed edge still has a faint roughness you can feel more than see. Light pressure is the whole trick here — pressing hard thins the nail instead of smoothing it. Work the buffer through in order:
– Top of the free edge, one direction only
– Underside of the tip
– One final soft pass to blend the two
Wipe the dust off with a dry cloth, then check the edge in good light before moving on.
Step 9 — Seal the Tips With Cuticle Oil

A freshly cut edge loses moisture fast, and dry edges are almost always the first to crack in the days right after a trim. Place one drop of cuticle oil on the tip of each nail and massage it around the entire edge, not just across the top. Doing this within the first hour matters more than doing it later — a newly exposed edge absorbs oil better right after cutting than it will tomorrow.
Step 10 — Lock In the Shape With a Strengthening Top Coat

Two thin coats of a plain strengthening top coat is all this final step needs — skip color for the first few days if you can, since bare nails let you spot early snags before they turn into splits. Let each coat dry fully, about **5 minutes** apart, before you put your hands back to work. This coat isn’t decoration here; it’s the layer holding your new, shorter edge together while it adjusts to daily pressure.
- Check nail length and health
- Soften nails before cutting
- Trim in small sections
- Cut straight across before shaping
- File down corners gradually
- File in one direction only
- Round off sharp edges
- Smooth free edge with a buffer
- Seal tips with cuticle oil
- Lock in shape with a top coat
You’ve got a shorter set now — and one that’s built to actually last, not just look neat for a day. The corners are rounded, the edges are sealed, and the shape you filed will hold up to real hands-on days instead of chipping by Thursday.
The next natural step is settling into a light maintenance rhythm: a quick file every week or two keeps you from ever needing a big transition like this again. Save this guide so you’ve got the short nails method ready whenever you’re due for a trim.
Your Guide to Short Nails GuideYour Guide to Short Nails Guide


