
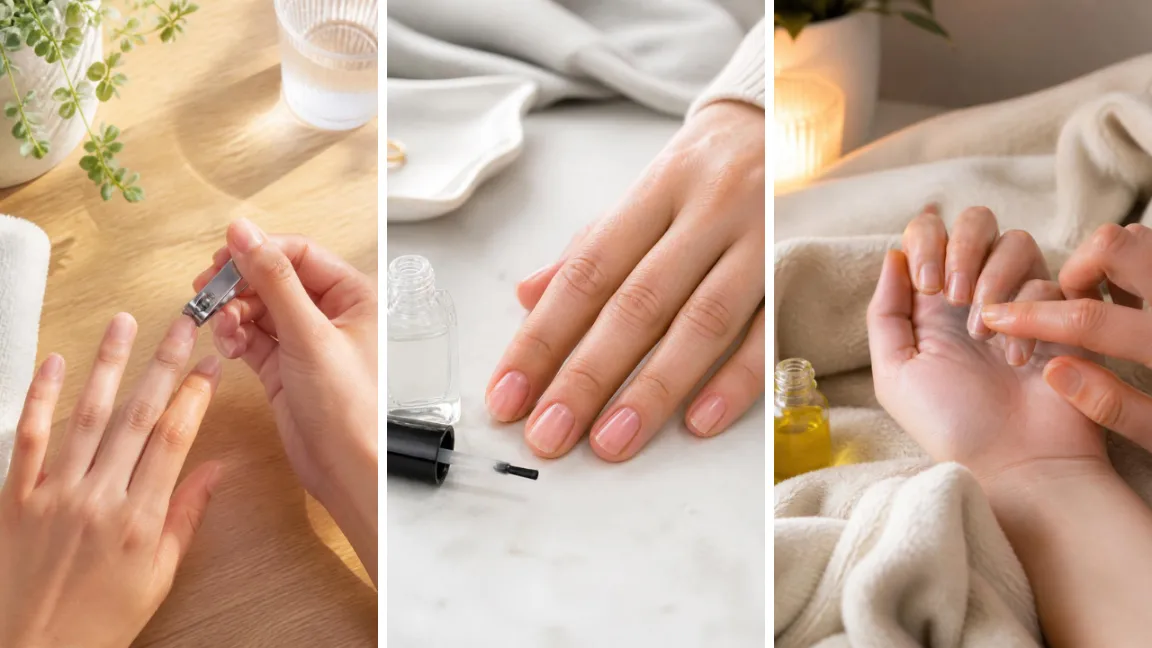
You just cut your nails short — broke one, got tired of them catching on everything, whatever the reason — and now you need a short nails guide that actually starts from zero, not one written for someone who already knows nail shapes and file grits.
This walks you through shaping, strengthening, and finishing short nails so they look styled on purpose, not like a fallback.
One thing most beginners get backwards first: the shape you pick before you even touch polish is what decides whether your nails look longer and neater, or squared-off and stubby.
By the end, you’ll have shaped, buffed, based, colored, and sealed your nails using nothing but a file, a buffer, and basic polish.
Total active time is under 30 minutes, and there’s no salon skill required — just the right order of steps.
- Nail clippers
- Glass or emery file (180–240 grit)
- Buffer block
- Cuticle pusher
- Cuticle oil
- Base coat, polish, top coat
- Cotton pads + remover
- Hand moisturizer
- Trim to the right length
- Shape the free edge
- File in one direction
- Push back cuticles
- Buff the surface
- Apply base coat
- Add color
- Seal with top coat
- Moisturize to finish
Trim Your Nails to the Right Length First
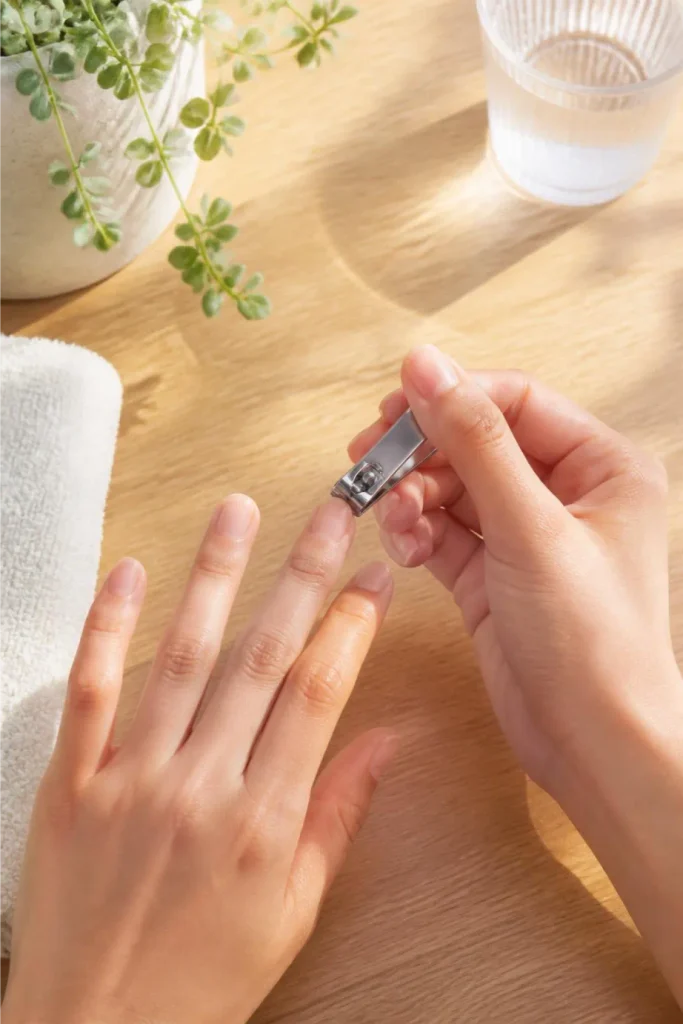
Start with clippers rather than scissors — clippers give you more control over how much comes off in one snip.
Cut straight across first, leaving about 1–2mm of white tip, then round the corners slightly.
Cutting too close invites hangnails and sensitivity, since the nail bed underneath hasn’t toughened up to being exposed yet.
If your nails are uneven, trim the shortest one first, then match the rest to it.
Shape the Free Edge (Square, Round, or Squoval)
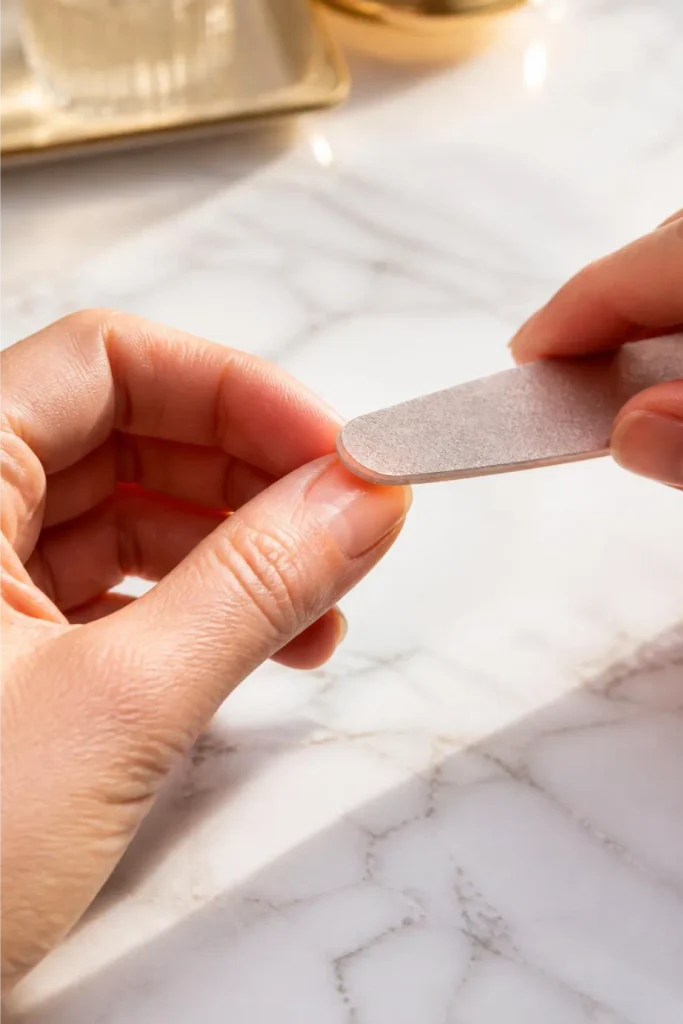
This is the step that decides whether short nails look intentional or accidental.
A gentle round shape follows your fingertip and makes nails read as longer than a square edge does.
Square looks bold but snags more at this length. Squoval — square with softened corners — splits the difference and is the most forgiving choice for a beginner to file evenly.
Hold your file at a slight angle, shape the corners first, then blend into the center.
File in One Direction Only
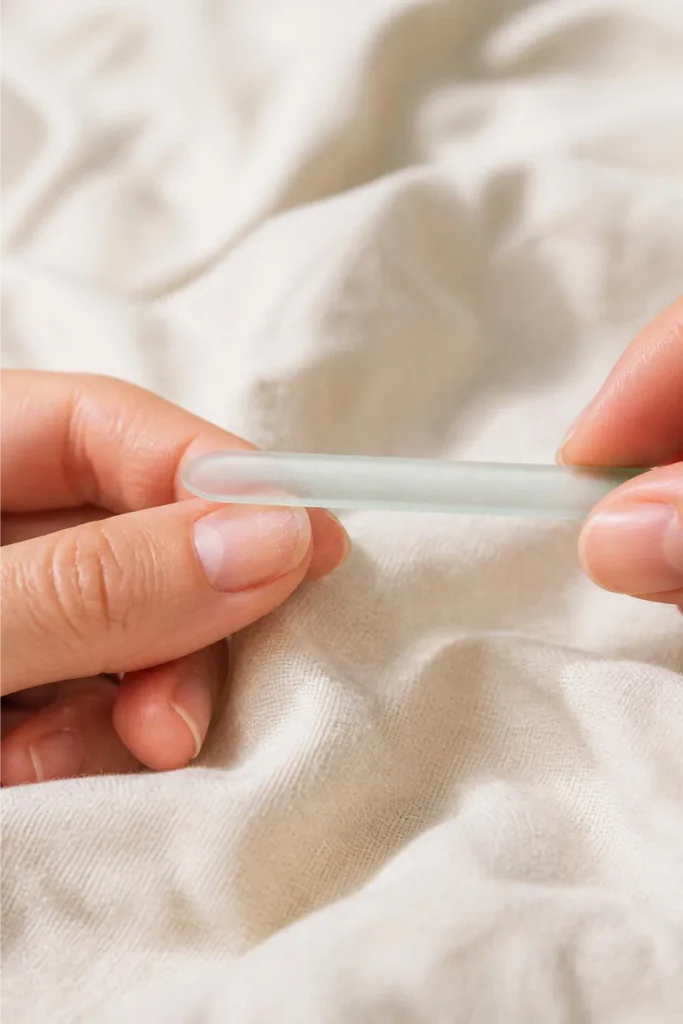
Filing back and forth feels faster but creates tiny fractures in the nail plate that show up as peeling and splitting weeks later.
Use a 180–240 grit glass or glass-style file, stroking in a single direction and lifting the file off between strokes.
No glass file? A standard emery board works too — swap it out every few months since it dulls fast. Wipe away dust with a dry cloth before moving on.
Push Back (Don’t Cut) Your Cuticles
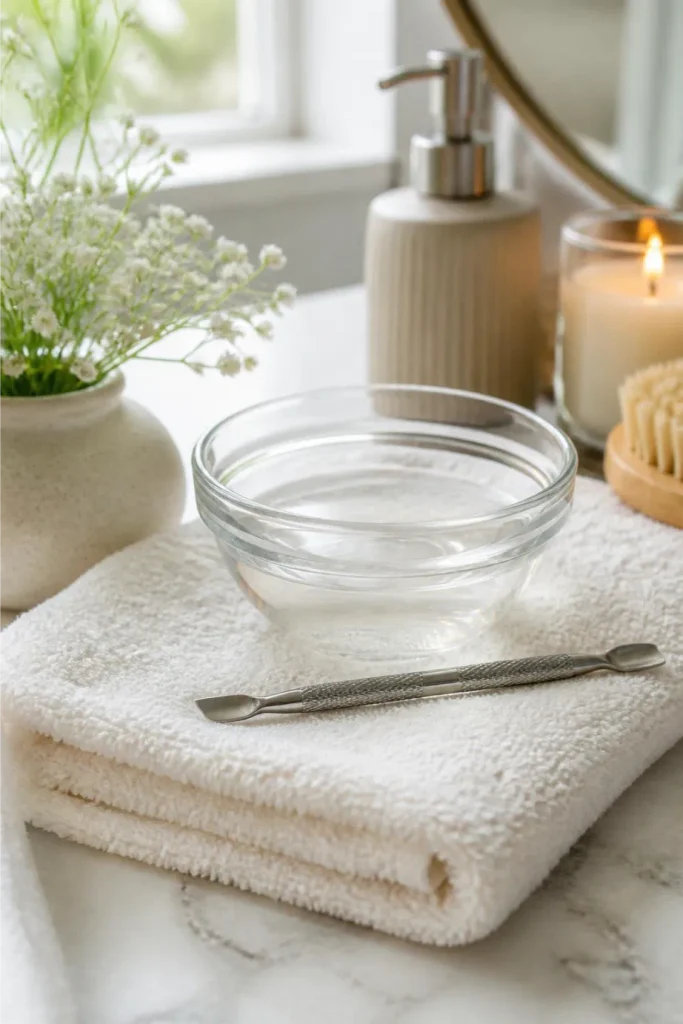
Cuticles are the thin skin sealing moisture into your nail bed, and cutting them opens the door to infection and rough regrowth — pushing them back is the safer move every time.
Soak your fingertips in warm water for 2–3 minutes to soften the skin, then use a cuticle pusher at a shallow angle, working from the base outward in small strokes.
Never dig or scrape — you’re nudging skin back, not scraping it off. No metal pusher on hand? The flat end of a wooden orange stick does the same job.
Buff the Nail Surface Lightly
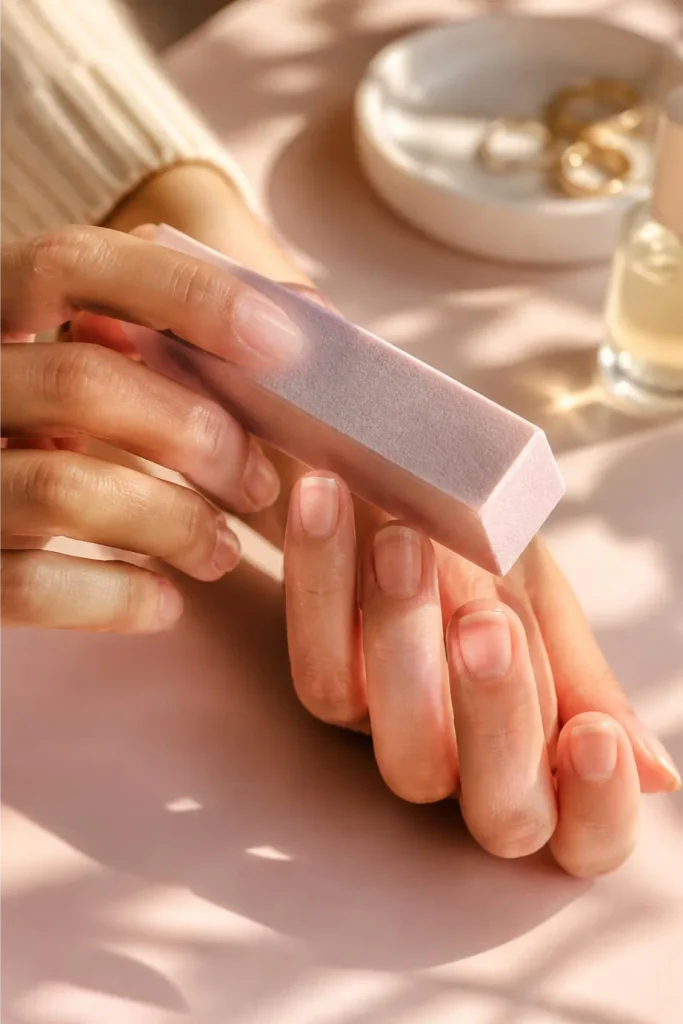
Ridges catch light unevenly and make even a perfect polish job look streaky.
Glide the finer side of a buffer block across each nail in short, light passes — three to four passes per nail is plenty.
Stop as soon as the surface feels smooth under your fingertip; going further thins the nail plate and leaves it weirdly flexible.
Apply a Strengthening Base Coat
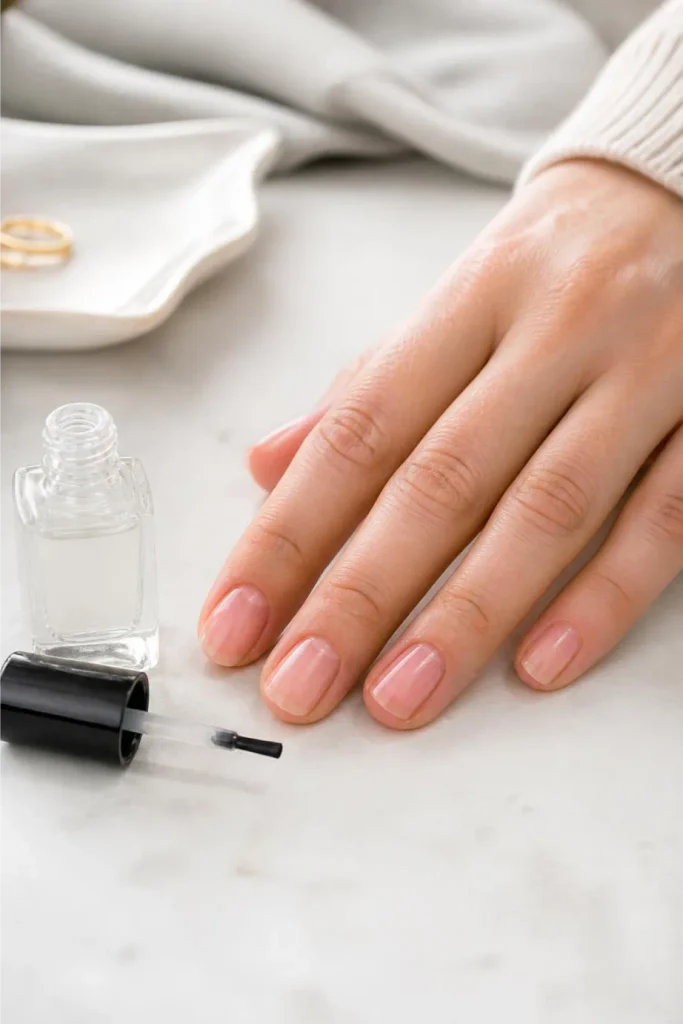
Short nails flex more when they hit things, so skipping the base coat is where a lot of chipping starts within two days instead of a full week.
Choose a ridge-filling formula if your nails aren’t perfectly smooth — it evens things out without extra buffing.
Brush one thin coat edge to edge, capping the very tip of the nail so polish can’t peel up from the front.
Add Color or a Simple Short-Nail-Friendly Design
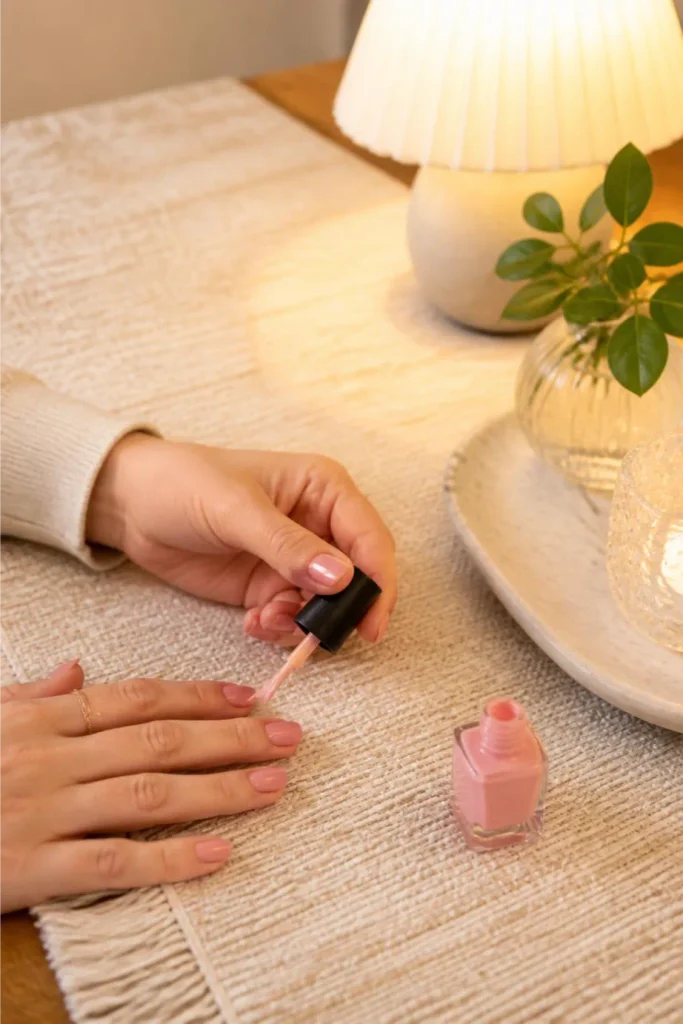
Two thin coats beat one thick coat every time — a thick coat takes forever to dry and dents the moment you touch anything.
Wait 90 seconds between coats so the first layer sets before the second goes on. For short nails specifically, lighter shades and simple one-color looks tend to read cleaner than busy designs, which can look cramped on a smaller canvas.
If you want detail, a single accent nail with a thin gold or white line near the cuticle is enough — you don’t need more than that at this length.
Seal with a Top Coat
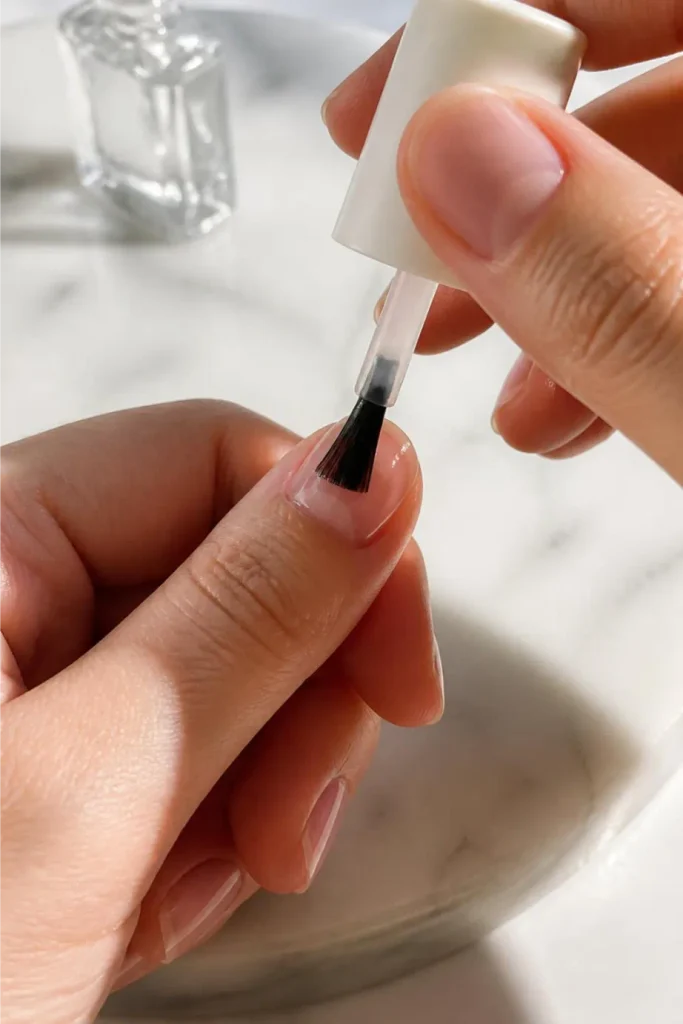
Skipping top coat is the single most common reason a manicure that took 30 minutes lasts only two days.
Brush it on the same way as the base — edge to edge, capping the tip — and let it cure for a full 5 minutes before you touch anything.
Quick-dry formulas exist, but even those need a minute of stillness or they’ll dent from the inside.
Moisturize Cuticles and Hands to Finish
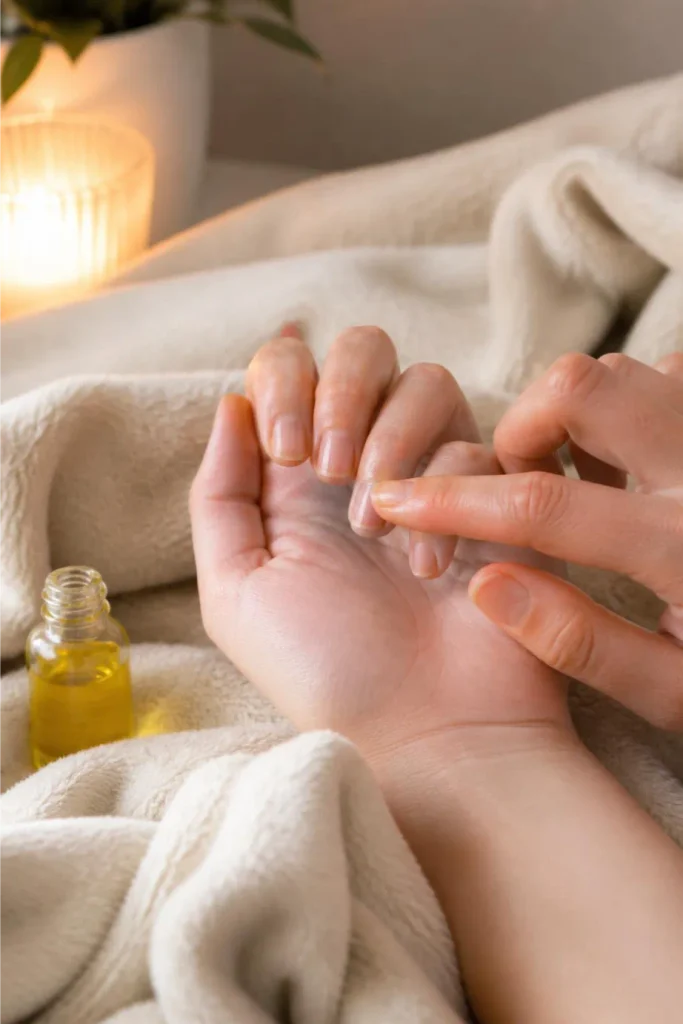
Massage a drop of cuticle oil into the skin around each nail, not on the polish itself — oil on top of fresh polish can cause it to lift at the edges. Follow with regular hand lotion everywhere else.
This step gets skipped constantly, but dry cuticles crack, and a cracked cuticle is how polish starts peeling from the side instead of the tip.
- Cutting cuticles instead of pushing them back — invites infection and rough regrowth.
- Filing back and forth — weakens the nail plate and causes peeling later.
- Skipping base or top coat to save time — cuts manicure life from a week to two days.
- Going square when nails are very short — makes fingertips look stubbier than a rounded edge does.
- Applying oil over wet polish — causes lifting at the edges within a day.
How long does a short nails manicure actually last?
With base and top coat sealing the tip, expect 5–7 days before noticeable chipping.
What’s the best shape for very short nails?
Squoval or soft round — square edges tend to make short nails look blunt.
Do I need a glass file, or does a regular one work?
A regular emery board works fine; just replace it every few months once it dulls.
Is it bad to cut my cuticles?
Yes — pushing them back is safer and lowers infection risk.
Can I skip the buffing step?
You can, but ridges will show through polish, especially in matte or light shades.
Clippers, file (180–240 grit), buffer, cuticle pusher, cuticle oil, base/color/top coat, moisturizer
- Trim to the right length
- Shape the free edge
- File in one direction
- Push back cuticles
- Buff the surface
- Apply base coat
- Add color
- Seal with top coat
- Moisturize to finish
Wrapping Up
Your nails are shaped, sealed, and finally look like a choice instead of just “what’s left after a break.” That’s the whole point of a good short nails guide — nothing here needed length to look put-together.
Give the top coat a few minutes before you go grab your phone, and check back in a week to see how well it held up.
Save this pin so you’ve got the steps ready next time you trim.


