
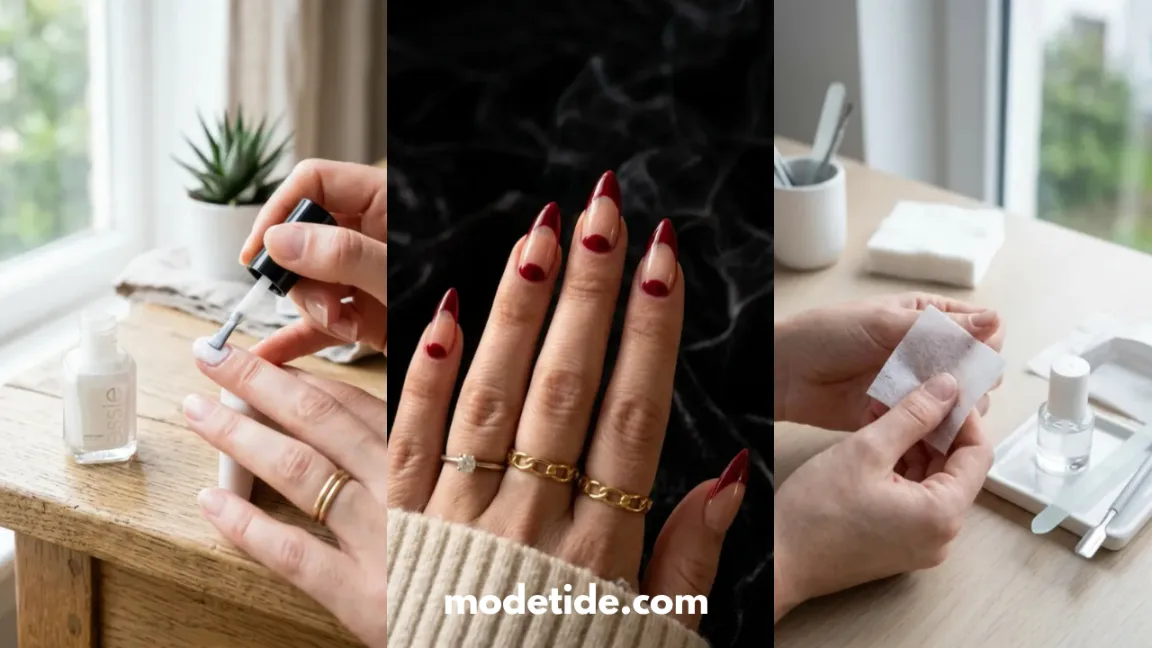
You rub the chrome powder on and instead of a smooth mirror shine, you get cloudy patches, faint fingerprint marks, or streaks running across the nail. If that has happened to you, the problem usually isn’t the powder — it’s the top coat underneath it.
Learning how to apply chrome powder without streaks comes down to one thing: giving the powder a surface it can actually grip evenly, and skipping that step is why so many first attempts turn out patchy.
This guide walks you through the process the way nail techs actually do it: a thin, properly cured no-wipe top coat, a light touch with the applicator, and small circular motions instead of long strokes.
Get those three things right and the powder does most of the work on its own.
The hands-on part takes about 15 to 20 minutes once your base color is cured, plus lamp time in between.
It’s beginner-friendly, but the first nail or two might take a little practice before your hand gets the feel for the motion.
Grab your applicator, your top coat, and your powder, and let’s get that mirror finish.
- Chrome powder (your chosen shade)
- No-wipe (tacky) gel top coat
- Silicone-tip chrome applicator
- Light gel base color (white, black, or nude)
- Fine-grit nail buffer block (180-grit)
- Cuticle pusher
- Lint-free wipes
- 99% isopropyl alcohol or gel cleanser
- LED or UV lamp
- Regular (wipe) top coat
- Clean, dry soft brush
- Small angled cleanup brush
- Wash and Dry Your Nails Before Anything Else
- Lightly Buff the Nail Surface for a Better Grip
- Apply Your Base Color and Cure It Fully
- Wipe the Nail With Alcohol Before the Top Coat
- Apply a Thin, Even Layer of No-Wipe Top Coat
- Cure the Top Coat Under Your Lamp
- Load the Applicator With a Small Amount of Chrome Powder
- Rub the Powder Onto the Nail in Small Circular Motions
- Buff Away Loose Powder With a Clean Applicator or Brush
- Seal the Chrome With a Regular Top Coat and Cure
Step 1 — Wash and Dry Your Nails
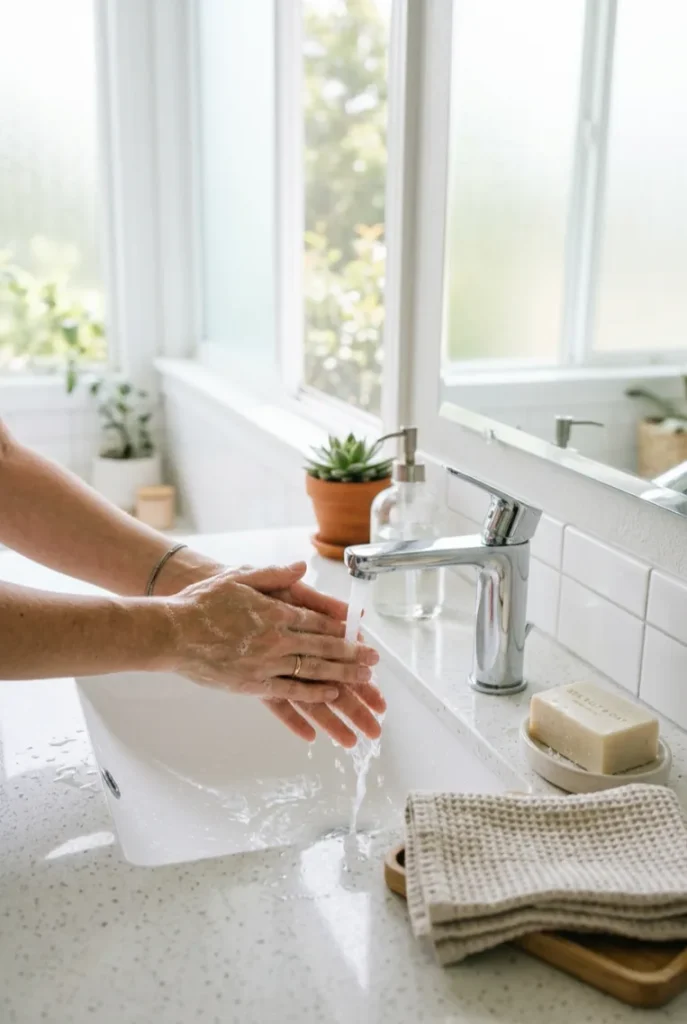
Warm water and a full minute of scrubbing removes far more oil and lotion residue than a quick rinse does, and any residue left behind will keep the base color from bonding well later.
Once your hands are dry, gently push back your cuticles with a cuticle pusher while the skin is still soft.
This step gets skipped constantly, but skin oil on the nail plate is one of the most common reasons color and top coat lift within a day or two.
Step 2 — Lightly Buff the Nail Surface
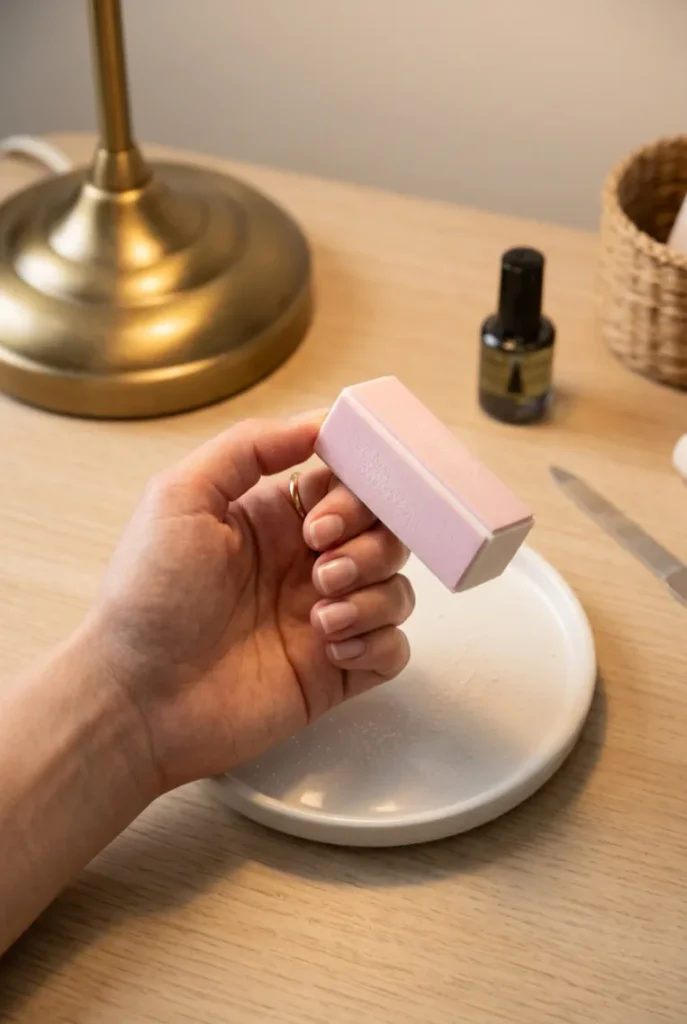
One-directional buffing knocks down the natural shine on the nail plate so gel has something to hold onto.
Use a 180-grit buffer block and go over each nail for about 10 to 15 seconds — you’re not reshaping the nail, only dulling the top layer.
Skip the cuticles and surrounding skin while you do this. Brush away the dust with a clean, dry brush before moving on, so nothing gets trapped under the color.
Step 3 — Apply Your Base Color
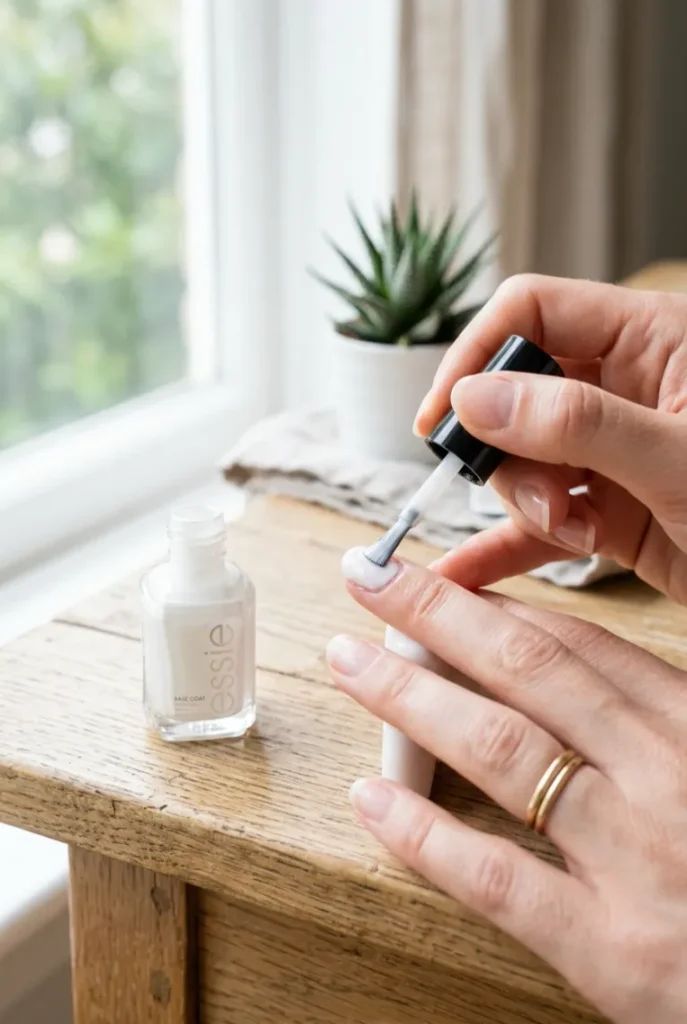
Most chrome looks work best over a light base — white, black, or a milky nude — because those shades let the true chrome color show through evenly.
Apply one thin coat, capping the free edge so the gel doesn’t shrink away from the tip while curing.
Cure under your lamp for the time listed on the bottle, typically 30 seconds under LED or 60 seconds under UV.
Check the finish in direct light: if it looks patchy or streaky at this stage, apply a second thin coat and cure again.
The chrome step won’t hide flaws in the base underneath it.
Step 4 — Wipe the Nail With Alcohol
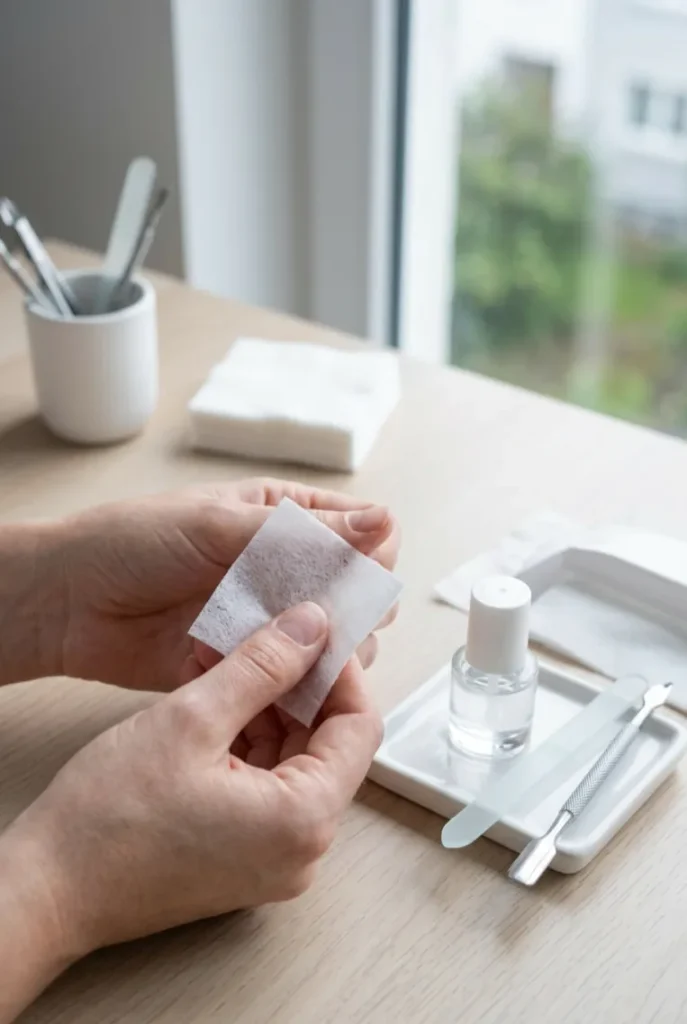
If any oil or lotion residue is still on the nail at this point, it will sit under your top coat and cause the chrome to lift in that exact spot later.
Dampen a lint-free wipe with 99% isopropyl alcohol and swipe once across each nail, cuticle to tip.
Let it air dry for a few seconds on its own — don’t blow on it, since that can push dust back onto the surface.
Step 5 — Apply a Thin Layer of No-Wipe Top Coat
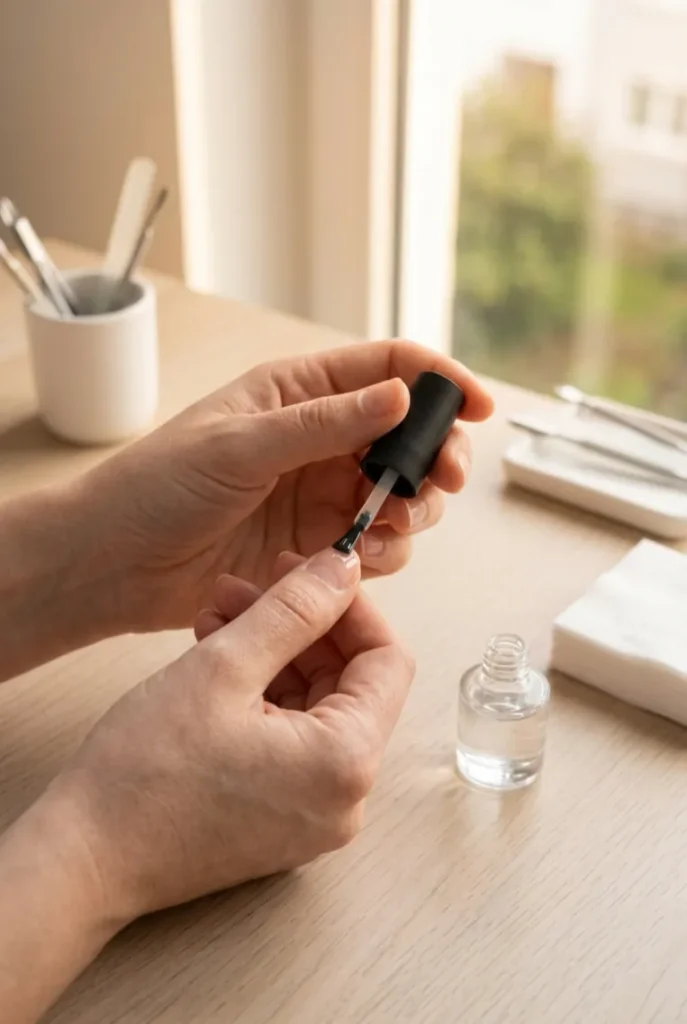
A heavy coat here is the single biggest cause of streaky chrome, more than anything you do with the powder itself.
Dip your brush, then wipe the excess off against the bottle neck until the brush looks almost dry.
Apply one thin layer from cuticle to tip in a single smooth stroke.
The finish should look glossy, not pooled in the corners or along the cuticle line — if it looks wet enough to drip, it’s too much.
Step 6 — Cure the Top Coat Under the Lamp
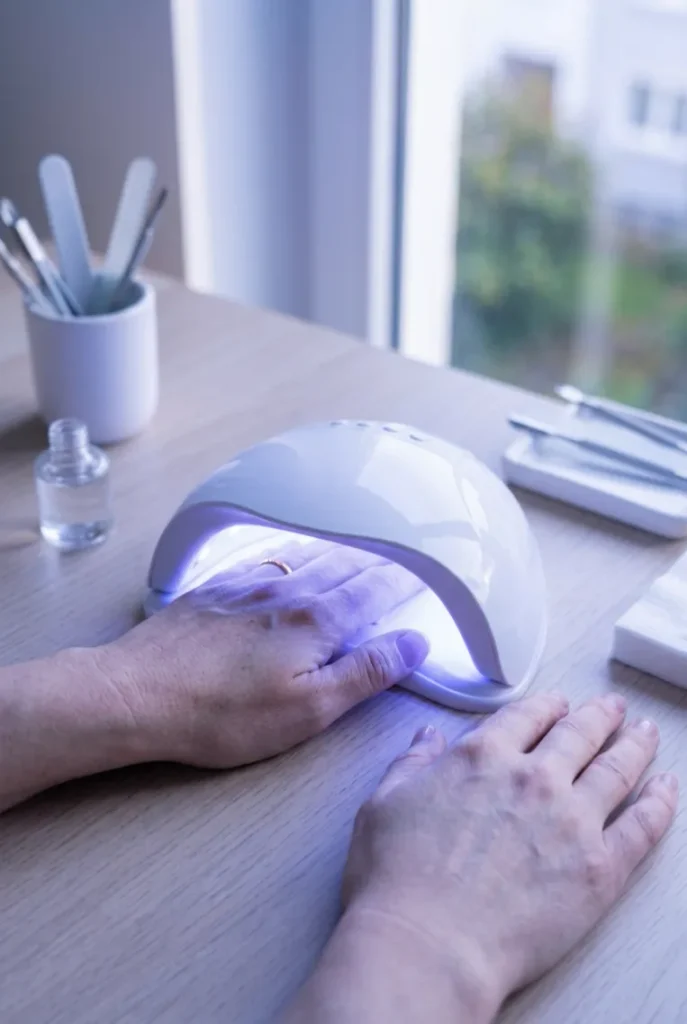
Thirty seconds under an LED lamp, or 60 seconds under UV — that’s the target, and this coat needs to stay tacky rather than cure hard.
Skip the temptation to add extra time for a “stronger” cure.
Once it’s done, touch the surface lightly with a clean fingertip away from the nail plate; it should still feel slightly sticky, not glassy.
Step 7 — Load the Applicator With Chrome Powder
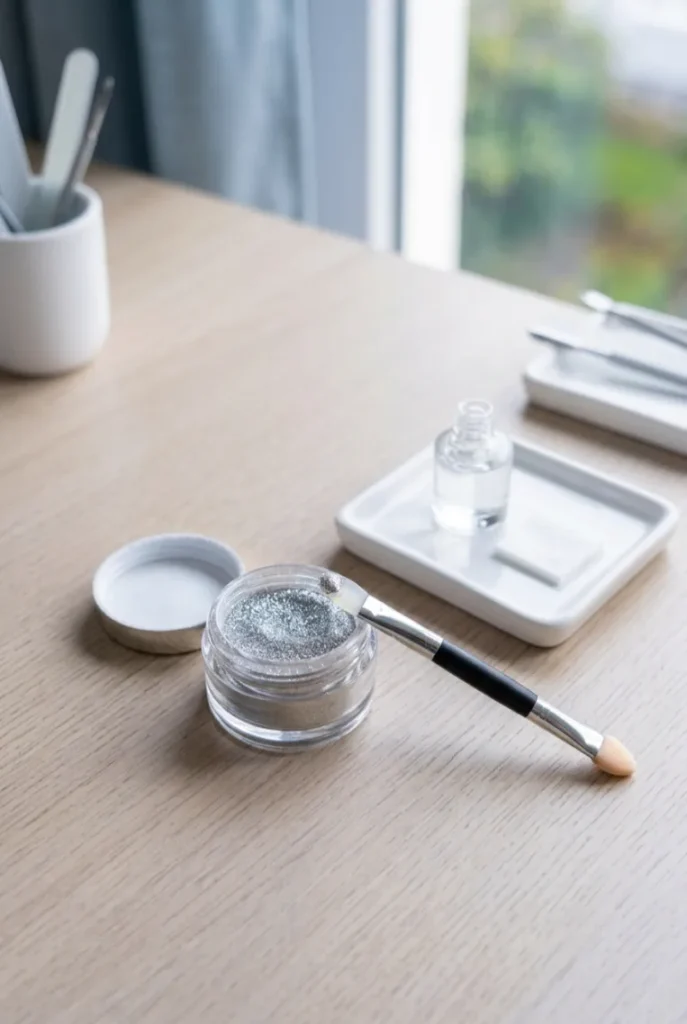
A little powder goes a long way, and overloading the applicator is where most beginners end up with smudged, uneven color instead of a clean chrome finish. Work in three quick motions:
- Dip the silicone tip lightly into the powder
- Tap off any loose excess against the container’s edge
- Check that only a faint, even dusting is visible on the tip
If the tip still looks caked after tapping, tap it once more before it touches the nail.
Step 8 — Rub the Powder Onto the Nail in Circular Motions
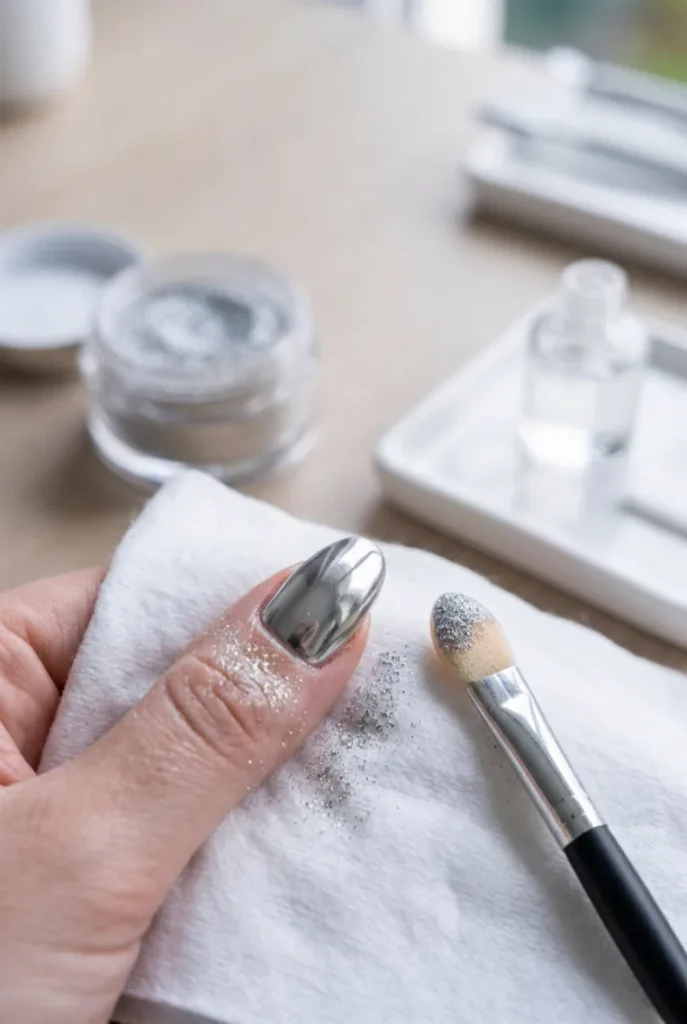
Long strokes drag the powder unevenly and leave faint lines across the surface — small, tight circles are what actually buff it into a uniform mirror shine.
Start at the center of the nail and work outward toward the edges and cuticle line, keeping light, consistent pressure the whole time.
You’ll feel the texture shift under the applicator, from slightly gritty to smooth, as the chrome bonds into the tacky top coat. That texture change is your cue the color has taken.
Step 9 — Buff Away Loose Powder
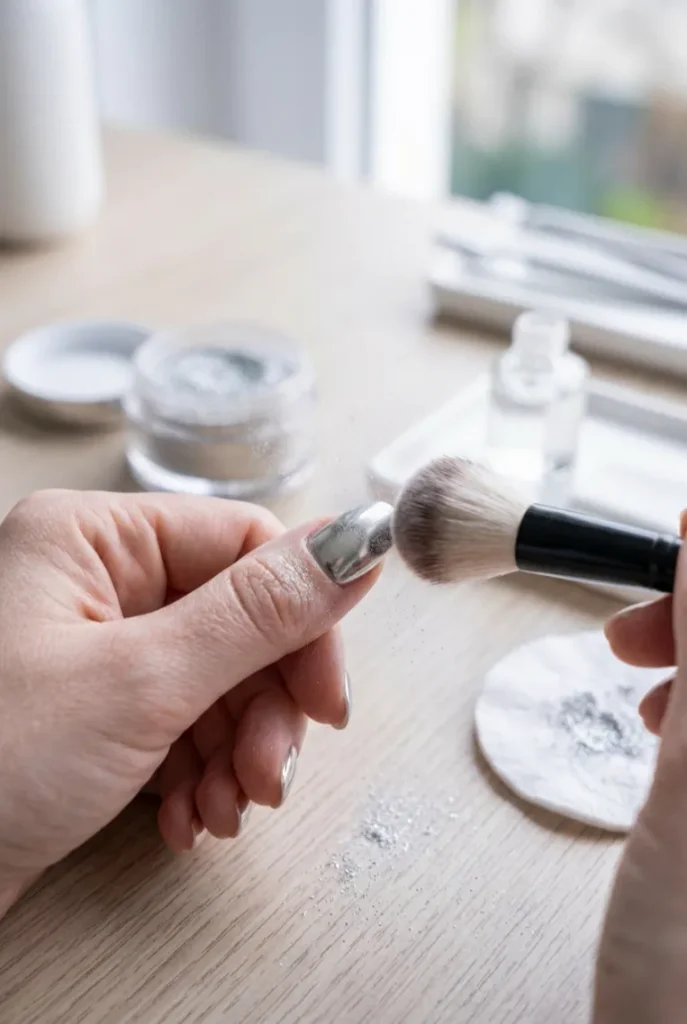
Once the whole nail looks like solid, even chrome, switch to a dry, clean applicator or a soft brush and sweep away anything still sitting loose on top. This clears stray powder that never bonded, which would otherwise dull the shine once sealed in.
Press gently here — heavy pressure can scratch the chrome layer you just built. A soft makeup brush works fine as a stand-in if you don’t have a spare nail brush.
Step 10 — Seal the Chrome With a Regular Top Coat
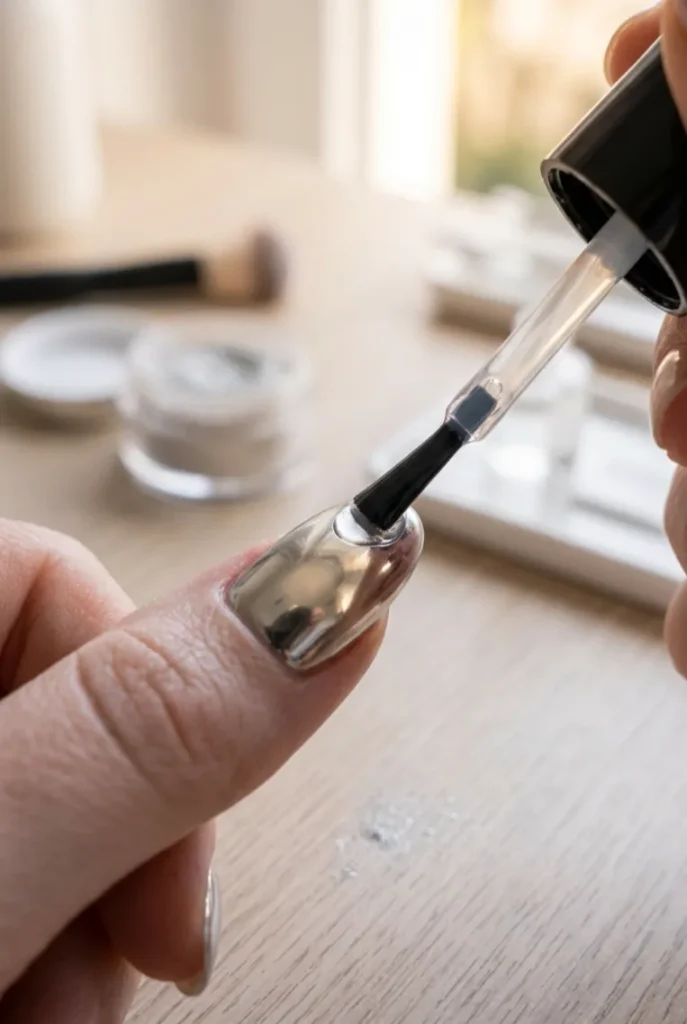
Chrome finish on its own scratches easily and picks up fingerprints the moment you touch anything.
Apply one thin layer of a regular (wipe) gel top coat directly over the chrome, capping the free edge as before.
Cure for 30 seconds under LED or 60 seconds under UV. Once it’s out of the lamp, wipe away the sticky residue with alcohol and a lint-free wipe — the full mirror shine shows up right at this point.
- Wash and dry nails
- Buff surface lightly (180-grit, 10-15 sec)
- Apply base color, cure fully
- Wipe with alcohol
- Apply thin no-wipe top coat
- Cure 30 sec LED / 60 sec UV
- Load applicator lightly with powder
- Rub in small circles, center outward
- Buff away loose powder
- Seal with regular top coat, cure
That mirror shine you kept seeing on other people’s nails? That’s just a thin, tacky top coat and a light hand with the applicator — nothing more complicated than that. Once you’ve done one nail the right way, the rest go faster because your hand already knows the motion.
Next time, try layering two chrome shades side by side on one nail for a color-shift effect, or use the same base technique with a holographic powder instead.
Save this guide to your nail art board so it’s ready the next time you sit down to apply chrome powder.


