
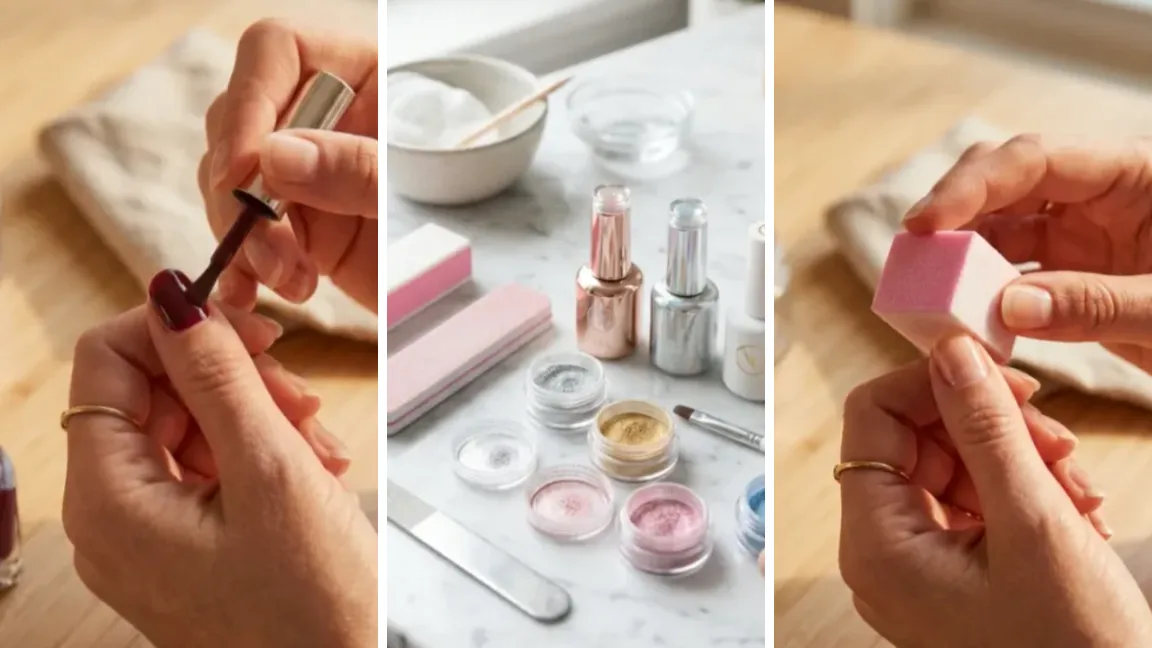
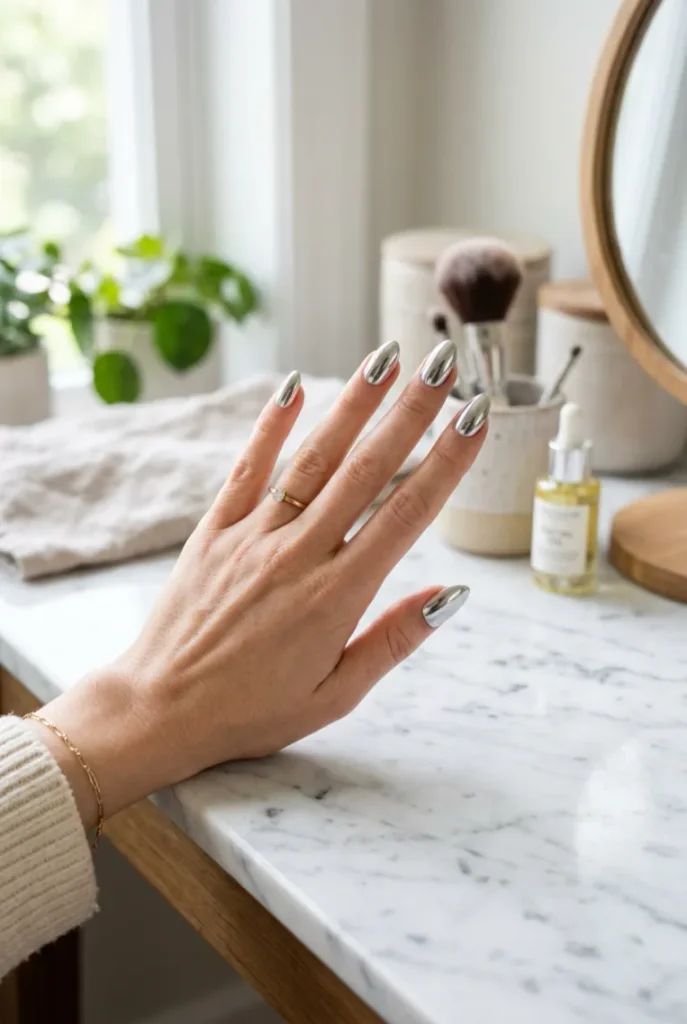
If you’ve been staring at mirror-shine chrome nails on Pinterest wondering whether you could actually pull that look off at home, the answer is yes — and this guide walks you through the entire process, start to finish, with nothing skipped.
Chrome nails look intimidating because the finish is so flawless, but the technique itself is forgiving once you know the one small mistake that causes almost every streaky, patchy result. We’ll get to that.
For now, know this: with the right supplies and about 45 minutes, you can go from bare nails to a full mirror-chrome manicure without ever stepping into a salon.
- Nail file (180/240 grit)
- Buffer block
- Cuticle pusher
- Cuticle oil
- Rubbing alcohol + lint-free wipes
- Gel base coat
- Gel polish (dark or nude)
- Chrome powder
- Silicone or sponge applicator
- Gel top coat + UV/LED lamp
- Gather your chrome nail supplies
- Prep and shape your natural nails
- Push back and trim your cuticles
- Apply a base coat
- Paint a gel base color
- Cure the base color
- Apply the chrome powder
- Buff away the excess powder
- Seal with a top coat
- Cure the top coat
1. Gather Your Chrome Nail Supplies
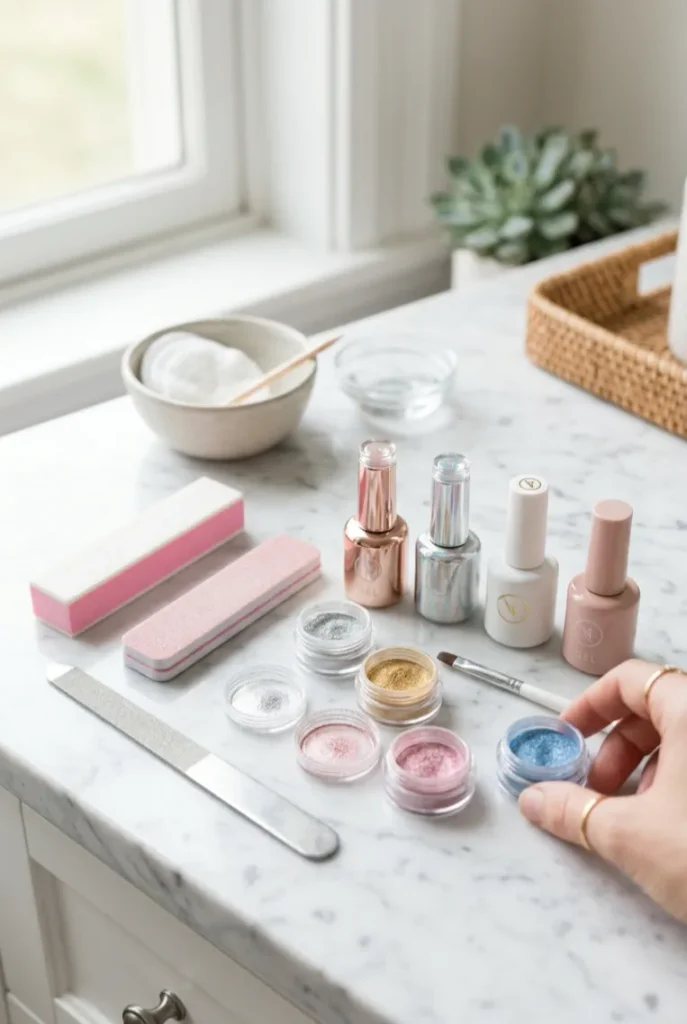
Lay everything out before you start — chrome powder shows every speck of dust or lint, so working from a clean, clear surface actually changes your final result.
Wipe your table down with a lint-free cloth first. Don’t have a proper silicone applicator?
A clean makeup sponge or even a cotton swab works for pressing powder on, just less precisely.
2. Prep and Shape Your Natural Nails
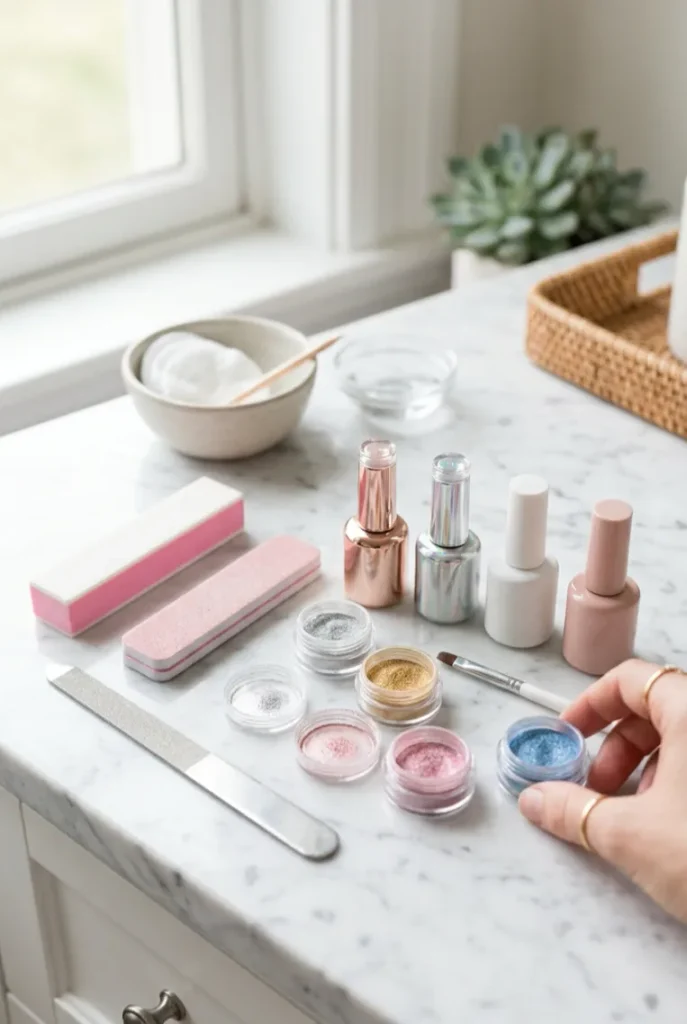
File each nail into your chosen shape, then run the buffer block lightly across the top of the nail plate until the natural shine disappears.
This step matters more than it looks: chrome finishes only stick well to a slightly roughed-up surface, and skipping it is the number one reason gel lifts within a week. Wipe away all dust with rubbing alcohol before moving on.
3. Push Back and Trim Your Cuticles
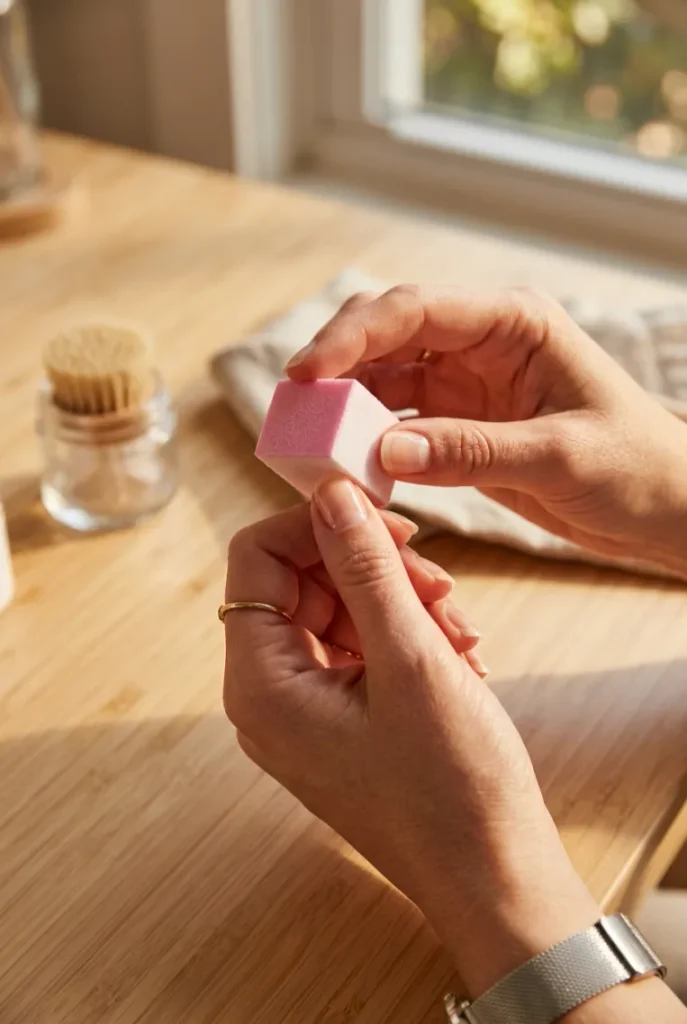
Soften cuticles first if they’re dry, then push them back gently with a cuticle pusher — never cut into the skin itself unless you’re trained to.
Chrome polish reflects light so precisely that even a small ridge of leftover cuticle will show as a visible line once the powder goes on.
Finish with a drop of cuticle oil around the nail edge to protect the skin for the rest of the process.
4. Apply a Base Coat
Dip your brush and wipe off the excess so it’s almost dry before touching the nail — a base coat that’s too thick pools at the cuticle line and never fully cures.
Paint one thin layer, covering the entire nail plate including the free edge (the white tip).
This layer is what protects your natural nail from staining and gives the gel color something to grip onto.
5. Paint a Gel Base Color
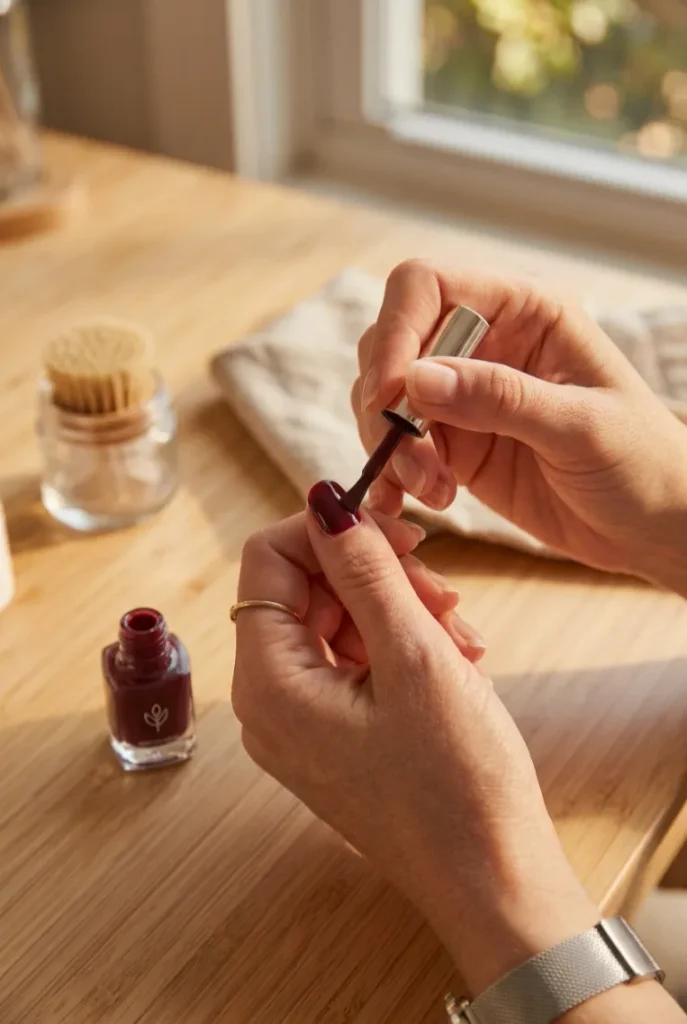
Now apply your gel base color — a dark shade like black, burgundy, or navy makes chrome powder look more mirror-like, while nude tones give a softer, “glazed” effect.
Two thin coats beat one thick coat every time; thick gel drags under the brush and cures unevenly.
Cap the free edge with each coat by sealing the very tip of the nail, which stops the color from peeling off at the edges within days.
Cure the Base Color
Cure each coat under a UV/LED lamp for 30–60 seconds, checking your lamp’s instructions since wattage varies by brand.
Properly cured gel looks matte-glossy and feels firm, not tacky, when you gently press a gloved finger to it.
If it’s still sticky after curing, that tackiness is actually normal for most gels and is exactly what the chrome powder needs to grip onto — don’t wipe it away yet.
6. Apply the Chrome Powder
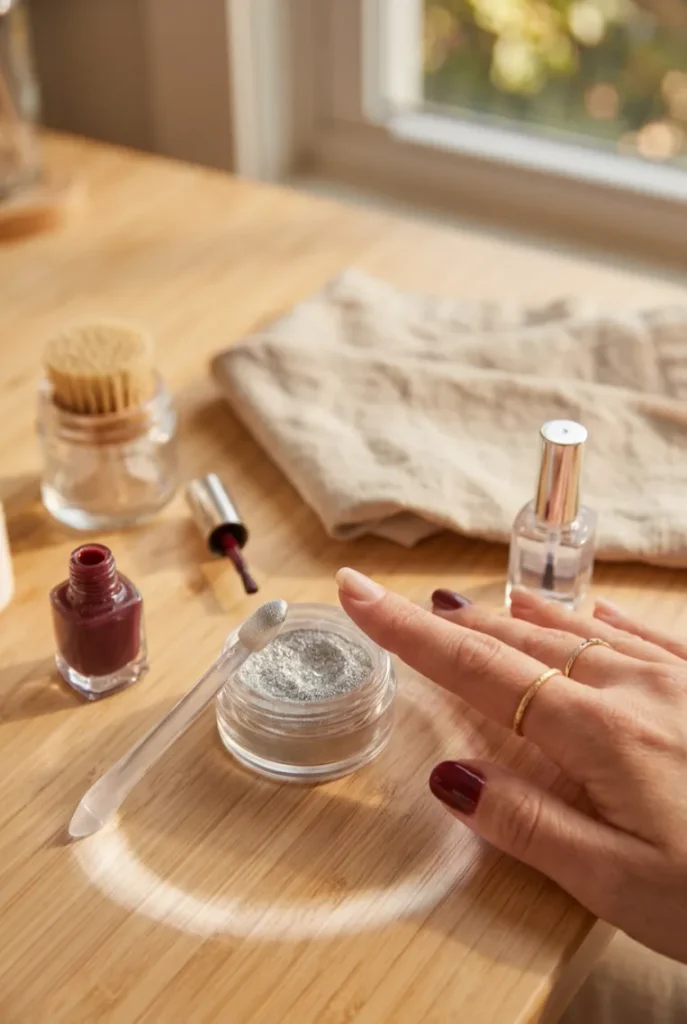
Wondering why some chrome manicures come out cloudy instead of mirror-bright? It almost always comes down to timing.
Right after curing your base color, wipe the nail with a lint-free cloth (no alcohol — alcohol removes the tacky layer chrome needs) and immediately press the powder on using your silicone applicator, rubbing in small circular motions for 10–15 seconds per nail.
The powder only bonds to that slightly sticky top layer, so working slowly and letting the gel sit too long before applying it is the single biggest cause of a dull, patchy finish.
7. Buff Away the Excess Powder
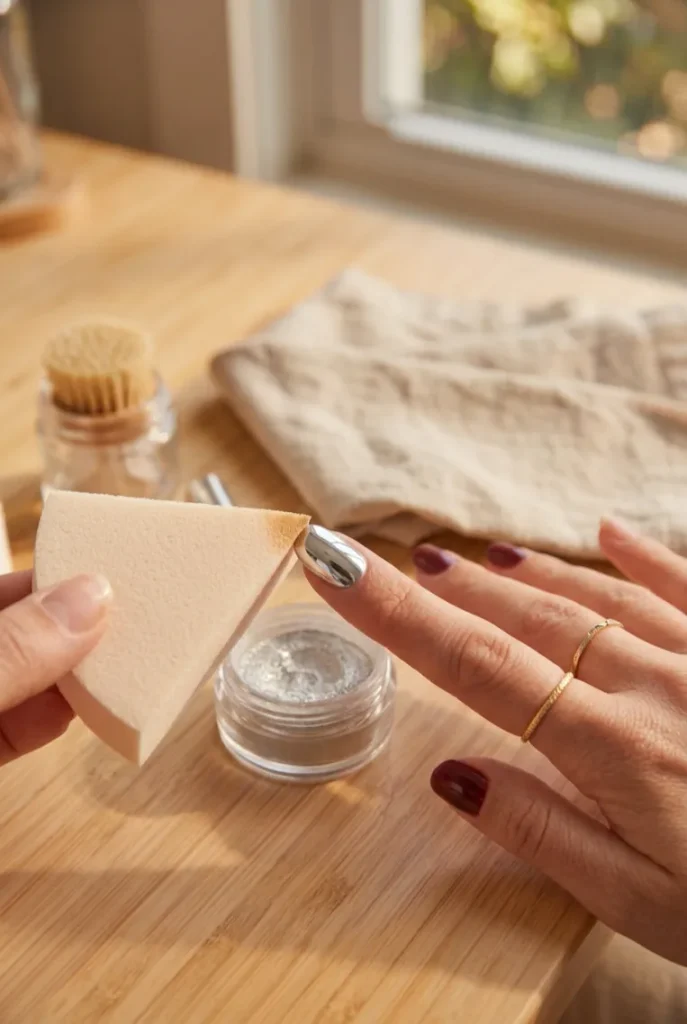
A soft makeup sponge or the fluffy side of your applicator sweeps away the loose powder sitting on top, revealing the mirror shine underneath.
Buff gently in one direction rather than scrubbing back and forth — scrubbing can dull the finish you just created instead of cleaning it up. Some powder settling into the cuticle line is normal at this stage; the top coat step will lock everything in place, not remove it.
Seal Everything With a Top Coat
Brush on a thin, even layer of gel top coat, capping the free edge just like you did with the base color.
This is the step that actually protects your chrome finish long-term — skip it or apply it too thin, and the powder rubs off onto clothes and surfaces within days no matter how well you applied it.
Cure the Top Coat
Cure for 30–60 seconds under your lamp, same as before, then check for a tacky residue on the surface.
Most gel top coats leave a thin sticky layer after curing — this is normal, not a mistake, and wiping it off with alcohol on a lint-free pad is the very last thing standing between you and finished chrome nails.
| If This Happens | Try This |
|---|---|
| Chrome looks cloudy or patchy instead of mirror-bright | Your base coat likely sat too long before powder went on — buff it off and redo the base color, applying powder within a minute of curing |
| Powder only stuck in some spots | Check for missed or uneven tackiness on the base — re-cure the bare spots for 10 seconds, then reapply powder just there |
| Fine streaks or brush marks show through the chrome | These usually come from the top coat, not the powder — next time apply top coat in a single stroke per section instead of going back over it |
| Chrome starts rubbing off within a few days | Your top coat layer was likely too thin or didn’t cap the free edge — reseal with a proper capping stroke and full cure time |
| Powder gets everywhere and won’t stop shedding | Some fallout is normal during application — work over a paper towel and don’t touch the nail again until the top coat is fully cured |
Do I need acrylic nails for chrome to work?
No — chrome powder bonds to any properly cured gel surface, whether that’s over your natural nail, a gel overlay, or acrylic. Natural nails work fine as long as the base is buffed and cured correctly.
Can I use chrome powder over regular nail polish instead of gel?
Not successfully. Regular polish air-dries hard with no tacky layer, so the powder has nothing to grip onto and will mostly wipe away.
How long do chrome nails actually last?
With a properly capped top coat, expect 2–3 weeks before you see noticeable chipping or lifting at the edges, similar to a standard gel manicure.
Why does my chrome look silver even though I used a colored powder?
Colored chrome powders need a dark base coat underneath to show their full color — over a light or nude base, most chrome powders read as silver or pale.
What You Need:
File, buffer, cuticle pusher, cuticle oil, alcohol wipes, gel base coat, gel color, chrome powder, applicator, gel top coat, UV/LED lamp
Steps:
- Gather supplies
- Prep and shape nails
- Push back cuticles
- Apply base coat
- Paint gel base color
- Cure base color
- Apply chrome powder within 1 min of curing
- Buff away excess powder
- Seal with top coat, capping the edge
- Cure top coat, wipe away tackiness
Wrapping Up
That mirror-shine finish you’ve been eyeing on Pinterest is genuinely doable on your first try — the whole difference between a streaky attempt and a flawless one comes down to timing your powder right after curing, not skill. Your nails are sealed, protected, and ready to catch the light for the next 2–3 weeks. If a spot looks a little uneven, a light buff and a fresh coat of top coat fixes almost anything at this stage. Save this guide now so you’ve got the full chrome nails for beginners process on hand next time you’re ready to redo them.
Stage 6 — প্রতিটা মেজর সেকশনের জন্য ইমেজ প্রম্পট (ভিজ্যুয়াল জটিলতা অনুযায়ী টেমপ্লেট বেছে নেওয়া হয়েছে):
8. Finished Result — Specific Action Template
(simple, common — final close-up)
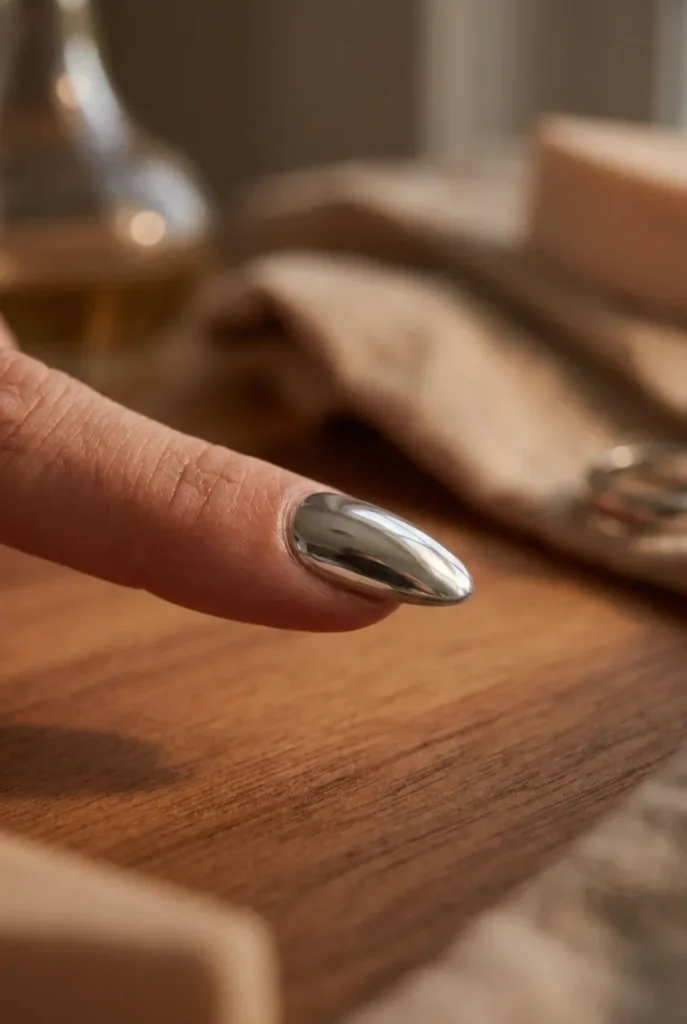
“A vertical 2:3 Pinterest-style photo of an extreme close-up of one finished chrome nail catching soft reflected light, side profile angle, gentle evening lamp lighting, luxurious mood. The mirror-like chrome surface is the clear focal point. Realistic, bright, clean, high detail. Style: bright, realistic lifestyle photography. No text in the image.”


