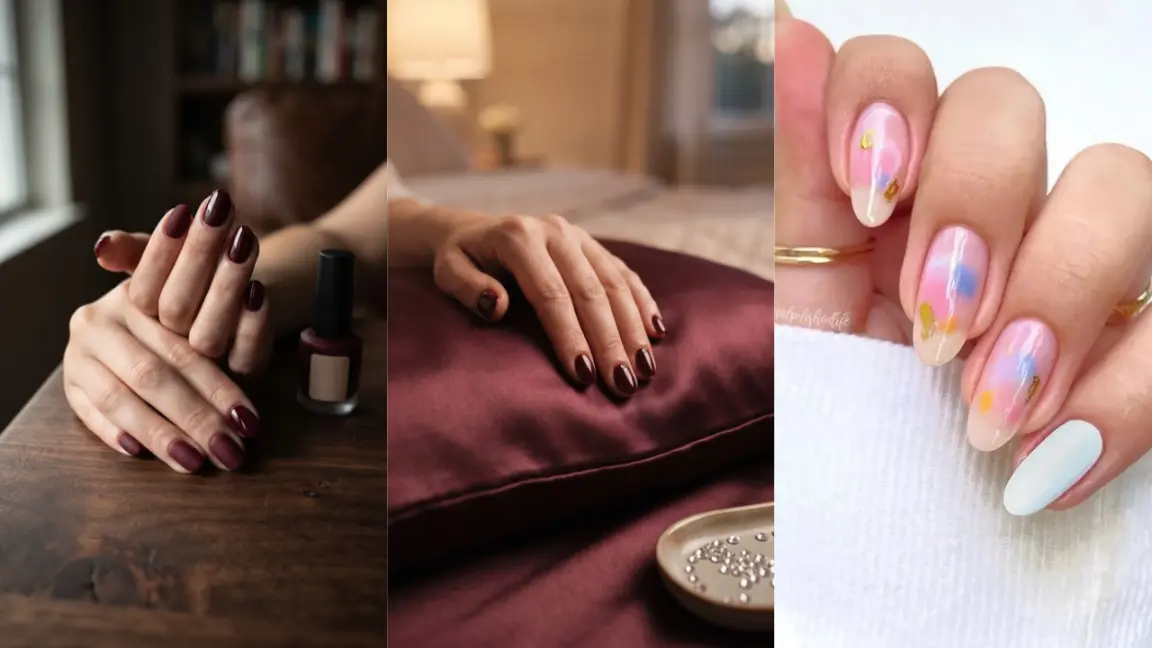
Nail art doesn’t need a steady hand or years of practice to look intentional. These 20 simple nail art designs use everyday tools like sponges, tape, toothpicks, and a single thin brush stroke, nothing that requires a salon visit or a set of specialty tools.
Some take one color, others two, and every one of them fits into a single afternoon.
1. Five-Finger Skittle Manicure in Sunset-to-Cool Tones
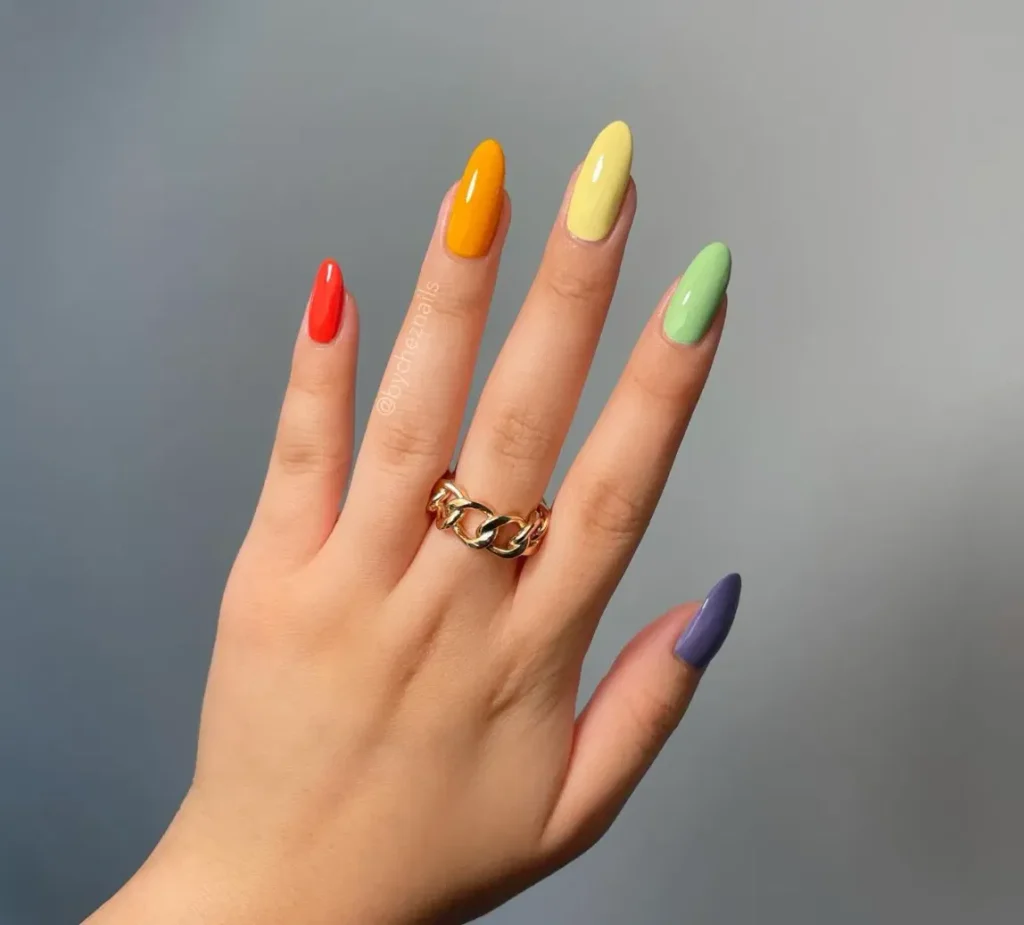
One polish color per nail turns a five-minute manicure into a mini color palette, no brushes for detail work, no dotting tools, nothing that needs a steady artist’s hand.
Almond shaped nails at a medium-long length carry the color best here, since the wider tip gives each shade room to show.
The colors move from warm to cool across the hand instead of clashing randomly, coral red into marigold orange, then a soft butter yellow, a pale sage green, and a dusty lavender on the last nail.
That gradual shift is what keeps five different colors from looking messy.
Recreate this look
Paint one color across all ten fingers before moving to the next shade. It keeps the coats even and stops one nail from drying darker than the rest.
2. One Coat Duochrome Polish That Looks Hand-Painted

Sometimes the simplest option is skipping the art altogether.
This short square set uses a single multichrome polish, gold-green in direct light, shifting to a soft pink-red the moment the hand tilts.
Fine holographic glitter suspended in the formula catches light from every angle, so the nail never looks flat even without a single design on it.
💡 Quick Tip
Duochrome and multichrome polishes do all the visual work on their own, so keep the nail shape short and simple and let the color shift be the entire look.
One bottle, one coat count that matters more than steady hands, and a finish that photographs differently every time you move.
3. Abstract Color Blocking With Negative Space
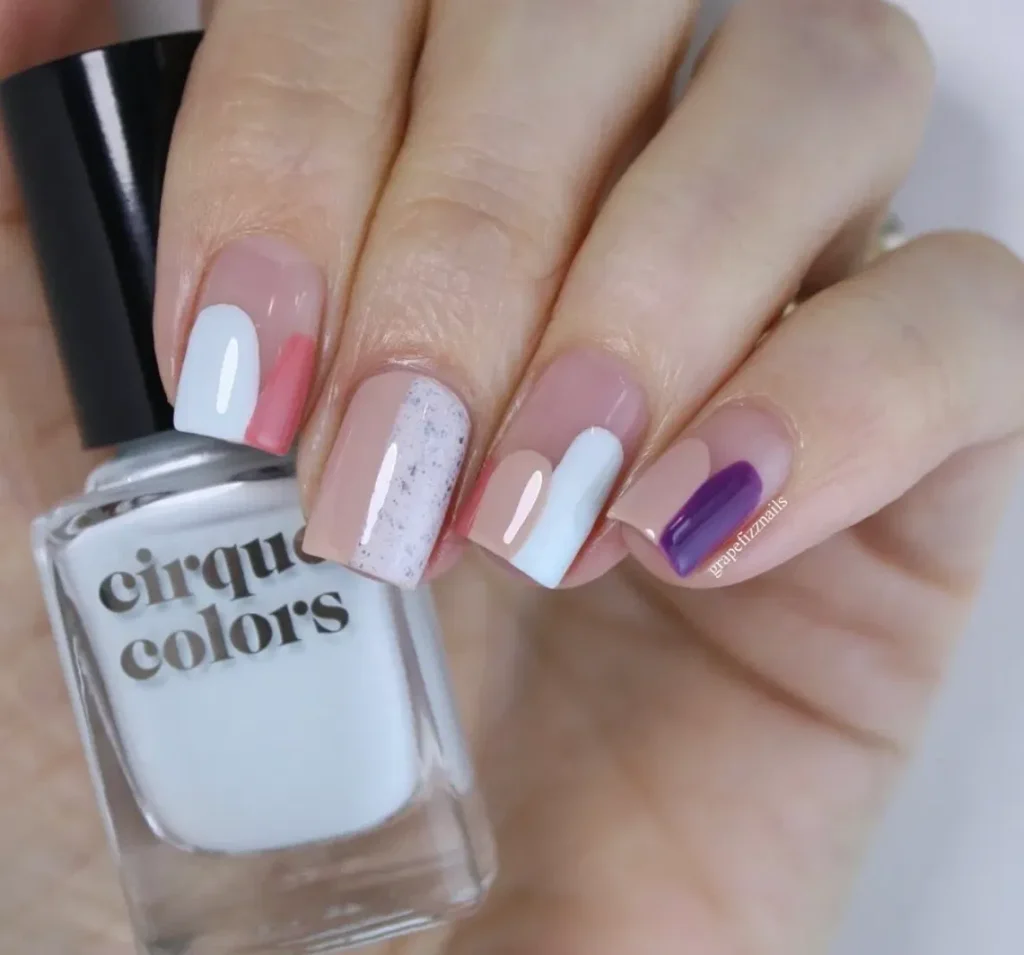
Square nails don’t need matching colors to look put together. Every nail in this set carries a different mix of nude, white, coral, sky blue, and deep purple, yet the whole hand still reads as one cohesive set because bare nail shows through as its own neutral color between each block.
The trick is restraint. Two colors per nail, three at most, painted in loose organic shapes rather than sharp geometric lines.
One nail swaps color entirely for a fine black speckle texture over a plain base, adding texture without adding another shade to track.
Leave one nail plain if the rest of the set starts to feel busy. It gives the eye somewhere to rest.
4. One Doodle Icon Per Nail on a Black Base

Black polish turns into a tiny canvas the moment a single white icon lands on top.
Short round nails here each carry one hand-drawn shape, a lightning bolt, a star, a smiley face, a heart, a small geometric triangle-and-line symbol, no two the same, no shading or blending required.
The whole set works because every icon stays small and centered, leaving plenty of black space around it.
That empty space is doing half the work, it keeps five different symbols from turning into visual clutter.
Paint two coats of black and let it dry fully before any detail work.
Dip a thin detail brush in white polish and draw one small shape near the center of the nail.
Seal with topcoat once the design is fully dry to keep the white lines crisp.
Pick a shape you can draw with two or three brush strokes. Anything more and it stops being simple.
5. Wavy Two-Tone French Tips in Shades of Pink
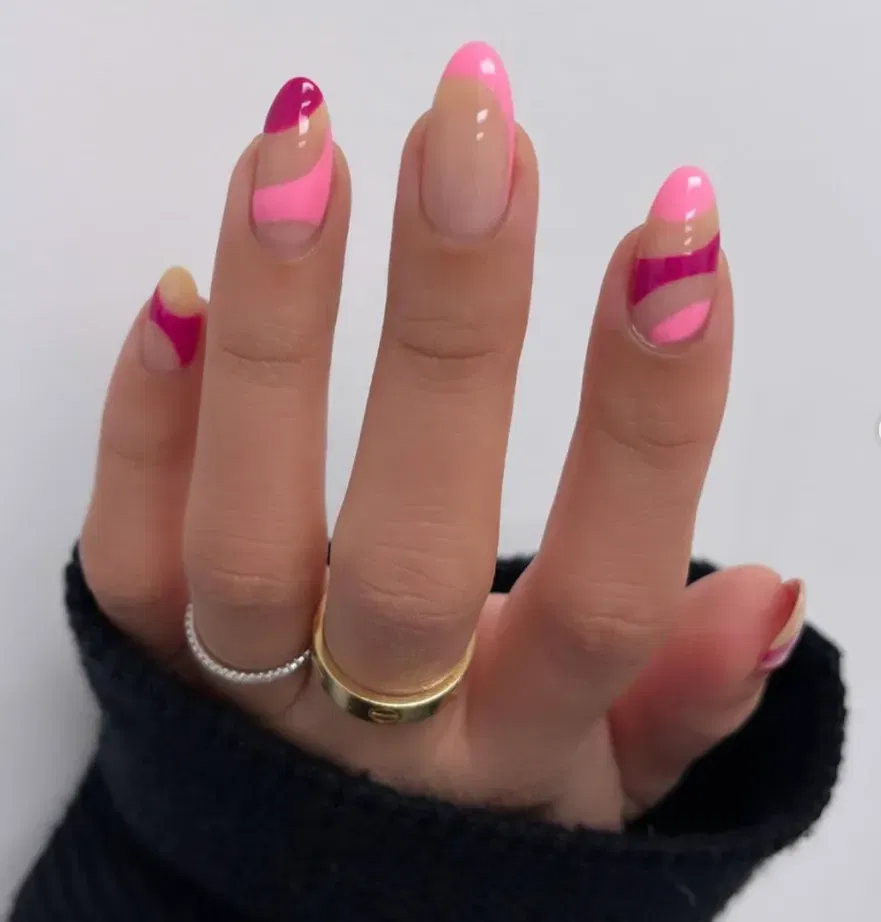
Two shades of pink, hot pink and a deeper magenta, swap places across this set instead of sticking to one rule.
Some nails get a wavy asymmetric tip in both colors, one nail keeps a plain classic French line, and the thumb goes bare with just a thin painted edge.
Nothing here needs a stencil, just a steady hand and a thin brush pulling curved lines instead of straight ones.
Load the brush once and pull the whole curve in a single stroke. Going back over a wet line is what makes edges look shaky.
6. Sheer Glazed Finish With Scattered Holographic Flecks

Skip the opaque polish altogether and this is what’s left over: natural nail color glowing through a barely-there glaze, dotted with fine holographic flecks that catch every angle of light.
Short round nails suit this well, the sheer base draws attention to shape instead of length or color.
Sunlight is doing a lot of the styling work in a photo like this. Indoors, the same manicure settles into a softer milky shimmer, still pretty, just quieter.
One thin glaze plus scattered glitter flecks reads as finished nails, no lines to keep straight and no colors to match.
No topcoat rush needed either, since there’s no crisp edge to protect from smudging.
7. Blurred Watercolor Dots With Gold Foil Flecks

@nailpolishedlife
Soft blurred dots of pink, sky blue, and marigold sit scattered across a sheer blush base, blended at the edges so nothing has a hard outline.
Tiny flecks of gold foil land wherever they land, no pattern to follow, no symmetry required.
One nail skips the color altogether and goes solid pale blue, giving the eye a plain spot to land on before it drifts back to the busier nails.
The blur is the whole technique here. A slightly damp makeup sponge dabbing color onto tacky, not fully dry, base polish does the blending for you.
Dab dots on while the base coat is still tacky.
Keep colors small and spaced apart.
Waiting until the base coat is bone dry.
Loading the sponge with too much polish at once.
A little gold foil goes a long way, a few flecks always read as more than a dozen.
8. Hand Painted Sunflowers on a Milky Nude Base

Sunflowers show up small on this set, one or two per nail, never crowding the whole surface.
A sheer milky-nude base lets the yellow petals and rust-brown centers stand out without competing with anything else on the nail.
Square-ish tips keep the flat surface wide enough for the detail to actually read.
- ▸Paint the petals first in a loose ring, gaps between them are fine.
- ▸Add the brown center last, slightly off-center for a hand-drawn look.
- ▸Skip flowers on one or two nails to keep the set from feeling too busy.
A wobbly petal or two only makes it look more like a real flower and less like a sticker.
9. Continuous Line Abstract Faces on Nude Nails
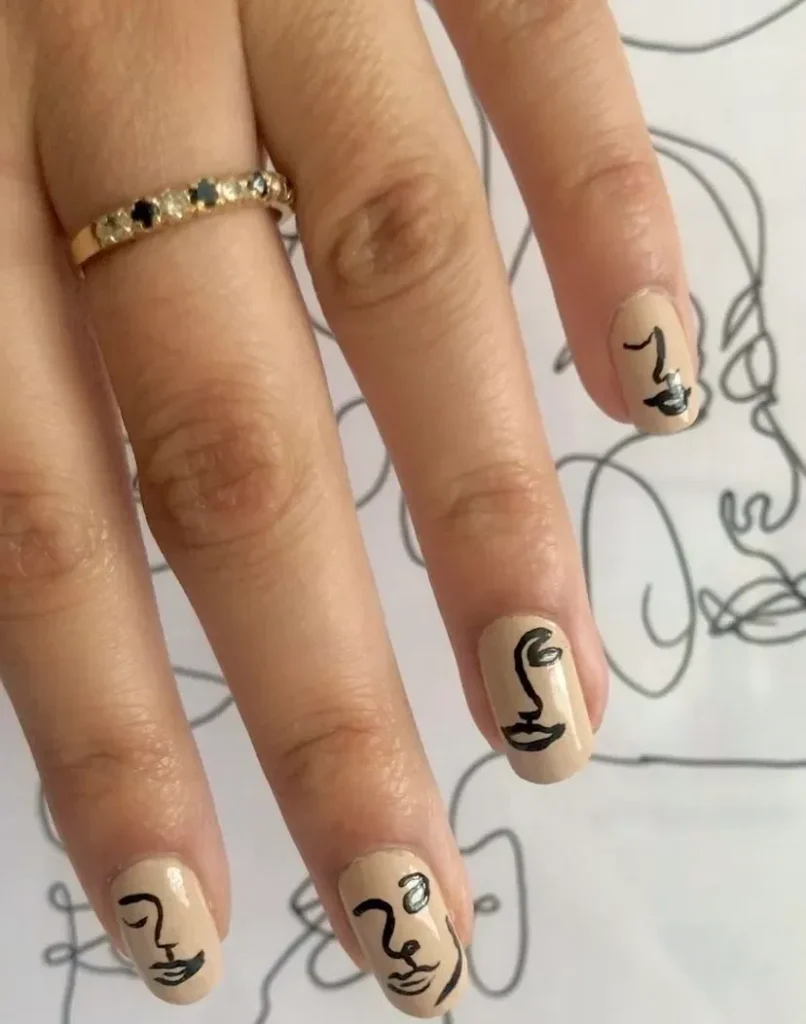
Abstract faces drawn in one flowing black line turn a plain nude manicure into wearable line art.
Square nails carry a different face on each finger, some looking down, some in profile, none matching, all sketched with a thin detail brush and steady, unbroken strokes instead of careful shading or color fill.
| Sketch on Paper First | Freehand Straight on the Nail |
|---|---|
| Safer for a first try, no polish to remove if it goes wrong. | Faster once the shape feels familiar. |
| Lets you settle on one continuous path before committing. | Lines often look looser and more natural. |
A slightly wobbly line only adds to the hand-drawn charm, this style was never meant to look printed.
10. Thick Straight Line Neon Tips on a Bare Nude Base

Skip the thin classic French line and paint the tip thicker, almost half the nail, in one flat neon yellow-green.
No curve, no smile line, just a straight cut across a sheer nude base on long almond nails.
The color does all the talking here since the shape stays basic and the base stays bare.
Bare, sheer nude nail with no color at all.
One bold neon tip, painted straight across, no shaping needed.
Use painter’s tape or a small piece of tape as a straight edge if a freehand line feels risky. Pull it off before the polish fully sets.
11. Racing Stripe Accent Nail With a Single Metallic Line

A whole design can sit in one line.
Paint a solid base coat in any color, then drag a thin metallic gold or silver stripe straight down the center of one or two accent nails, cuticle to tip. Every other nail stays plain, so the stripe reads as an intentional detail instead of a slip.
💡 Quick Tip
Use a striping brush or the thin end of a bobby pin dipped in polish, and pull the whole line down in one steady motion instead of several short strokes.
Two thin coats keep the stripe opaque without dragging color into the base underneath.
12. Confetti Dot Clusters in Mixed Colors
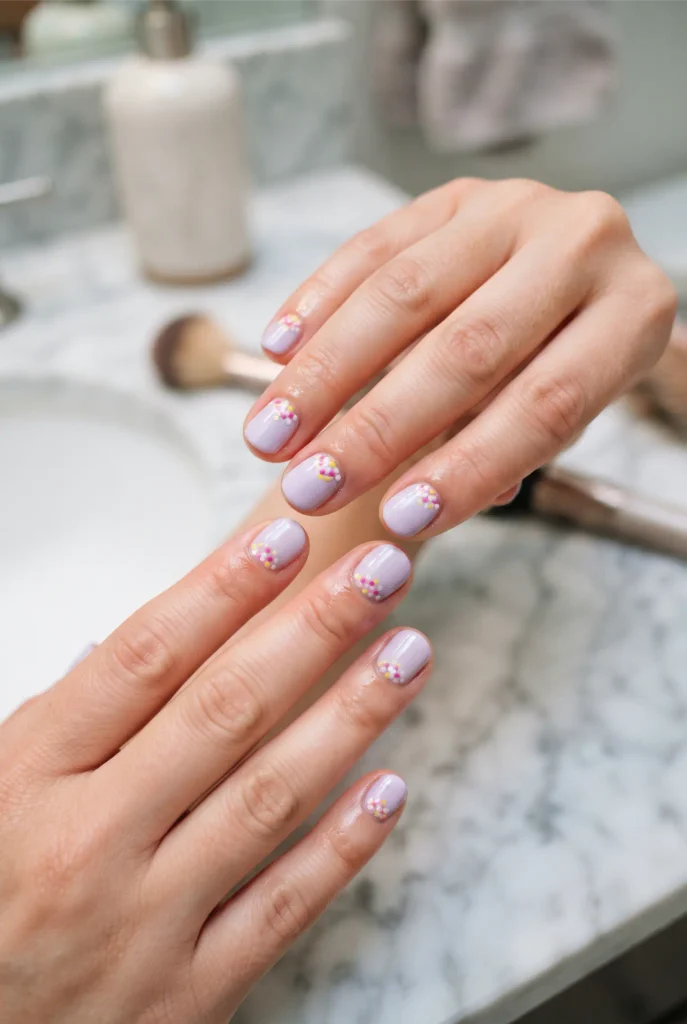
Dots do not need a stencil or a perfectly steady hand to look finished.
Load a dotting tool or a toothpick with two or three colors and tap small dots in a loose cluster near one corner of the nail, letting the sizes vary instead of lining them up.
Wipe the tool clean between colors so the dots stay crisp instead of turning muddy.
13. Reverse French With a Colored Cuticle Line

Flip the classic French tip upside down and the same simple line lands at the cuticle instead of the edge.
The nail itself stays a plain sheer shade while a thin curved line in a contrasting color sits right where the nail meets the skin.
Apply two coats of a sheer nude or pastel base and let it dry fully.
Use a thin brush to paint one clean curved line right at the cuticle in a contrasting color.
Seal with a glossy top coat once the line is fully dry.
This one works on nails of any length, since the detail sits at the base and not the tip.
14. Two Tone Vertical Split Nails

Split the nail down the middle instead of across the tip, one color filling the left half and a second color filling the right, with a straight edge dividing them from cuticle to tip.
The line, not the colors, is what makes this one look intentional.
Let the first color dry completely before taping over half of it.
Press the tape edge down firmly so polish cannot bleed underneath.
Freehanding the split line without any tape guide.
Taping over polish that is still tacky.
Peel the tape off at a low angle while the top coat is still a little wet, for the cleanest possible edge.
15. Chrome Powder Accent Nail

Chrome powder needs zero drawing skill, only a base to stick to.
Paint one nail with a matching gel or a specially made chrome base, then buff the powder on with a soft applicator until the nail turns into a small mirror while the rest of the set stays a plain matte or glossy shade.
| Powder on Gel Base | Powder on Regular Polish |
|---|---|
| Gives the fullest mirror shine, needs a UV lamp to cure. | Softer sheen, dries with no lamp needed at all. |
| Lasts closer to a full manicure cycle. | Wears down faster with everyday hand use. |
One accent nail is usually enough. A full set of chrome tends to compete with itself under changing light.
16. Single Gem Placement at the Cuticle
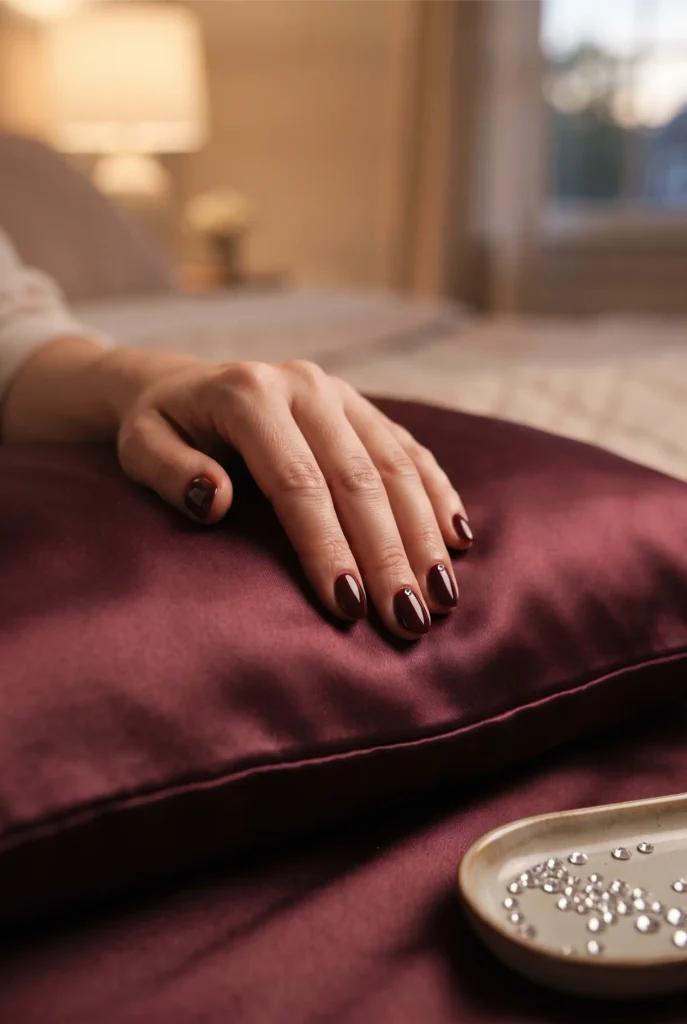
One rhinestone can finish an entire set. Paint every nail the same solid color, then press a single small gem into the wet top coat right at the base of just one or two nails, leaving the rest untouched.
One gem placed with intention reads as styled, while five gems on every nail start to look accidental.
Use a tiny dab of clear top coat or nail glue to hold the gem in place, and press for a few seconds so it does not shift before drying.
17. Sponge Blended Ombre Fade

A blended fade looks harder to do than it actually is.
Steps to try
Two or three light presses beat one heavy one. Building the fade slowly keeps the transition soft instead of blotchy.
18. Checkerboard Accent Nail With Tape

Tape turns a checkerboard from intimidating into something anyone can line up.
One nail gets a small grid of squares in two alternating colors, while the rest of the set stays a plain solid shade to keep the whole hand from feeling too busy.
Lay thin strips of tape in a grid, fill in alternating squares, then peel the tape while the polish is still slightly tacky.
19. Simple Bow Line Art Accent Nail

A bow drawn in three brush strokes reads as a finished design, not a doodle.
- ▸Paint two small triangle loops side by side, points facing inward.
- ▸Add a small knot shape where the two loops meet.
- ▸Finish with two short tails trailing down from the knot.
Keep the bow small and centered near the cuticle, and paint it on just one or two accent nails so it stays a detail instead of taking over the whole set.
20. Matte and Glossy Split, Same Color
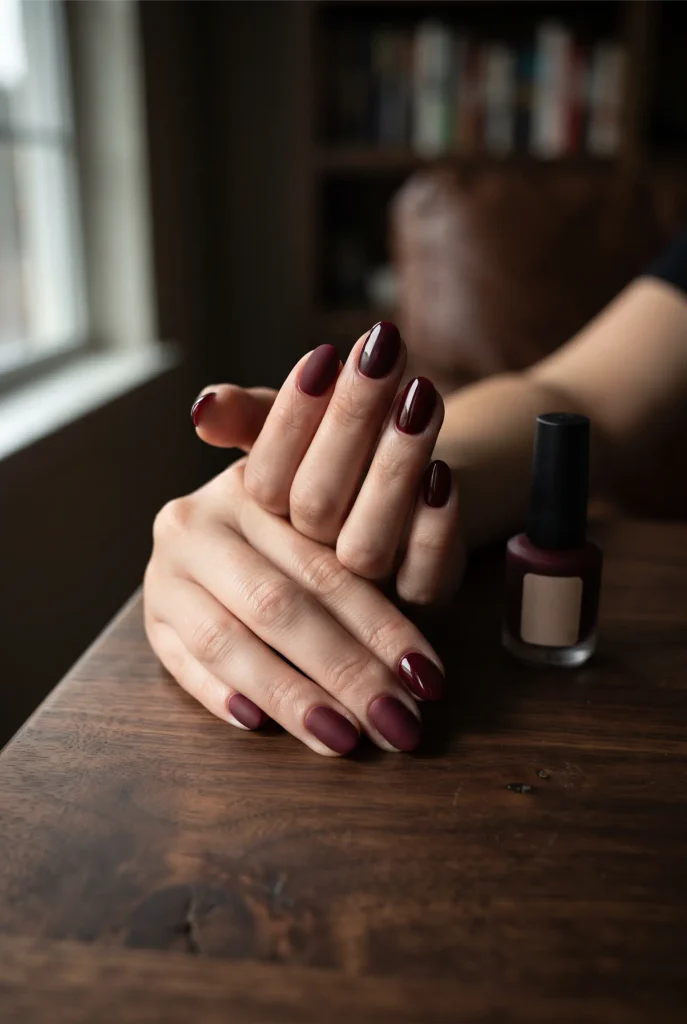
Matte and glossy top coat over the exact same polish color creates a design with no extra color, no brush work, and no tape at all.
Half of each nail, or every other nail in the set, gets a matte top coat while the rest keeps its regular glossy finish.
A full set painted in one glossy color, all finished the same way.
A matte top coat on alternating nails turns the same color into two finishes.
Wait for the base color to dry completely before adding matte top coat to only the chosen nails.
Conclusion
Twenty designs, and not one of them needed a nail tech or a drawer full of specialty brushes.
A dotting tool, a makeup sponge, a strip of tape, a plain toothpick, that’s most of what showed up across this whole list.
Pick whichever one matches the polish already sitting in your drawer and start there instead of waiting for the perfect kit to arrive.
A wobbly line or an uneven dot rarely ruins the look, it usually just makes it feel more hand done. Save this pin so it’s easy to find again the next time your nails need something new, and try the one that caught your eye first.