
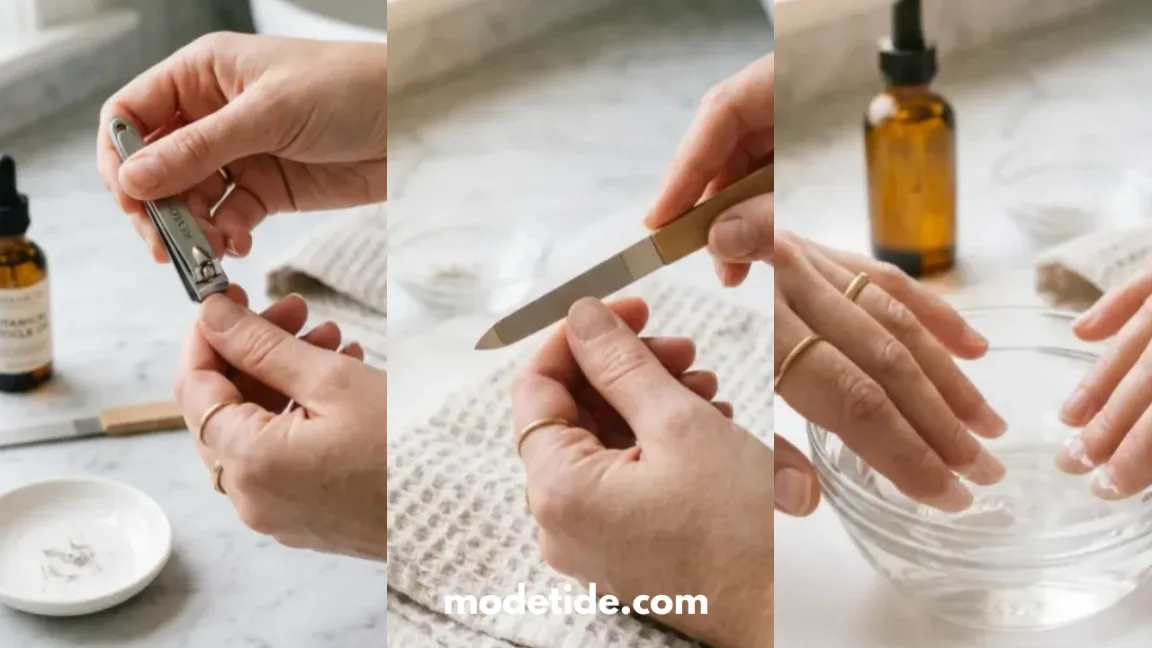
Short nails should be easier to take care of than long ones, but somehow they still end up dry, splitting at the tip, or peeling in layers within weeks.
If that sounds familiar, the problem probably isn’t your nails — it’s the routine.
Short nail care isn’t about doing more, it’s about doing the right things in the right order: trimming before they snag, filing in one direction instead of sawing back and forth, and keeping the cuticle area hydrated so the nail bed underneath stays healthy.
This guide walks through a full routine you can build into your week, from the first trim to the daily habits that actually make short nails last. None of it requires salon visits or specialty tools.
Expect about 20 minutes to set up the routine the first time, then only a few minutes a day after that to maintain it.
- Nail clippers
- Fine-grit nail file (180–240 grit)
- Buffer block
- Small bowl for warm water
- Cuticle pusher (or soft washcloth)
- Cuticle oil or balm
- Strengthening base coat
- Hand cream
- Rubber gloves
- Trim your nails every one to two weeks
- File the edges into a smooth rounded shape
- Soak your fingertips before pushing back cuticles
- Push back cuticles gently — never cut them
- Buff the nail surface lightly to smooth ridges
- Apply a strengthening base coat
- Moisturize your hands and nails every night
- Wear gloves for dishes and cleaning
- Stop picking at polish or peeling gel
- Set a weekly nail check-in
Step 1 – Trim Your Nails Every One to Two Weeks
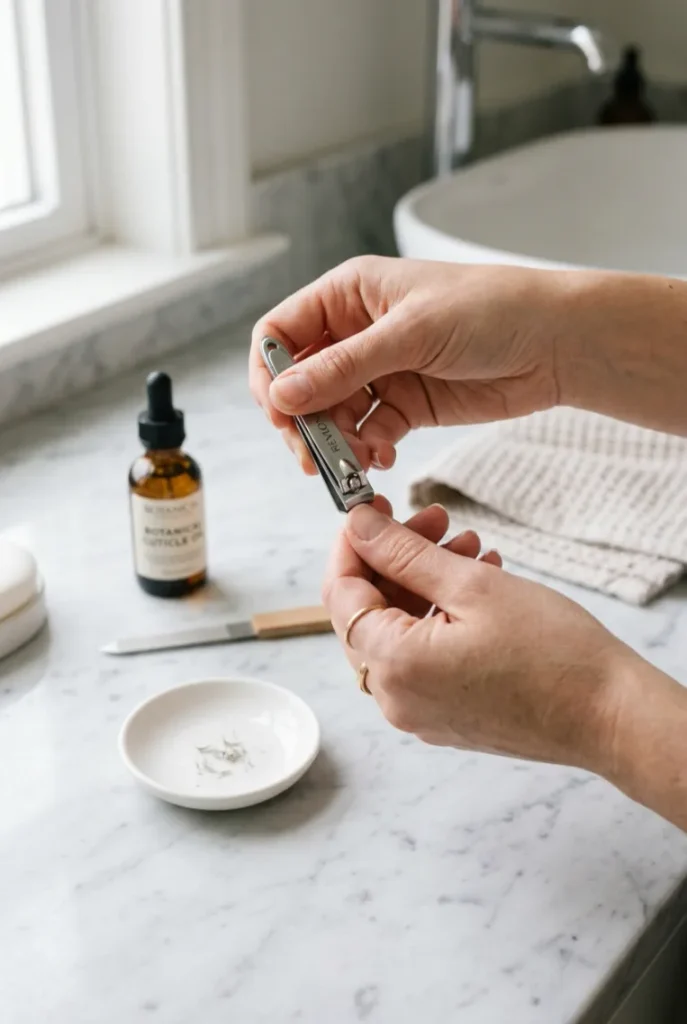
Short nails grow out fast enough to need a trim every 7 to 10 days, even before they look long.
Cut straight across first, then round the corners slightly.
Rounding the whole nail in one pass usually leaves the sides too short, which is exactly where breaks start.
Step 2 – File the Edges Into a Smooth Rounded Shape
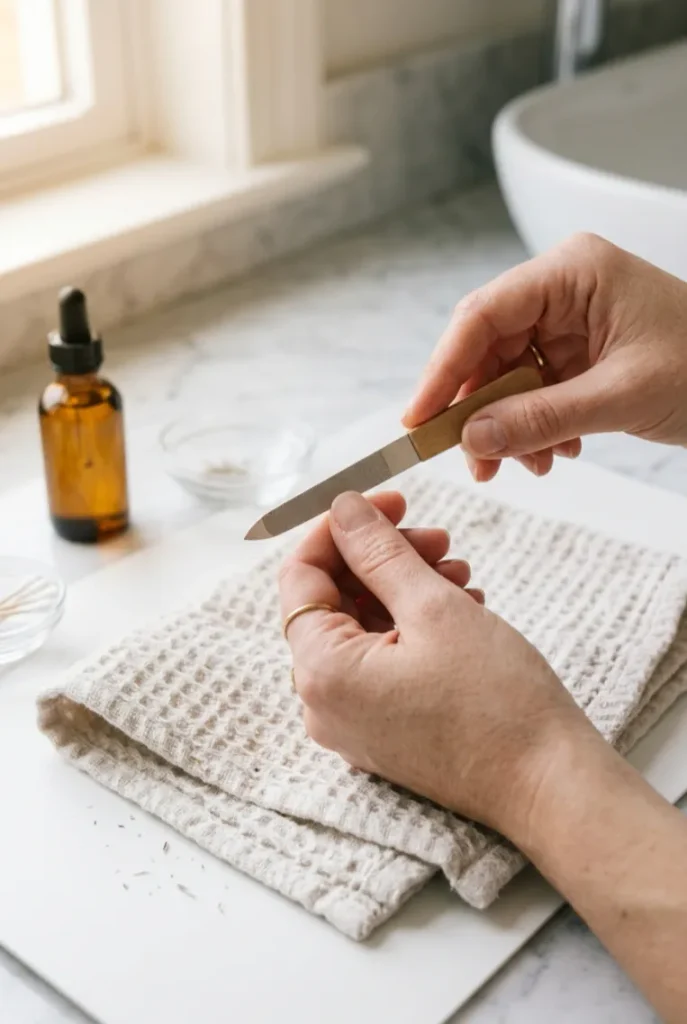
Move the file in one direction only — from the outer edge toward the center — then lift and start again.
Sawing back and forth splits the layers inside the nail plate, which is usually why short nails end up peeling in thin sheets weeks later.
A 180 to 240 grit file gives the smoothest edge without over-thinning the nail.
A regular emery board works as a substitute — go over the edge a few extra passes to get the same result. Avoid metal files; they’re too coarse for short, thin nail edges.
Step 3 – Soak Your Fingertips Before Pushing Back Cuticles
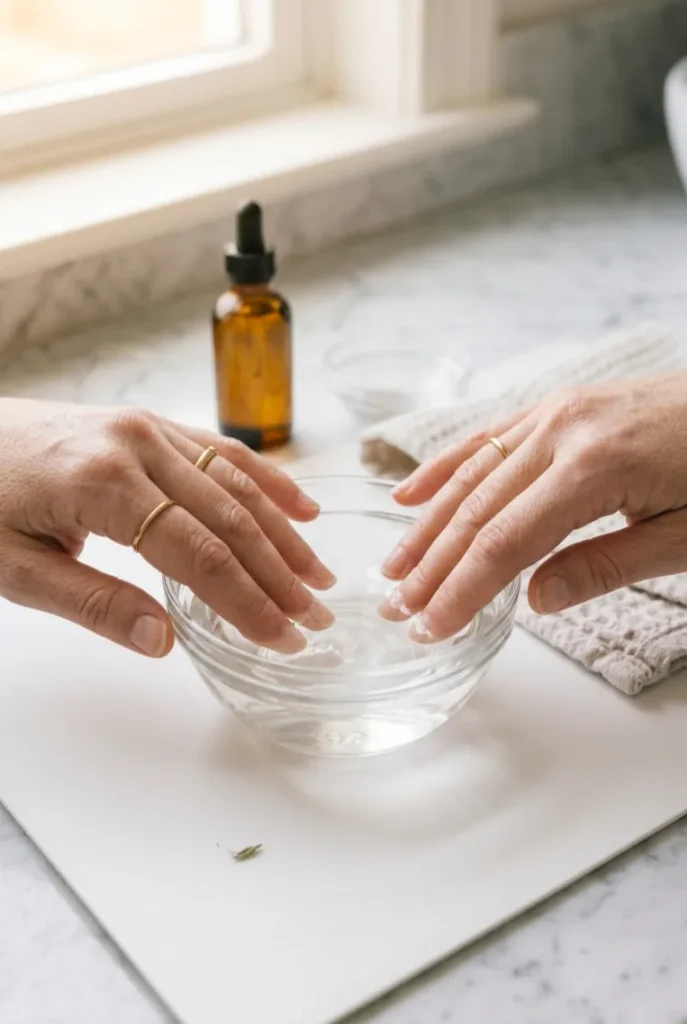
Warm water is the trick here — fill a small bowl and soak your fingertips for 5 minutes. This softens the cuticle skin so it lifts away from the nail plate without resistance.
Skipping this step is why cuticle work often looks ragged afterward: dry skin tears instead of sliding back cleanly.
A drop of oil in the water helps, though plain water works fine too.
Step 4 – Push Back Cuticles Gently — Never Cut Them
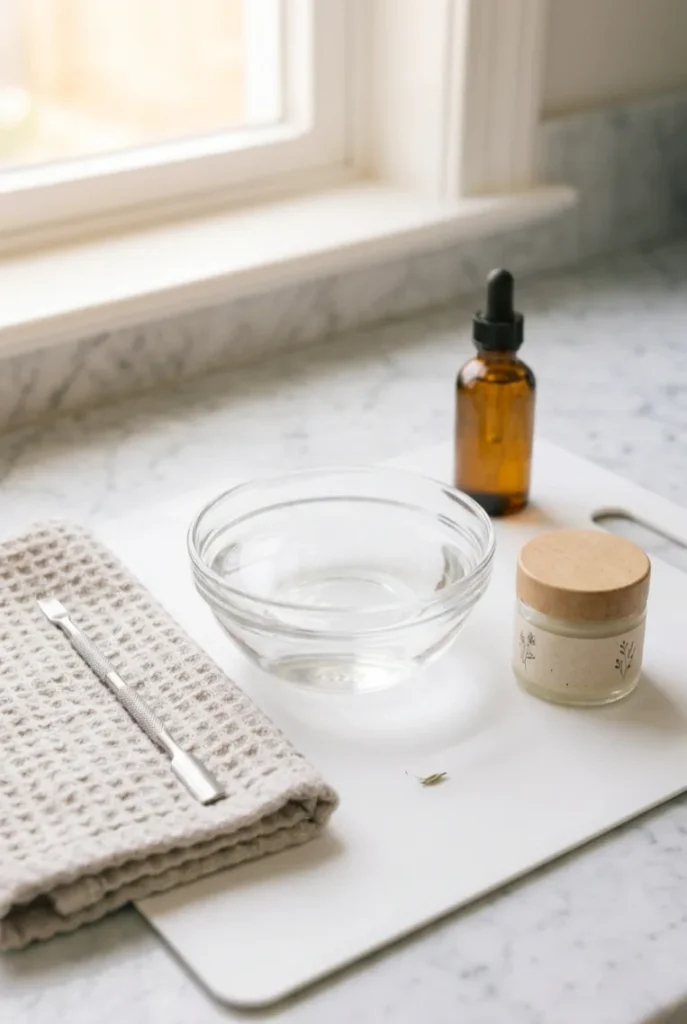
Once the skin has softened from the soak, use a cuticle pusher — or the padded corner of a washcloth if you don’t have one — to nudge the cuticle back toward the base of the nail. Small strokes, one direction, never side to side.
Cutting the cuticle removes the seal that keeps bacteria out, and it tends to grow back thicker and more ragged than before.
Step 5 – Buff the Nail Surface Lightly to Smooth Ridges
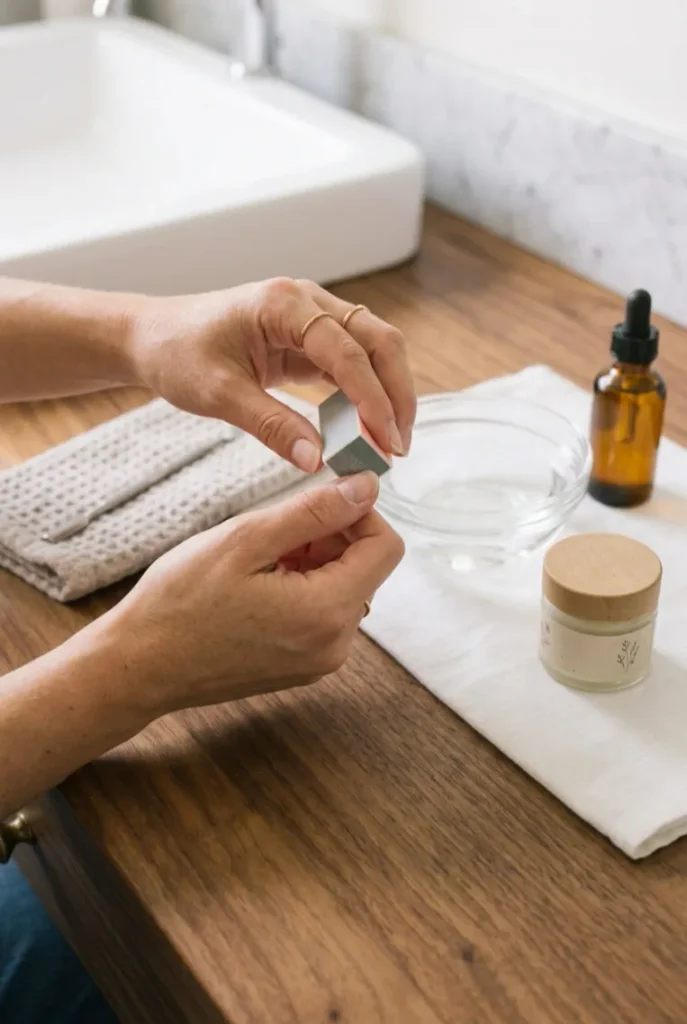
Ridges do more than look uneven — they catch on fabric, hair, and paper, and that catching is often where a short nail starts to crack.
Glide the finer side of a buffer block across the nail in one direction, 10 to 15 strokes per nail.
Stop the moment it feels smooth. Buffing past that point thins the nail plate and makes it weaker, not stronger.
Step 6 – Apply a Strengthening Base Coat
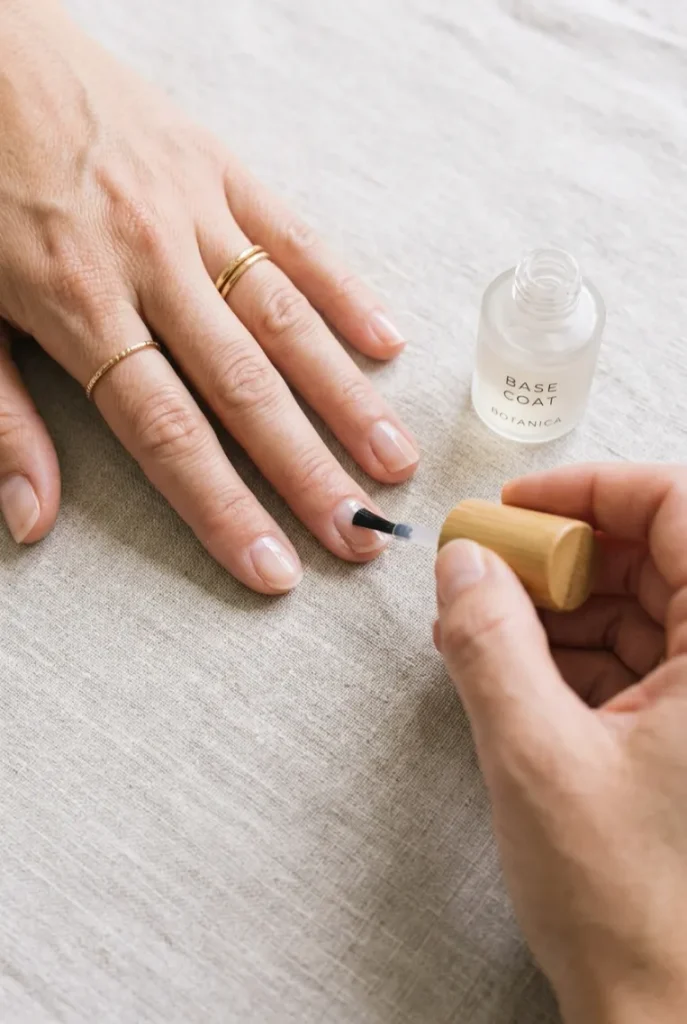
One thin coat is enough. A thick layer stays tacky underneath even after the surface dries, and a tacky base peels off in one sheet — often taking a layer of your natural nail with it.
Let the coat dry for a full 2 minutes before adding polish or touching anything.
Step 7 – Moisturize Your Hands and Nails Every Night
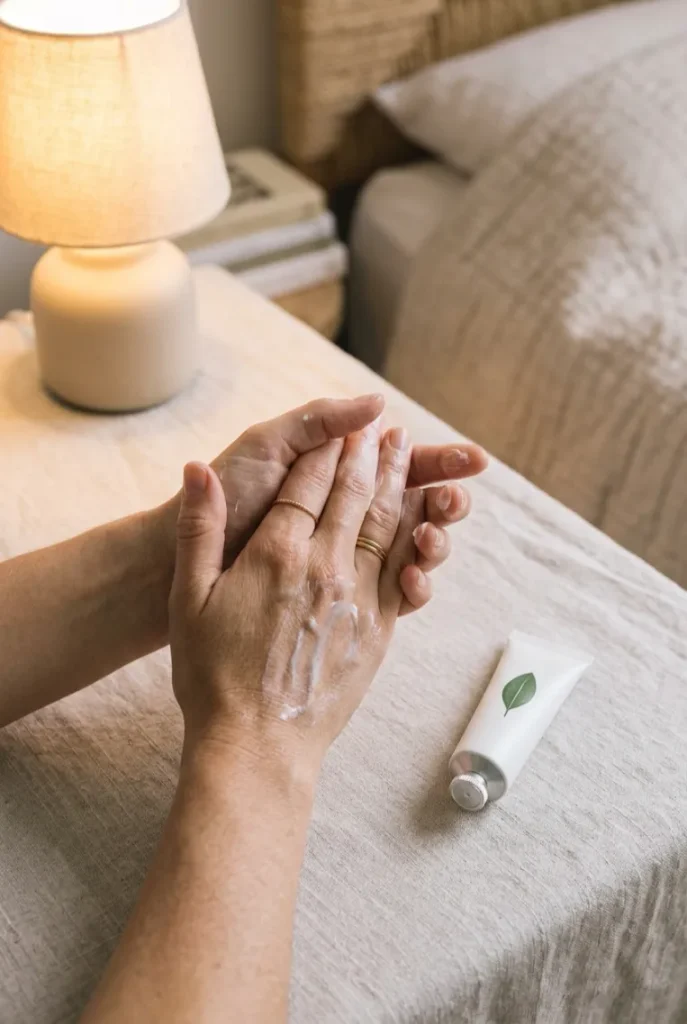
Right before bed, rub a pea-sized amount of hand cream into your nails and the skin around them, not just your palms.
Nails absorb moisture slowly, so nighttime gives it time to sink in before you wash your hands again in the morning.
Cracked, dry nail edges are almost always a sign this step got skipped for a week or two straight.
Step 8 – Wear Gloves for Dishes and Cleaning
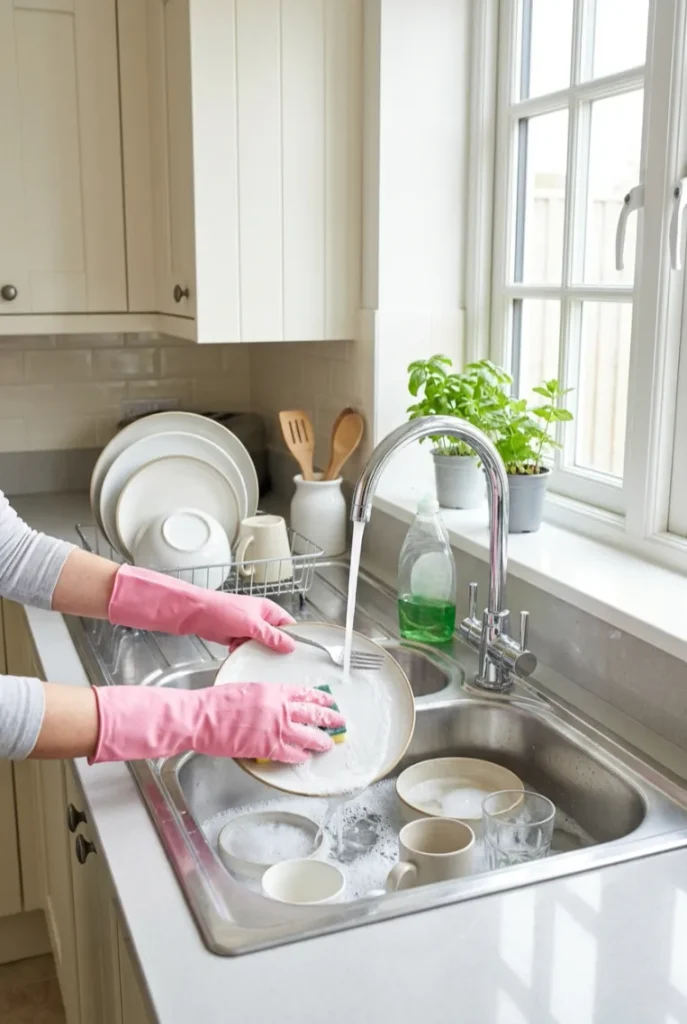
Dish soap and most cleaning sprays strip the natural oils holding your nail layers together.
Ten minutes of dishes without gloves can undo days of cuticle oil and moisturizer.
Keep a pair of thin rubber gloves right by the sink — if reaching for them feels like extra effort, that’s usually a sign they’re not close enough to grab without thinking.
Step 9 – Stop Picking at Polish or Peeling Gel
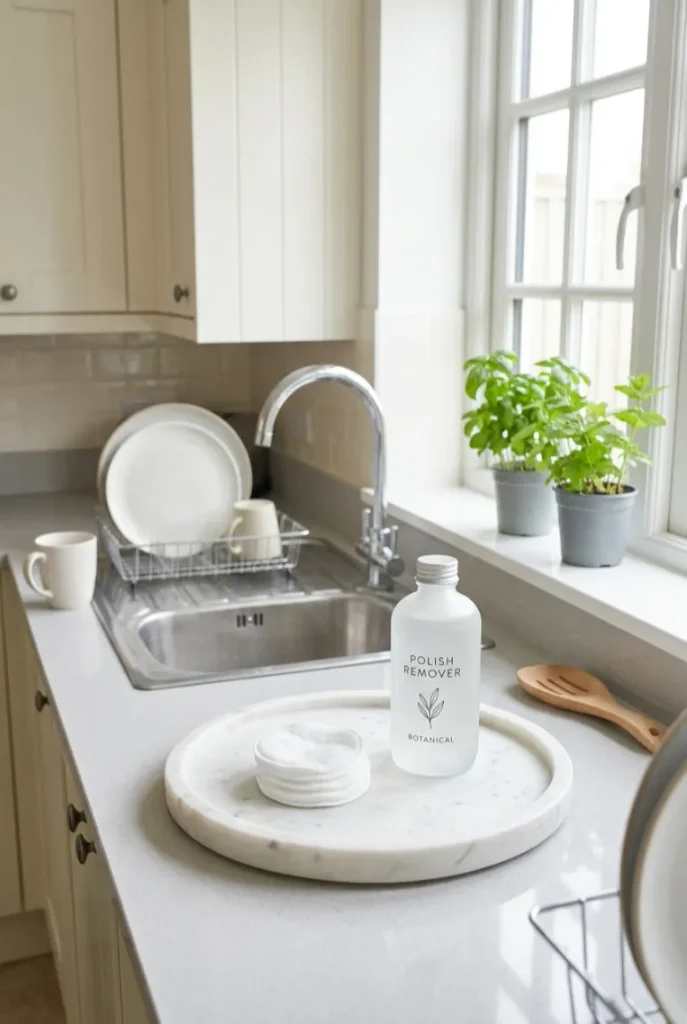
Peeling polish off pulls up layers of the nail underneath it.
That’s often the real reason nails feel thin and weak after months of regular manicures — not the manicures themselves, but how the polish came off between them.
Remove chipped polish properly with remover instead. This one habit shift makes a bigger difference than almost anything else on this list.
Step 10 – Set a Weekly Nail Check-In
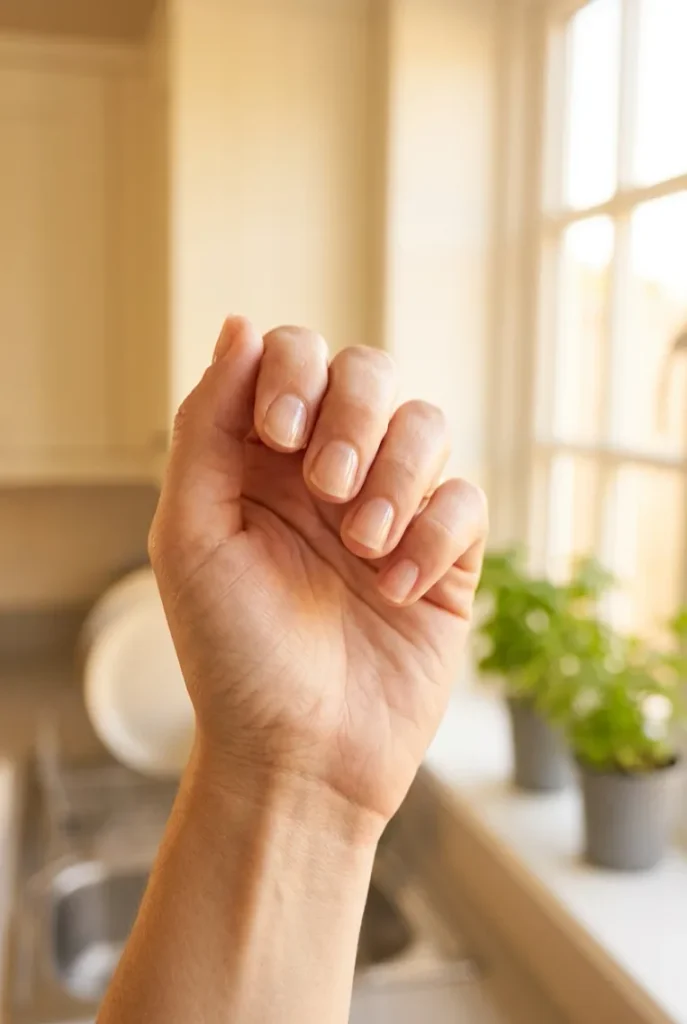
Pick one day — Sunday works well for most people — to look over all ten nails at once.
Check for a snag before it turns into a tear, a dry patch before it cracks, or a nail growing slightly uneven with the others.
Catching a small issue here takes two minutes. Catching it after it’s already broken takes weeks to grow back out.
- Trim every 7–10 days
- File edges in one direction
- Soak fingertips 5 minutes
- Push back cuticles gently
- Buff lightly, 10–15 strokes
- Apply one thin base coat
- Moisturize hands nightly
- Wear gloves for dishes
- Never pick at peeling polish
- Weekly nail check-in
Conclusion
That’s the full routine — nothing here needs a salon appointment or a special skill, just a little consistency each week.
Stick with it for a month and the difference in how your nails hold up shows up on its own: fewer snags, less peeling, and edges that actually stay smooth between trims. Good short nail care is really just these small habits repeated on schedule.
Once this feels automatic, a light hand massage during your nightly moisturizing step is a nice next add-on for circulation and cuticle health.
Save this pin so the routine’s here whenever you need a refresher. 💅


