
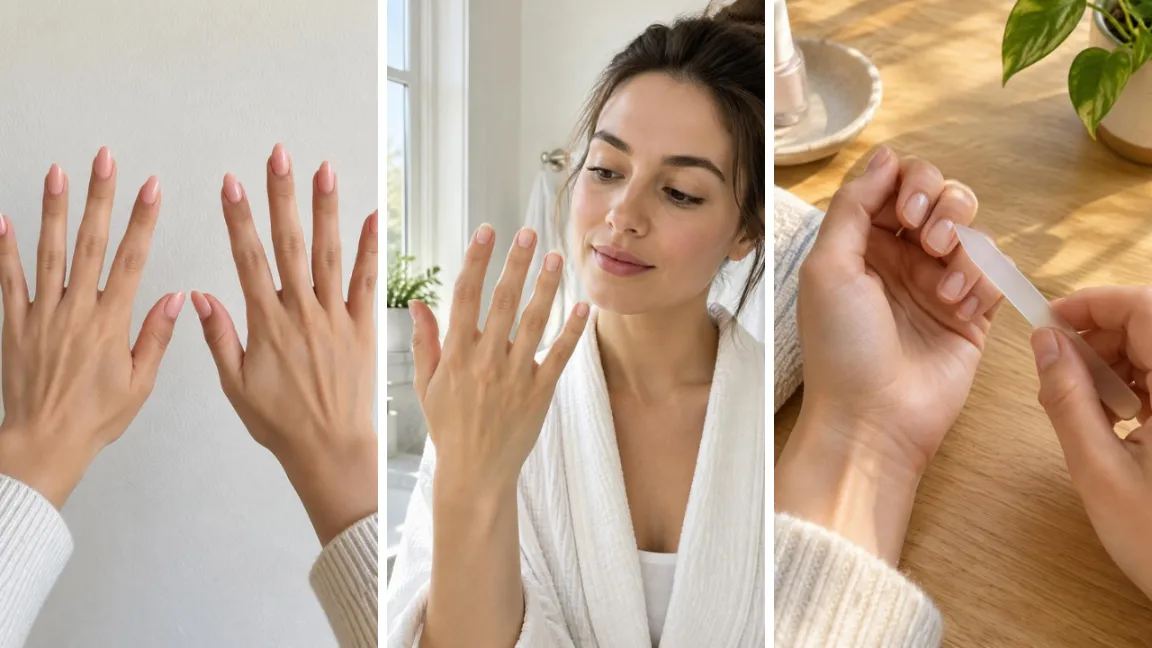
Growing out an old shape or filing into a new one always feels riskier than it should.
One wrong angle and you’ve got a snag line, a crack, or a nail that peels three days later.
If your goal is to change nail shape safely, the real problem usually isn’t the filing itself — it’s rushing the transition and skipping the small steps in between.
This guide walks you through the exact order to move from your current shape to a new one, filing gradually so the nail plate stays strong the whole way.
Active filing time is about 20 minutes, spread across a few short sessions instead of one long one. No salon tools required — just a glass file, a buffer, and a bit of patience. By the end, you’ll have a shape that actually holds up instead of splitting the first time you bump it against something.
What You Need
- A glass or crystal nail file (180–240 grit)
- A soft 3-way or 4-way buffer block
- Cuticle oil
- A clean, lint-free cloth
- Cotton pads
- Hand lotion
- Nail clippers (only if length needs trimming first)
At a Glance
- Check your current nail shape and length first
- Pick a target shape that fits your nail bed
- Gather a glass file, a buffer, and cuticle oil
- Trim only the excess length, a little at a time
- File the sides first to set the new width
- Shape the free edge in one direction only
- Compare all ten nails before you stop
- Smooth the edges and seal with cuticle oil
- Space out your filing sessions to prevent thinning
Step 1 — Check Your Current Nail Shape and Length First

Look at your nails under good light, not through a phone screen. Note where the free edge currently sits — square, rounded, or already uneven — and flag any nails that feel thin or flexible near the tip.
Those spots need lighter pressure later. If one nail is noticeably shorter or weaker than the rest, plan to bring the others down to match it first, rather than growing that one out to catch up.
Step 2 — Pick a Target Shape That Fits Your Nail Bed
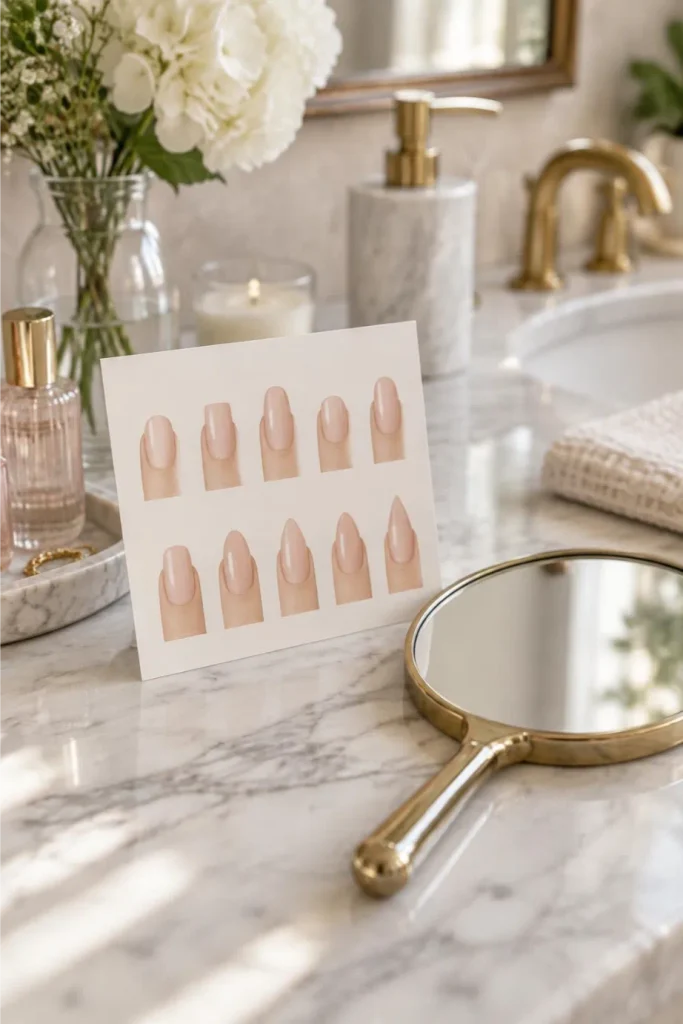
Wide nail beds hold up better with square or squoval shapes, since less side filing is needed to get there.
Narrower beds handle oval or almond with less effort. Not sure which you have?
Hold a photo of the shape you want next to your bare nail. If it would require filing in more than a millimeter or two on either side, pick a shape closer to what you already have.
Step 3 — Gather a Glass File, a Buffer, and Cuticle Oil
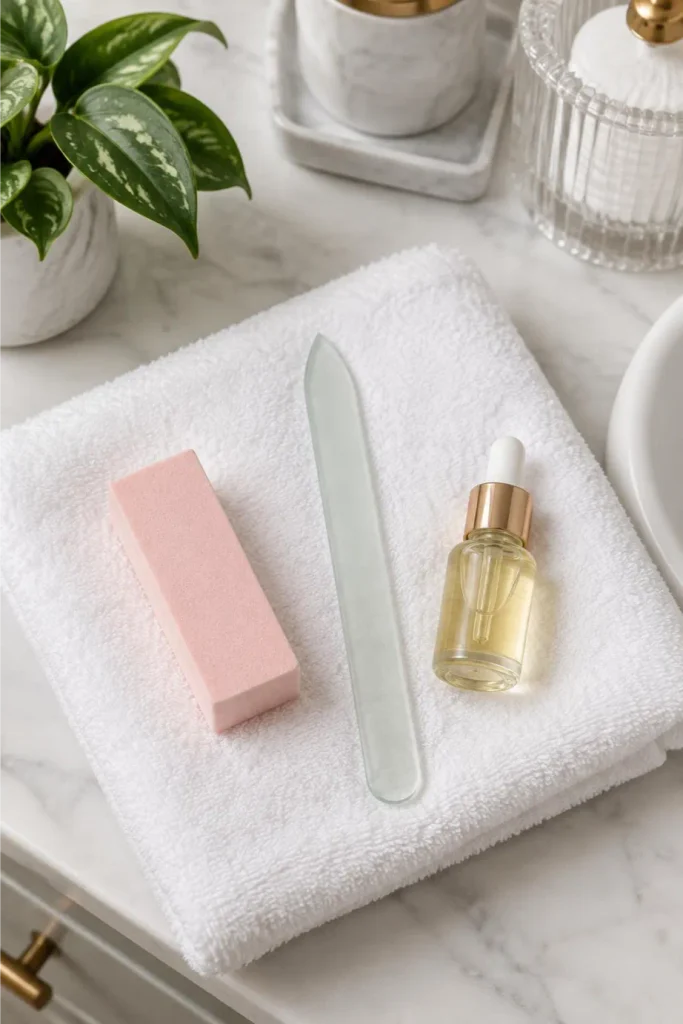
A glass file causes less heat and fewer micro-tears than a cheap emery board, which matters when you’re already asking your nails to handle a shape change. Set out:
- A glass or crystal file (180–240 grit)
- A soft buffer block
- Cuticle oil
- A clean, dry cloth
Keep everything within reach before you start. Stopping mid-file to dig through a drawer usually means picking the file back up at the wrong angle.
Step 4 — Trim Only the Excess Length, a Little at a Time
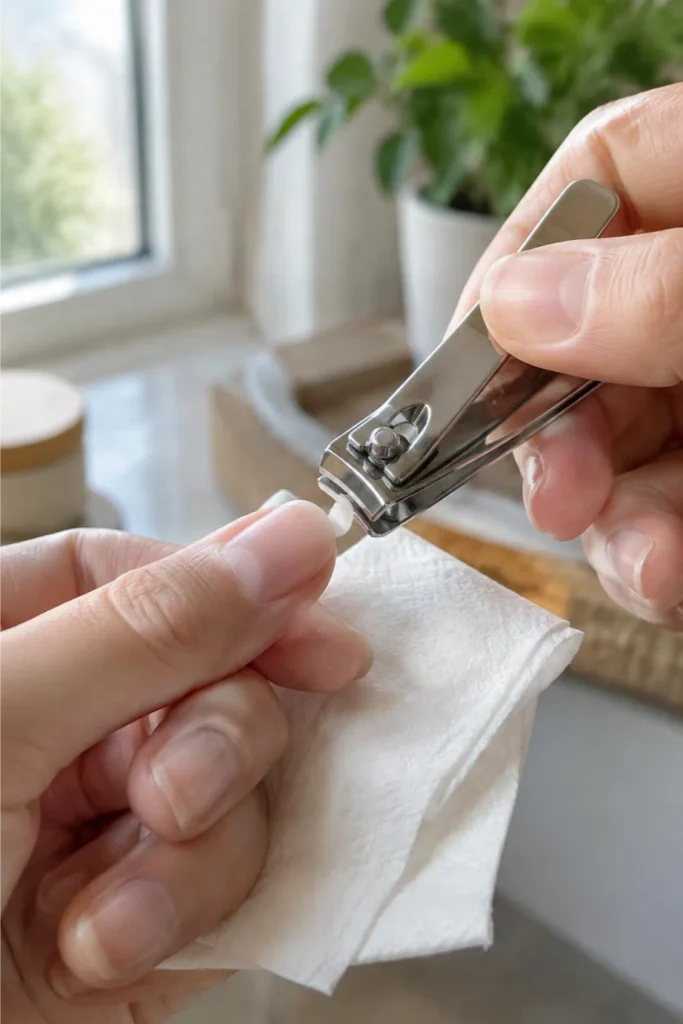
If your nails are more than a quarter inch past your target length, clip that excess first.
Filing away that much length heats the nail plate and takes far longer than it should.
Cut a small strip, check the length, and stop while you’re still slightly long — filing handles the final bit with more control.
Step 5 — File the Sides First to Set the New Width
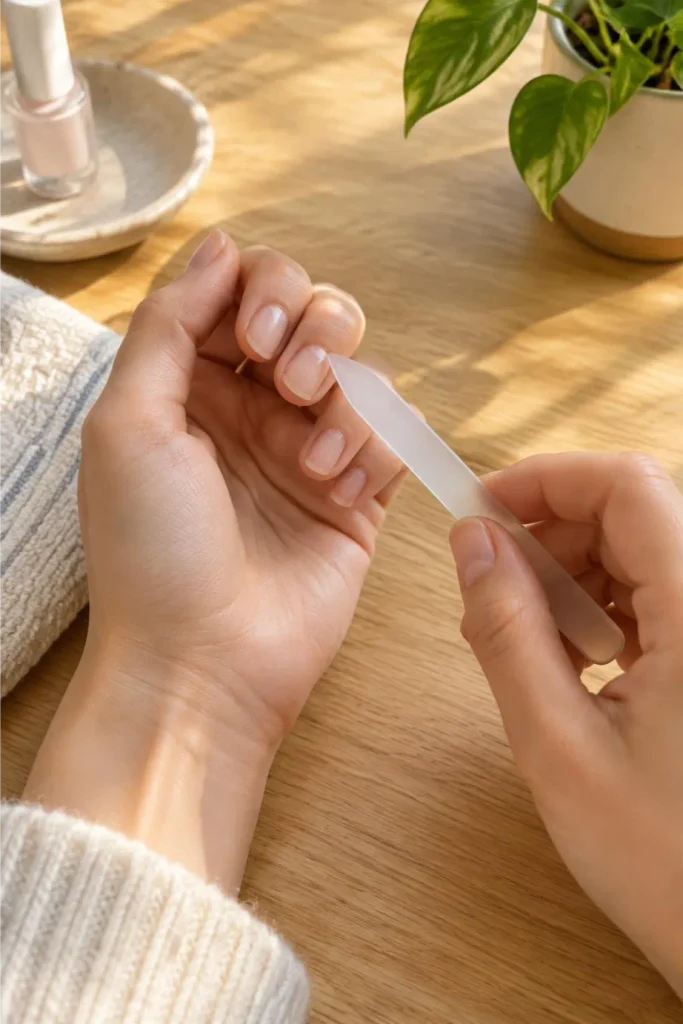
Starting at the sides — not the tip — sets the width the rest of the shape depends on.
Hold the file at roughly a 45-degree angle against the nail and stroke from the outer edge toward the center, always the same direction.
File one side for a few strokes, then switch to the other and compare. Checking both sides every few strokes, instead of finishing one completely before moving on, is what keeps the final shape symmetrical instead of noticeably crooked once you look at both hands side by side.
Step 6 — Shape the Free Edge in One Direction Only
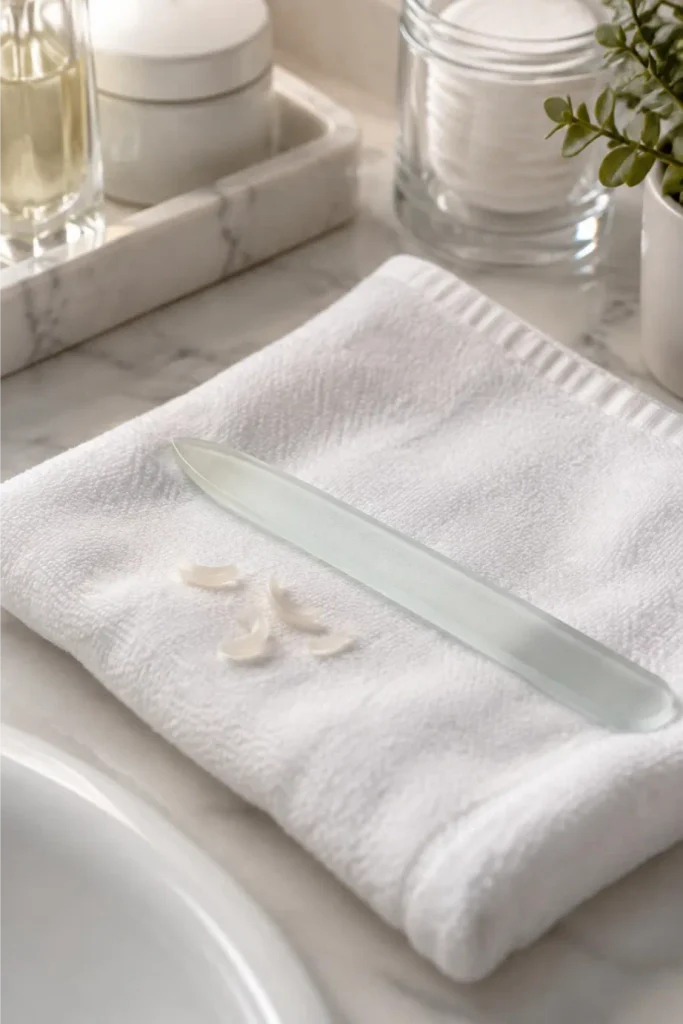
Once both sides line up, move to the free edge and shape it into your target curve or point, still filing in one direction.
Short, light strokes control the shape better than a few heavy ones.
This is the step where breakage risk is highest, since the tip carries the least support once it’s thin.
Step 7 — Compare All Ten Nails Before You Stop
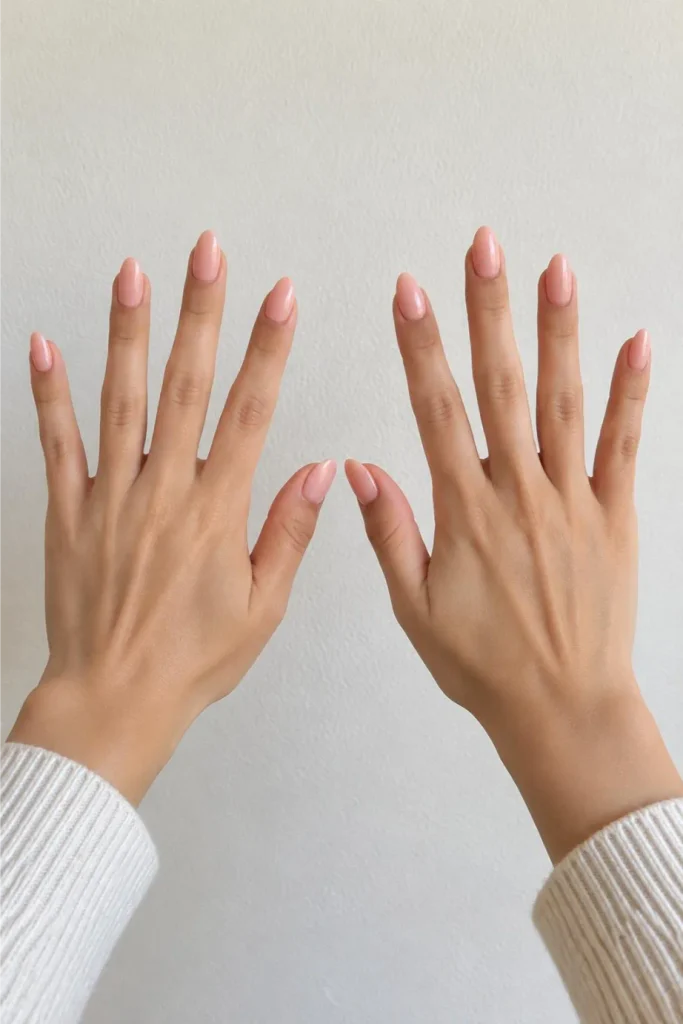
Hold both hands up, palms down, fingers spread. Scan each nail against its neighbor, and don’t stop at the ones sitting side by side — thumb to pinky matters too.
A slight difference of a fraction of a millimeter is normal and won’t show once polish goes on.
Anything more noticeable, and a few extra strokes on the longer nail will even it out fast.
Step 8 — Smooth the Edges and Seal With Cuticle Oil

Two light passes with the soft side of the buffer is enough — any more strips away shine along with rough patches.
Run a finger along the edge afterward. If it catches on fabric, buff that one spot again, nowhere else.
Finish by massaging cuticle oil into the nail plate and surrounding skin, since this restores the moisture the filing just pulled out.
Step 9 — Space Out Your Filing Sessions to Prevent Thinning

Filing an entire new shape into place in one sitting sounds efficient.
It’s also what causes most of the thinning people end up blaming on “weak nails.”
Split the work across two or three short sessions, spaced a day apart, and let the plate rest between them.
Troubleshooting
FAQ
Quick Reference Card
- Check current shape and length
- Pick a target shape that fits
- Gather your file, buffer, and oil
- Trim excess length first, if needed
- File the sides to set width
- Shape the free edge, one direction
- Compare all ten nails
- Smooth edges and seal with oil
- Space sessions a day apart
Conclusion
Your nails now have a shape that actually matches what you set out for — not a rushed version that chips by the weekend.
The gradual approach is what made the difference; every short session left the free edge a little stronger instead of a little thinner.
From here, a weekly buff-and-oil routine keeps the new shape crisp as it grows out.
Save this guide so you have the steps ready the next time you’re ready to change nail shape safely again.