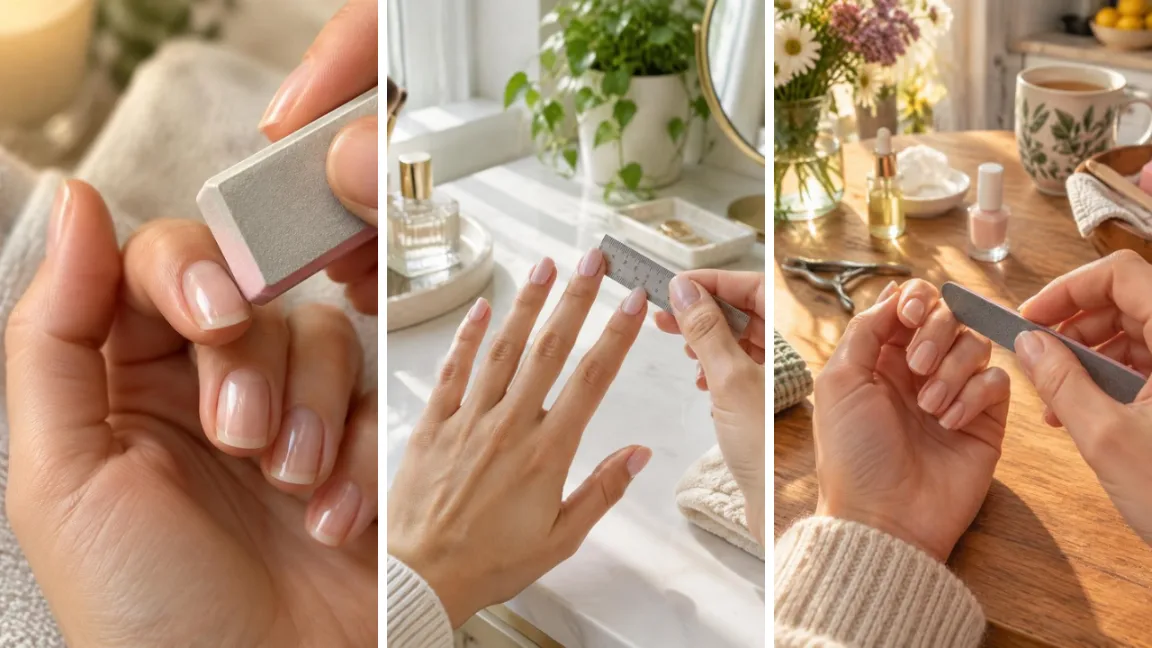
Standing in front of the mirror trying five different nail shapes before you settle on one is a familiar routine for a lot of people — and most of them are guessing.
The truth is, your finger length and nail bed width already point you toward a shape that will look right, before you even pick up a file.
This guide walks you through how to find the best nail shape for finger length using two quick measurements, then matches those numbers to specific shapes that flatter short, average, and long fingers.
You won’t need a salon visit to figure this out. A ruler, a nail file, and about 15 minutes are enough to go from unsure to confident.
By the end, you’ll know exactly which shape to file at home or which name to say out loud at your next appointment.
- Nail file (180/240 grit)
- Buffer block
- Cuticle pusher
- Small ruler or measuring tape
- Cotton pad and rubbing alcohol
- Cuticle or nail oil
- Measure your finger length and nail bed width
- Oval shape for short, wide fingers
- Squoval shape for short, narrow nail beds
- Almond shape for average-length fingers
- Coffin shape for long, slender fingers
- Shapes to skip if your fingers are short
- File or request the shape correctly
Step 1 — Measure Your Finger Length and Nail Bed Width First

Your nail bed tells you more than finger length alone. Stretch your hand out under good light and check two things: how long your finger is from base to tip, and how wide your nail bed is compared to your fingertip.
A finger under 2.5 inches with a wide nail bed reads differently than a long, narrow one.
Write both numbers down — you’ll use them in the next few steps to match a shape that fits your hand instead of guessing at it.
Step 2 — Choose an Oval Shape for Short, Wide Fingers
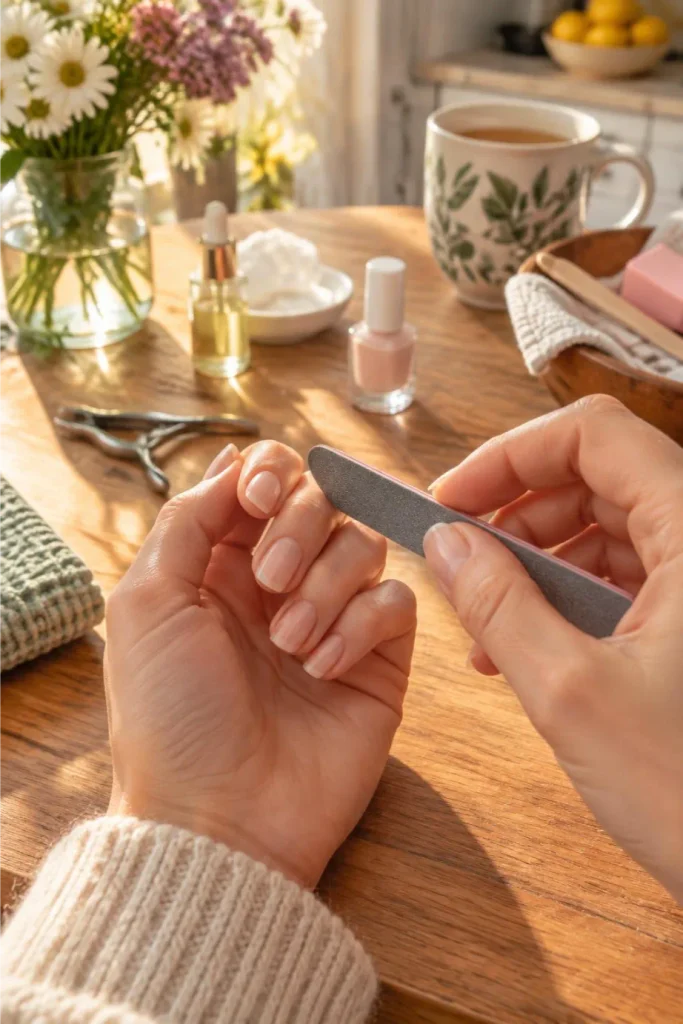
Short, wide fingers look longer with a shape that tapers gradually instead of sitting flat across the tip.
An oval rounds the sides in and comes to a soft curve at the top, which pulls the eye upward along the nail rather than across the finger.
File the sides in starting about 3 millimeters below the tip, then round the top edge until no sharp corners remain.
This shape also chips less than pointed styles, so it holds up on hands that stay busy all day.
Step 3 — Choose a Squoval Shape for Short Fingers with Narrow Nail Beds

Narrow nail bed, shorter finger?
Squoval works better than a full oval here. Keep the sides straight down about 5 millimeters from the tip, then square off the corners just enough to soften them — not a sharp square, a gentle round on each edge.
It reads cleaner on a narrow nail bed because it doesn’t add width the nail doesn’t have. Ask for “squared oval” if a nail tech is doing this for you instead of filing at home.
Step 4 — Choose an Almond Shape for Average-Length Fingers
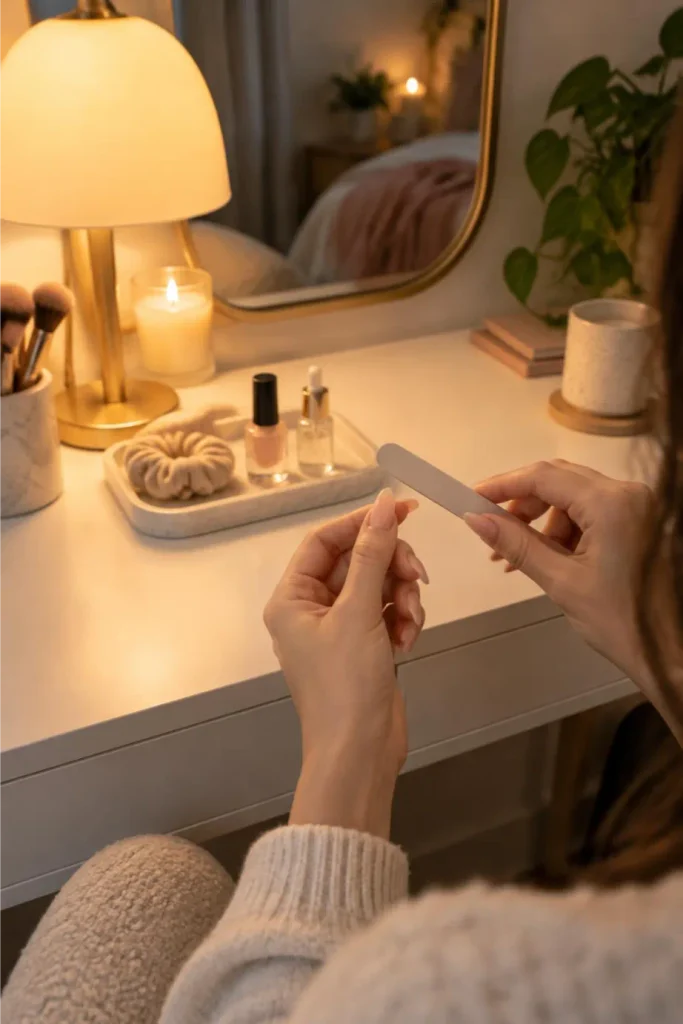
If your finger measures between 2.5 and 3 inches with a nail bed that isn’t especially wide or narrow, almond suits you best.
File the sides in close to the skin, tapering more sharply than an oval, then bring them to a rounded point rather than a sharp tip.
The narrower base makes the nail bed look slightly longer without adding length past the fingertip.
Keep the point rounded, not sharp — a true point on average-length nails tends to catch on fabric and snap off within days.
Step 5 — Choose a Coffin Shape for Long, Slender Fingers
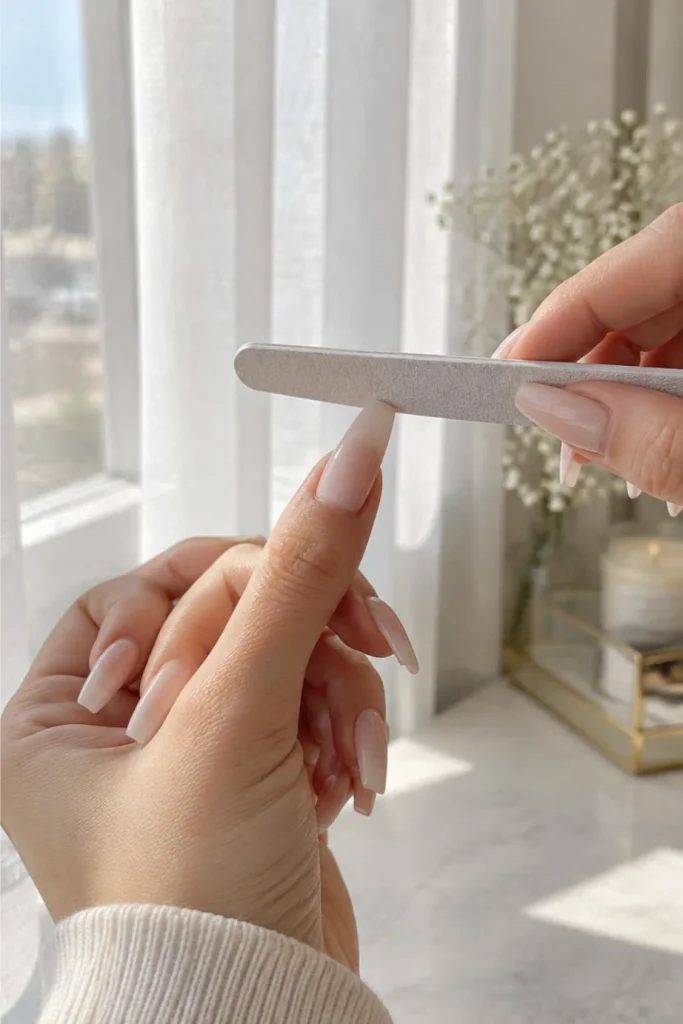
Long fingers can look longer than intended once length is added on top — coffin balances that out.
File the sides in with a slight taper, keeping them mostly straight instead of curved, then square off the tip flat across rather than pointed.
The flat tip cuts visual length compared to an almond or stiletto shape.
Aim for a tip width around 4 to 5 millimeters so the taper still looks natural instead of boxy.
Step 6 — Skip These Shapes If Your Fingers Are Short

Under 2.5 inches? A few popular shapes work against you instead of for you:
- Stiletto — the sharp point exaggerates a short finger’s width
- Long coffin — extra length past the tip overwhelms a small nail bed
- Squared-off long nails — flat corners make short fingers look stubbier, not longer
Stick with oval, squoval, or a shorter almond instead. All three stay close to your natural nail bed and won’t fight against your finger length.
Step 7 — File or Request Your Chosen Shape the Right Way
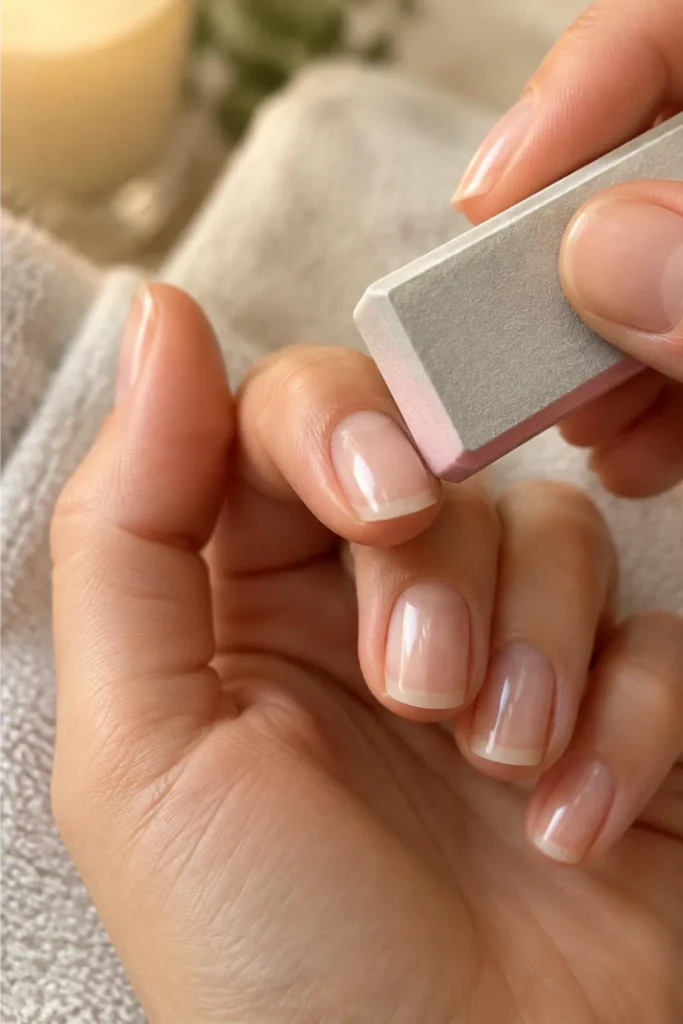
Knowing your shape is only half the job — filing it evenly is what makes it look intentional.
Work in short, light strokes rather than long heavy ones, checking both hands side by side every few passes so they match.
Finish with a buffer to smooth any ridges, then wipe nails with rubbing alcohol before applying oil or polish.
If a nail tech is doing this instead, bring a photo of your chosen shape and say the name out loud — “almond,” “squoval,” whatever you landed on — since verbal descriptions alone get lost in a busy salon.
A shape that looks great on Pinterest can still fight against your own finger length. Measure first, pick second.
Once length is gone, some shapes — like coffin or almond — no longer have enough nail to work with.
Two fingers can be the same length but look totally different once nail bed width is factored in.
This weakens the nail edge no matter which shape you’re going for, and it shows up as peeling within days.
Most hands have small size differences finger to finger. Check each nail on its own before you commit.
No, but nail bed shape can shift slightly with age or frequent acrylic use, so it’s worth re-measuring every so often.
Measure both hands separately. Small differences are normal, and you can adjust the shape slightly per hand if needed.
Not the recommendation itself, but acrylics add length past your natural nail bed, so size the shape to your finger, not the extension.
Compare your nail bed width to your fingertip width. If the nail bed looks close to the same width as the fingertip, it’s on the wider side.
Sometimes. Going to a shorter or narrower shape usually works right away; going longer or wider often needs some growth first.
2. Short + wide → Oval
3. Short + narrow → Squoval
4. Average length → Almond
5. Long + slender → Coffin
6. Short fingers → skip stiletto, long coffin, squared-off
7. File in one direction, buffer, finish with oil
Conclusion
You now know exactly how to pick the best nail shape for finger length instead of copying whatever’s trending on your feed.
Your measurements did the real work — the shape just follows from there. Next time you sit down for a manicure, or open your own file, you’ll already know what to ask for.
Save this pin so you have it ready before your next appointment.