
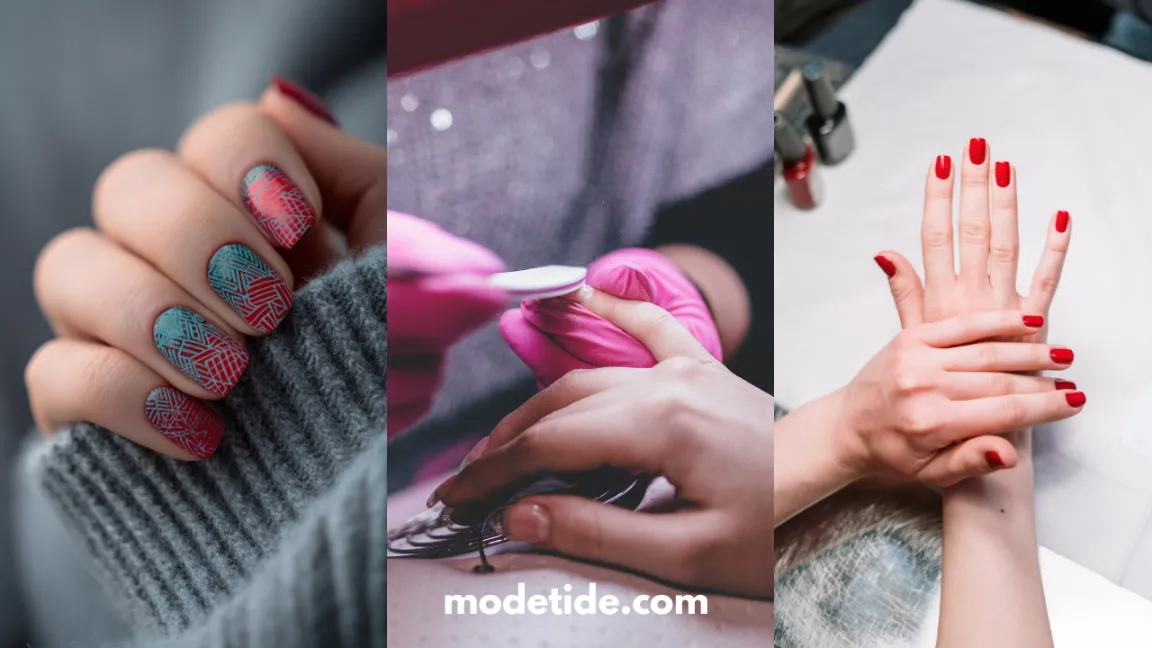
Short nails get a bad reputation in the nail art world, and most of that comes down to one habit: trying to fit a design meant for long nails onto a much smaller space.
The result is a nail that looks busy, uneven, or smudged before the day is even over.
Nail art on short nails does not have to look that way. The trick is not skill — it is restraint. A shorter nail bed has less room, so every line, dot, and color needs a reason to be there.
This guide walks through how to prep, plan, and paint a design that fits your nail size instead of fighting it.
You will learn how to pick a single focal point, use the right tools for fine detail, and place your design so it reads as clean and intentional rather than crowded.
The whole process, once your polish and tools are laid out, takes about 45 minutes from bare nail to finished top coat.
None of the steps require advanced technique — just a steadier hand with smaller amounts of product.
By the end, you will have a set of short nails with art that looks like it was made for that shape, not squeezed onto it.
- Nail file and buffer
- Cuticle pusher (or orange stick)
- Base coat
- Base color polish
- Thin detail brush (size 000)
- Dotting tool
- Top coat
- Rubbing alcohol and lint-free pads
- Polish remover and a small cleanup brush
- Trim and shape your nails first
- Push back and clean your cuticles
- Apply a thin base coat
- Paint one or two coats of your base color
- Pick one focal point instead of covering the whole nail
- Use a thin brush or dotting tool for fine lines
- Add your design with minimal strokes
- Seal everything with a glossy top coat
Step 1- Trim and Shape Your Nails First
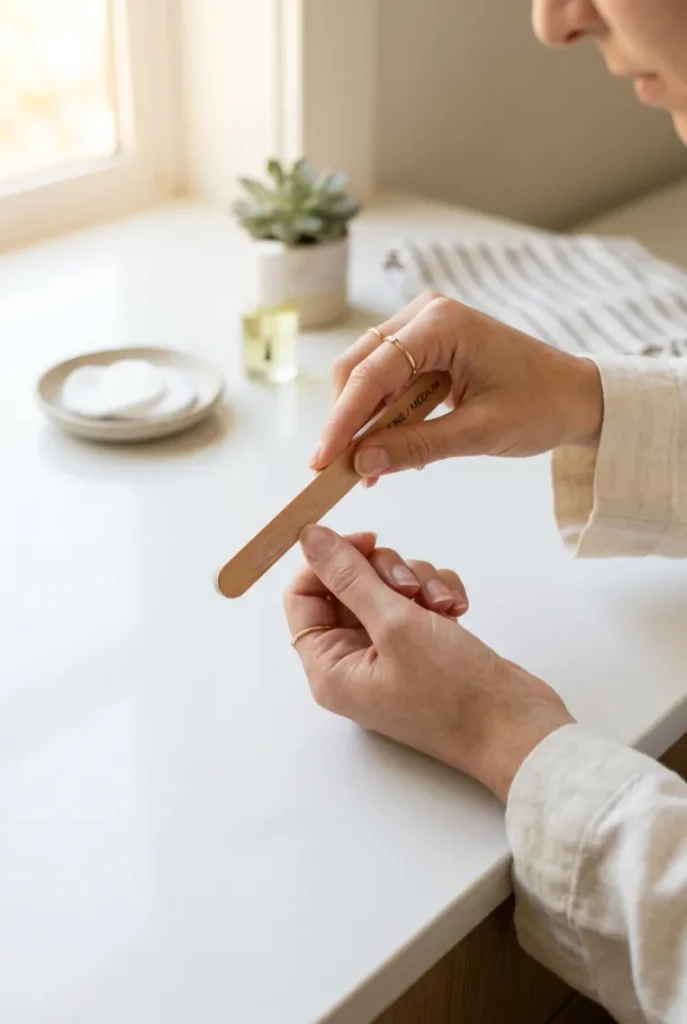
Start with dry, polish-free nails. Trim them to an even length — anywhere from 1 to 3 millimeters past the fingertip works well for short nail art, since anything shorter leaves almost no space for detail.
File in one direction only, not back and forth, which weakens the nail edge and makes it prone to peeling.
A rounded or squoval shape gives you the most usable surface on a short nail bed.
Step 2- Push Back and Clean Your Cuticles
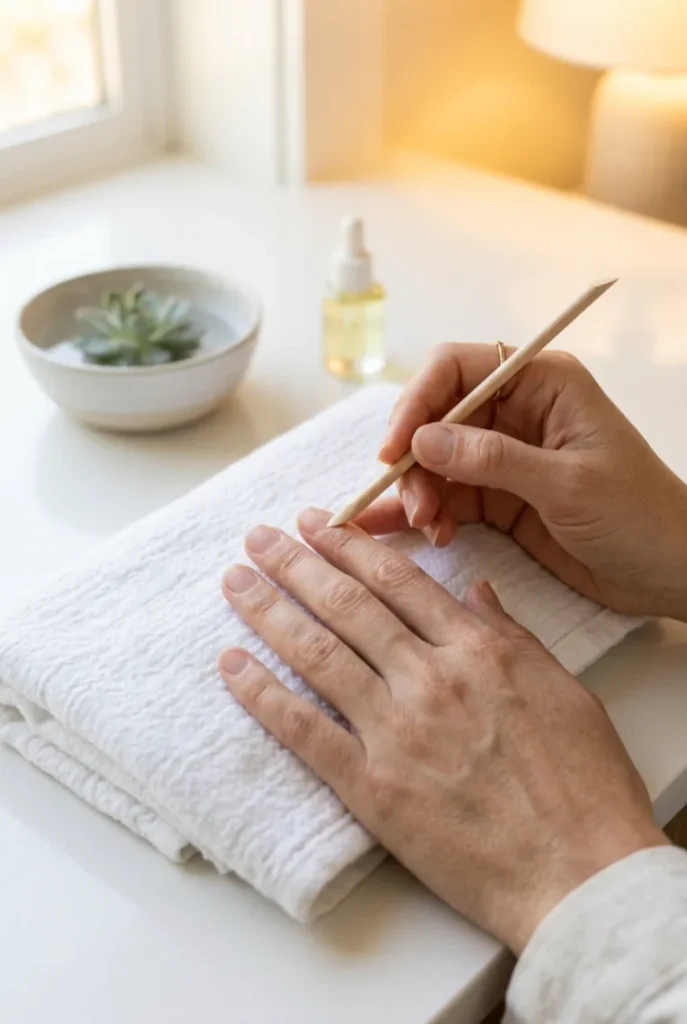
Cuticles that creep onto the nail plate steal visible space you don’t have to spare on short nails.
Soak your fingertips in warm water for 2 minutes to soften the skin, then gently push the cuticle back with a metal or wooden pusher — an orange stick works too if you don’t have either.
Wipe the nail with a lint-free pad and rubbing alcohol afterward so the polish grips instead of sliding off within hours.
Step 3- Apply a Thin Base Coat
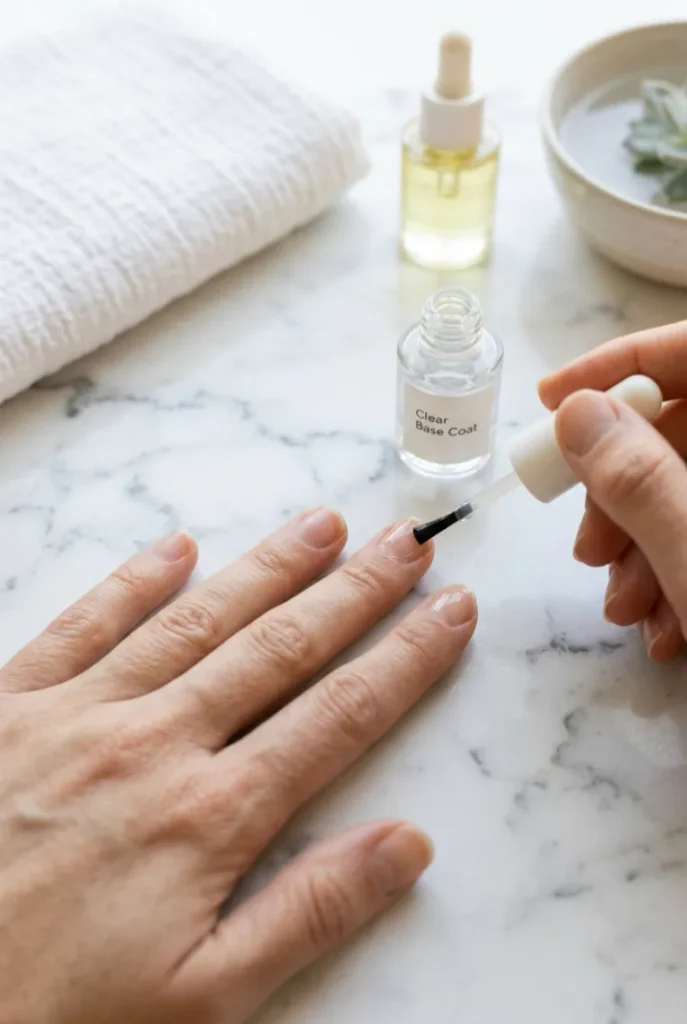
One thin layer of base coat is enough. A thick layer takes longer to dry and makes every layer painted after it more likely to smudge before it sets.
Brush from the center of the nail outward, capping the free edge — the very tip — so the polish resists chipping from everyday wear.
Let it dry for 2 full minutes before moving to color; rushing this step is the top reason DIY manicures peel within two days.
Step 4- Paint One or Two Coats of Your Base Color
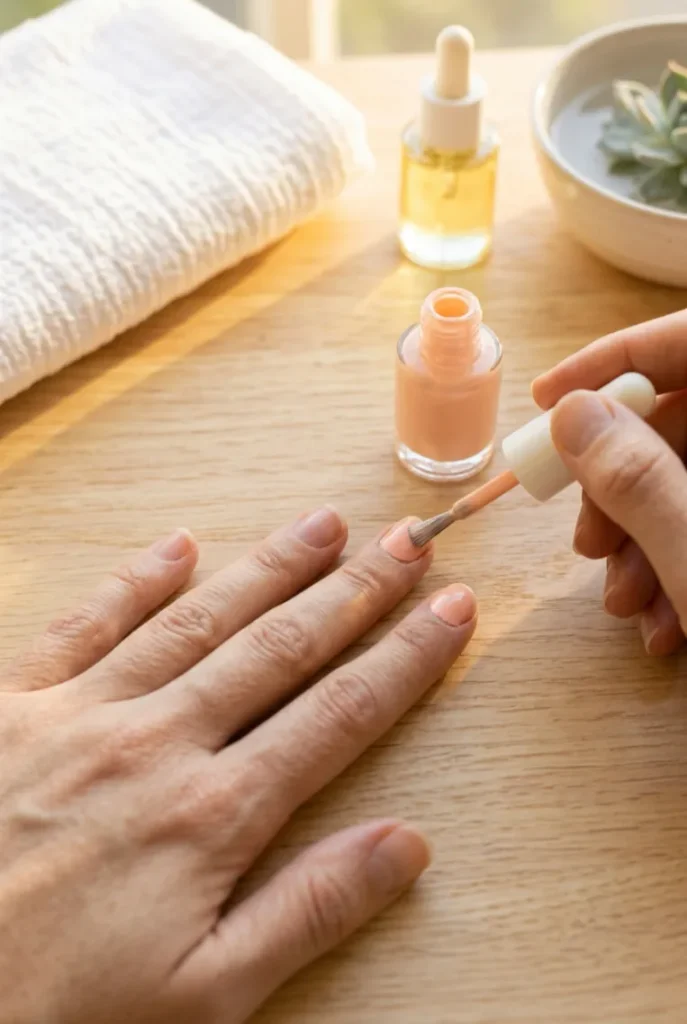
If your color is opaque in one swipe, stop there — a second coat only adds bulk you don’t have room for on a short nail.
For sheer or pastel shades, wait 3 minutes between coats and always brush from the base toward the tip in one motion.
Two thin coats dry evener and chip less than one thick one, even though it feels like more work upfront.
Step 5 – Pick One Focal Point Instead of Covering the Whole Nail
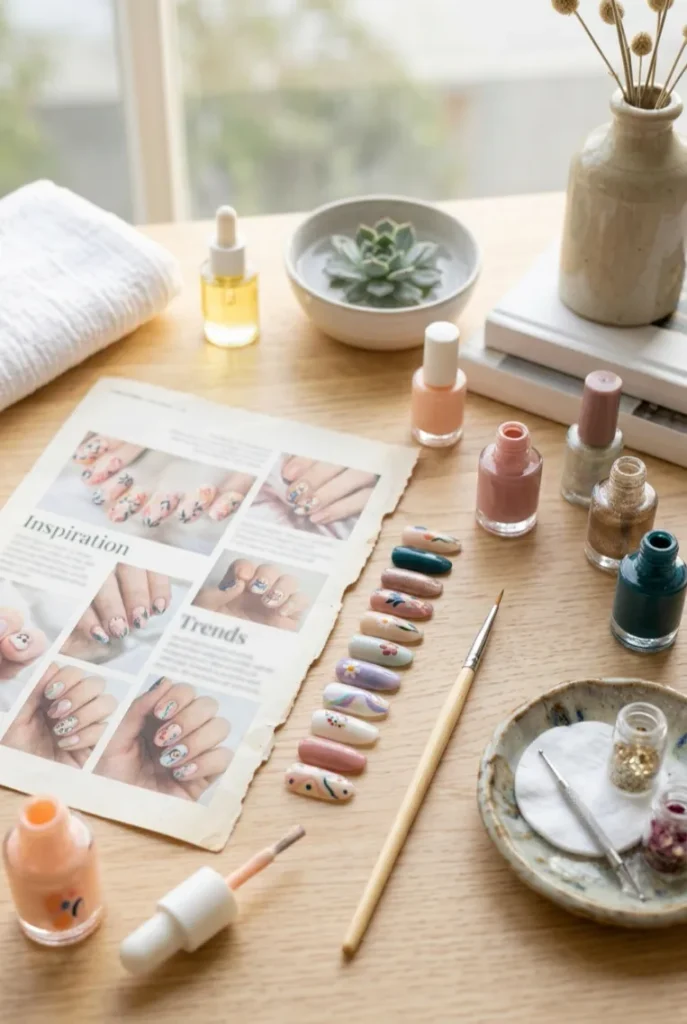
This is where most cluttered manicures go wrong: trying to feature more than one design element on a nail that’s barely a centimeter wide.
Choose exactly one accent for the set, then repeat a simpler version of it on two or three other nails. A few focal points that hold up well on short nails:
- A french tip in an unexpected color
- A small cluster of three dots near the cuticle
- One thin diagonal line across the tip
- A single tiny flower on the ring finger only
Whichever you pick, let every other nail stay solid color. That plain-versus-accent contrast is what reads as intentional instead of busy.
Step 6 – Use a Thin Brush or Dotting Tool for Fine Lines
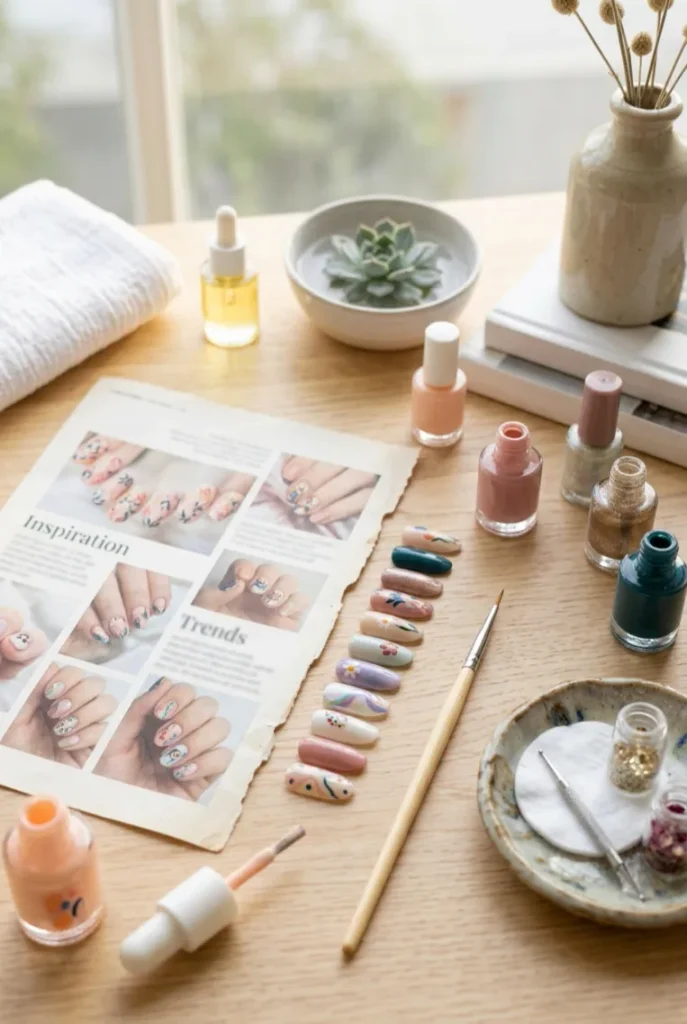
A regular polish brush is too wide for detail work on a small canvas — swap it for a detail brush, ideally a size 000, or a metal dotting tool for dots and small circles.
Dip the tip lightly instead of loading it the way you would for a full coat; overloading a thin brush makes it bleed the moment it touches the nail. Wipe excess on the bottle’s neck before every single stroke, not just the first.
Step 7 – Add Your Design With Minimal Strokes
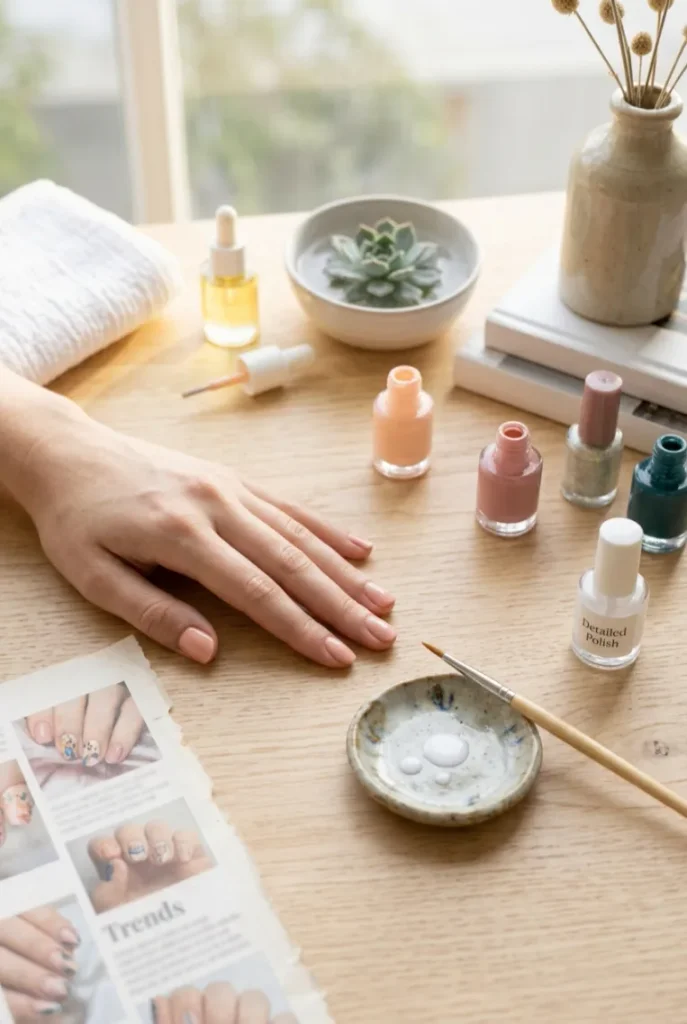
Two or three strokes is usually all a short nail design needs to read clearly — more than that and lines start overlapping into a blur.
Load your detail brush once, then work in one continuous motion instead of going over the same line twice to “perfect” it; doubling back is what causes streaks.
If a line comes out crooked, wipe it away immediately with a dampened cotton swab and start fresh rather than trying to fix it on top of wet polish.
Step 8- Seal Everything With a Glossy Top Coat
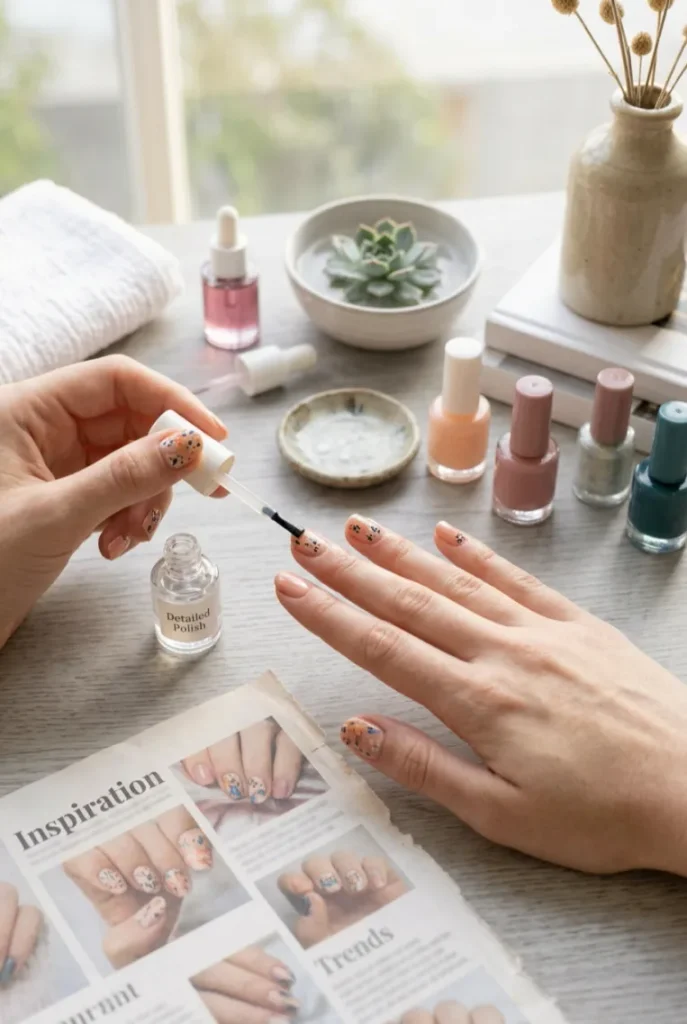
Wait 5 minutes after your last design element before applying top coat, even if it looks dry to the touch — nail art layers stay soft underneath longer than they appear.
Brush one even coat over the whole nail, capping the tip the same way you did with the base coat.
This layer is what actually protects the fine lines from lifting off during the next few days of normal hand use.
- Two or three design elements per nail
- Lines drawn with a full-size brush
- Design placed edge-to-edge on the nail
- Looks crowded within hours
- One accent per set, repeated simply
- Fine lines from a detail brush or dotting tool
- Deliberate negative space around the design
- Reads as clean days later
- Trim and shape nails
- Push back cuticles
- Apply thin base coat
- Paint base color, 1-2 coats
- Pick one focal point
- Switch to a detail brush or dotting tool
- Add design in minimal strokes
- Seal with top coat
Conclusion
You now have a set of short nails with art that actually fits the space it’s on, not squeezed into it.
The nails are shaped, sealed, and ready to show off without a single line fighting for room.
Next time, try repeating this same focal point across a full week of manicures in different colors — it’s the fastest way to build a signature look that always reads as clean nail art on short nails.
Save this pin so you have the steps ready next time you sit down to paint.


