
This post contains affiliate links. We may earn a commission at no extra cost to you.
Getting that clean white tip at home always looks easier in the tutorial than it feels on your own hand.
The polish bleeds past the edge, the line wobbles halfway across the nail, and one hand always comes out worse than the other because you’re not exactly ambidextrous.
None of that is really about skill — it’s about not having the right tools lined up before you start.
This list covers the seven tools that actually make a French manicure doable at home, from the guide stickers that give you a straight line without an artist’s hand, to the top coat that keeps the whole thing from chipping by Wednesday.
Nothing here requires a UV lamp or salon training. Most of these run under $12 each, and once you own them, they’re reused for every manicure after this one — not a one-time buy.
| Tool | What It’s For | Typical Price |
|---|---|---|
| French Tip Guide Stickers | A straight, even tip line without freehanding it | $6–$9 |
| French-Tip White Polish | Opaque white in one to two coats | $8–$10 |
| Fine Detail Brush Set | Freehand touch-ups and thinner tip lines | $7–$12 |
| 4-Way Buffer Block | Smoothing ridges before polish goes on | $6–$10 |
| Cuticle Pusher & Trimmer | A clean edge so the tip line doesn’t look crowded | $8–$14 |
| Nail Polish Corrector Pen | Fixing smudges without redoing the whole nail | $7–$11 |
| Fast-Drying Top Coat | Sealing everything so it survives the day | $8–$9 |
French Tip Guide Stickers — the One You Actually Can’t Skip
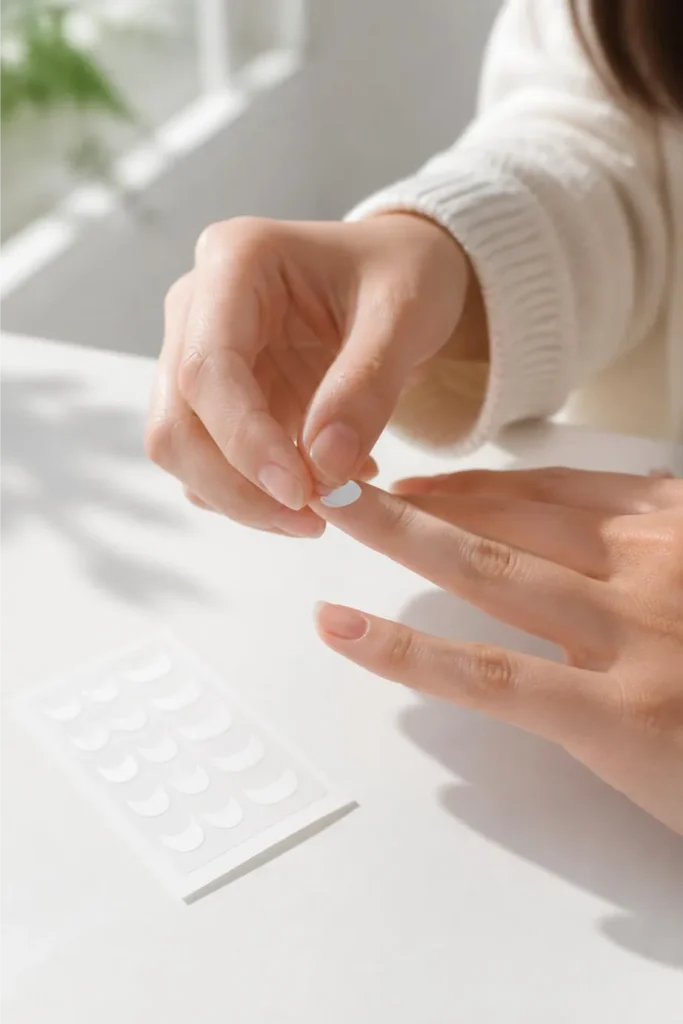
These are thin, curved, self-adhesive strips that stick to the nail exactly where the white tip should stop, so you paint over them and peel them off once the polish is dry.
A pack typically includes hundreds of guides across multiple sheets, which sounds excessive until you remember every finger needs its own size and you’ll mess a few up while you learn.
They work on natural nails, gel, and acrylic, and won’t pull up your base polish when removed if you wait until it’s fully dry.
- Self-adhesive vinyl, non-toxic
- Compatible with gel, acrylic, or regular polish
- Multiple shapes: classic moon, V-shape, wavy
- Reusable technique — buy once, use for months
Pros: removes the need for a steady freehand line; consistent results finger to finger; cheap enough to not worry about wasting a few.
Cons: placement takes a couple of tries to get symmetrical; peeling too early can lift wet polish.
French-Tip White Polish — the Color That Actually Needs to Show Up Opaque
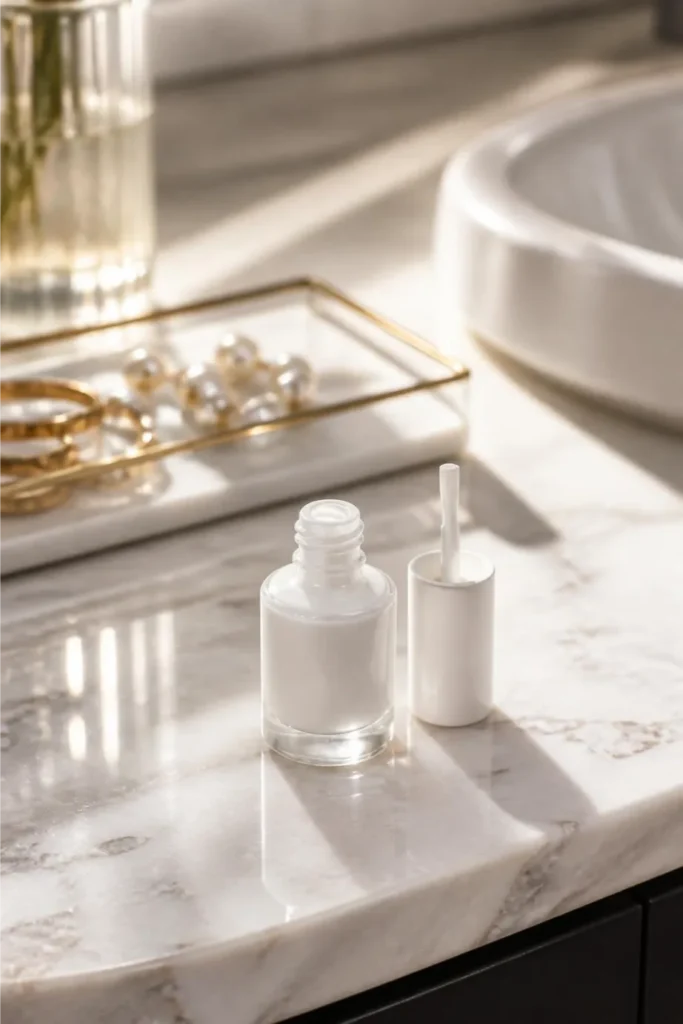
Not every white polish is opaque enough for a French tip in one coat — plenty go on streaky or slightly gray over the nail bed.
essie’s Gel Couture in “First Fitting” is a commonly recommended pick because it’s built for gel-like coverage without needing a UV lamp: two coats and a top coat, no lamp required.
It’s specifically an ivory-white shade, which reads a little softer and less stark than pure white on most skin tones.
- Gel-like formula, no lamp needed
- Curved brush designed for tip-line precision
- Reapply top coat around day 7 to extend wear
- Vegan formula
Pros: genuinely opaque in two coats; the brush shape helps hug the curve of the tip; removes like normal polish, no soaking required.
Cons: it’s a two-step system (color plus its own top coat), so budget for both if you don’t already have a compatible top coat.
Fine Detail Brush Set — for the Line You Want to Freehand
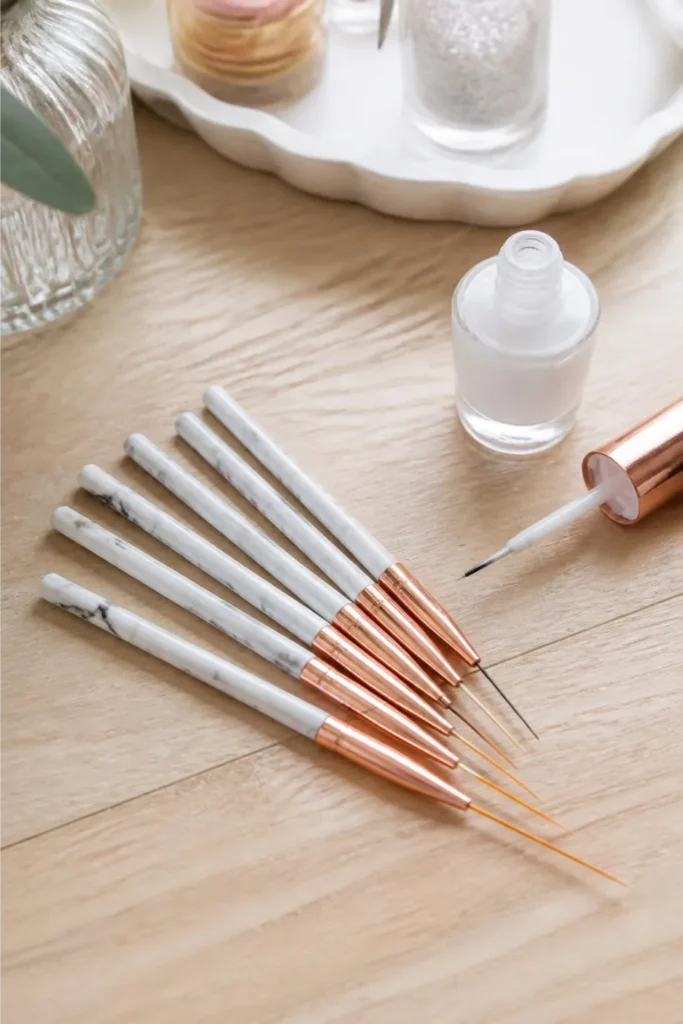
If you’d rather skip stickers entirely, or just want to clean up the edges the guides leave behind, a set of thin striping brushes in a few width options (often 5mm to 20mm) gives you the control that a standard polish brush can’t.
These are the same brushes used for nail art lines, dots, and fine detailing, not just French tips.
- Sets typically include 3–5 brush widths
- Synthetic bristles work with polish, gel, or acrylic paint
- Size markings on the handle so you’re not guessing
Pros: more control for a hand-painted look; useful beyond French tips for any nail art; inexpensive for what you get.
Cons: needs a steadier hand than the sticker method — expect a learning curve on your first few tries.
4-Way Buffer Block — the Step Everyone Skips and Shouldn’t
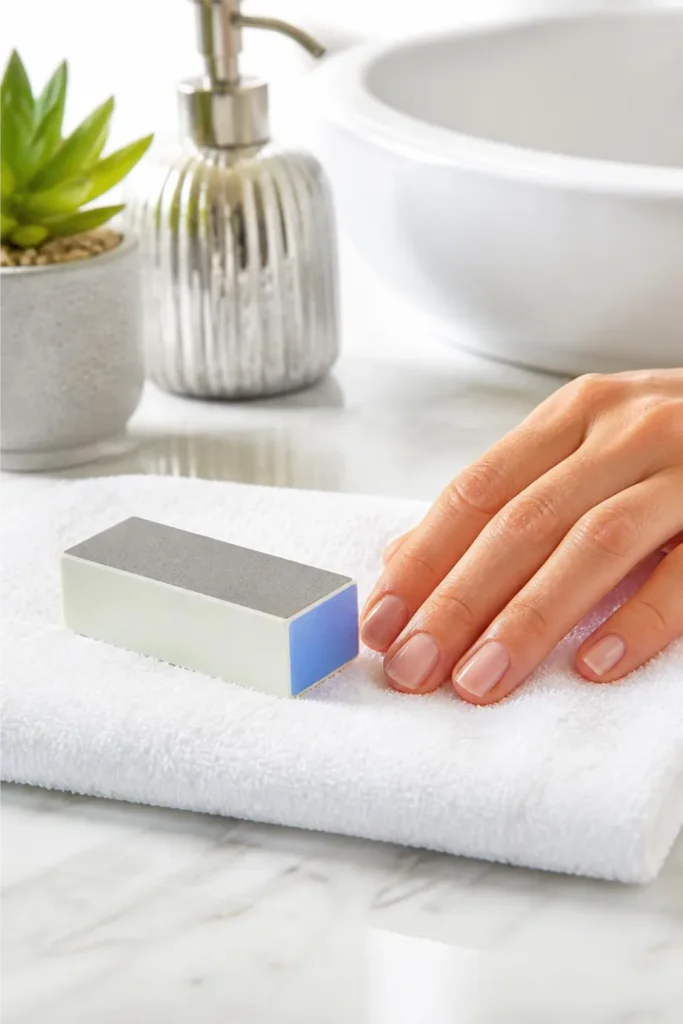
Painting directly over a ridged nail is the single fastest way to make a fresh manicure look uneven, no matter how good your tip line is. A 4-way buffer block — usually four grits in one tool, moving from coarse to a glass-like polish — smooths the nail bed in under a minute per hand before any polish goes on.
- Four grit levels in one block (commonly 120/240/600/3000)
- Reusable, no replacement pads needed
- Works on natural or acrylic nails
Pros: genuinely changes how smooth the final polish looks; takes barely any extra time; lasts a long time before wearing out.
Cons: over-buffing (going past what’s needed) can thin the nail plate over time — one full pass per side, not repeated scrubbing.
Cuticle Pusher & Trimmer — the Difference Between “Neat” and “Salon”
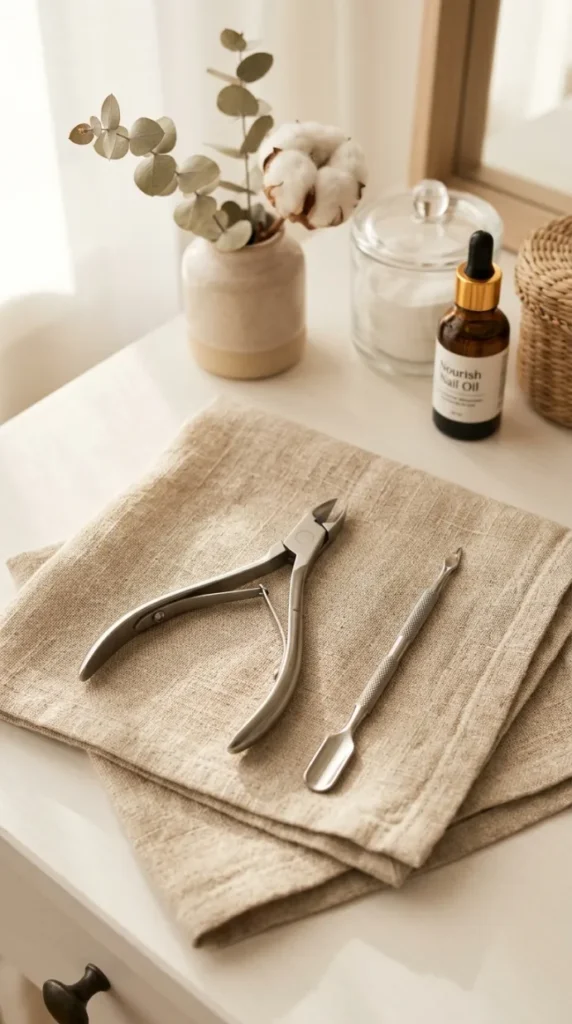
A tip line still looks off if the cuticle around it is ragged or overgrown onto the nail plate.
A basic stainless steel cuticle pusher and nipper set pushes back the cuticle and trims any excess, giving the whole nail a cleaner edge for the polish to sit against.
- Surgical-grade or tempered stainless steel
- Non-slip handles for close, careful trimming
- Often bundled with a pusher, nipper, and sometimes a filer
Pros: makes nails look salon-groomed even before polish; one-time buy, reused indefinitely; inexpensive for stainless steel.
Cons: trimming (not just pushing) carries a small nick risk until you’re comfortable with it — go slow the first few times.
Nail Polish Corrector Pen — for the Smudge You Will Absolutely Make
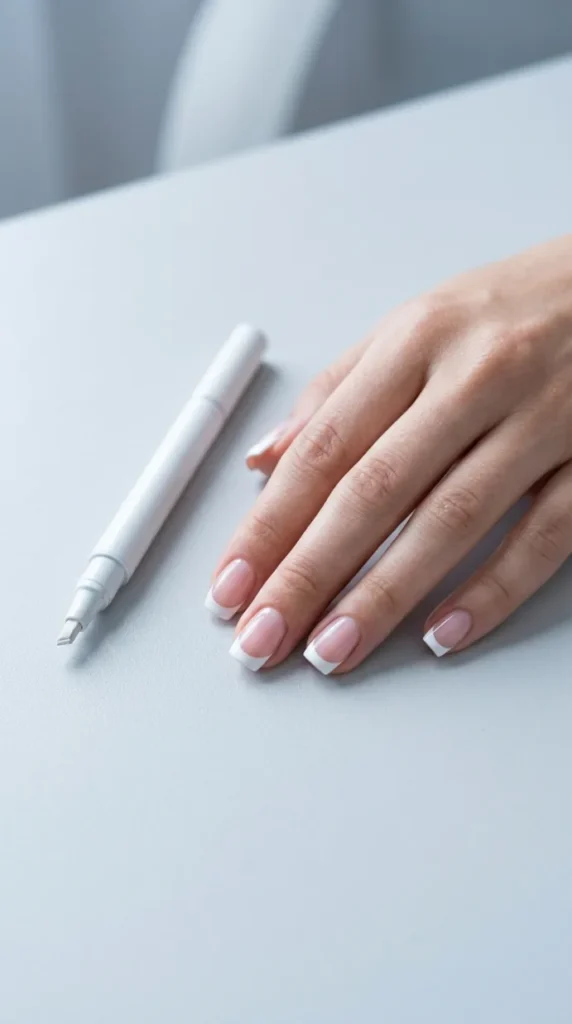
However careful you are, polish ends up on skin around the nail at some point, especially with a white shade that shows every mistake.
A corrector pen filled with polish remover lets you clean that up with a fine tip instead of a cotton swab that smears more polish than it removes.
- Fill with your own remover, refillable tips
- Fine point for cleaning edges and cuticles precisely
- Compact enough for a touch-up kit
Pros: far more precise than a cotton pad; saves a redo when one nail goes wrong; small enough to keep in a bag for on-the-go fixes.
Cons: needs to be refilled with remover periodically — it’s a tool, not a one-time-use item.
Fast-Drying Top Coat — the Step That Actually Protects the Work
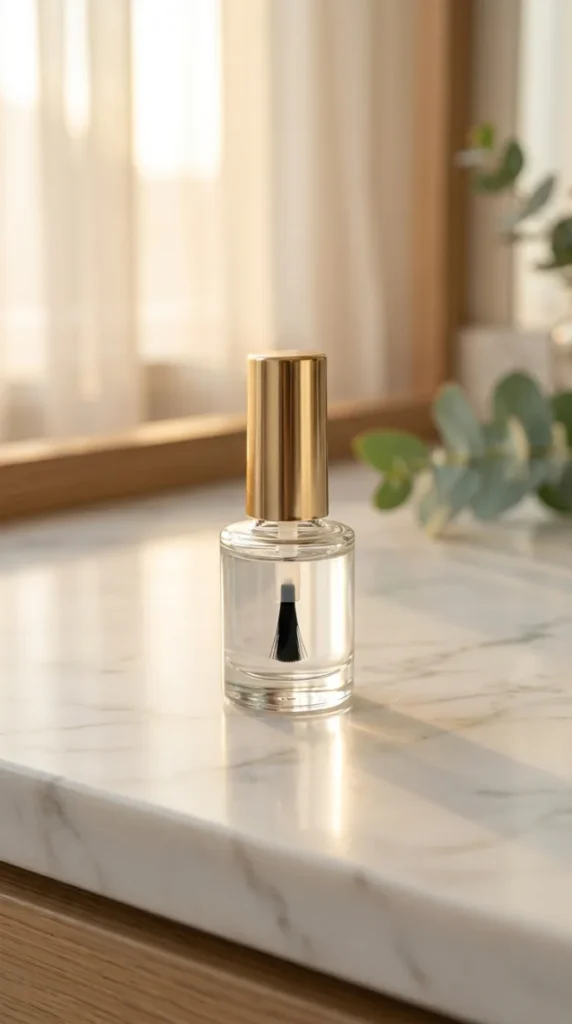
All of the above doesn’t matter much if the manicure chips two days later. A fast-drying top coat — Seche Vite is one of the most consistently recommended — seals the color and tip line into one hardened layer, and dries to the touch in under a minute per coat.
- Dries to touch in roughly a minute
- Adds high-gloss shine over the finished tip
- One bottle typically lasts several months of regular use
Pros: genuinely speeds up your total manicure time; noticeably extends how long the tips stay chip-free; small bottle goes a long way.
Cons: thick application can actually shrink and wrinkle as it dries — apply in one thin, even layer, not a heavy coat.
The Bottom Line
None of these seven tools are expensive on their own, but together they’re the actual difference between a French manicure that looks home-done and one that doesn’t.
Start with the guide stickers, the white polish, and the top coat if you’re only picking three — the rest just makes it faster and cleaner each time after that.
Check current prices before you buy, since nail tool listings shift often — but at these price points, building the full kit usually costs less than one salon visit.


