
Peeling off a hangnail, snagging your sweater on a jagged edge, or feeling a nail catch on your zipper — these are the tiny disasters that happen when nails aren’t shaped right.
If you’ve ever wanted to know how to file nails short and rounded without them looking uneven or feeling weak at the tips, you’re about to fix that for good.
This guide walks through exactly how to shape your nails from wherever they are now — long, broken, uneven — into a short rounded shape that resists breaking and looks tidy for weeks.
The method works because it follows the natural curve of your fingertip instead of forcing a straight or square edge onto a round shape, which is where most people go wrong.
You don’t need a salon visit or expensive tools. A basic nail file, a pair of clippers, and about **ten minutes** are enough.
Grab your file, sit somewhere with good light, and let’s get your nails looking clean and even.
- Nail clippers
- Fine-grit nail file (180–240 grit)
- 4-way buffer block
- Cuticle oil
- Soft cloth or tissue
- Wash and dry your hands
- Trim excess length with clippers
- Pick the right grit file
- File each side straight in toward the tip
- Round the corners into a soft curve
- Check your shape from above
- Smooth the underside edge with a buffer
- Finish with cuticle oil
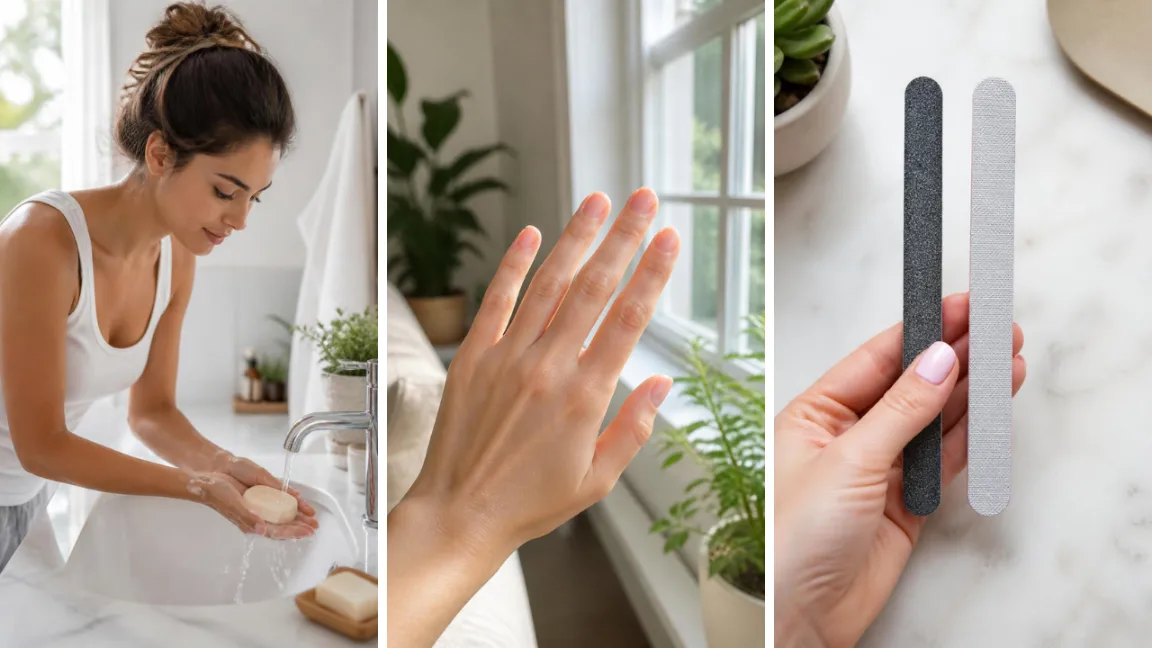
Step 1 — Wash and Dry Your Hands First

Oils, lotion residue, and dust on your nails make the file skid instead of grip, and skidding is how jagged, uneven edges happen.
Wash your hands with a mild soap, then dry completely. A file works best on dry nails — wet nails are softer and more likely to peel or split under pressure.
Give your hands **a full minute** to air dry before you pick up the file.
Step 2 — Trim Excess Length With Clippers
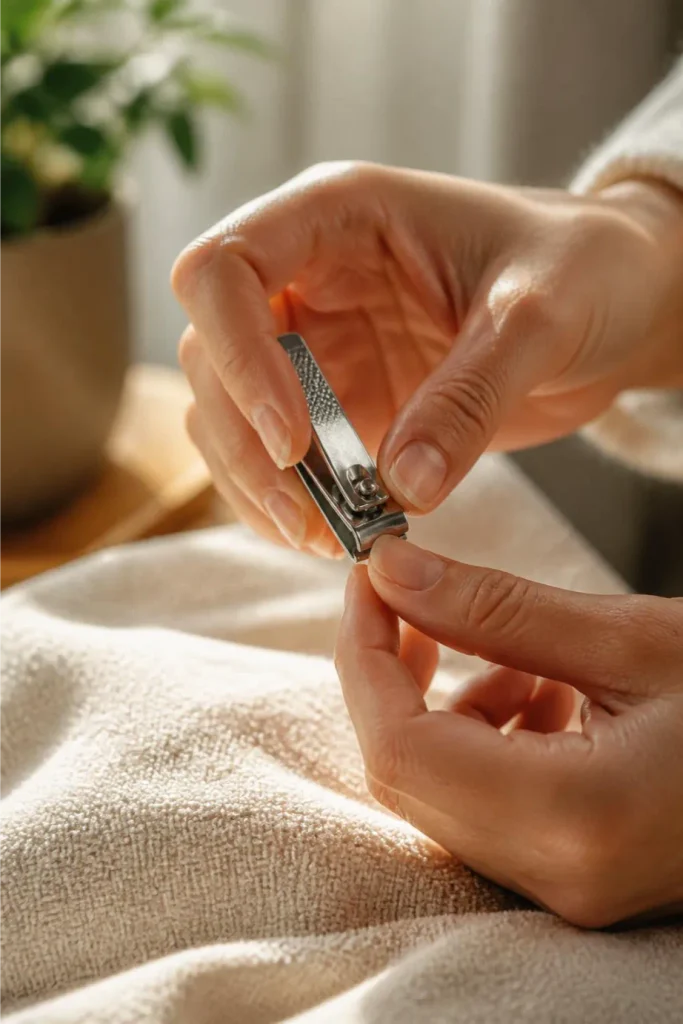
Already short? Skip ahead to the file. For longer nails, clip straight across, leaving about **1 millimeter** of white tip.
Cutting close first makes filing faster and lowers the odds of a nail snapping mid-shape.
Don’t cut flush against the skin — a nail trimmed too close to the fingertip is more prone to soreness or growing inward.
Step 3 — Pick the Right Grit File
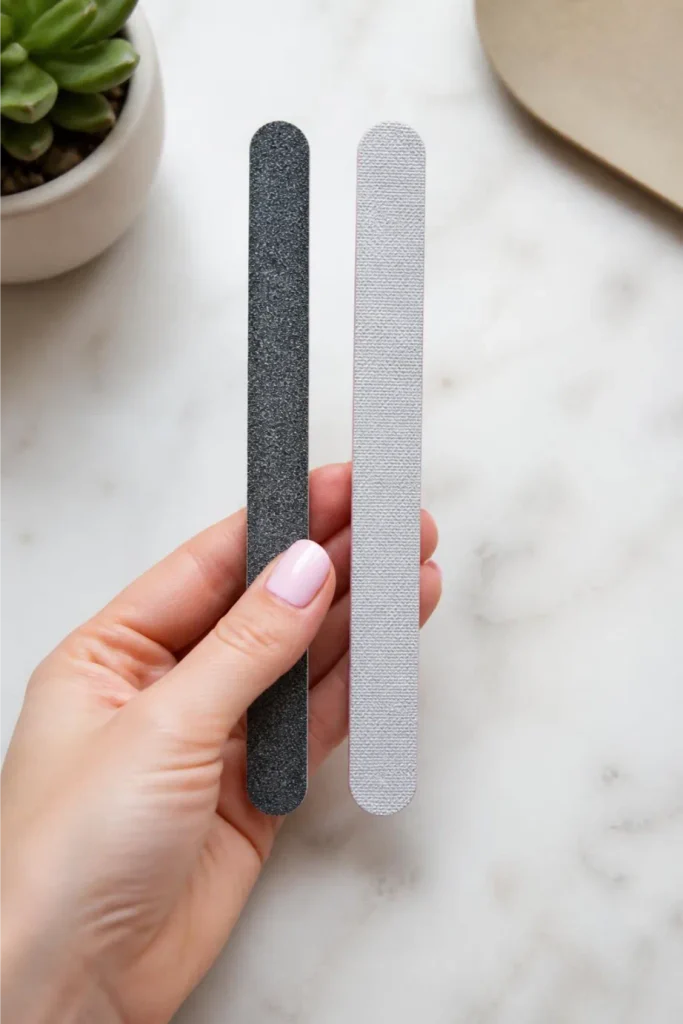
Not every file belongs on natural nails. A coarse file made for acrylics — **100 to 150 grit** — will shred and roughen a natural edge.
Reach for **180 to 240 grit** instead. No fine file at home? A sponge buffer works as a stand-in.
Step 4 — File Each Side Straight In Toward the Tip
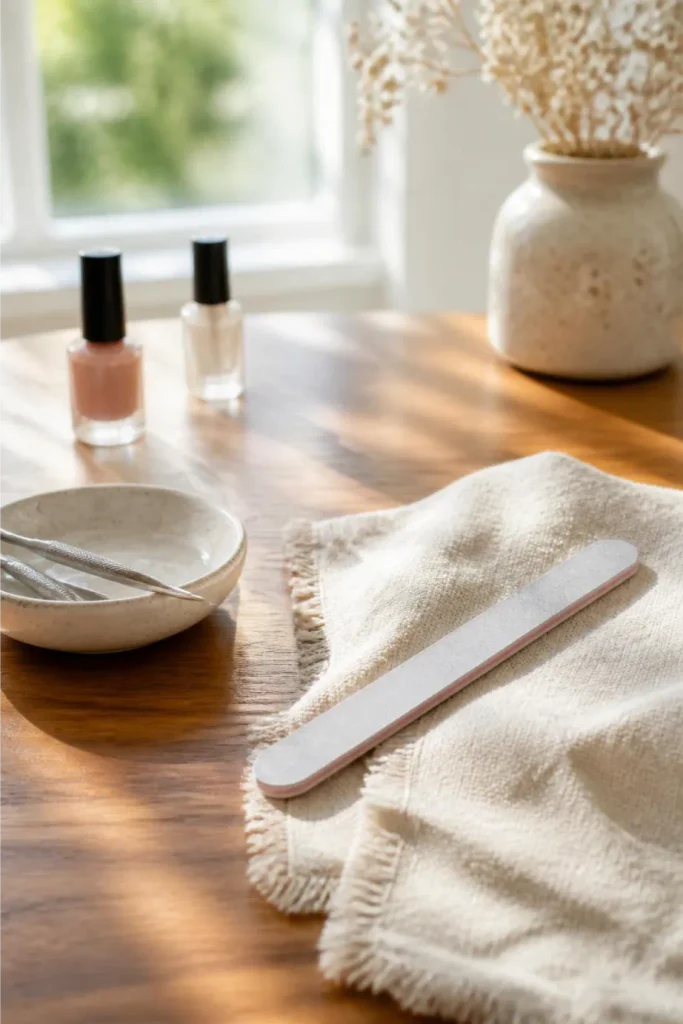
Hold the file at a slight angle — about **45 degrees** — against one side of the nail. Stroke from the outer edge inward toward the tip, always in the same direction.
Going back and forth saws through the nail’s layers and causes peeling later, even if the edge looks smooth right now.
Work one side, then switch to the other, keeping the same number of strokes on each so the shape stays even. **10 to 15 strokes** per side is usually enough for a short nail.
Step 5 — Round the Corners Into a Soft Curve
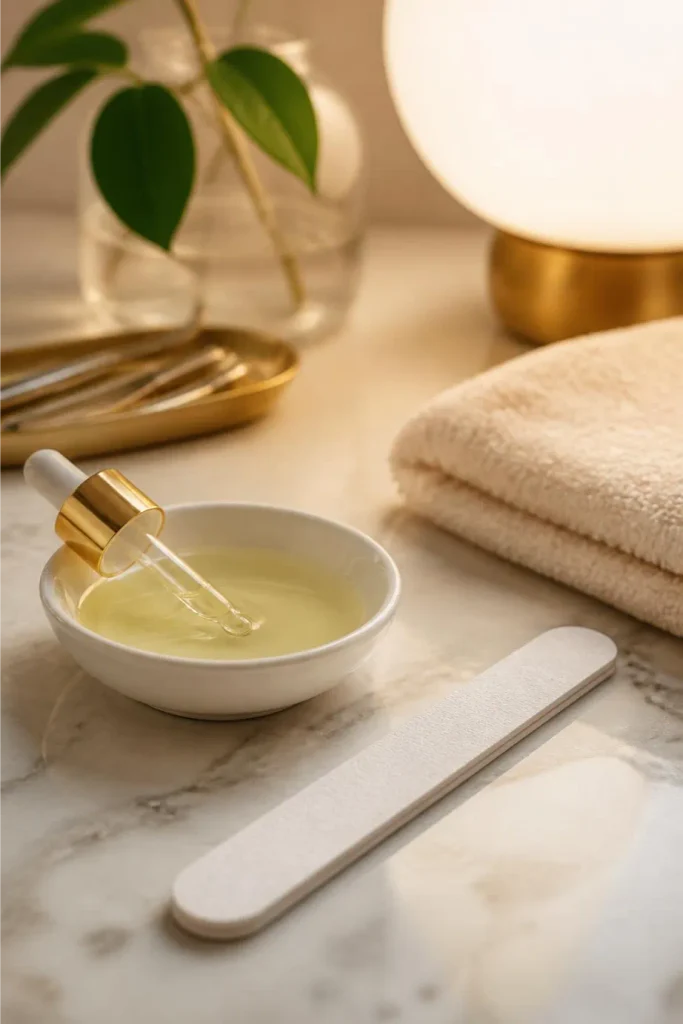
Sharp corners are the first place nails catch and chip. Turn the file slightly at each corner and use short, light strokes to soften the point into a gentle curve.
Follow the shape of your fingertip as a guide — the curve should mirror where your fingertip naturally rounds off, not extend beyond it.
Stop filing once the corner stops looking pointed. Overdoing this step is how a rounded shape accidentally turns into an oval.
Step 6 — Check Your Shape From Above
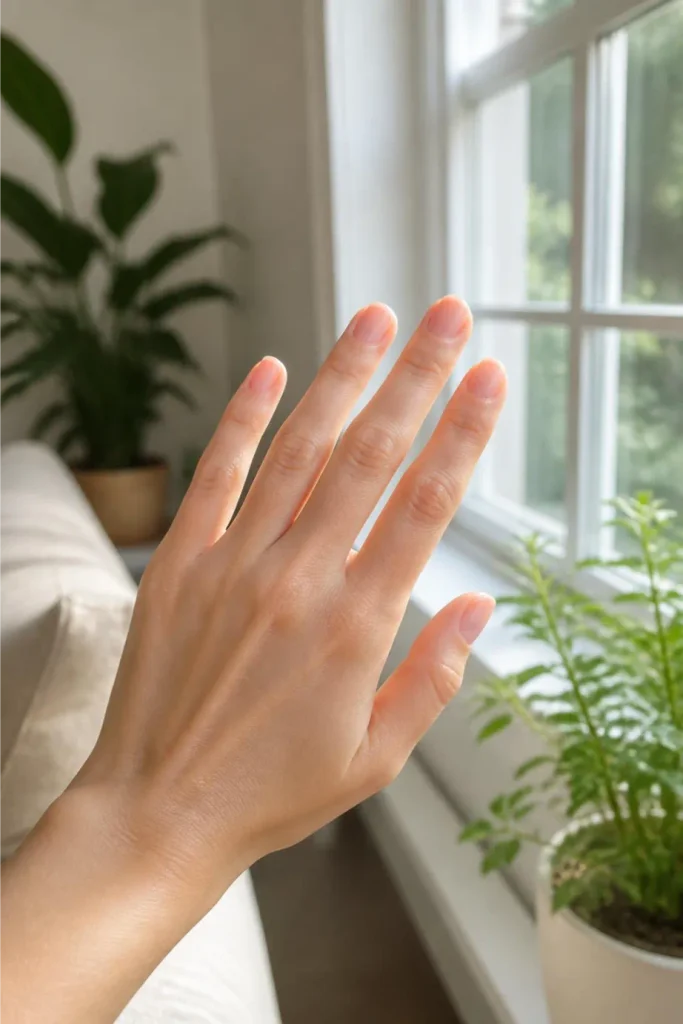
Hold your hand out at arm’s length, palm down, and look straight across your fingertips instead of down at an angle.
This view reveals unevenness that’s invisible up close — a nail sitting lower on one side, or a corner still sharper than its neighbor.
Compare each nail to the one beside it. If two look mismatched, a few extra strokes on the shorter side usually evens them out fast.
Step 7 — Smooth the Underside Edge With a Buffer
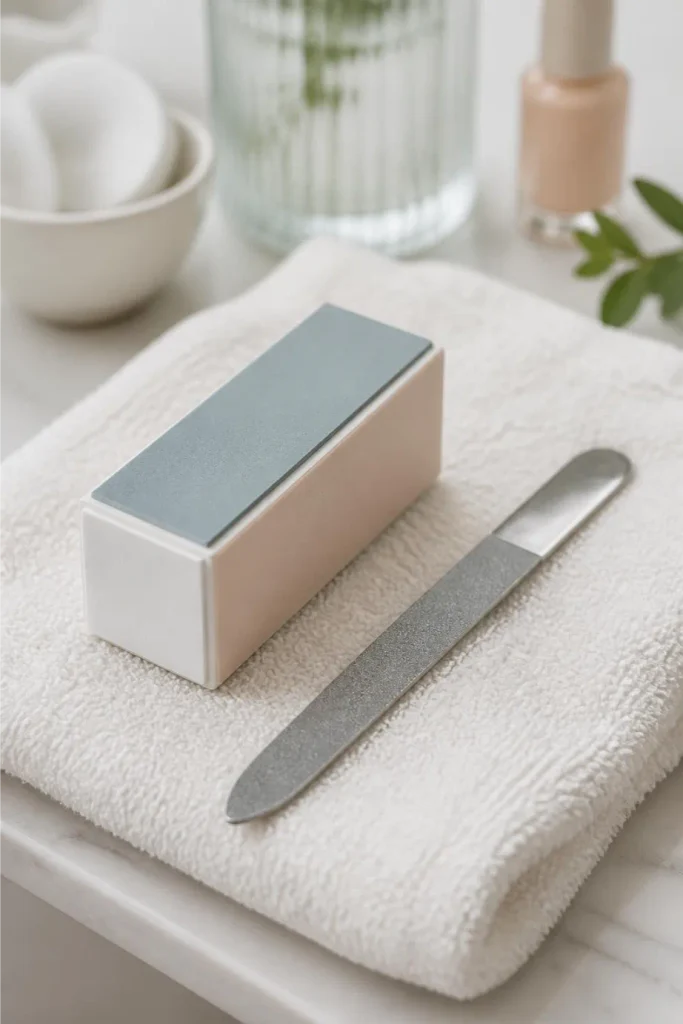
A file leaves microscopic ridges along the edge, even when it looks smooth to the eye.
Run the finer side of a 4-way buffer lightly along the underside of the tip, using **3 to 4 passes** in one direction.
This knocks down the roughness that catches on fabric or hair.
Press gently — buffing too hard thins the nail plate and makes the tip more likely to bend or crack within days.
Step 8 — Finish With Cuticle Oil
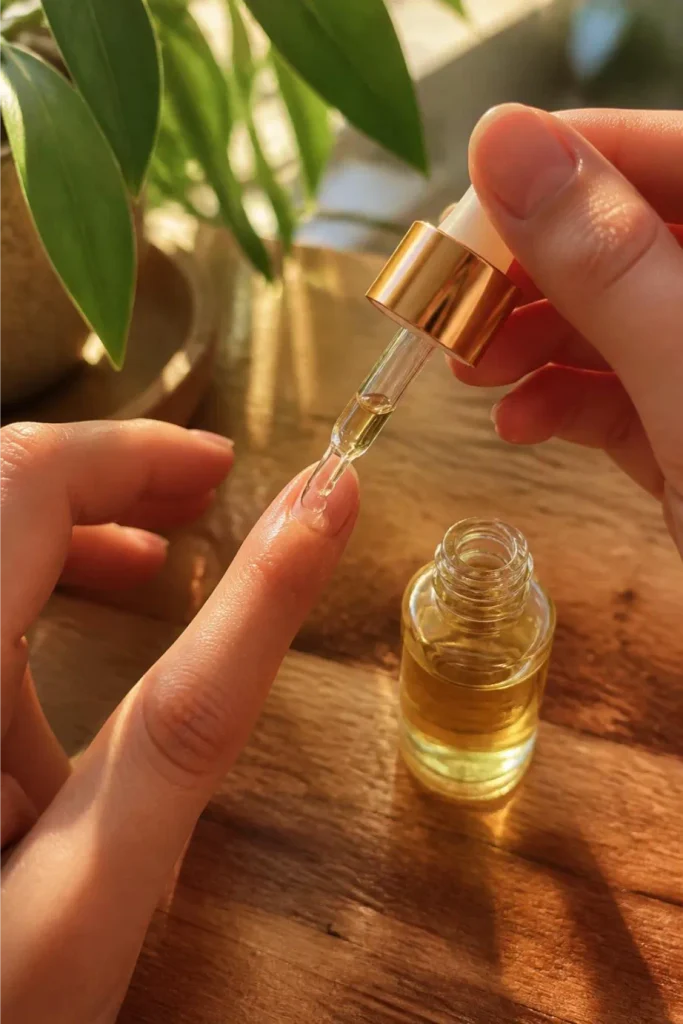
Filing pulls tiny dust particles into the surrounding skin and dries out the nail plate underneath.
A drop of cuticle oil massaged into the nail and surrounding skin for about **15 seconds** per finger replaces that moisture and lowers the odds of a hangnail forming overnight.
This is also a good moment for a final look — oil makes any leftover unevenness show up more clearly under light.
- Wash and dry hands
- Trim length with clippers
- Pick a 180–240 grit file
- File each side straight in, one direction
- Round corners into a soft curve
- Check shape from above
- Buff the underside edge lightly
- Finish with cuticle oil
## Wrapping Up
Your nails are now short, rounded, and smooth at every edge — no more snags on sweaters or zippers.
That soft curve you just filed will stay put for about a week before it needs a light touch-up.
Once you’ve got the shape down, try adding a simple polish or nail art look — short rounded nails are one of the easiest bases to work with. Save this guide so you have it ready for your next filing day.


