
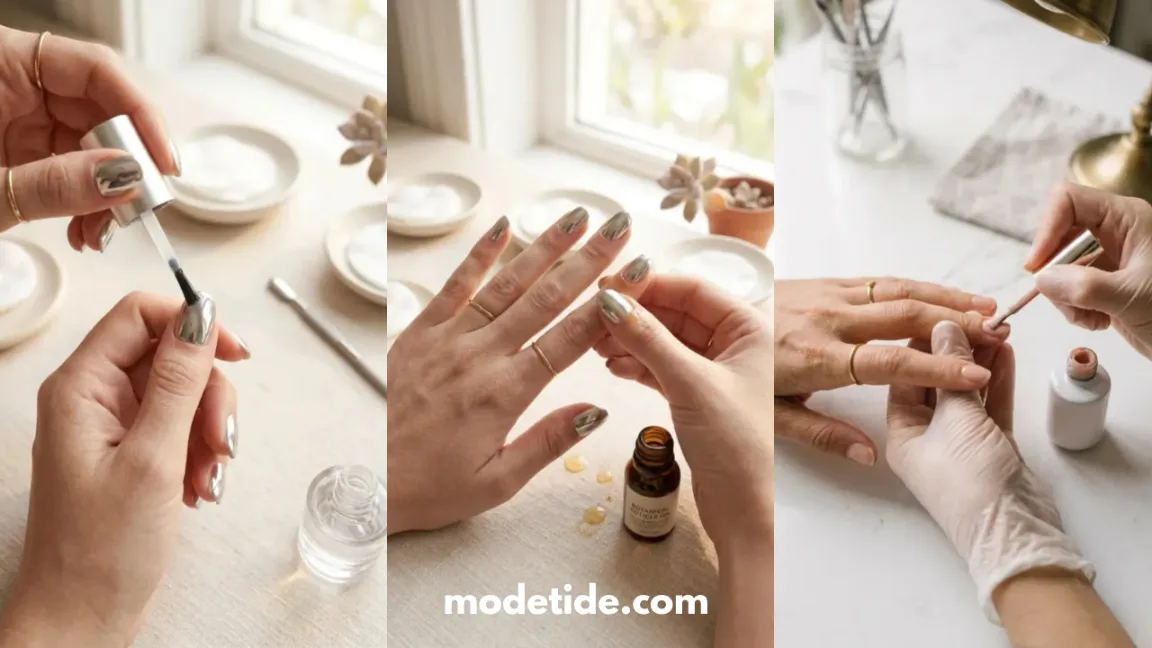
You want that mirror-chrome nail look, but you are not about to sit through a full acrylic set just to get it.
Good news — chrome nails without acrylic are entirely doable at home, using nothing more than the gel polish and top coat already sitting in your kit.
The chrome effect does not come from the base underneath; it comes from the mirror pigment powder buffed onto a fully cured, glass-smooth top coat.
This guide walks you through the whole process on natural nails: shaping and prepping, laying down an even gel color, and buffing on that chrome finish without streaks, fingerprints, or dull patches.
The entire thing takes about **45 minutes** from bare nail to finished shine, and most of that time is curing under the lamp, not active work.
You do not need an acrylic brush, monomer, or any extension skill — a basic gel manicure setup and a little patience during the buffing step will get you there.
By the end, you will have a full set of chrome nails that look like they came off a salon mirror finish, done entirely on your own natural nails.
Total Time
45 minutes
Active Time
25 minutes
Difficulty
Beginner
What You Need
- Nail file (180-grit)
- Buffer block
- Metal cuticle pusher
- Cuticle nippers
- Lint-free wipes
- 70% isopropyl alcohol
- Gel base coat
- Opaque gel polish (nude, white, or black)
- LED or UV nail lamp
- Silicone applicator or soft eyeshadow brush
- Chrome mirror powder
- No-wipe gel top coat
- Cuticle oil
At a Glance
- Shape and Buff Your Natural Nails
- Push Back and Trim Your Cuticles
- Apply a Thin Base Coat and Cure
- Apply Two Coats of Opaque Gel Color
- Apply a Top Coat and Leave It Tacky
- Buff Chrome Powder Into the Surface
- Seal Your Acrylic-Free Chrome Nails With a No-Wipe Top Coat
- Clean Up the Edges and Finish With Cuticle Oil
Step 1 — Shape and Buff Your Natural Nails
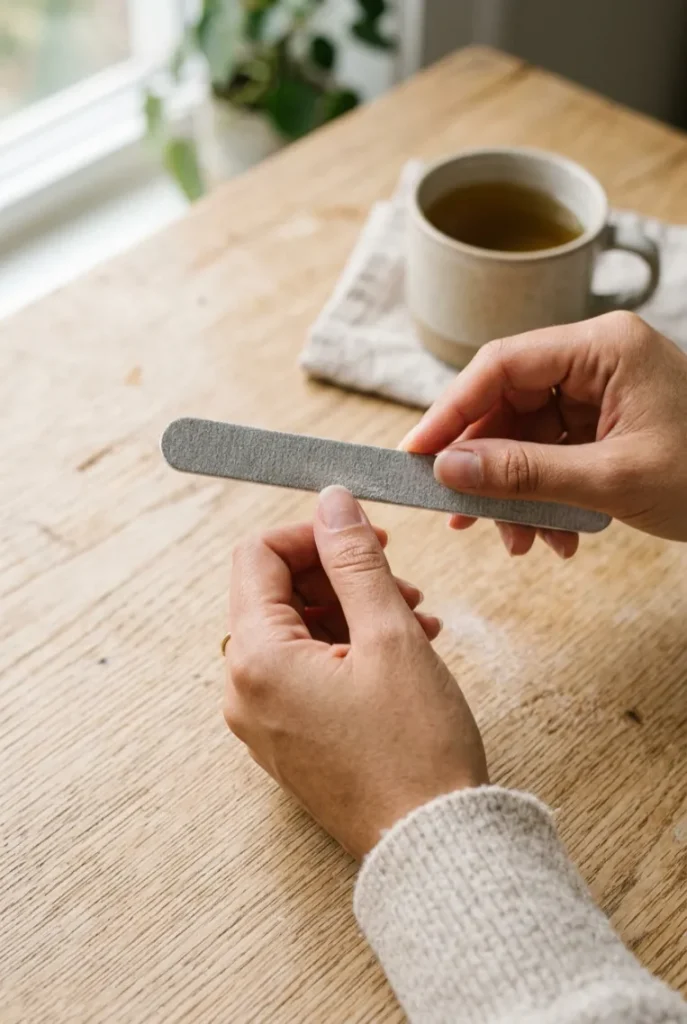
Grab a **180-grit** file and shape each nail into a short, even oval or square — whatever suits your nail bed.
Length matters here: nails longer than a **quarter-inch** past the fingertip tend to catch and peel sooner under gel.
Once the shape is set, run a buffer block lightly over the top of each nail in one direction only.
This knocks down the natural shine so the gel base has something to grip. Skip it, and your manicure lifts within days.
Step 2 — Push Back and Trim Your Cuticles
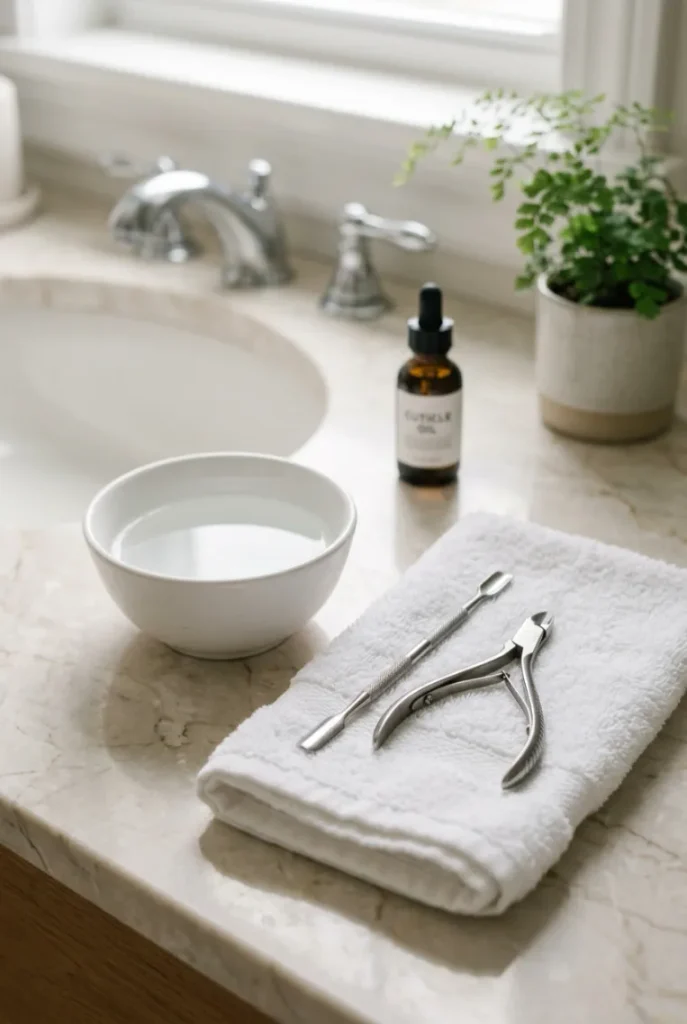
Cuticles hold moisture that chrome powder cannot forgive later. Clear them out in a few motions:
– Soak a cotton pad in warm water for **30 seconds**
– Press it against each nail bed for **one minute**
– Push the softened cuticle back with a metal pusher
– Snip only loose skin tags with cuticle nippers
Force nothing — glide the tool back instead of pressing hard, or you will nick the nail bed and it will sting under the top coat.
Step 3 — Apply a Thin Base Coat and Cure and Cure
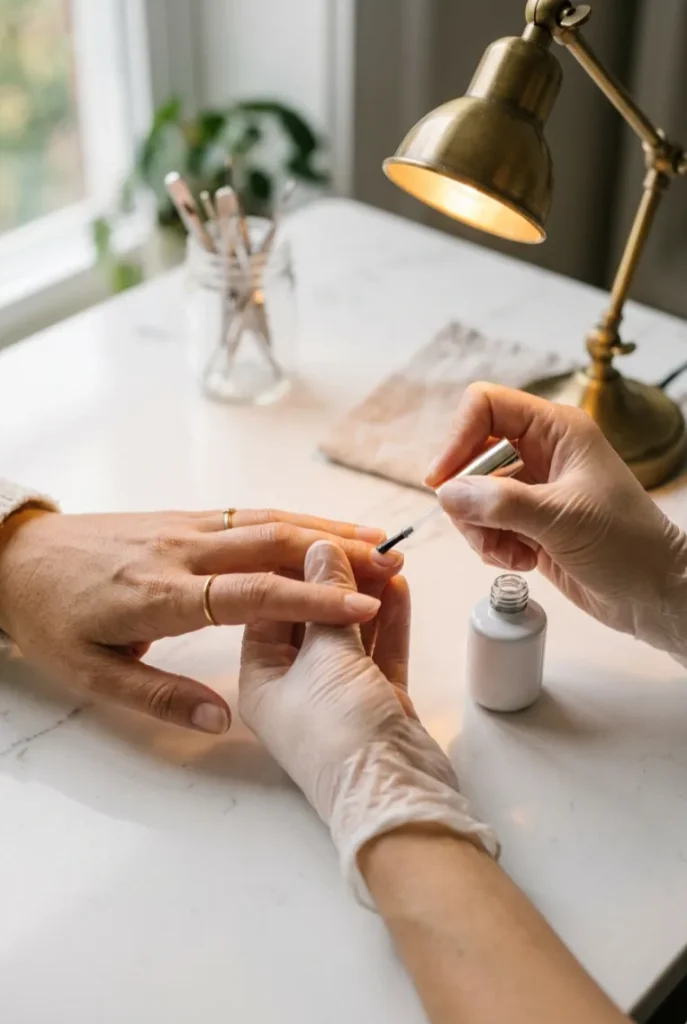
Wipe each nail with a lint-free pad soaked in **70% isopropyl alcohol** to strip away oils — chrome powder shows every speck of residue left behind. Brush on a thin layer of gel base coat, capping the free edge with a light sweep of the brush tip.
Cure under an LED lamp for **30 seconds**, or a UV lamp for **2 minutes**. A base that’s too thick wrinkles instead of curing flat.
Step 4 — Apply Two Coats of Opaque Gel Color
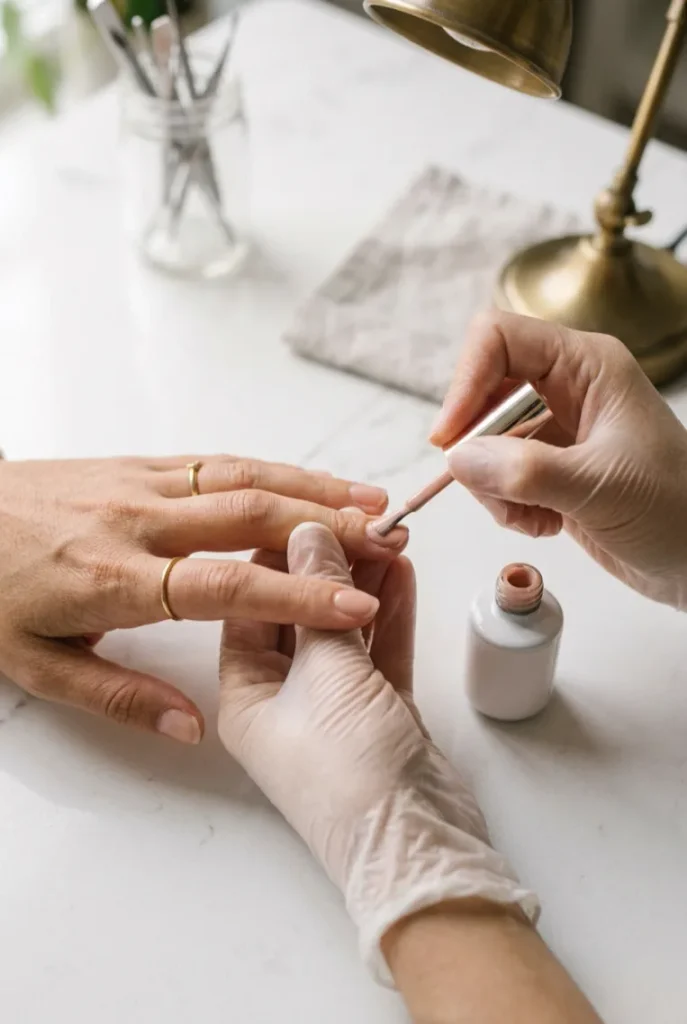
Color choice matters more here than in a regular manicure — chrome powder is see-through, so whatever sits underneath shows straight through it. Nude, white, and black gel polishes give the cleanest chrome finish; anything sheer will look cloudy once the powder goes on. Work through it in this order:
– Brush on one thin coat, avoiding the cuticle line
– Cure for **30 seconds** under LED (**2 minutes** UV)
– Apply a second coat for full opacity
– Cure again for the same time
Hold the nail up to the light after the second cure. If you can still see your nail bed through it, a thin third coat fixes it before you move on.
Step 5 — Apply a Top Coat and Leave It Tacky
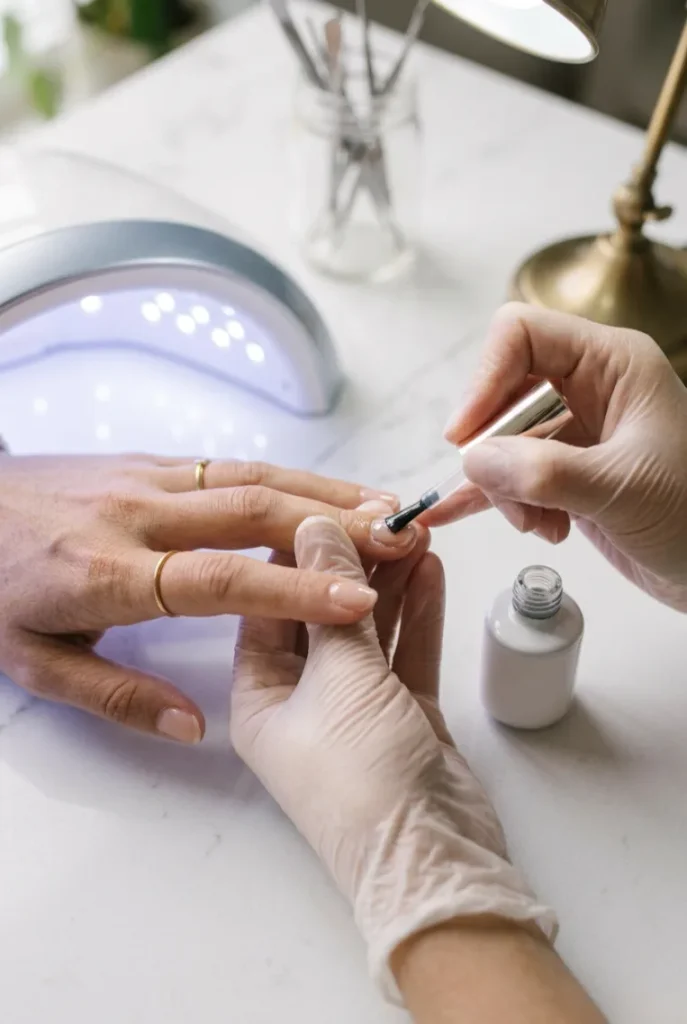
This is the step most beginners get backwards. Brush on a thin, even layer of regular gel top coat and cure for **30 seconds** under LED, or **2 minutes** under UV.
Do not wipe the nail afterward. Gel top coats cure with a naturally sticky surface layer, and that stickiness is exactly what lets the chrome powder grip and shine — wipe it away, and there is nothing left for the powder to bond to.
Step 6 — Buff Chrome Powder Into the Surface
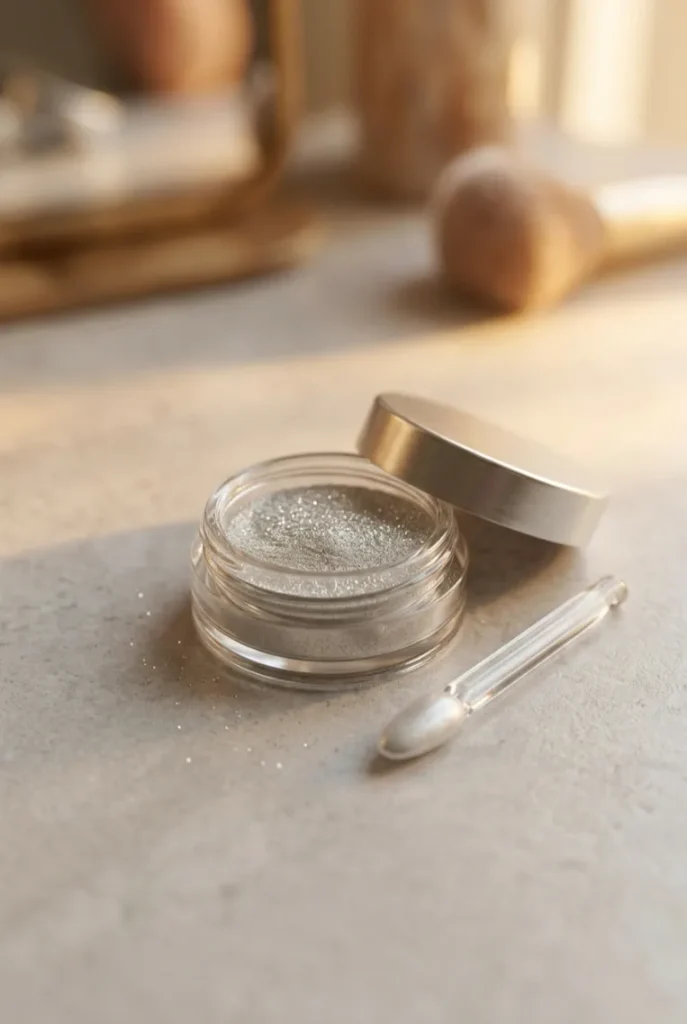
A little powder covers a lot of nail. Dip a silicone applicator or soft eyeshadow brush into the chrome pot and tap off the excess before touching your nail.
Rub it into the tacky top coat using small circular motions, working from the center outward.
The color shifts from dull gray to full mirror shine within seconds once enough friction builds up.
Cover the whole nail, including close to the cuticle line, then move to the next finger before the tackiness fades.
Heads Up: Patchy, streaky chrome almost always means the top coat lost its tackiness before you got to buffing. Work through nails one at a time instead of curing all ten at once, and if a spot won’t take the shine, add a tiny drop of top coat, cure for 10 seconds, then try again.
Step 7 — Seal With a No-Wipe Top Coat and Cure
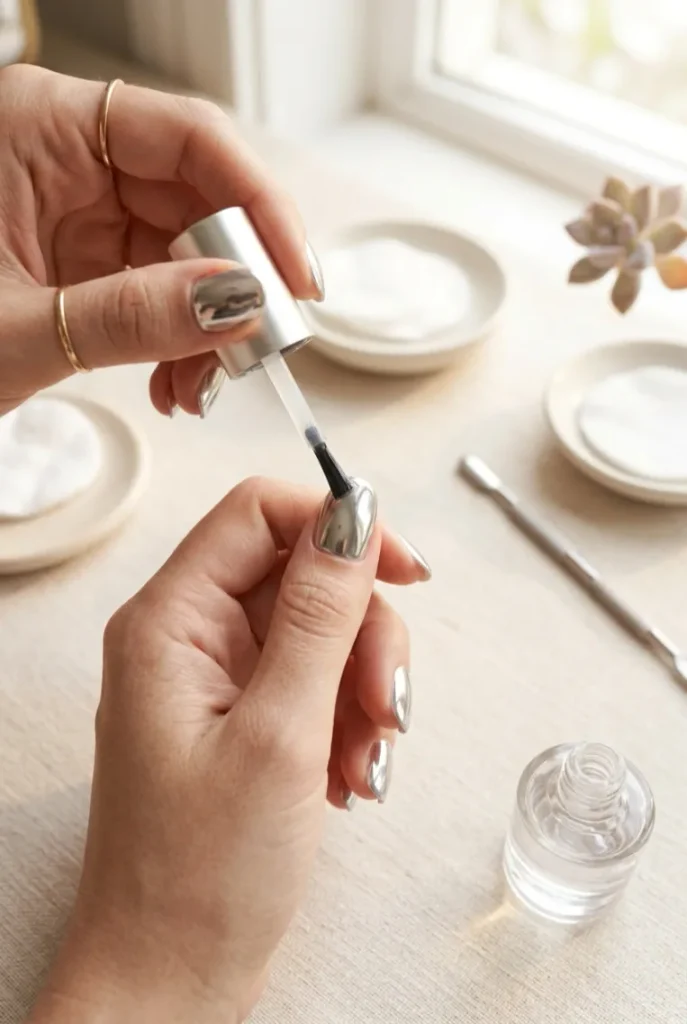
Chrome powder sits loosely on the surface until it’s locked in — brush against it now, and it smudges instantly.
Load the brush lightly with no-wipe gel top coat; too much product and the mirror shine turns cloudy or streaky. Cure for **30 seconds** under LED, or **2 minutes** under UV.
A no-wipe formula matters specifically here — a regular sticky top coat would drag the chrome finish right off when you tried to clean the edges next.
Step 8 — Clean Up the Edges and Finish With Cuticle Oil
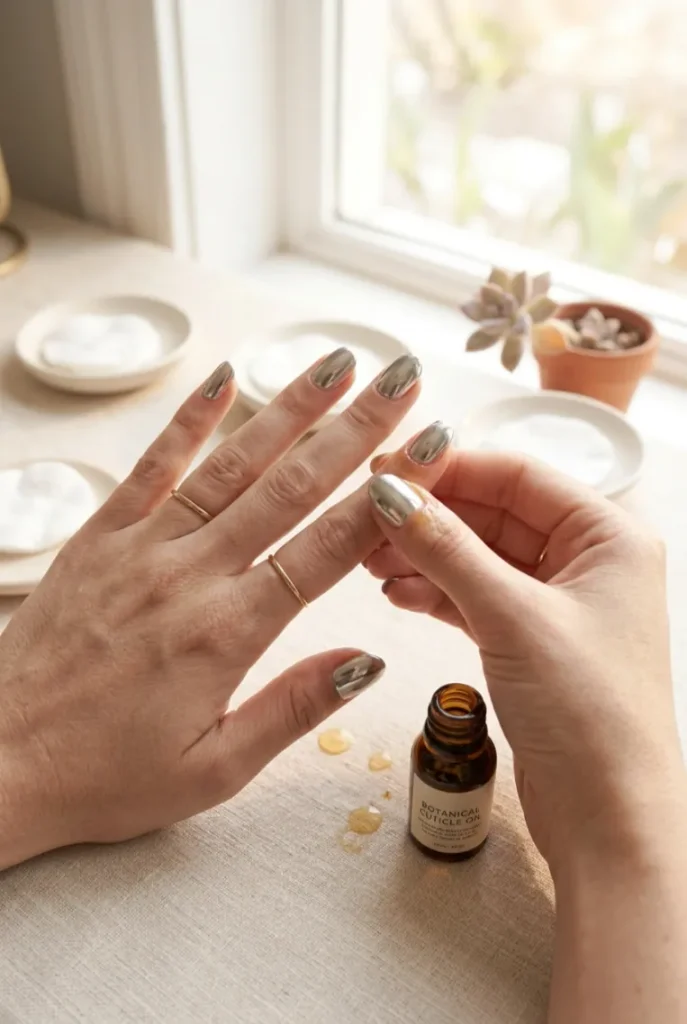
If any top coat crept onto the skin around your nail, it will show under bright light.
Dip a cuticle stick or damp cotton swab in isopropyl alcohol and gently scrape the excess away — do not scrub, or you will lift the edge of the cured gel.
Once the border looks clean, massage a drop of cuticle oil into each nail bed. It is not just polish; it rehydrates skin dried out by the alcohol wipes and the lamp curing.
Pro Tip: Reapply cuticle oil once a day for the first week. Chrome finishes chip fastest at the edges where skin oils and water exposure wear the seal down first — keeping the skin around it hydrated slows that down.
Common Mistakes to Avoid
Wiping the top coat before buffing
Chrome powder needs a tacky surface to bond to. If you wipe the top coat clean like a normal manicure, the powder has nothing to grip and just brushes off.
Skipping the alcohol wipe before base coat
Any leftover oil on the nail plate makes the base coat peel early, and chrome powder magnifies every lift and bubble underneath it.
Curing all ten nails at once
The tacky window closes fast. Working one hand fully, then the other, gives the top coat time to dry past its grip point before you get to buffing.
Using a sheer or glittery base color
Chrome powder is transparent. Anything but a fully opaque base shows through and dulls the mirror effect.
Frequently Asked Questions
Can I do chrome nails without a UV or LED lamp?
No. Gel base coat, color, and top coat all need lamp curing to harden. Regular air-dry polish will not create the smooth, tacky surface chrome powder needs.
How long does chrome nail powder last?
On natural nails sealed properly with no-wipe top coat, expect 7 to 10 days before noticeable chipping at the tips.
Can I use eyeshadow instead of chrome powder?
No. Eyeshadow lacks the fine mica particles that create a true mirror reflection, and it will not bond to a tacky gel top coat the way chrome pigment does.
Do I need a special brush to apply chrome powder?
A silicone-tip applicator gives the smoothest finish, but a clean, soft eyeshadow brush works almost as well for a first attempt.
Quick Reference: Chrome Nails Without Acrylic
What You Need:
File, buffer, cuticle pusher, isopropyl alcohol, gel base coat, opaque gel color, LED/UV lamp, chrome powder, applicator, no-wipe top coat, cuticle oil
Steps:
- Shape and buff nails
- Push back and trim cuticles
- Alcohol wipe, then base coat — cure
- Two coats opaque gel color — cure each
- Top coat, leave tacky — cure
- Buff chrome powder in circular motions
- No-wipe top coat to seal — cure
- Clean edges, finish with cuticle oil
Conclusion
That’s a full set of chrome nails, done without a single acrylic brush in sight. The mirror shine comes entirely from technique — a clean opaque base, a tacky top coat, and patient buffing — not from any special extension system.
Once this feels easy, try it over a colored gel base instead of nude for a tinted chrome look, or experiment with holographic chrome powder for extra shift in the light.
Save this pin so you have the steps ready next time you want that salon-mirror finish at home.


