
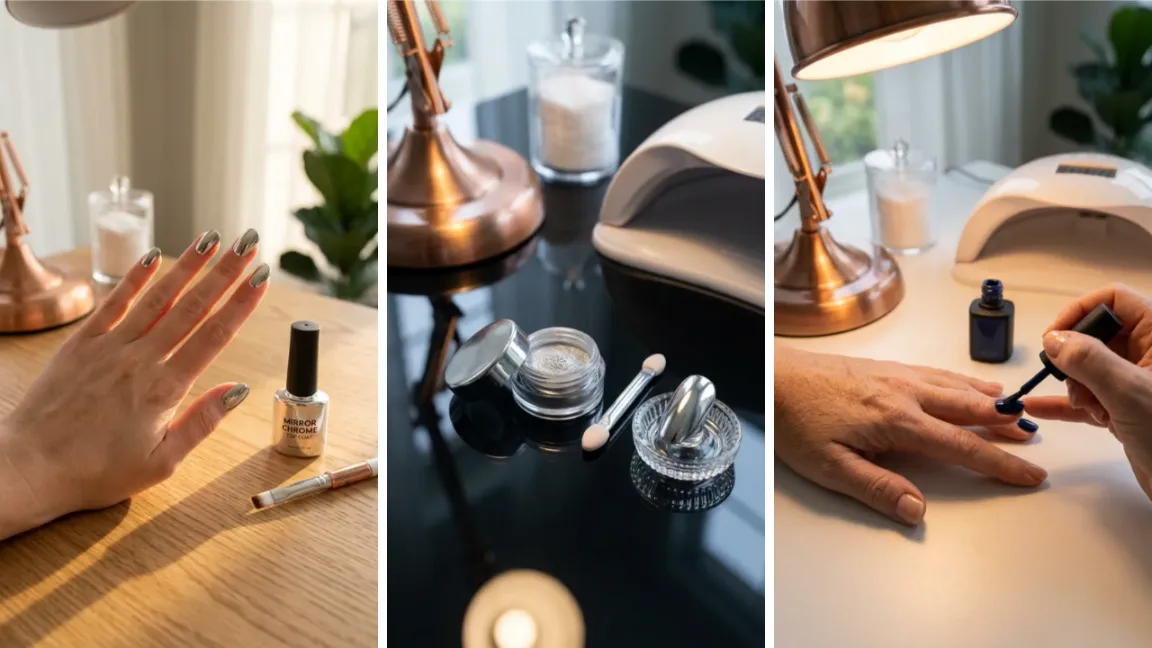
You’ve watched a hundred chrome nail videos on Pinterest and thought: that mirror finish looks impossible without a $60 salon visit.
It’s not. Chrome nails at home come down to three things done in the right order — a smooth nail bed, a tacky top coat, and the right rubbing motion with a small sponge applicator.
Skip any one of those and you get streaky patches instead of a full mirror shine.
This guide walks you through the entire process, from filing your natural nails to rubbing on the actual chrome powder until it catches the light like liquid metal.
You’ll need a UV or LED lamp for gel curing, which is the one non-negotiable tool — chrome powder only grips onto a gel top coat that hasn’t fully hardened on the outside yet. Regular polish will not work here.
Active time is about 45 minutes. Add cure time between coats and you’re looking at just over an hour, start to finish.
It is not a five-minute manicure, but it is a completely doable weekend project even if you have never touched gel polish before.
Clear your kitchen table, grab your supplies, and let’s get your nails mirror-bright.
- 180-grit nail file
- Buffer block
- Cuticle pusher
- Cuticle oil
- Lint-free wipes or cotton pads
- 91% rubbing alcohol
- Gel base coat
- Dark gel polish (black, burgundy, or navy)
- No-wipe gel top coat
- Chrome powder + silicone applicator
- UV or LED nail lamp
- Gather your chrome nail supplies
- Shape and file your nails
- Push back your cuticles
- Buff the nail surface for grip
- Wipe nails down with rubbing alcohol
- Apply and cure a thin base coat
- Apply and cure a dark gel color
- Apply and cure a no-wipe top coat
- Rub chrome powder on until it turns mirror-bright
- Seal the chrome and clean up the edges
Step 1 — Gather Your Chrome Nail Supplies
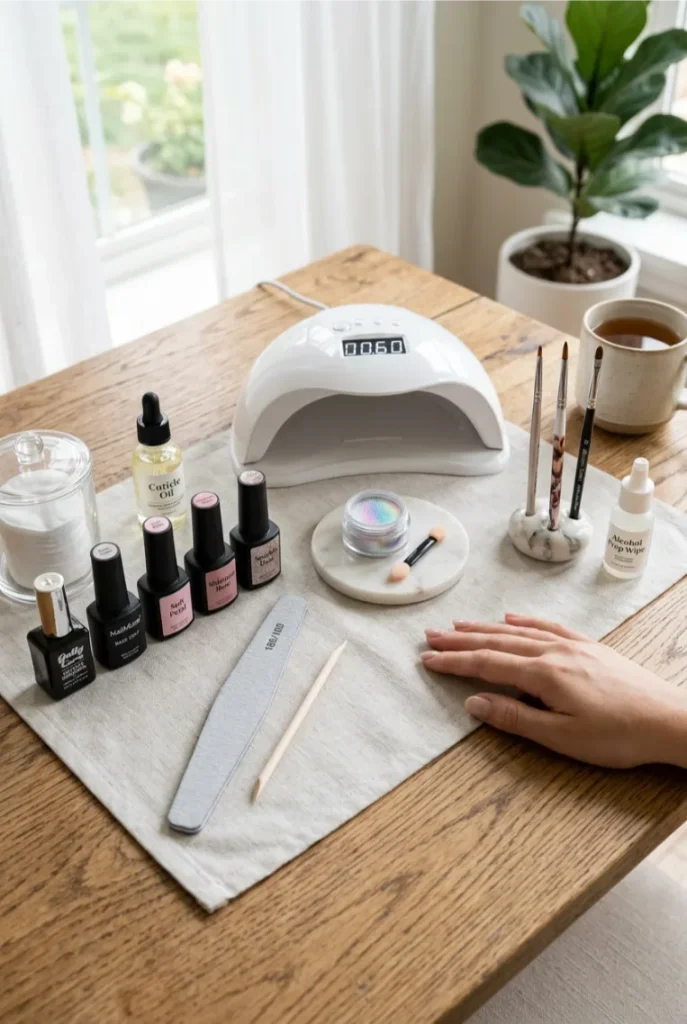
Once you cure your first coat, you can’t pause the project to go hunting for a missing tool.
Lay everything out on a clean surface within arm’s reach before you touch a single bottle: file, buffer, cuticle pusher, alcohol, all three polishes, your lamp, and the chrome powder with its applicator.
If you don’t have a silicone chrome applicator, a clean makeup sponge or the rounded tip of a cotton swab works almost as well.
Step 2 — Shape and File Your Nails
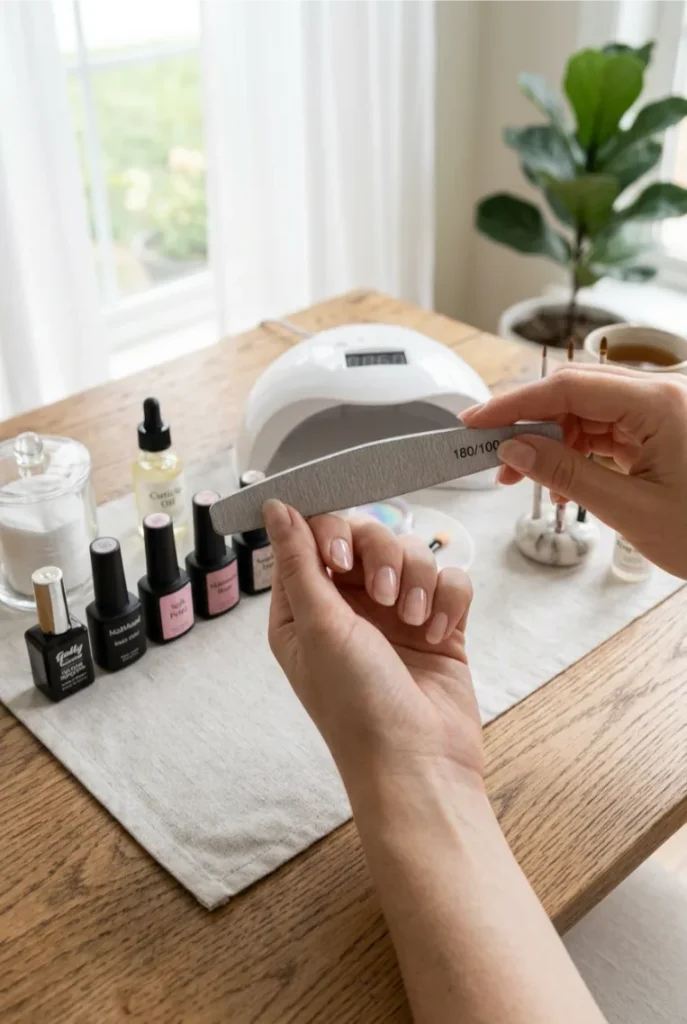
Chrome reflects light like a mirror, which means it also reflects every uneven edge underneath it.
File each nail into your chosen shape using a 180-grit file, moving in one direction instead of sawing back and forth — sawing weakens and splits the nail tip.
Check the length against your other hand before moving on.
Uneven length is the easiest flaw to fix now and the hardest to hide once the chrome goes on.
Step 3 — Push Back Your Cuticles
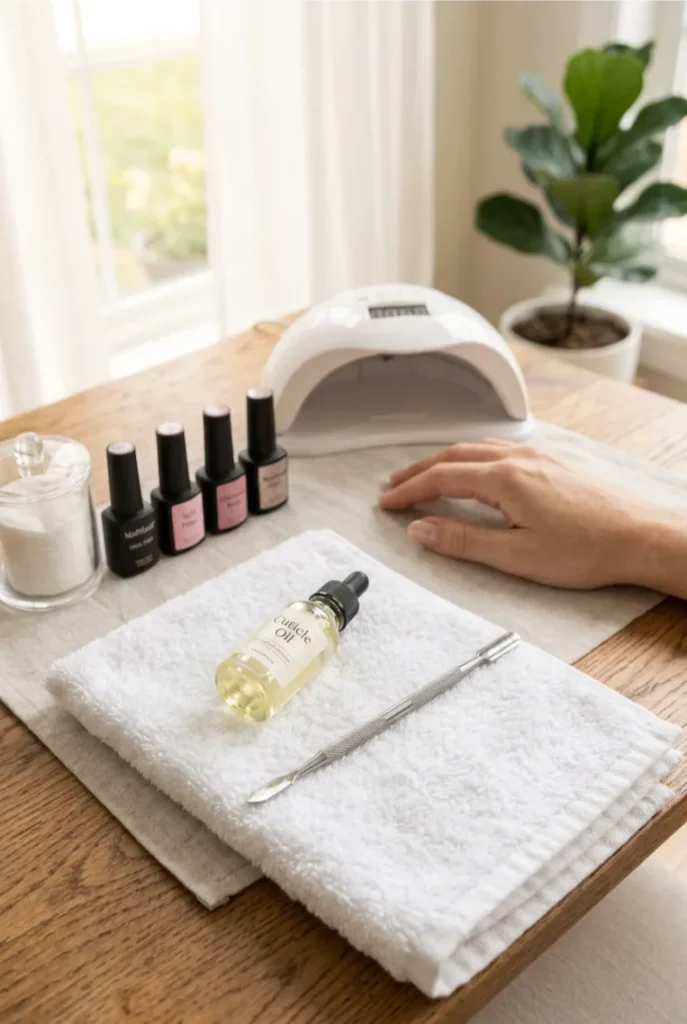
Skin that overlaps onto the nail plate gives chrome nothing solid to grip, so it lifts and peels within days.
Soften cuticles first, then work from the base toward the tip:
- Apply a small dot of cuticle oil to each nail
- Let it sit for 2 minutes
- Gently push the softened skin back with a cuticle pusher, never cutting living skin
Wipe any oil residue off before continuing — oil left on the nail blocks the base coat from bonding.
Step 4 — Buff the Nail Surface for Grip
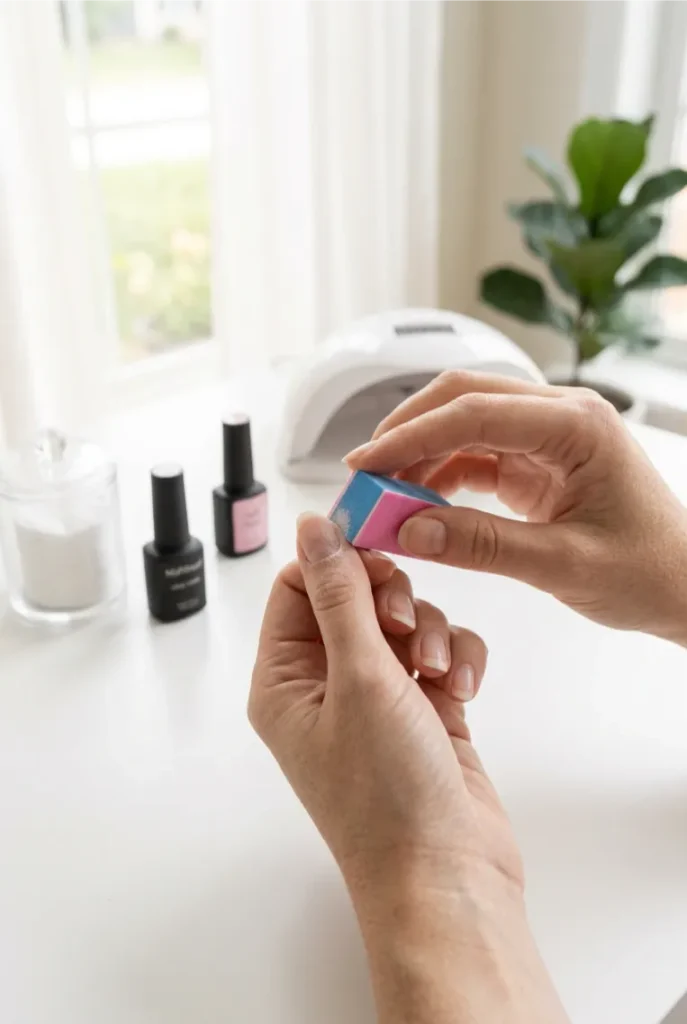
A shiny nail plate reflects polish poorly and lets it slide right off in the first few days.
Run a buffer block lightly across each nail, moving in one direction, until the surface looks matte instead of glossy.
Focus only on removing shine — you are not trying to thin the nail. Ten to fifteen light passes per nail is usually enough.
Over-buffing weakens the nail and can make it sting afterward.
Step 5 — Wipe Nails Down with Rubbing Alcohol
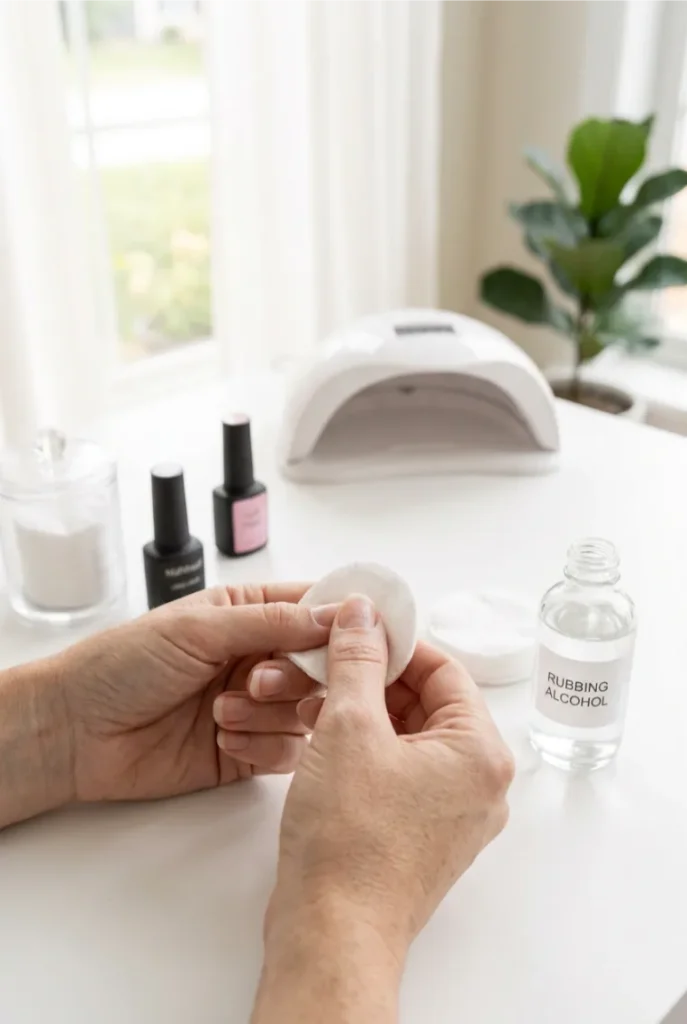
One pass with a dry cotton pad will not remove buffing dust hiding in the ridges.
Soak a lint-free pad in 91% rubbing alcohol and wipe each nail in a single direction, flipping to a clean section of the pad for every finger.
Let nails air dry for 30 seconds before touching the next step — don’t blow on them, since that reintroduces moisture from your breath.
Step 6 — Apply and Cure a Thin Base Coat
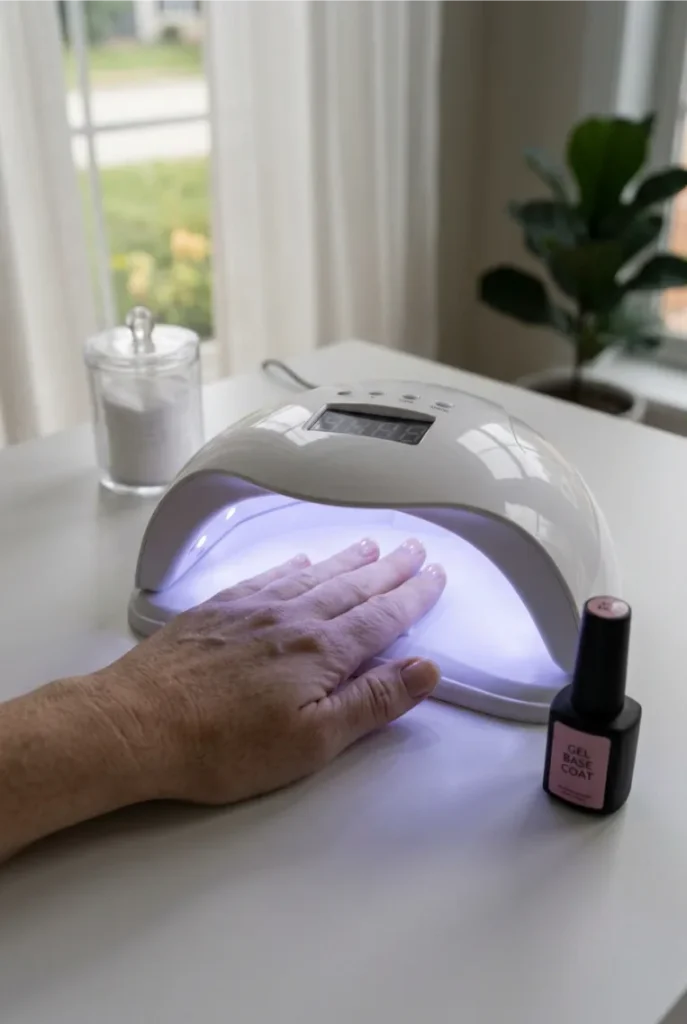
If your base coat looks a little streaky straight out of the bottle, that’s normal — it’s built to be sheer. Brush on one thin layer, capping the free edge of the nail with the brush tip so polish wraps slightly under the tip.
Keep the coat off your cuticle skin to prevent lifting later. Cure under an LED lamp for 30 seconds or a UV lamp for 60 seconds.
A thin coat cures all the way through; a thick one stays soft underneath even after the timer ends, and that softness will show up as dents later.
Step 7 — Apply and Cure a Dark Gel Color
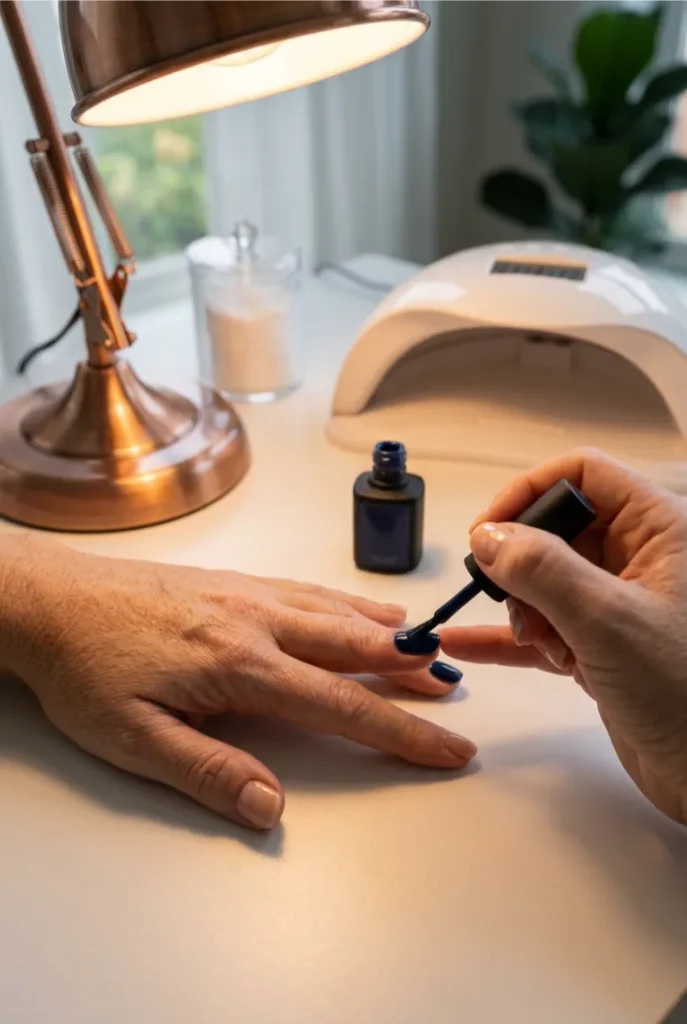
Dark shades like black, burgundy, or deep navy make chrome look nearly liquid once it’s finished — lighter colors let the base show through and mute the mirror effect.
Brush on one thin coat, cap the tip, and cure for 30 seconds under LED or 60 seconds under UV.
Two coats give you full, even opacity. Cure each one separately; stacking wet coats traps uncured gel underneath, which stays tacky and dents under pressure for days.
Step 8 — Apply and Cure a No-Wipe Top Coat
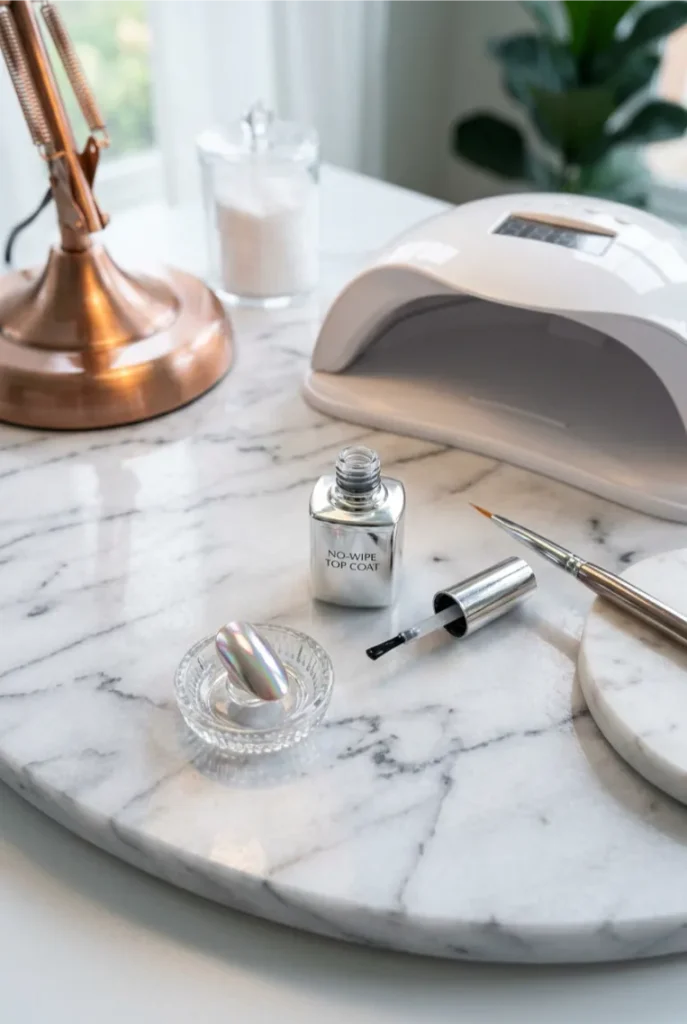
This is the step that actually makes chrome possible.
A regular top coat cures to a fully hard, sealed finish that chrome powder slides right off of — a no-wipe formula leaves a thin tacky layer on the surface after curing, and that stickiness is what the powder grabs onto.
Brush on one even layer, avoiding the skin around your cuticles, then cure for 30 to 60 seconds depending on your lamp.
Step 9 — Rub Chrome Powder On Until It Turns Mirror-Bright
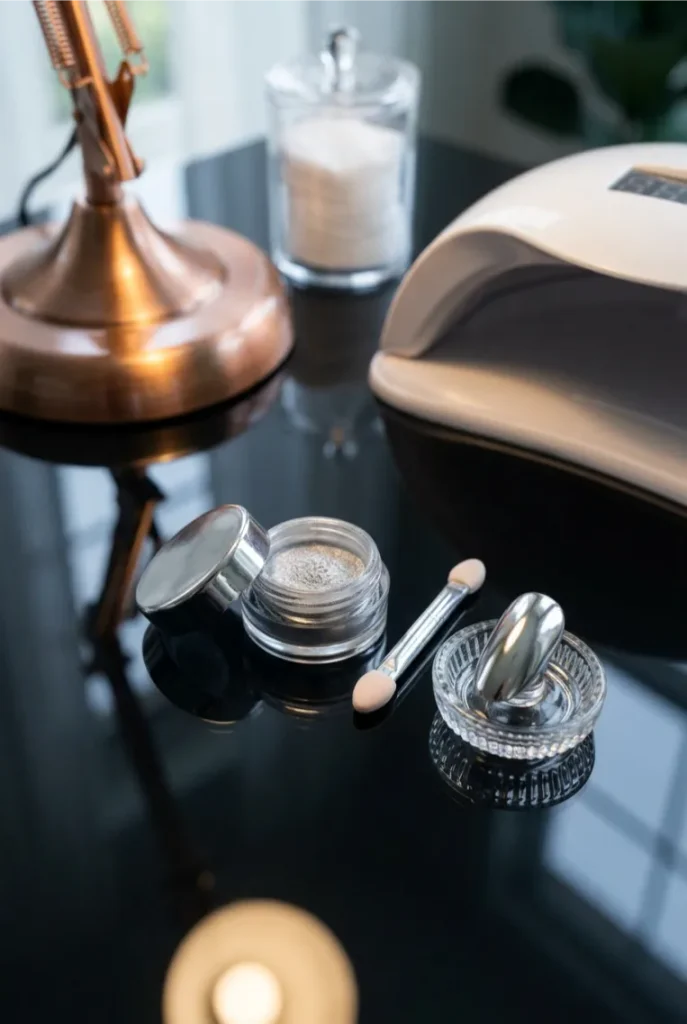
Dip your applicator into the chrome powder, tap off the excess, and rub it directly onto the tacky nail using small circular motions.
Coverage happens fast — most nails go from dull to full mirror shine in under 10 seconds.
Work one nail at a time so the tack doesn’t fade before the powder goes on.
Step 10 — Seal the Chrome and Clean Up the Edges
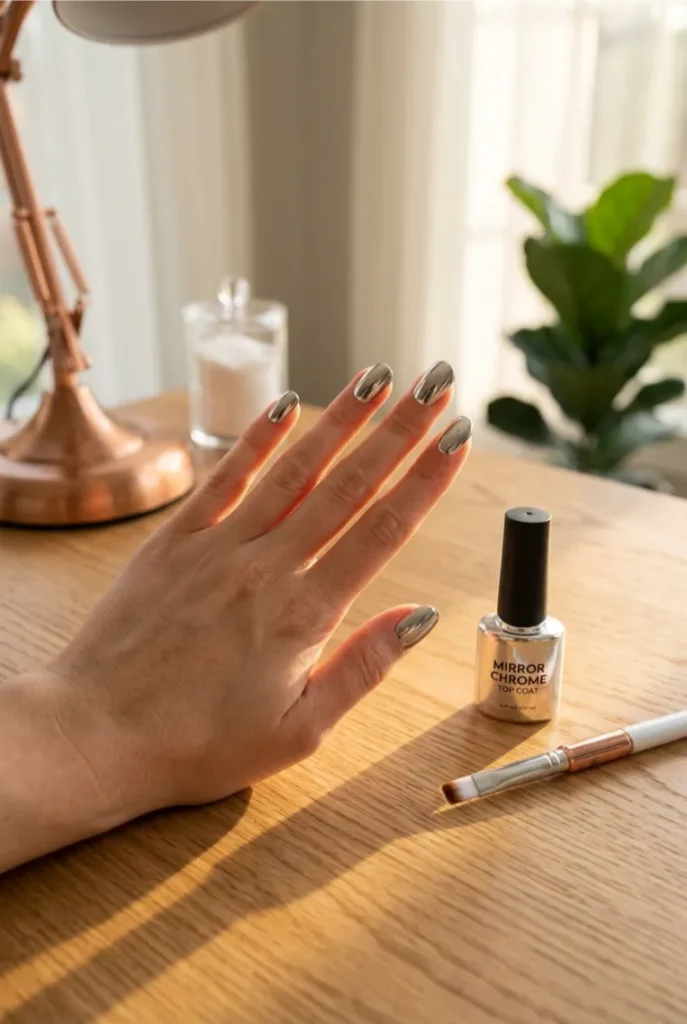
Loose chrome powder sits on top of the skin around your nails and needs to come off before it grabs onto your top coat and looks messy.
Use a small angled brush or a dry cotton swab to sweep away stray powder from the cuticle area and fingertips.
Once nails are clean, cure under your lamp again for a final 30 seconds — this locks the chrome in place.
Finish with one thin layer of a regular sealed top coat over the chrome to protect the shine from scratching and lock in your finish for a longer-lasting mirror look.
- Gather all supplies before starting
- File nails into shape, one direction
- Push back cuticles after oil softens them
- Buff nail surface until matte
- Wipe with rubbing alcohol, let dry
- Apply and cure thin base coat
- Apply and cure dark gel color, two coats
- Apply and cure no-wipe top coat
- Rub chrome powder on until mirror-bright
- Clean edges, cure again, seal with top coat
Your nails now have that liquid-mirror finish you’ve been saving on Pinterest for months — and you did it at your own kitchen table.
The trick was never talent. It was getting a proper tacky top coat and working fast before that tack faded.
Next time, try this same method with a colored chrome powder like rose gold or holographic silver for a different look using the exact same steps. Chrome nails at home get easier every time you do them, so don’t worry if your first set isn’t perfectly even.
Pin this now so you have the steps ready next time your polish starts to chip.


