
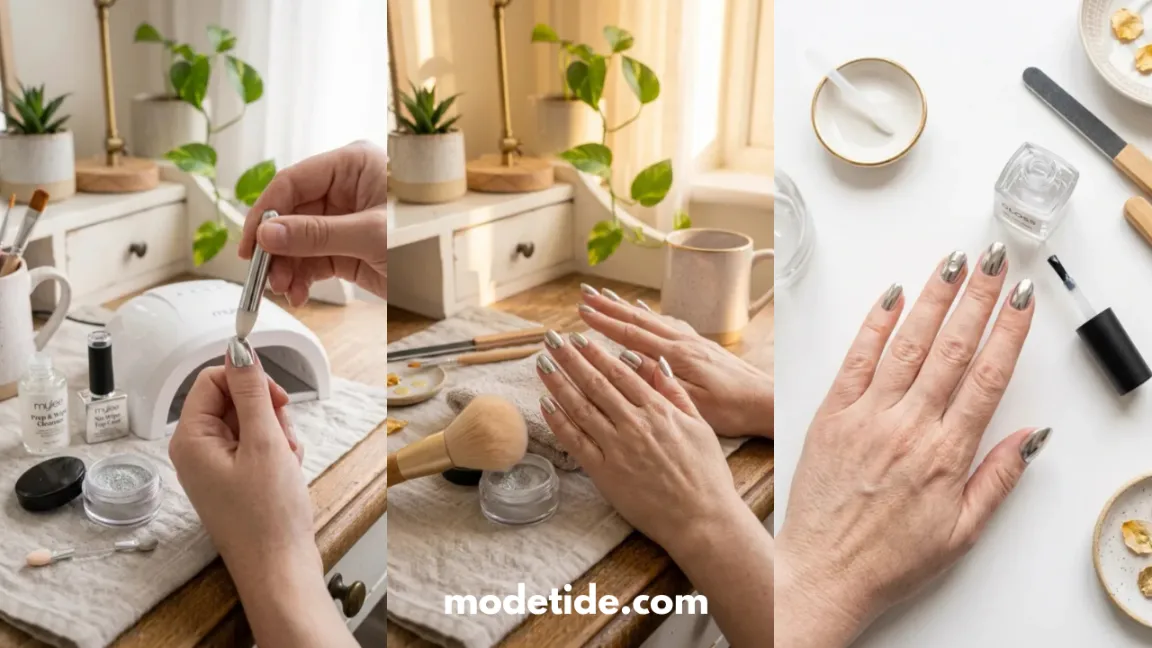
You spent forty-five minutes getting that mirror-chrome finish just right, and by day three, it’s already dull at the tips. Sound familiar?
Most people blame the powder itself, but chrome nail longevity almost never comes down to product quality — it comes down to what happens before and after the powder goes on.
This guide walks you through the exact prep, application, and sealing order that keeps chrome nails looking freshly done for two to three weeks instead of two to three days.
Nothing here requires special training. It’s mostly about slowing down at three or four specific moments where beginners usually rush.
The full process takes about 35 to 40 minutes, plus curing time under a lamp. If you already do gel manicures at home, you have everything you need except maybe the chrome powder itself.
Let’s get your nails prepped properly, because that’s where the real staying power comes from.
- Nail file & fine-grit buffer
- Cuticle pusher
- Lint-free wipes
- 99% isopropyl alcohol
- Gel base coat
- No-wipe gel top coat
- Chrome powder
- Silicone applicator or foam tip
- Soft eyeshadow-style brush
- LED/UV nail lamp
- Cuticle oil
- Gloves for chores
- Remove old polish and oil from the nail plate
- Buff the nail surface to break the shine
- Push back and clean up the cuticles
- Apply a thin base coat and cure it fully
- Cure a tacky, no-wipe layer before adding powder
- Press the chrome powder on while the gel is tacky
- Buff away the excess powder gently
- Seal the chrome with a top coat, capping every edge
- Protect your nails from water and chemicals for 48 hours
- Touch up the top coat weekly to extend chrome nails longevity
Step 1 — Remove Old Polish and Oil From the Nail Plate
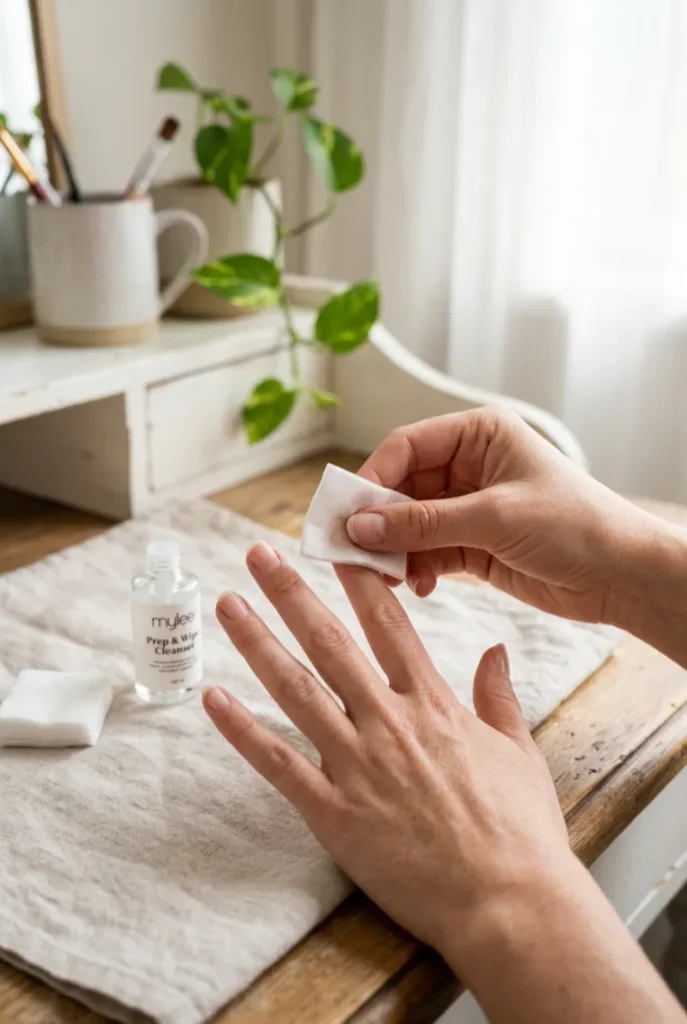
Chrome powder has one job: bond tightly to whatever’s underneath it, and oil or old polish gets in the way every time.
Wipe each nail with a lint-free pad soaked in 99% isopropyl alcohol, working from the cuticle down to the tip.
If polish was already on, take it off completely first, then still wipe with alcohol afterward. Miss a nail here, and that’s the one that lifts first.
Step 2 — Buff the Nail Surface to Break the Shine
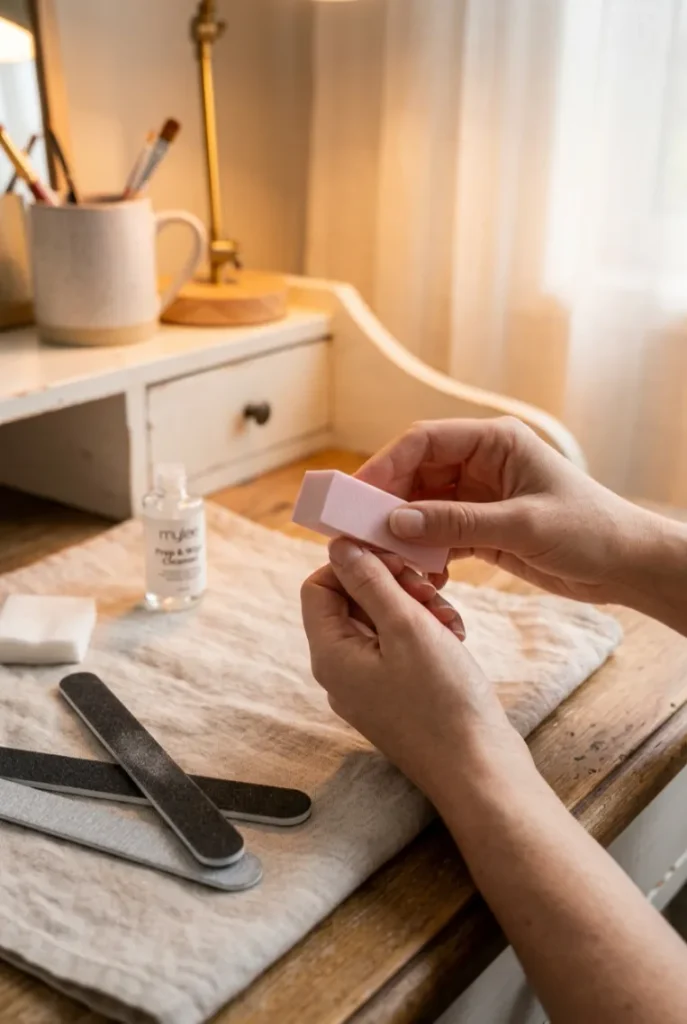
Even a freshly cleaned nail has a glossy top layer, and gel doesn’t grip shine well. Run a 180-grit or higher buffer lightly over the surface until it looks slightly matte — not scratched or rough.
One or two passes per nail is usually enough. Press too hard and you’ll thin the nail plate; go too light and the base coat has nothing to hold onto.
Step 3 — Push Back and Clean Up the Cuticles
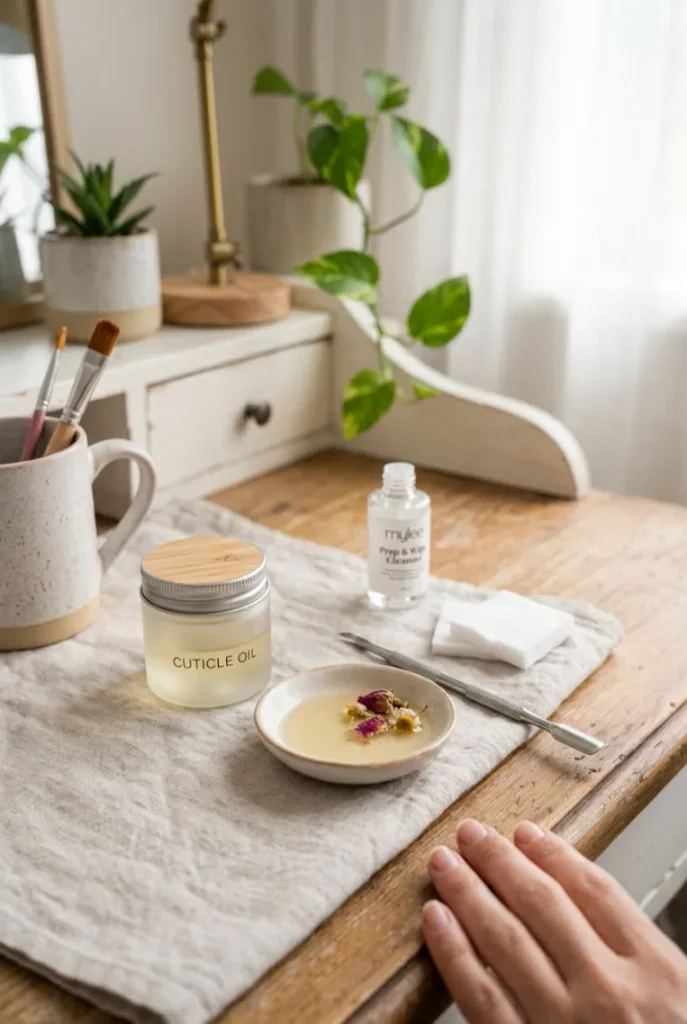
Dry or overgrown cuticles make the finished chrome look sloppy no matter how clean the application is. Working on one hand at a time:
- Push cuticles back gently with a metal or wood pusher
- Trim only loose, hanging skin — never cut healthy cuticle
- Wipe away any debris left on the nail plate
Go easy near the base. It’s easy to nick the skin there, and a little bleeding can stall the whole process for 10 minutes or more.
Step 4 — Apply a Thin Base Coat and Cure It Fully
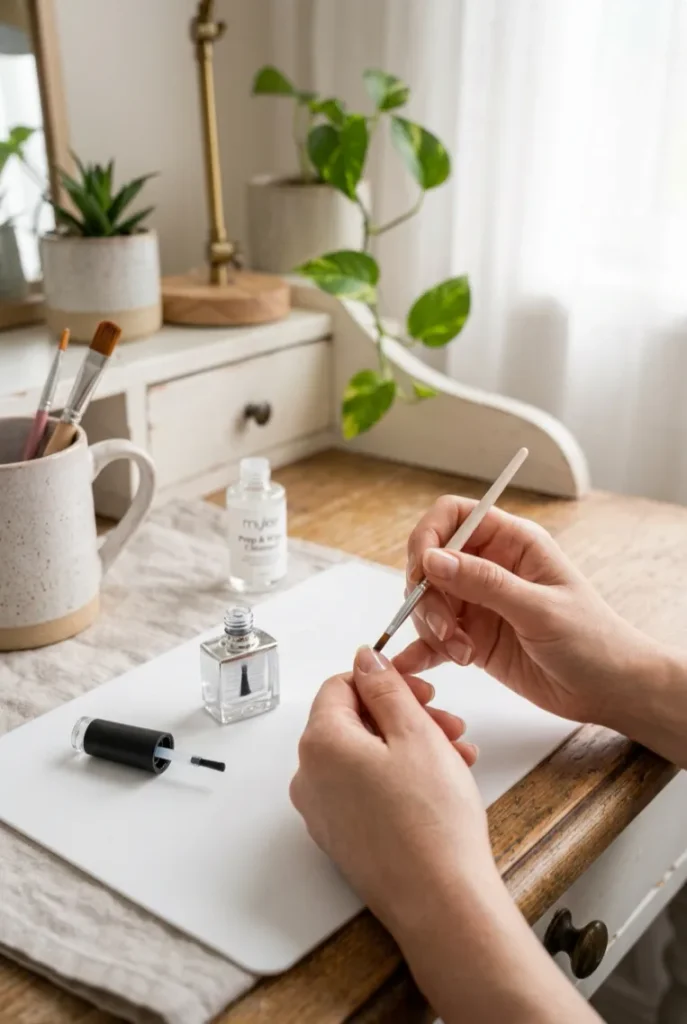
One thin coat is all you need here. Dip the brush, wipe off the excess against the bottle rim, and paint from the center outward, leaving a hair’s gap at the cuticle line so the gel doesn’t flood your skin.
Cure under your lamp for the full 30 seconds (LED) or 60 seconds (UV). Cutting this short is why polish lifts by day four — the layer underneath never fully hardens.
Step 5 — Cure a Tacky (No-Wipe) Layer Before Adding Powder
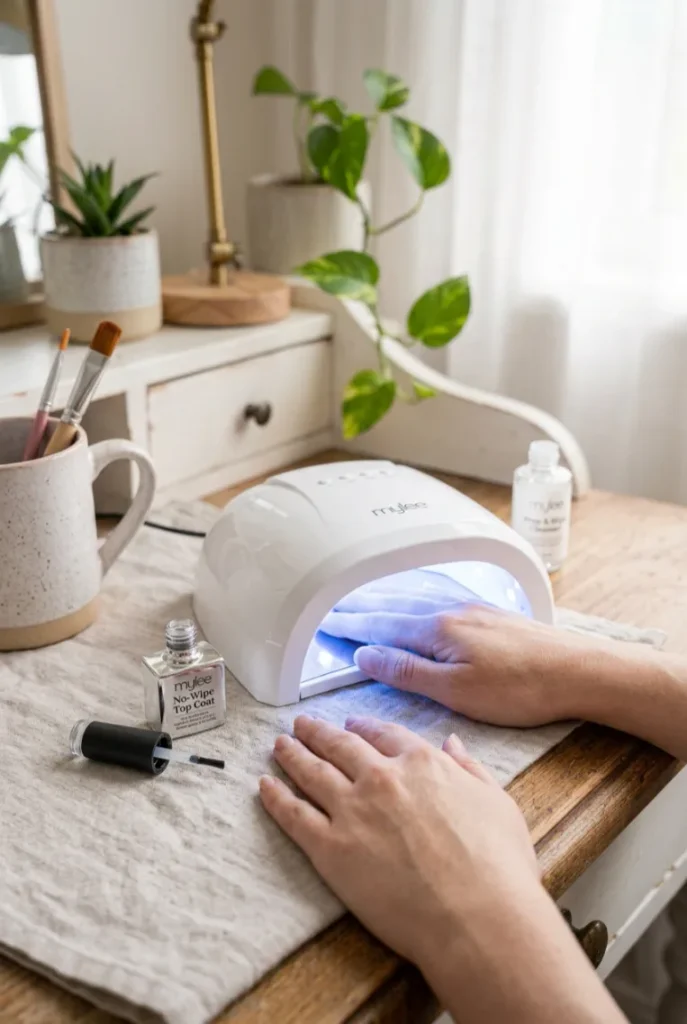
Ever wonder why some chrome manicures look cloudy instead of mirror-bright? A missing tacky layer is usually the reason.
Apply a thin coat of no-wipe gel top coat and cure it for the same time as your base.
Unlike regular top coat, this one keeps a slightly sticky surface after curing on purpose — that stickiness is what grabs the chrome pigment and locks it flat against the nail instead of letting it sit loose on top.
Step 6 — Press the Chrome Powder On While the Gel Is Still Tacky
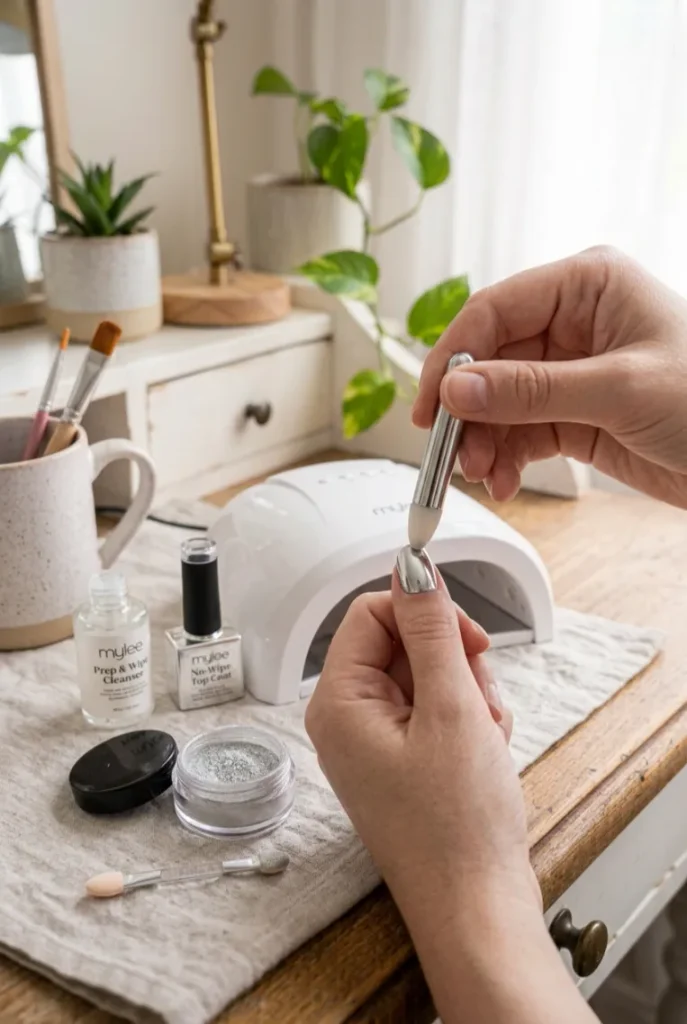
If your gel feels completely dry, you’ve already missed the window — chrome powder won’t stick to a hardened surface no matter how much you rub. Work fast, one nail at a time:
- Dip the silicone applicator lightly into the powder
- Press straight down onto the nail in small dabs
- Cover the whole surface, including near the cuticle and edges
- Repeat the dab until the shine looks fully mirrored
Pressing, not rubbing, is what keeps the finish even.
Step 7 — Buff Away the Excess Powder Gently

Loose powder sits on top of every chrome manicure, even a well-applied one — that’s normal, not a mistake.
Take a soft brush (an old, clean eyeshadow brush works perfectly) and sweep it lightly across each nail in one direction.
You’re removing the dust, not the finish underneath. If you press too hard or scrub back and forth, you can dull the mirror effect right before it’s sealed, so keep the strokes light.
Step 8 — Seal the Chrome With a Top Coat, Capping Every Edge
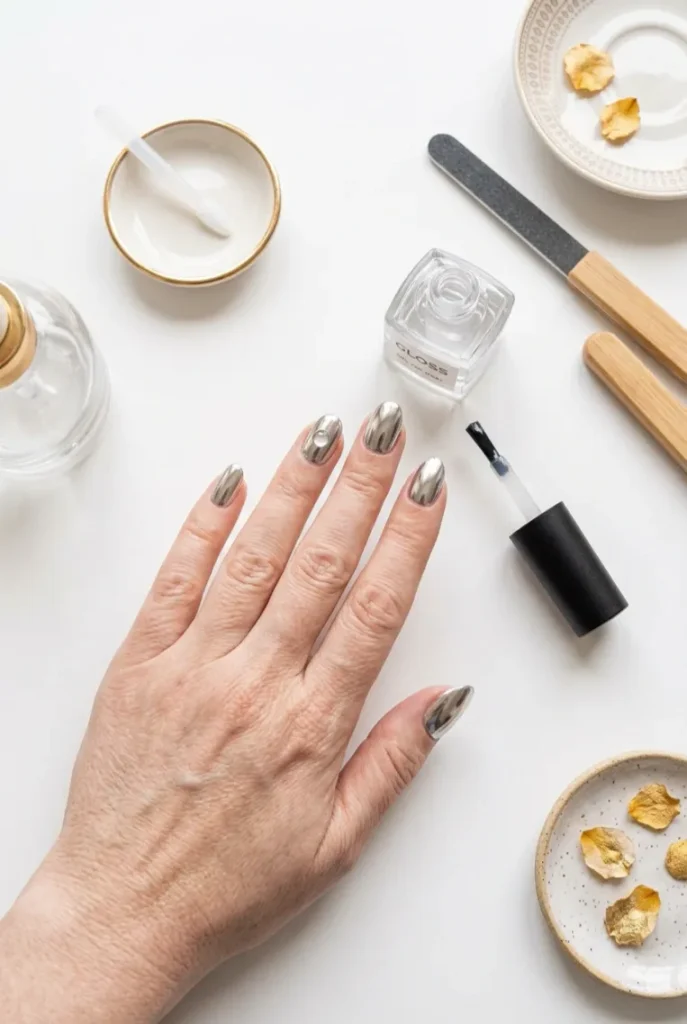
This is the step most beginners rush, and it’s the single biggest reason chrome fades within a week instead of lasting three.
Apply a thin layer of gel top coat, and this time run the brush all the way over the free edge — the very tip of the nail — not just the top surface. Cure for 30 to 60 seconds depending on your lamp. Capping the edge seals the chrome from underneath, where water and friction hit first.
Step 9 — Protect Your Nails From Water and Chemicals for the First 48 Hours
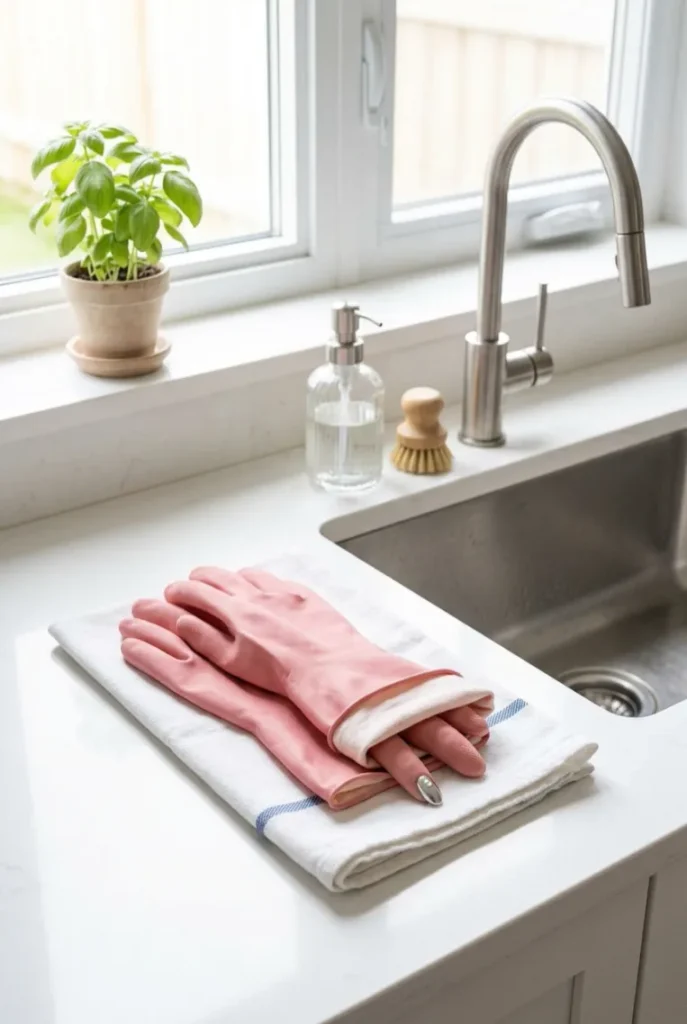
Gel top coat keeps curing and hardening for a short window even after it comes out of the lamp. During that time:
- Wear gloves for dishes, cleaning, or gardening
- Skip long, hot showers or baths where possible
- Avoid direct contact with acetone-based products
- Apply cuticle oil around, not on top of, the nail
This short window of care sets up everything else you did to actually hold.
Step 10 — Touch Up the Top Coat Weekly to Extend Chrome Nails Longevity
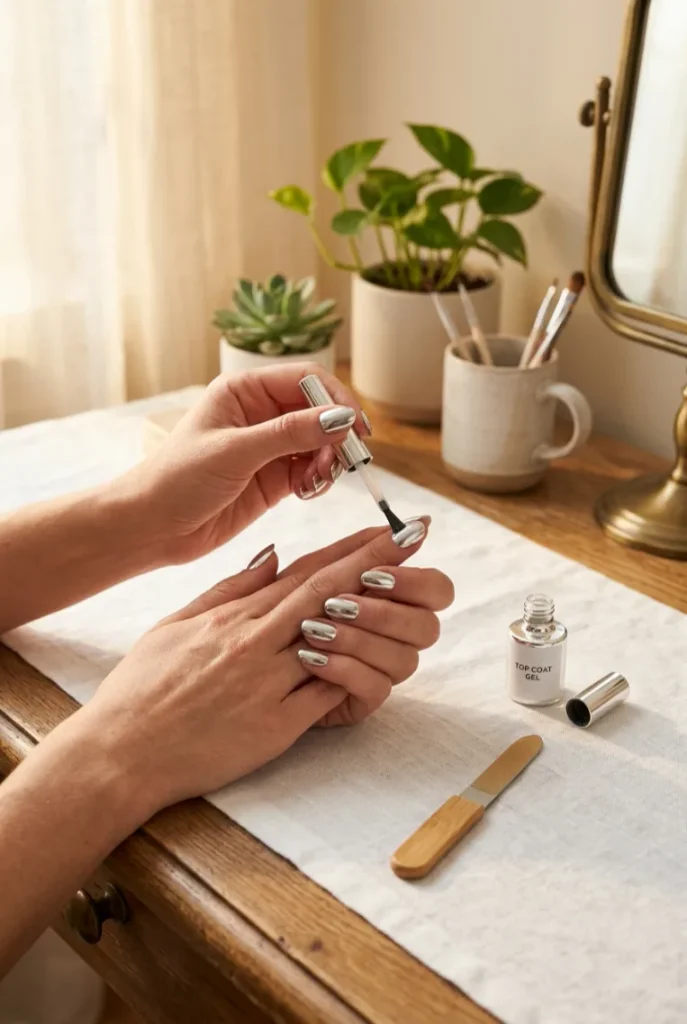
A fresh coat every seven days is the single easiest habit for chrome nails longevity — cheaper and faster than redoing the whole set.
File any snagged edges first, wipe the nail with alcohol to remove oils, then paint on one thin layer of gel top coat and cure as before.
You’re not reapplying powder, just refreshing the seal on top of it. Most people who “reapply chrome constantly” simply skipped this weekly step.
- Remove old polish and oil from the nail plate
- Buff the nail surface to break the shine
- Push back and clean up the cuticles
- Apply a thin base coat, cure fully
- Cure a tacky, no-wipe layer
- Press chrome powder on while tacky
- Buff away excess powder gently
- Seal with top coat, capping every edge
- Protect nails from water/chemicals for 48 hours
- Touch up top coat weekly
Conclusion
You now have a repeatable system for chrome nail longevity — not just a one-time trick. The prep, the tacky layer, and that edge cap during sealing are the three moments that decide whether this manicure lasts two days or two weeks.
Give the weekly top coat touch-up a real try before your next full redo. It takes five minutes and saves you from starting over.
Save this guide to your Pinterest board so it’s ready the next time your chrome nails need a refresh.


