
If you’ve tried to file coffin nail shape at home and ended up with two nails that look nothing alike — one too pointy, one too square — you’re not alone. The coffin (or ballerina) shape looks simple in photos, but the actual filing takes a steady hand and the right order of steps.
By the end of this guide, you’ll know exactly how to shape straight sides, a flat tip, and softened corners so both hands actually match. This isn’t a five-minute job — plan for about 20 to 30 minutes for both hands, especially the first time.
The method works because it breaks the shape into small, correctable moves instead of freehanding the whole nail at once. Grab your file, clear a flat surface to rest your hand on, and let’s get started.
- Nail clippers (only if trimming length first)
- A fine-grit nail file (180/240 grit for natural nails)
- A soft buffer block
- Cuticle pusher (optional)
- Cuticle oil
- A small bowl of warm water (optional)
- A clean towel
- Wash and dry your hands
- Trim excess length with clippers
- File the sides straight, not curved
- Square off the free edge
- Angle each side corner inward
- Soften the sharp corner points
- Compare both hands for symmetry
- Buff the edges smooth
- Finish with cuticle oil
Wash and Dry Your Hands Before You Start

Nail dust and oils change how the file grips the surface, so start with clean hands.
Wash with soap and water, then dry completely — even a little moisture makes the file skip instead of cut evenly.
If you had lotion on today, wipe your nails with a bit of rubbing alcohol on a cotton pad first.
Dry nails file more predictably and show you a truer line as you shape.
Trim Excess Length With Clippers
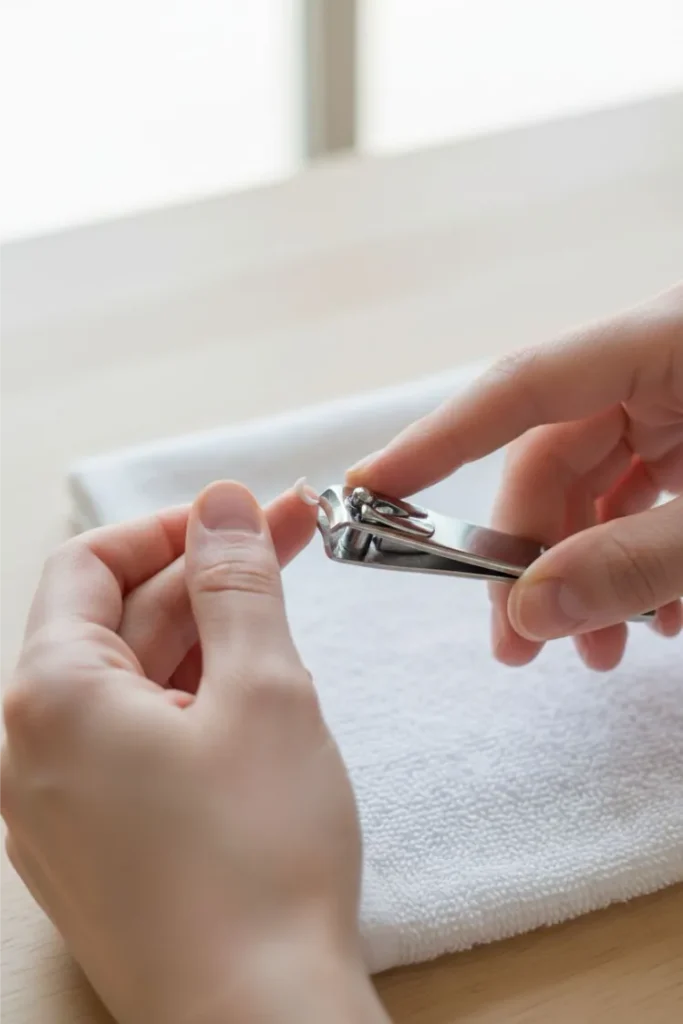
If your nails extend more than about 1/4 inch past the fingertip, trim them down before you touch a file.
Filing away that much length by hand wastes time and wears down the file fast. Clip in small, straight cuts across the tip — never at an angle — leaving a flat edge to work from.
Skip this step if your nails are already close to your target length.
File the Sides Straight, Not Curved
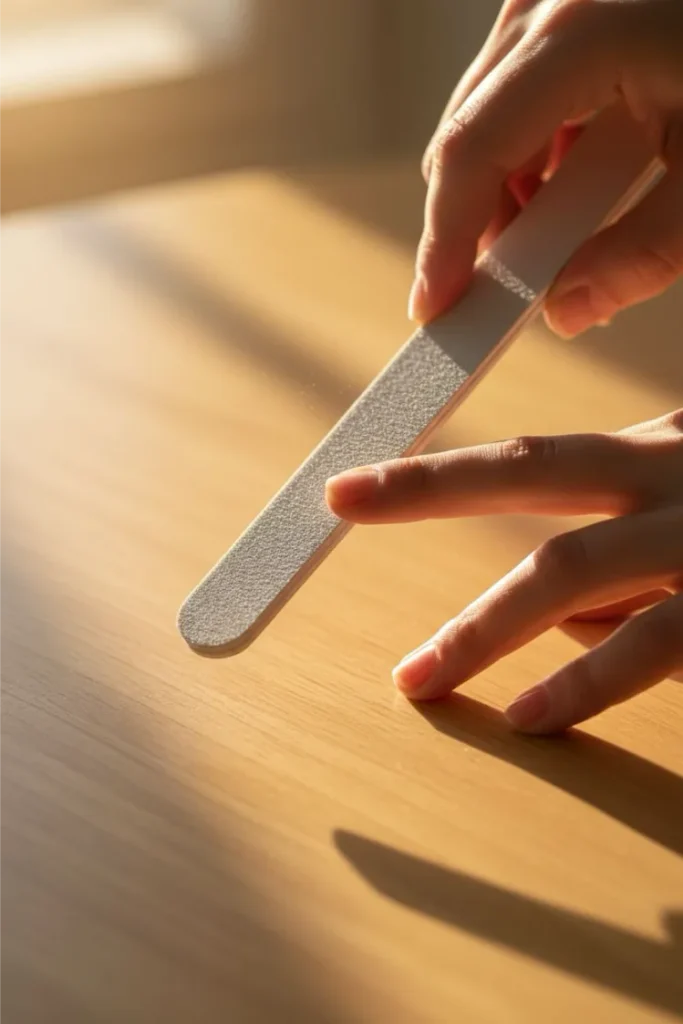
Coffin shape depends on straight sides, not the curved edges you’d use for round or oval nails.
Hold the file at a slight angle and stroke in one direction only, from the outer edge toward the tip — never back and forth.
The sides should taper in slightly as they approach the tip, not stay parallel the whole way down.
Check your progress every few strokes instead of filing straight through; it’s easy to over-file one side without noticing.
Square Off the Free Edge

Rest your hand flat on the table so the file stays level — tilting it up or down rounds the corners you’re about to shape next.
Run the file straight across the tip in one smooth pass, keeping the edge flat rather than curved.
This flat line is what turns a rounded shape into a coffin shape. One pass is often enough on shorter nails; longer nails may need two.
Angle Each Side Corner Inward
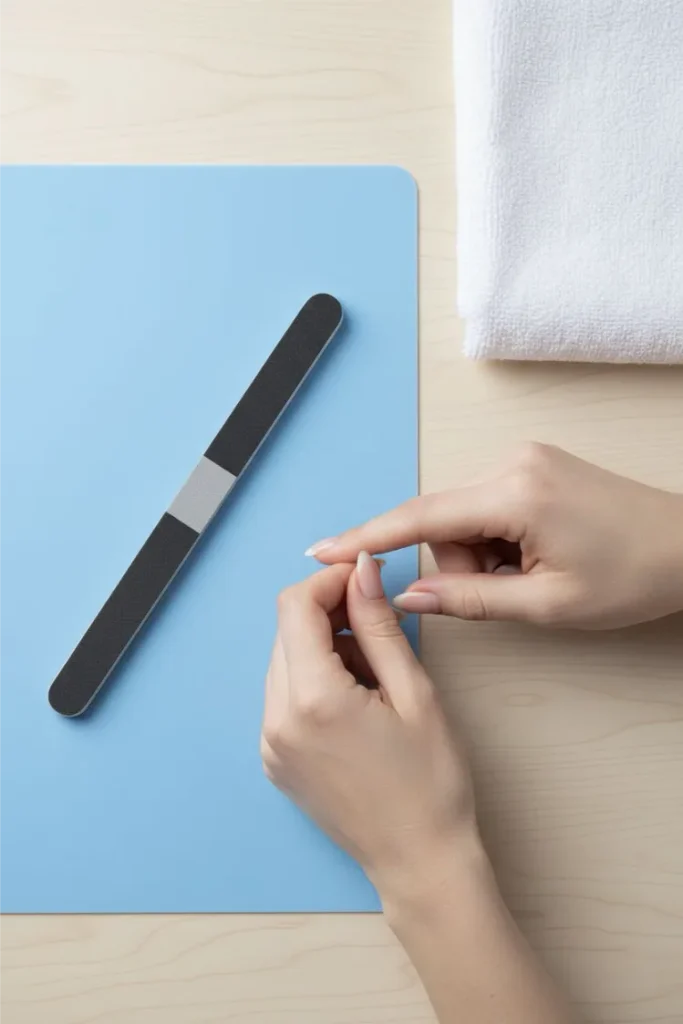
Look at the two outer corners where the straight sides meet the tip you just squared off.
Angle the file slightly inward on each one, filing from the edge toward the center in short, light strokes — about 3 to 4 passes per side is usually enough.
This creates the narrow taper that separates a coffin shape from a plain square one.
Keep both corners at roughly the same angle as you work; even a small mismatch here becomes obvious once you compare both hands.
Soften the Sharp Corner Points
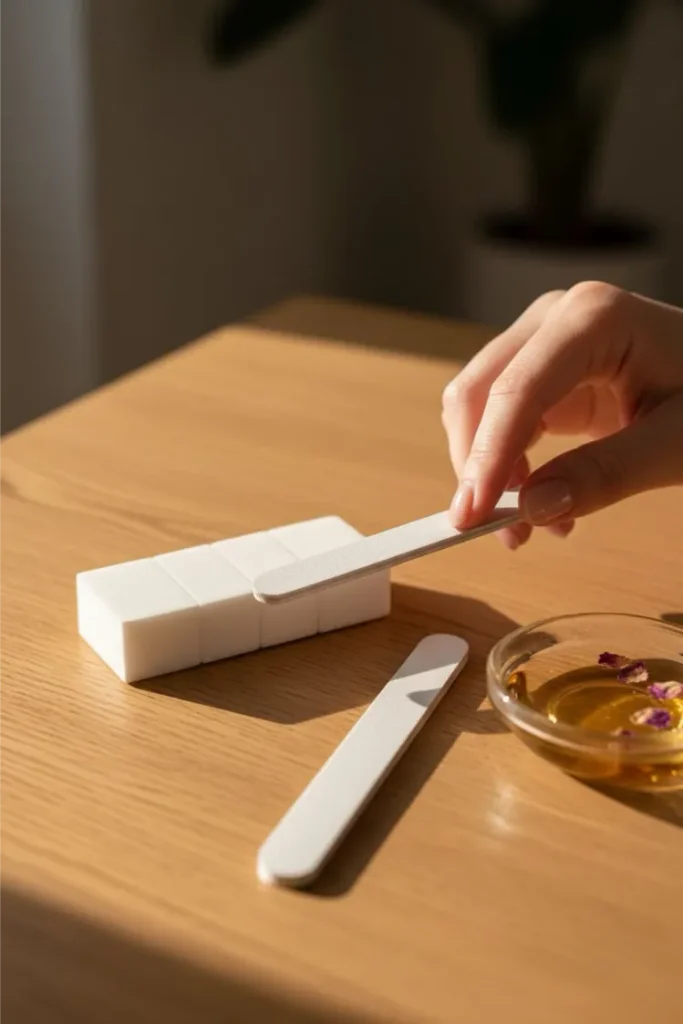
Two or three light strokes at each corner is usually all it takes. Hold the file almost flat against the tip and round off just the very point — not the whole side, only the sharp tip itself.
A coffin shape should look tapered, not knife-edged; a fully sharp point catches on sweaters and chips faster than a slightly rounded one.
If you don’t have a fine file on hand, a buffer block works too — it removes less per pass, so work slower and check often.
Compare Both Hands for Symmetry

Once all ten nails are shaped, hold both hands side by side under real daylight — not a dim bathroom light, which hides unevenness.
Look for length differences, mismatched corner angles, or one side tapering more sharply than the other.
Small gaps are normal on a first attempt. If one nail is noticeably off, don’t force it back into shape right away — file the matching nail on the opposite hand slightly to close the gap instead.
Buff the Edges Smooth
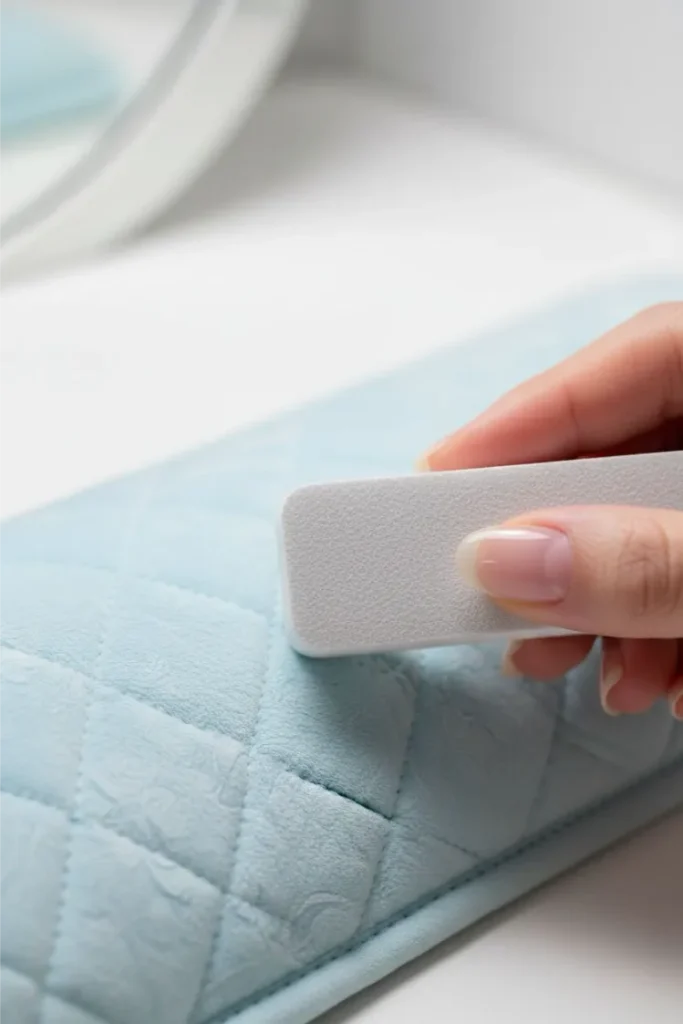
A rough edge left over from filing catches on fabric and feels sharp, even after the shape looks correct.
Run the soft side of a buffer block lightly along each edge — just a few passes per nail is enough, since buffing removes very little material and won’t undo your shape.
Focus on the corners you softened earlier; roughness tends to hide there longest. Skip the coarse side of the buffer for this step, it’s too aggressive.
Finish With Cuticle Oil

Filing dries out the skin around the nail more than people expect, even with a careful hand. Massage a drop of cuticle oil into each nail bed and let it sit for about a minute before touching anything else.
This isn’t just about comfort — hydrated skin frames a freshly filed coffin nail shape far better than dry, rough cuticles do.
Wipe off any excess with a clean towel before you move on to polish or a base coat.
- Wash and dry hands
- Trim excess length with clippers
- File the sides straight
- Square off the free edge
- Angle each corner inward
- Soften the sharp corner points
- Compare both hands for symmetry
- Buff the edges smooth
- Finish with cuticle oil
Conclusion
You’ve got a real coffin nail shape now — straight sides, a flat tip, and softened corners that don’t catch on everything you touch.
That’s the whole shape, done with tools you probably already have at home. If you want to try a length change next, growing out your nails a little more will make the taper even more dramatic.
Save this guide so it’s easy to find next time your shape needs a touch-up. Pin it now and file along whenever you’re ready.


