
Most first-time filers can shape a nail straight across just fine, but almond shape trips people up fast.
One side comes out pointier, the tip looks too sharp, or the curve just doesn’t match your other hand. That mismatch almost always comes down to filing direction and angle, not lack of skill.
This guide walks you through how to file almond nail shape step by step, starting from trimming your nail length to angling both sides so they meet at the same soft point.
You don’t need acrylics or a salon visit — a good file and about fifteen minutes of patient, one-direction filing get you there.
The trick is checking your progress often instead of rushing straight to the tip. Grab your file, find a spot with good light, and let’s shape your first almond nail.
- A glass or crystal nail file (or a 240-grit emery board)
- Nail clippers or nippers, if your nails are longer than needed
- A cuticle pusher or orange stick
- A soft nail buffer block
- Cuticle oil
- A clean, dry towel
- Trim your nails to a manageable starting length
- Pick a fine-grit file for clean, even edges
- Round the sides slightly before angling
- Angle the file toward the center at the tip
- File the opposite side to match the angle
- Compare both hands for symmetry
- Soften the pointed tip so it isn’t sharp
- Buff the edges for a smooth, polished finish
Step 1 — Trim Your Nails to a Manageable Starting Length
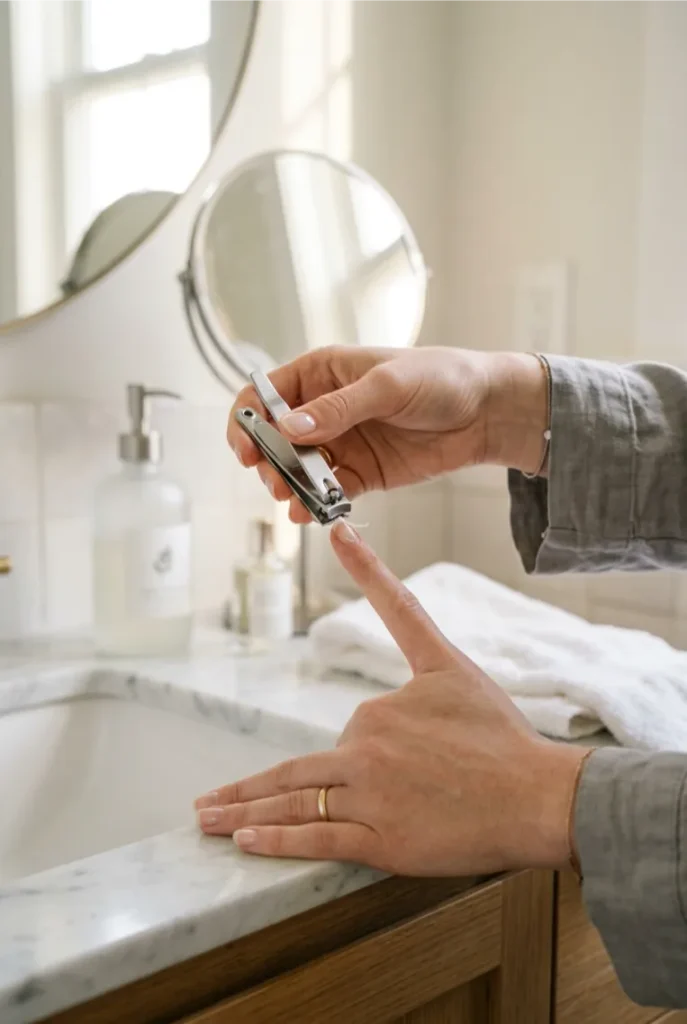
Almond shape needs length to work with — a nail filed too short just looks rounded, not tapered.
Clip nails down until they extend about 1/4 inch past your fingertip, straight across for now.
Don’t worry about the shape yet; that comes with the file, not the clippers. If a nail is already close to that length, skip the clippers and go straight to filing.
Step 2 — Pick a Fine Grit File for Clean, Even Edges
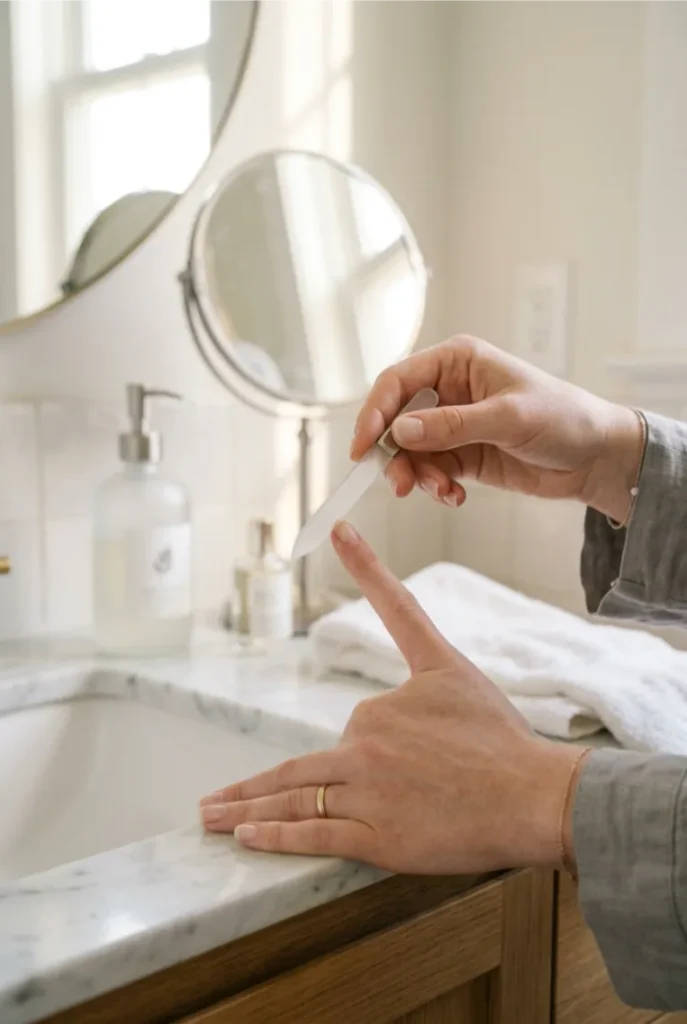
A 240-grit glass or crystal file works best on natural nails — anything coarser tends to tear the nail edge instead of smoothing it.
Cheap emery boards work too, but they wear out fast and leave rougher edges.
Hold the file at a slight angle, not flat against the nail, and always file in one direction.
Sawing back and forth heats up the nail and causes it to split or peel along the layers, which is the biggest reason beginners end up with weak, flaky tips.
Step 3 – Round the Sides Slightly Before Angling
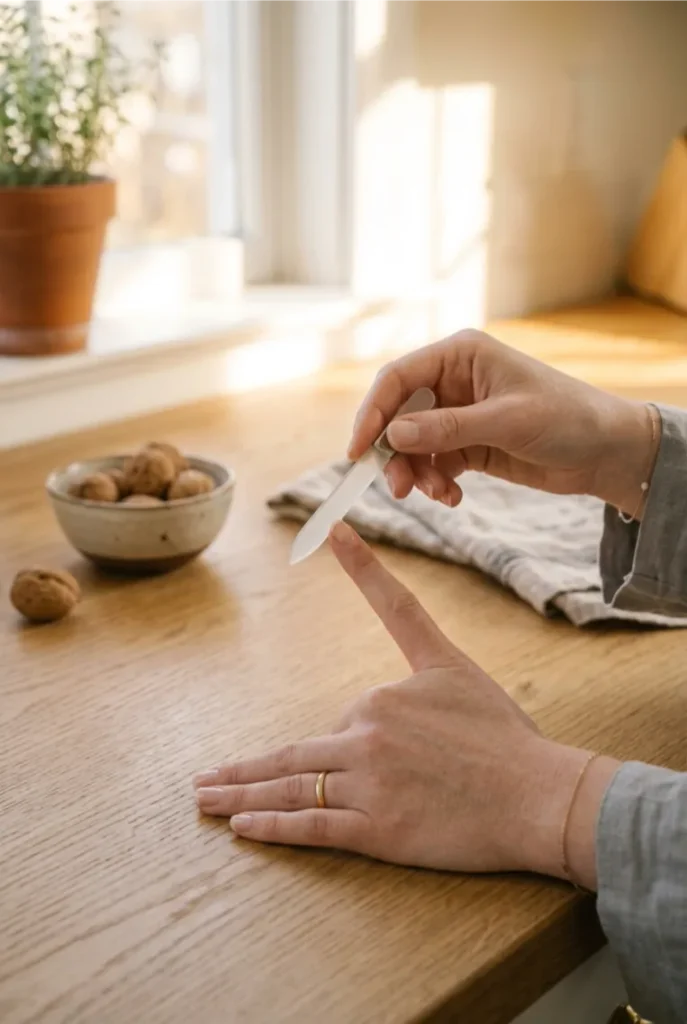
Before you touch the tip, soften the corners near your cuticles first. A few gentle strokes on each side remove the sharp square edge left over from clipping.
This gives the almond shape a cleaner starting point — angling a still-square side later creates an uneven, boxy look instead of the smooth curve you want.
Step 4 – Angle the File Toward the Center at the Tip
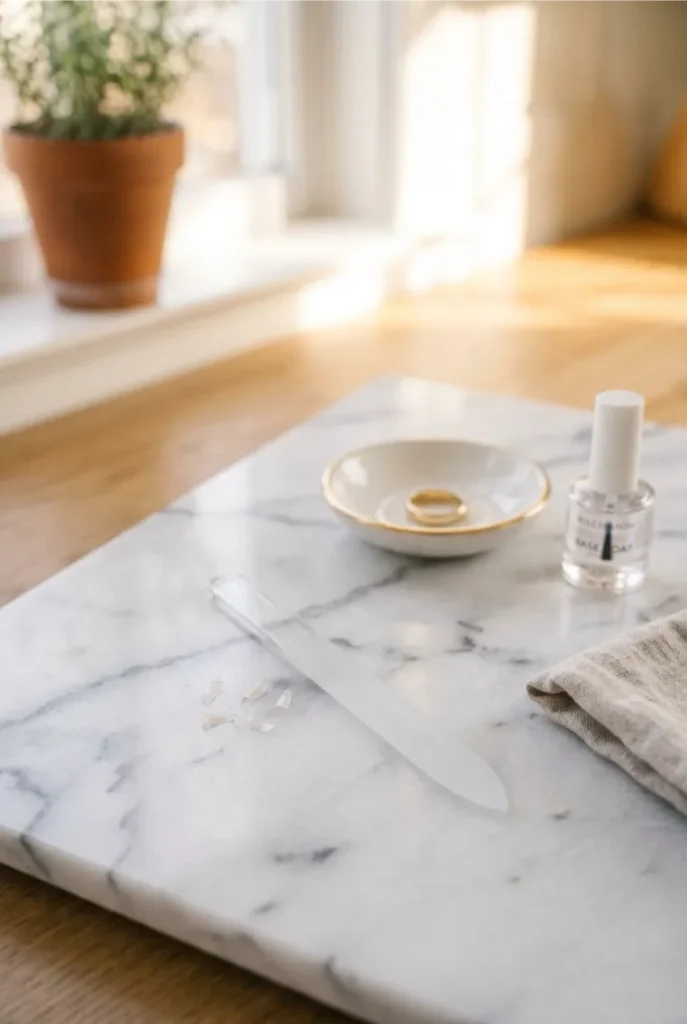
Pick one side of the nail — left or right, doesn’t matter which — because this is where the actual almond shape gets built.
Hold the file at roughly a 45-degree angle, then stroke from the outer edge of the tip inward, toward an imaginary point at the center. Short, light strokes give more control than one long drag.
Check your progress every few strokes instead of filing straight through — it’s far easier to remove a little more nail than to put length back.
Step 5 – File the Opposite Side to Match the Angle
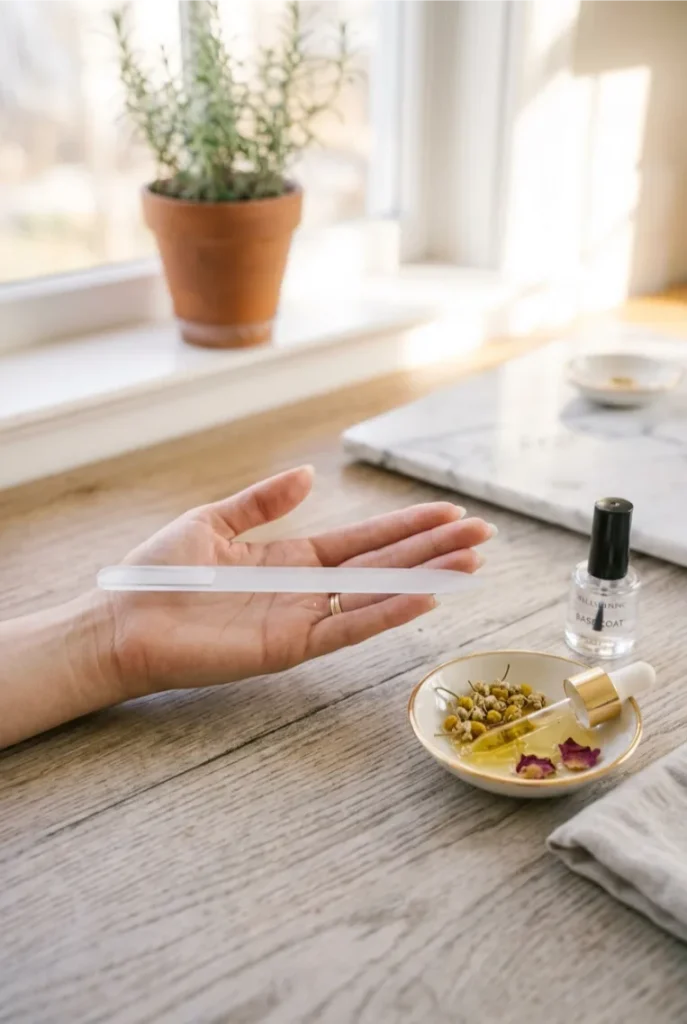
Switch to the other side now, and resist the urge to rush just because the first side went smoothly.
Mirror the same 45-degree angle, same short strokes, working outer edge inward. Stop every few strokes to hold the nail up and compare both sides against each other.
Step 6 – Compare Both Hands for Symmetry

Ten fingers should look like they belong to the same set, so this check matters as much as the filing itself.
Hold your hand up, palm facing you, and curl your fingers slightly to see all five tips from the same angle.
Look for matching tip angles and similar length across each nail — not identical, since your thumb won’t mirror your pinky exactly, and that’s normal.
Natural light shows unevenness that indoor lighting hides, so check near a window if you can.
Step 7 – Soften the Pointed Tip So It Isn’t Sharp
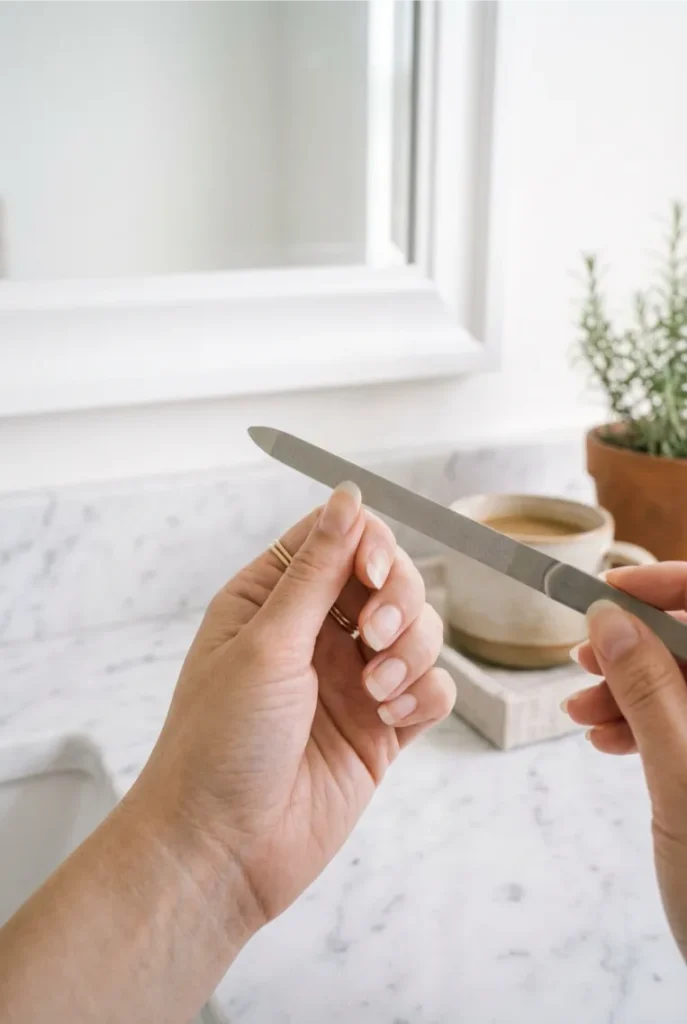
If the very tip still comes to a hard, needle-like point, that’s the one part almond shape is often mistaken for — a stiletto nail.
Run the file flat across just the tip, two or three light passes, to round that point into a soft curve instead of a spike.
This also makes the nail far less likely to catch on fabric or snag.
Skip this step and the shape reads sharp rather than elegant, even if both sides are perfectly symmetrical.
Step 8 – Buff the Edges for a Smooth, Polished Finish
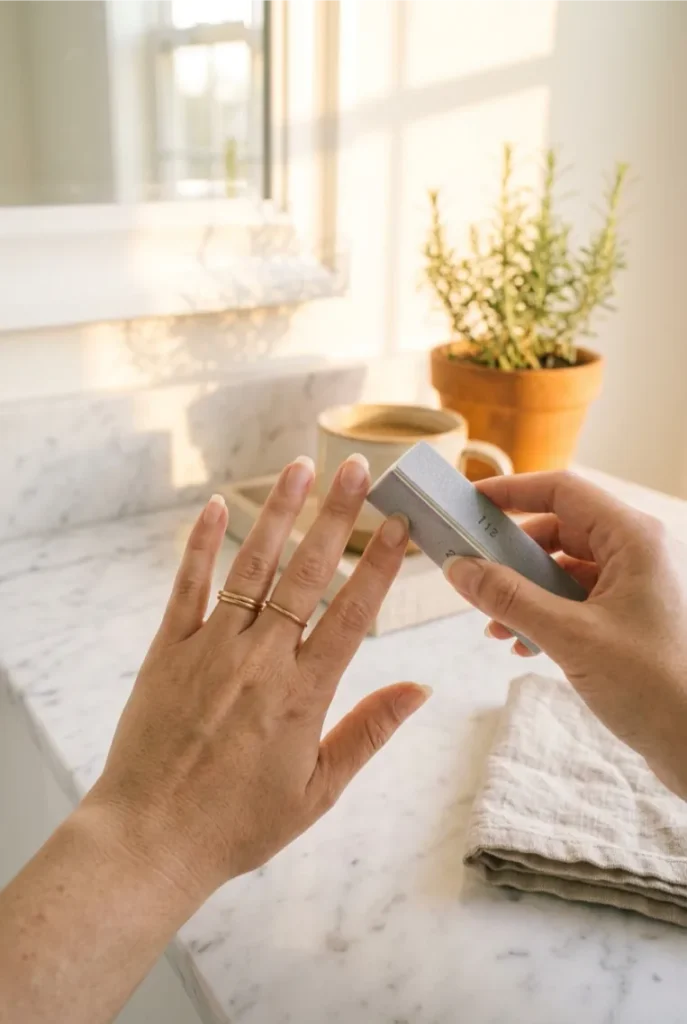
A freshly filed edge often has tiny ridges you can’t see but can definitely feel if you run a nail across your lip. Use the fine side of your buffer block and go over each edge with light, even strokes — heavy pressure here just creates new unevenness.
Finish by wiping away the dust with your towel and massaging in cuticle oil around the base.
- Trim to 1/4 inch past fingertip
- Use a 240-grit file, one direction only
- Round sides before angling
- Angle one side at 45°, tip inward
- Match the opposite side
- Compare both hands in good light
- Soften the tip with 2-3 light passes
- Buff edges smooth, one direction
The End
You’ve got a full set of almond nails now — even sides, a soft tip, smooth edges, no salon visit needed.
The next time you file, you’ll move through it faster since your hands already know the angle. If you want to build on this shape, try a soft nude polish first to really show off that tapered line before moving on to anything bolder.
Save this pin so you have the steps ready next time your nails grow out.


