
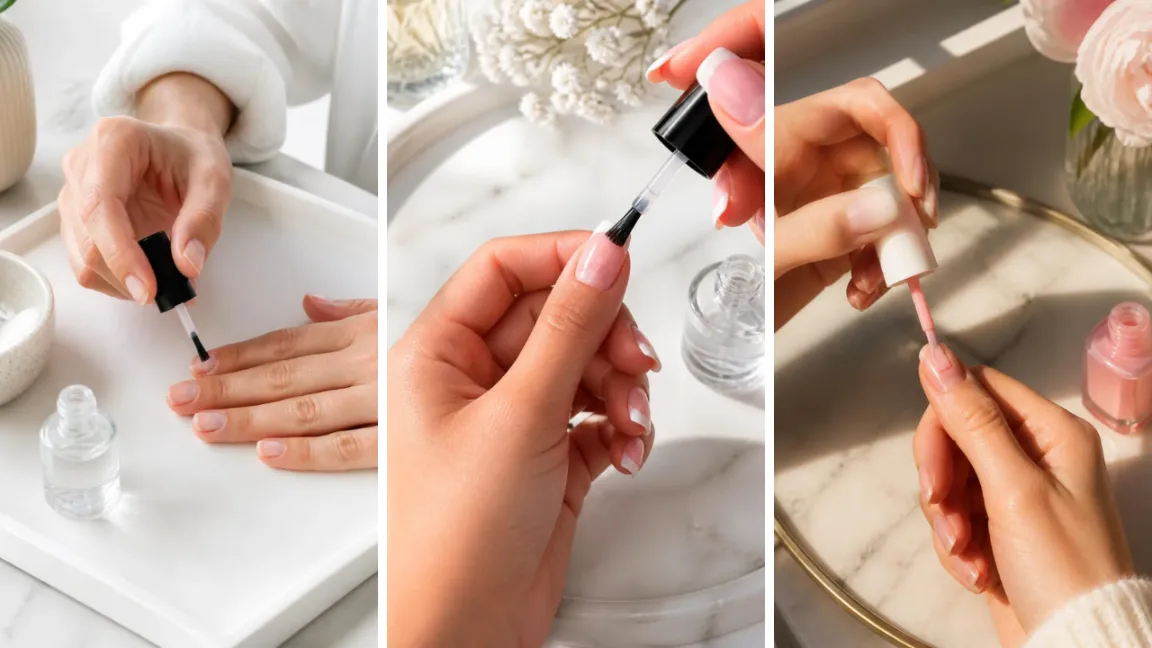
Most reverse french manicure tutorials online skip the part where your hand shakes and the curve comes out crooked.
That’s normal. The trick isn’t a steady hand — it’s using a guide so the shape is decided before you ever touch polish to nail.
This guide walks you through the whole process, from bare nails to a clean, salon-looking curve at the cuticle, using polish and vinyl guide stickers you can find at any drugstore.
By the end, you’ll have ten nails with a crisp, even reverse french line and know exactly what to do if the curve smudges or the edges look fuzzy.
The active painting time is under 20 minutes, but the drying time between coats matters more than most beginners expect — rushing it is the number one reason this look goes wrong.
Set aside about 45 minutes total, work somewhere well-lit, and have a cleanup brush within reach before you start.
1. Gather Your Nail Polish Supplies
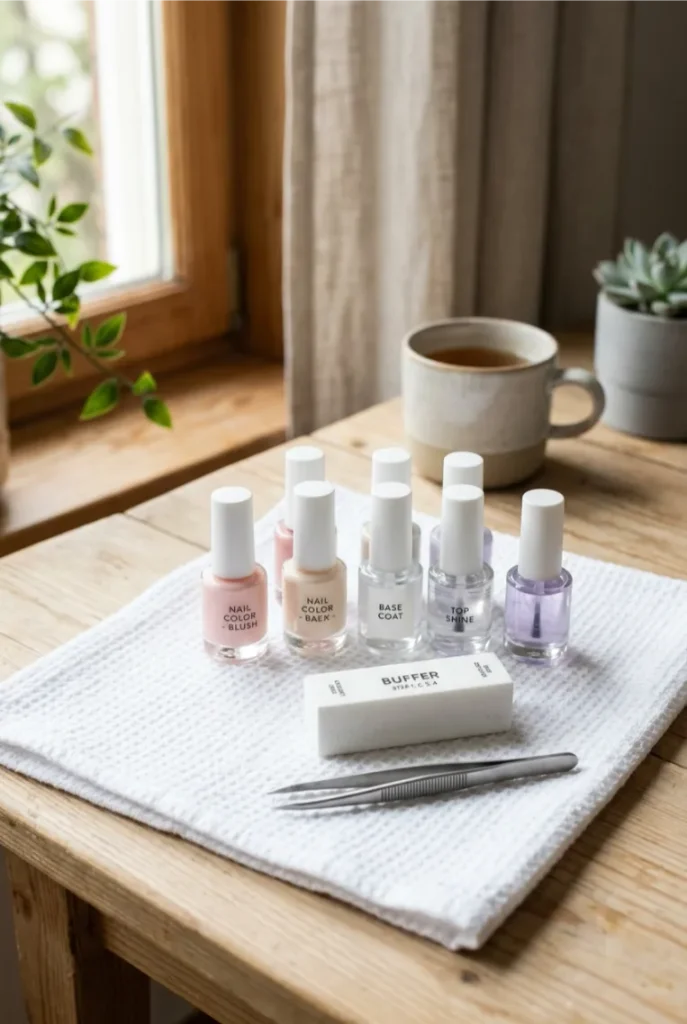
Lay everything out on a clean towel before you open a single bottle.
Once your fingers are wet with polish, digging through a drawer for a missing brush turns into smudged nails. You’ll want, within arm’s reach:
- Base coat and top coat
- Your base color and tip color polish
- Vinyl guide stickers
- A cuticle pusher and buffer block
- Tweezers and a cleanup brush
Ten seconds of setup now saves you a redo later.
2. Remove Old Polish and Wash Your Hands
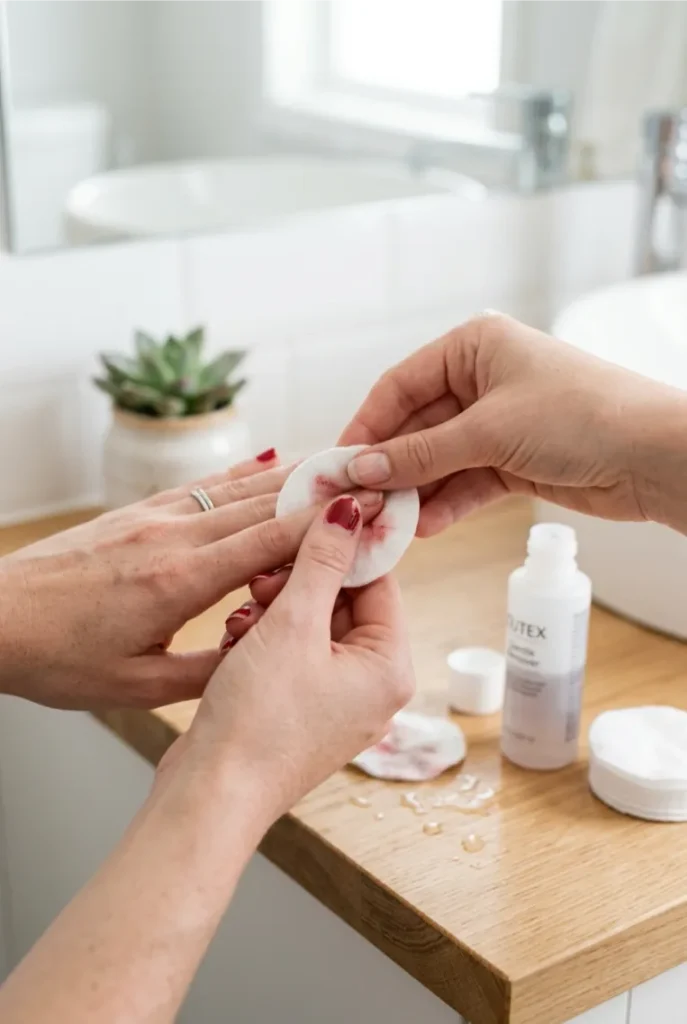
Soak a cotton pad with polish remover and hold it against each nail for five seconds before wiping, rather than scrubbing right away — this loosens stubborn color instead of dragging it across your skin.
Work from the base of the nail outward. Once every trace of old polish is gone, wash your hands with soap and warm water.
This strips away the oily remover residue that would otherwise stop new polish from gripping.
3. Push Back Your Cuticles Gently
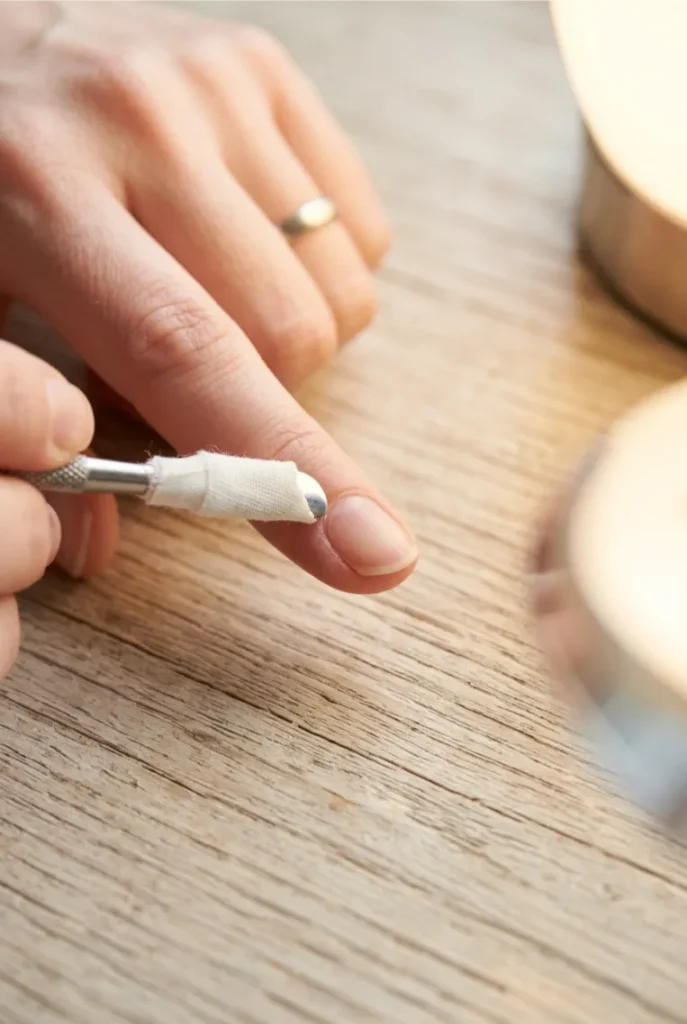
Wrap a washcloth around the tip of your cuticle pusher if you’re using a metal one bare — it protects the delicate skin while you work.
Press gently at the base of each nail and push the cuticle back in short strokes, never scraping hard or digging underneath.
This exposes more of the nail bed, which gives you a longer, cleaner curve to work with when you paint the reverse french line later.
Rinse your hands again afterward to clear away any loose skin.
4. Buff the Nail Surface Lightly
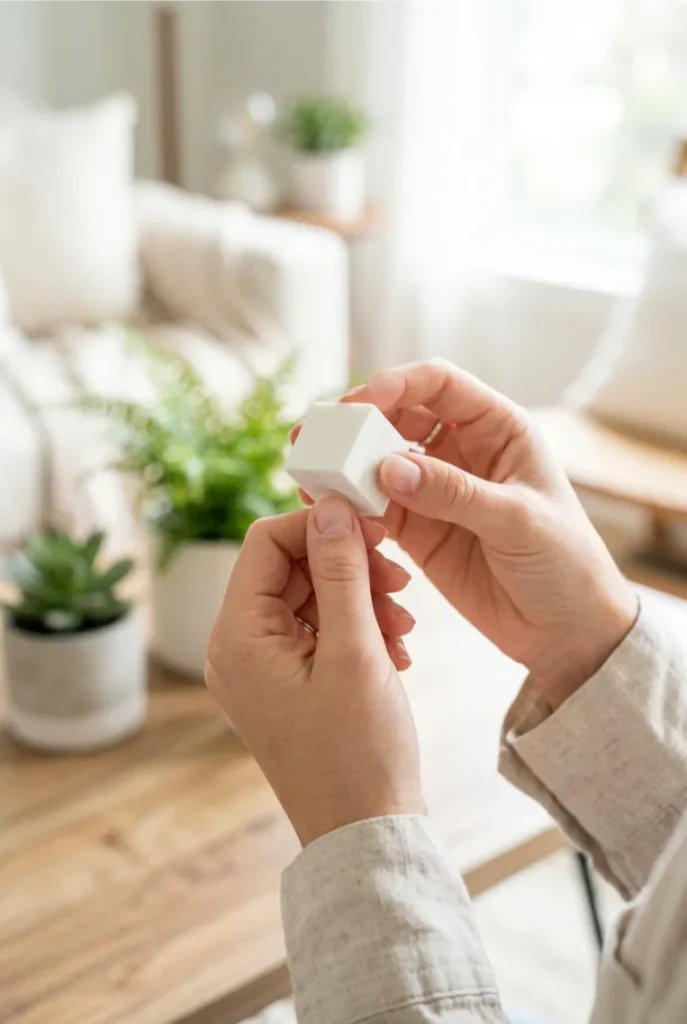
Ten to fifteen light passes with the buffer block is enough — more than that thins the nail and makes it more likely to peel later.
Move in one direction across the surface, not back and forth, to smooth the natural ridges without over-sanding.
A slightly matte, dust-free nail is what you’re after. This texture gives your base coat something to grip instead of sliding around.
5. Apply a Thin Base Coat
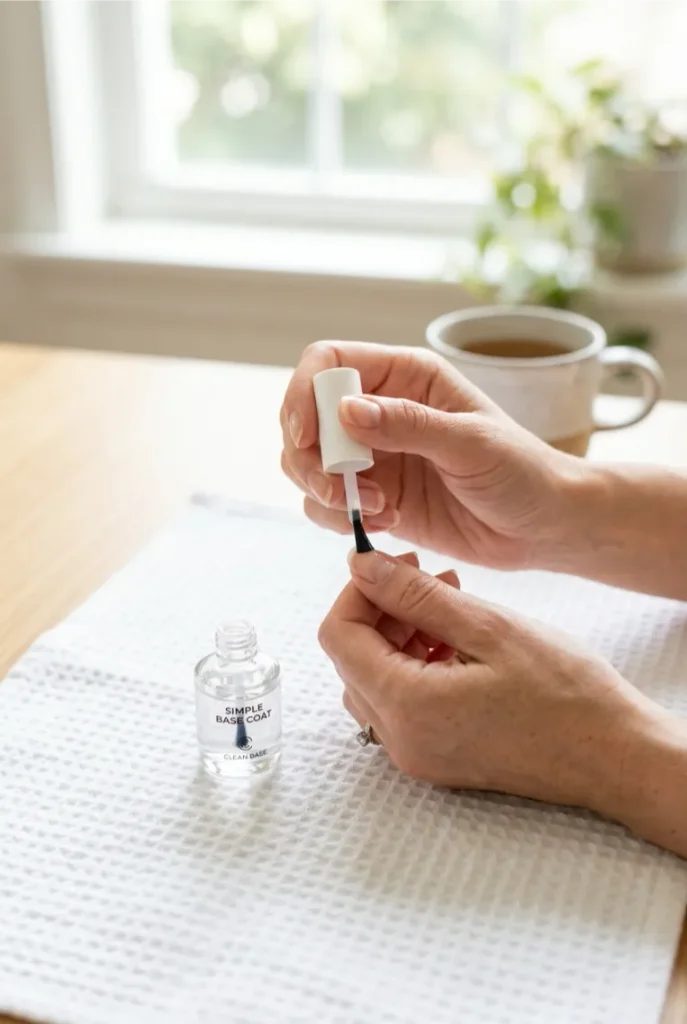
One stroke down the center, then one on each side — that’s all a nail needs. Loading the brush too heavily is the most common mistake here, since it pools near the cuticle and takes twice as long to dry.
Cover the entire nail edge to edge, including the very tip, to seal the nail and stop your color from staining it. Let this dry for two full minutes before touching the next step.
6. Paint Your Base Color Over the Entire Nail
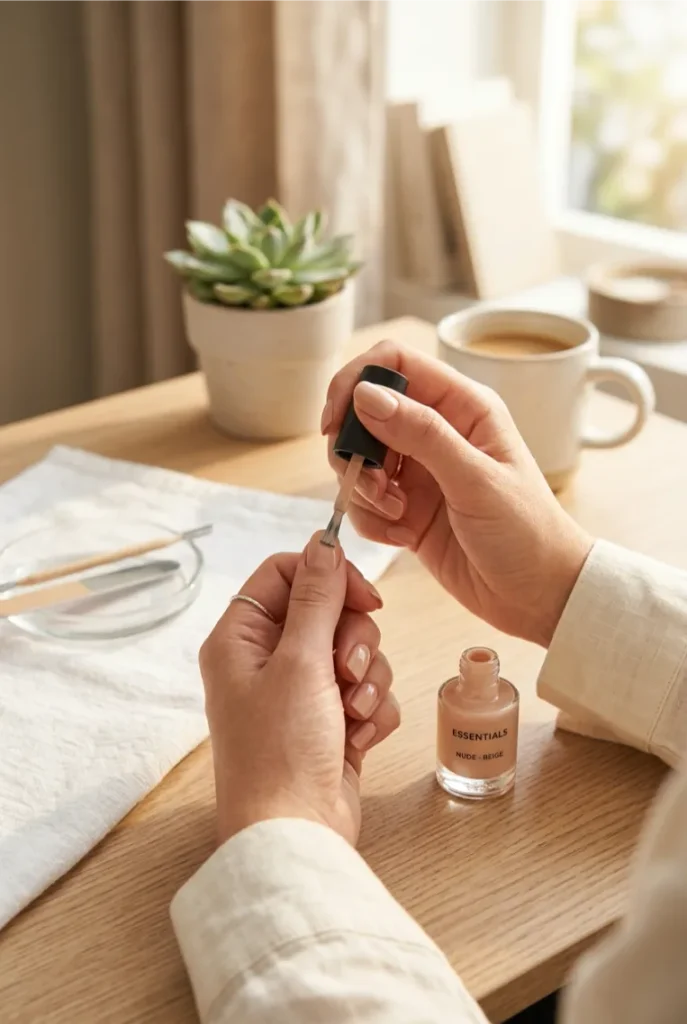
Two thin coats beat one thick one, even though it feels slower.
Apply the first coat the same way you did the base coat — center stripe, then two side strokes — and resist the urge to go back over spots that look sheer.
It’s supposed to look a little streaky at this stage. Wait five minutes, then apply a second coat for full, even coverage.
7. Let the Base Color Dry Completely
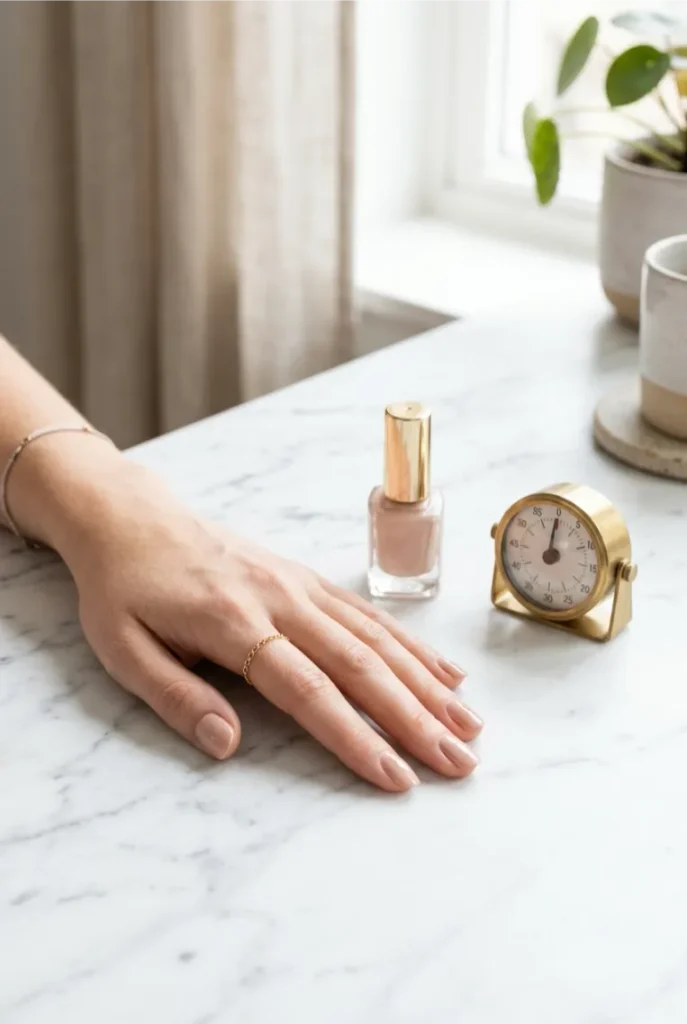
This is the step beginners rush most, and it’s the one that ruins the final look fastest.
If you press a guide sticker onto polish that isn’t fully cured underneath, it lifts color right off with it when you peel the sticker away.
Give your base color a full 20 minutes to dry hard, not just dry to the touch. Set a timer instead of guessing — tacky polish looks dry long before it actually is.
8. Position Your Reverse French Guide Near the Cuticle
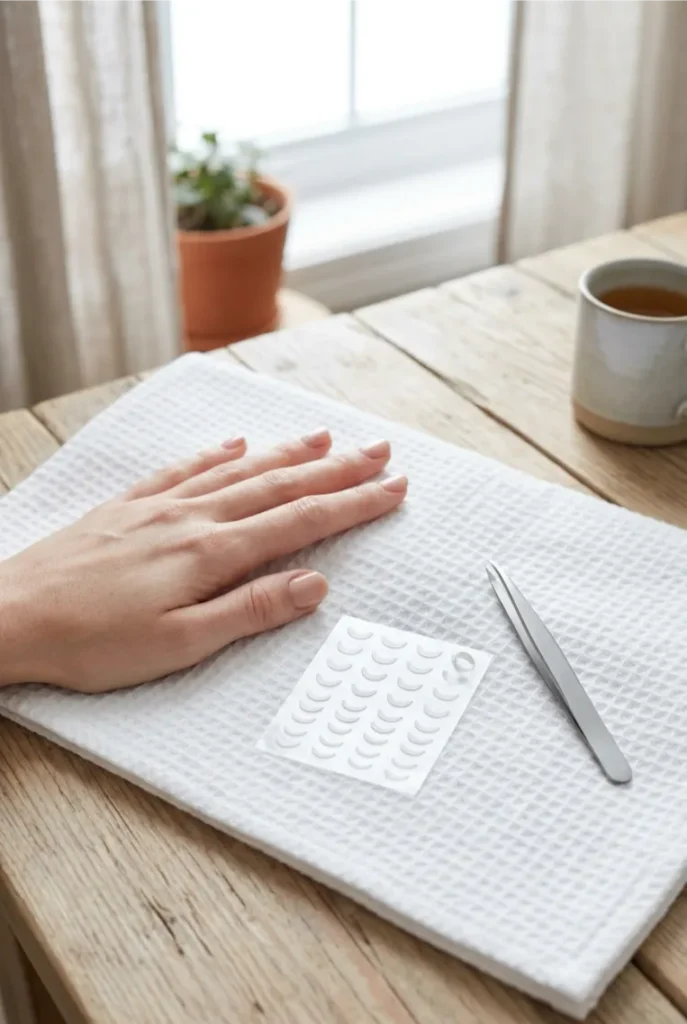
Peel one sticker at a time with tweezers so you don’t warp the curve while handling it.
Press the sticker down starting at the center of the cuticle line, then smooth outward toward each side wall, pushing out any air bubbles as you go.
A gap or bubble under the sticker lets polish bleed underneath it later. If you’re going freehand instead of using a sticker, sketch the curve first with a dry angled brush before loading it with polish — it gives you a dress rehearsal for the shape.
9. Paint the Tip Color Inside the Curve
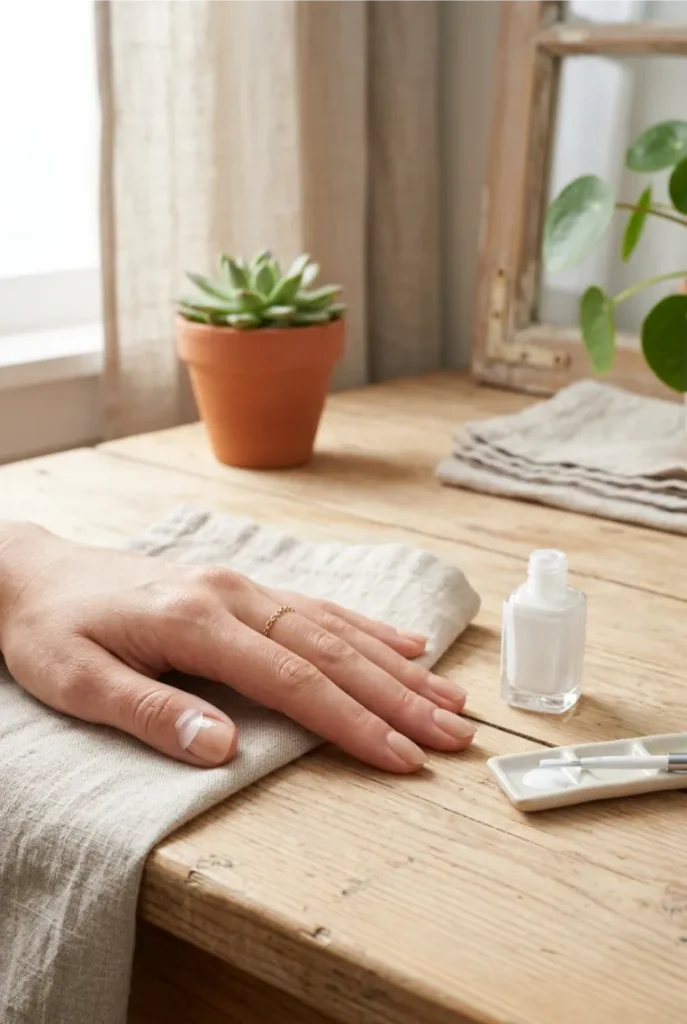
Load your brush fully, then wipe one side against the bottle neck so it isn’t dripping.
Paint from the center of the exposed curve outward, working in one smooth motion rather than dabbing back and forth, which tends to push polish under the sticker’s edge.
Cover the entire exposed section in one coat — a second coat here usually pools at the sticker line and takes longer to dry evenly.
10. Peel Off the Guide While the Polish Is Still Wet
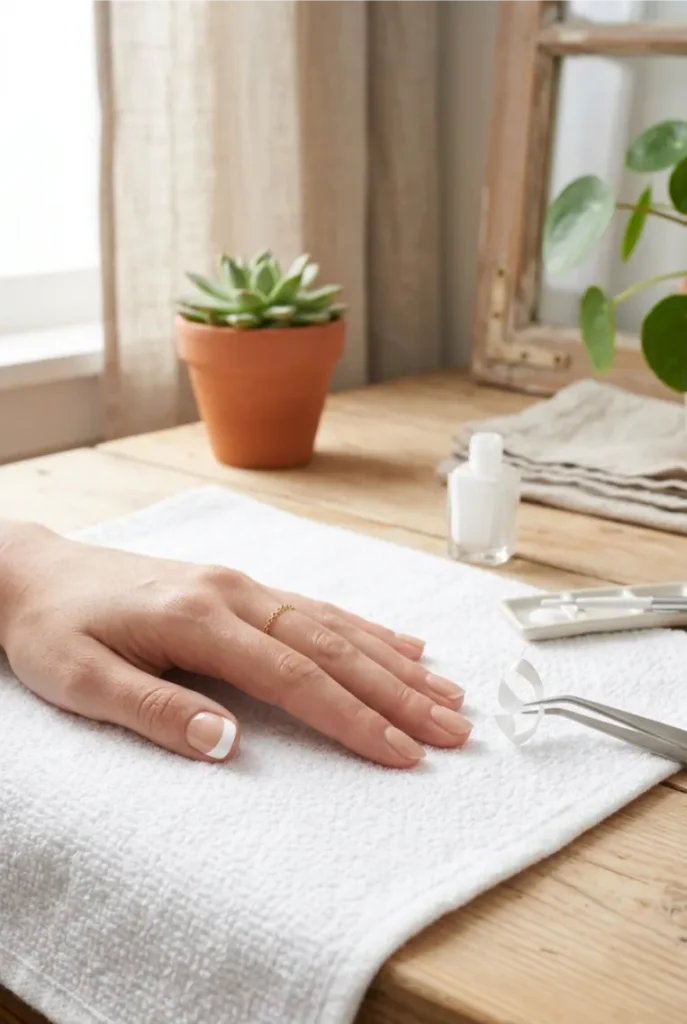
Grab one corner of the sticker with tweezers and pull it back in a single slow motion, away from the nail rather than straight up.
Do this within 60 to 90 seconds of painting the tip color — wait too long and the polish starts to set against the sticker’s edge, tearing instead of releasing clean.
You should see a sharp, curved line left behind. If an edge looks jagged, don’t touch it yet; that gets fixed in the next step.
11. Clean Up the Edges With a Cleanup Brush
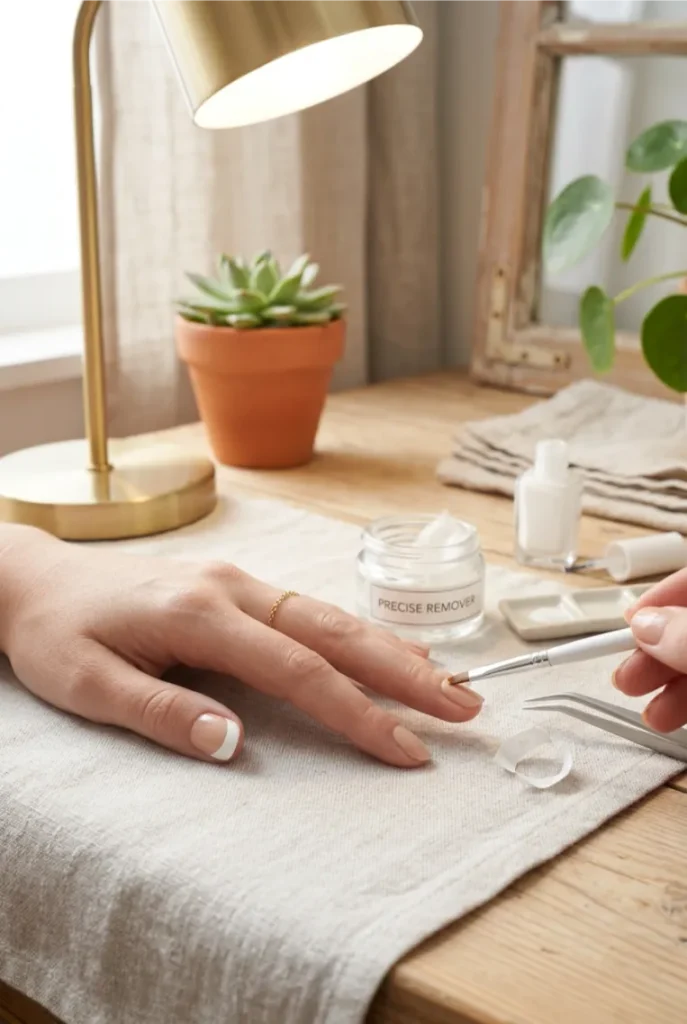
Dip a small angled brush in polish remover and blot most of it out on a paper towel — you want it damp, not dripping.
Trace along the skin just outside the nail to lift away any stray polish, working slowly rather than scrubbing.
A dry corner of the brush works well for tiny smudges near the cuticle line.
This step is what makes the manicure look done by hand-painted, not smeared on.
12. Seal Everything With a Top Coat
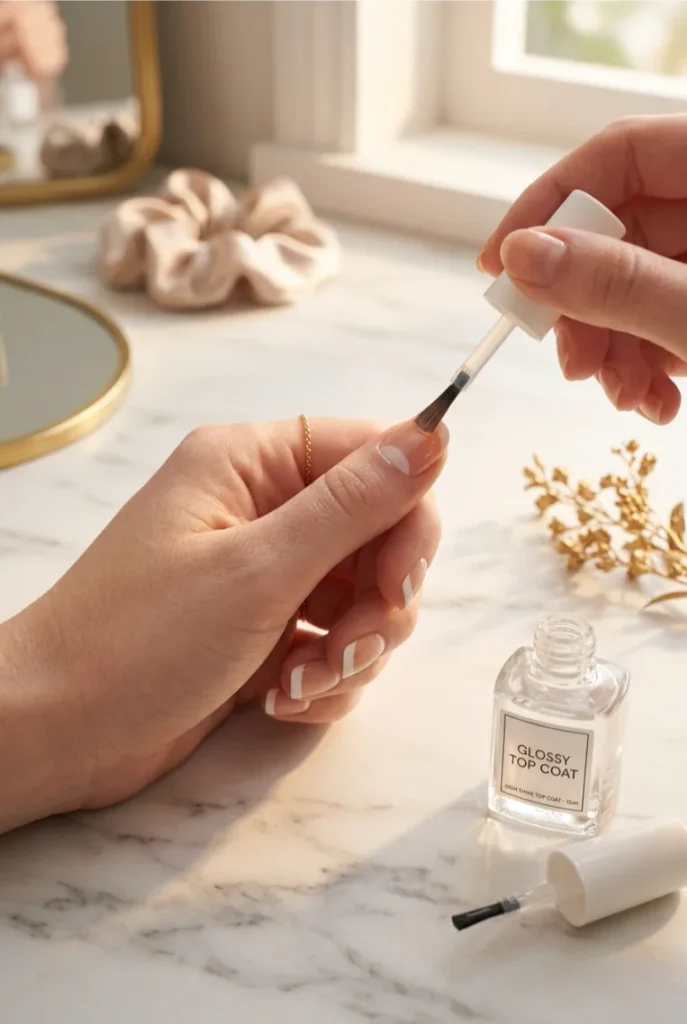
Cap every nail with one even layer of top coat, running the brush over the very tip of the nail too.
This locks the reverse french line in place and gives the whole manicure a glossy, protective finish that resists chipping.
Let your hands rest completely still for at least 10 minutes — even polish that looks dry on the surface can still dent from light pressure underneath.
Conclusion
That’s a full reverse french manicure, done with your own two hands and no salon chair required.
You now know how to get a sharp, curved line every time — and what to fix if it smudges. Next time, try swapping the tip color for something bold, or add a thin gold line along the curve for extra shine.
Save this reverse french manicure guide to Pinterest so it’s ready the next time you want a fresh set.


