
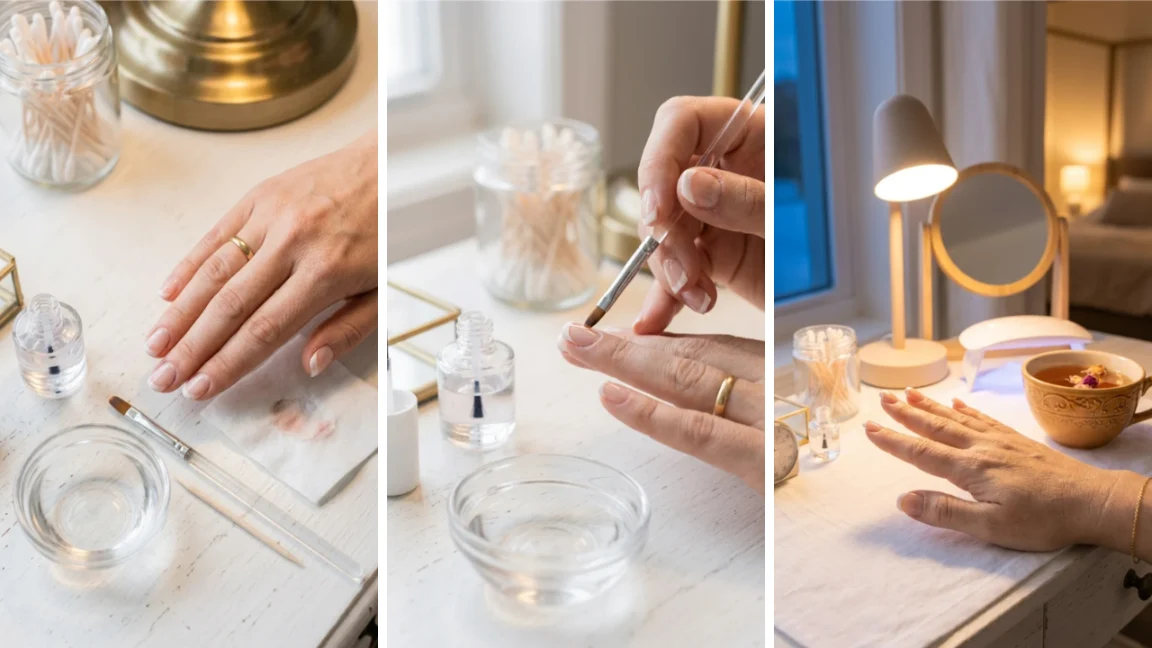
You just finished a clean set of french tips, reached for something on the counter, and dragged your thumb straight across the white line. Before you grab the acetone and wipe the whole nail bare, stop.
Fixing a smudged french tip doesn’t mean starting the whole manicure over. In most cases, the smudge only affects a small section of polish, and that section is all you need to touch up.
This guide walks you through exactly how to fix smudged french tips using tools you likely already have: a small brush, acetone, a toothpick, and your white and top coat polish.
The trick is working small. Instead of removing the entire tip, you’ll soften and lift only the smudged spot, then rebuild that tiny section so it blends in with the rest of the nail.
The actual fix takes about 10 to 15 minutes per nail, most of it spent waiting for polish to dry properly between steps.
Rushing the drying time is the number one reason a “quick fix” turns into a bigger mess. Grab your supplies, find good lighting, and let’s save that manicure.
Step 1 — Stop Touching the Nail

Your first instinct will be to smooth it out with your finger.
Don’t. Fresh polish is soft, and pressing on it just spreads the smudge into a bigger smear across more of the nail.
Hold your hand still, keep the smudged finger away from fabric or your other hand, and give yourself a second to actually look at the damage before reacting. 10 seconds of stillness saves you a much longer fix.
Step 2 — Check How Deep the Smudge Goes
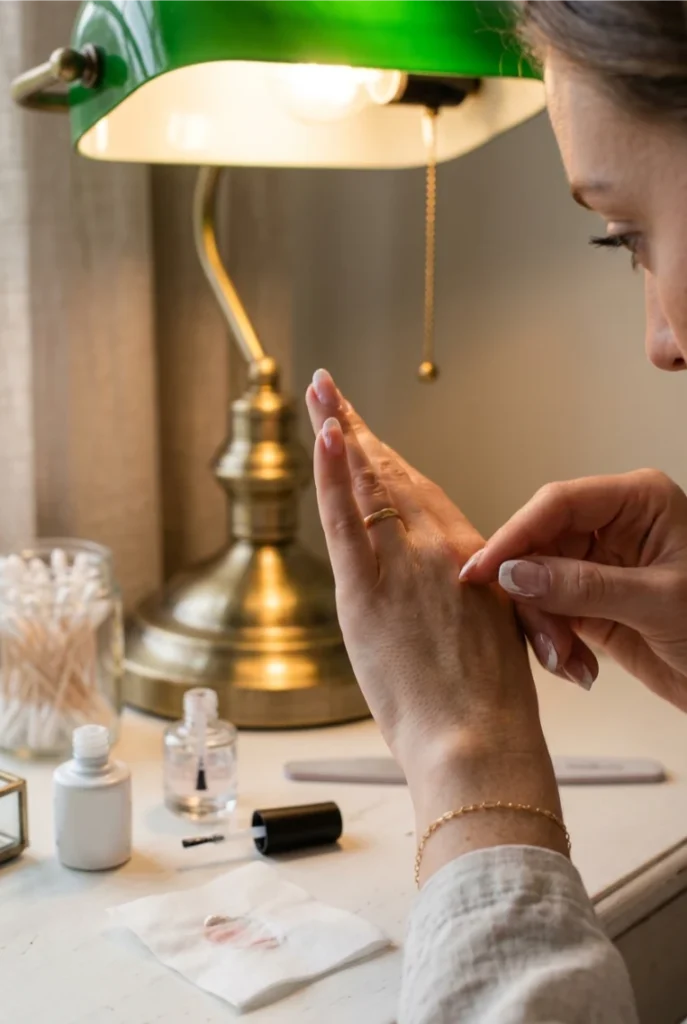
Tilt your hand under a light and look closely. A surface smudge sits on top of the polish and looks like a light drag mark.
A deep smudge pushes down into wet polish and shows a groove or a bare patch of nail underneath.
This matters because a surface smudge might only need buffing, while a deep one needs the full lift-and-rebuild process in the next steps.
Step 3 — Dip Brush in Acetone
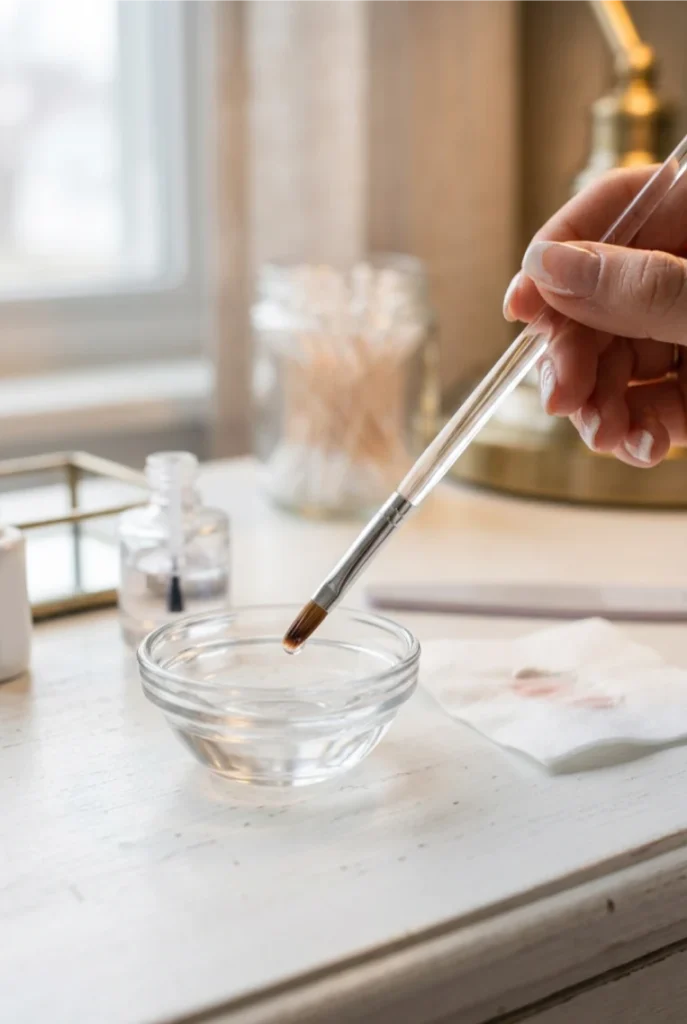
Pour a small amount of acetone into a bowl — you only need enough to wet the brush tip, not soak it.
Load the brush lightly, tap off the excess against the bowl’s edge, then touch it directly to the smudged area only. Avoid the clean parts of the nail entirely.
The acetone softens the polish enough to lift it cleanly instead of scraping it, which would tear up the surrounding finish.
Step 4 — Wipe Away the Smudge with a Toothpick
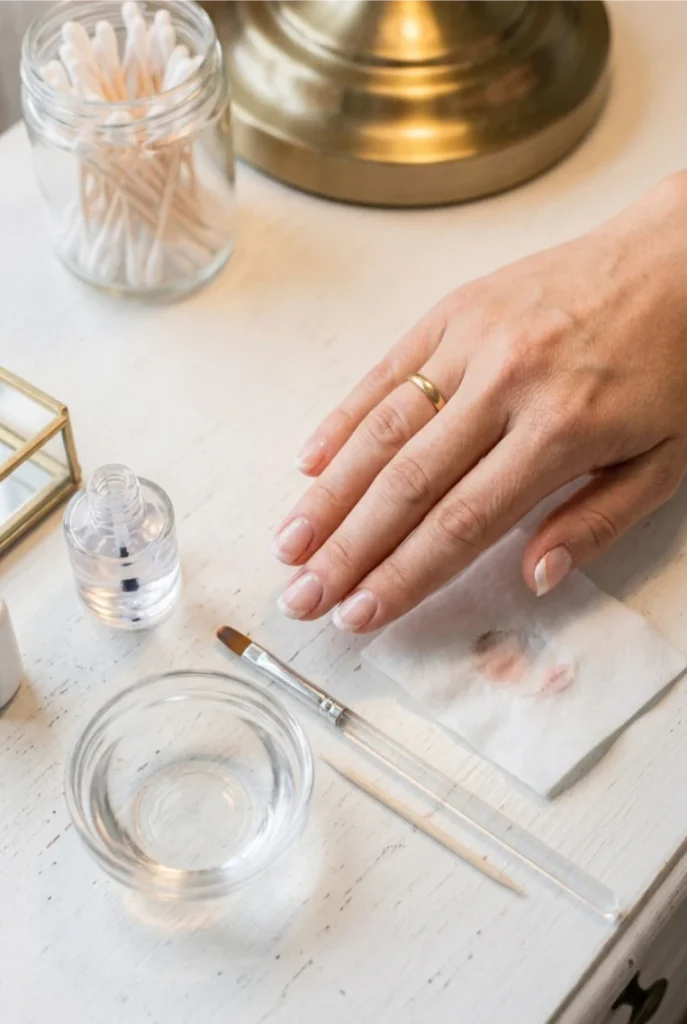
Once the acetone has had a few seconds to work, the softened polish will look slightly glossy and loose.
Angle the toothpick flat against the nail, not straight down, and gently push the smudged polish away in one direction.
A wooden stick won’t scratch the nail plate the way a metal tool can. Work slowly — one light pass usually lifts more than you’d expect.
Step 5 — Clean Up the Edges with an Acetone-Dipped Precision Brush
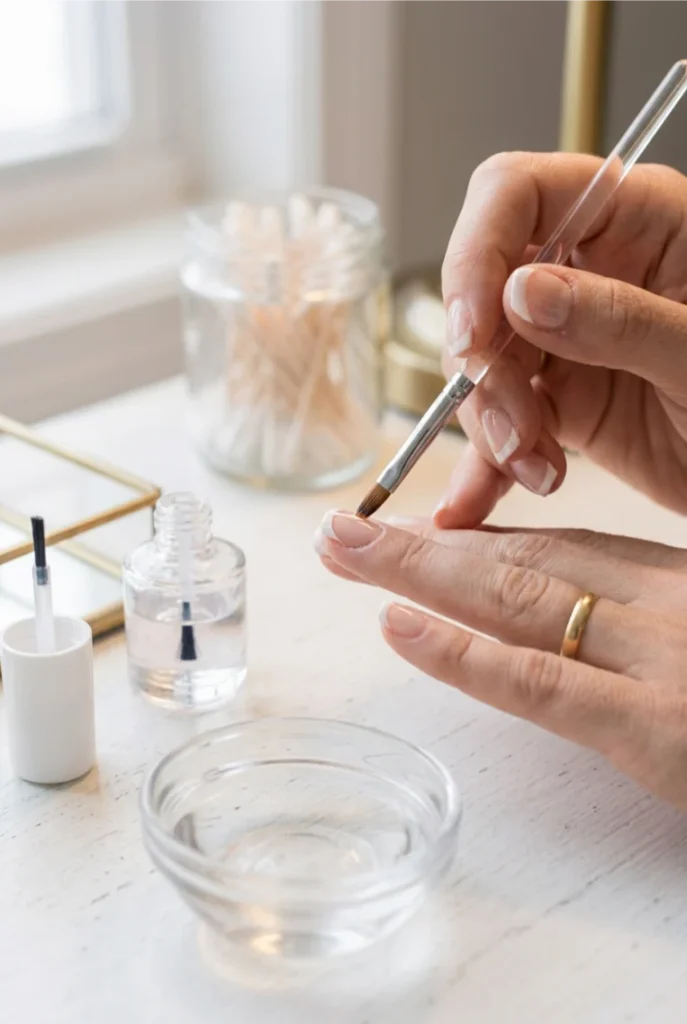
30 seconds of edge work now saves you a messy repaint later. Re-dip your brush in acetone, tap off the excess again, and trace along the border where the smudged area meets the clean polish.
This softens any jagged leftover edges so the boundary looks intentional instead of chipped.
Small, short strokes work better than long sweeping ones — you’re smoothing a border, not painting a whole nail.
Step 6 — Air-Dry for 5 Minutes
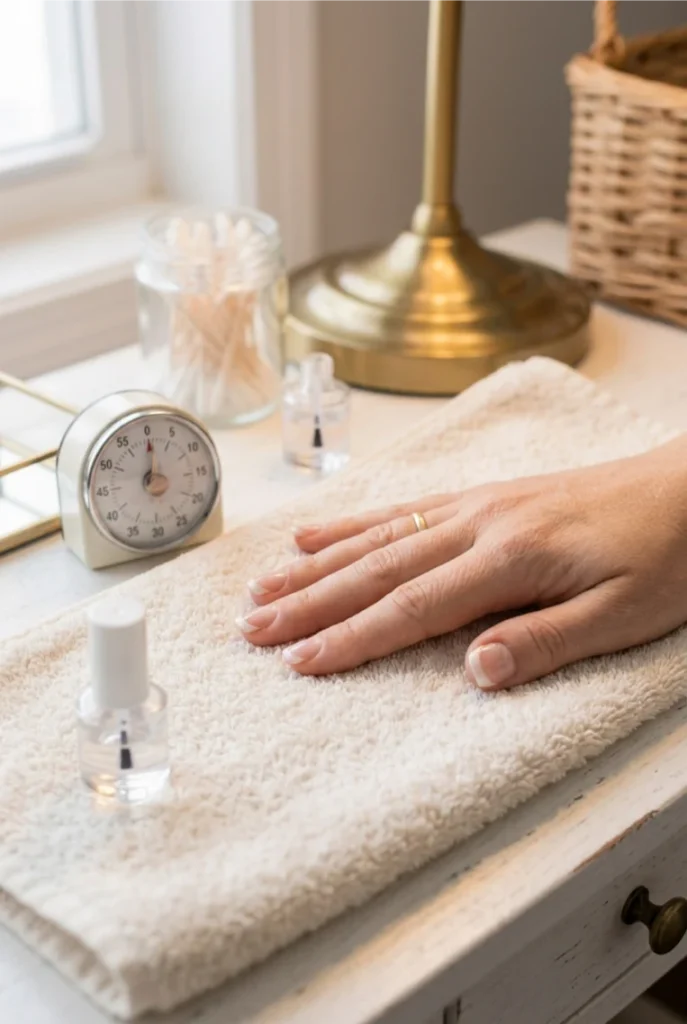
Nothing sticks well to a damp or tacky surface, and that includes new polish.
Set a timer for 5 minutes and rest your hand flat, fingers spread, away from anything that could brush against the nail.
Skipping this step is the single most common reason people redo a “quick fix” twice — new polish applied too soon just drags and smudges all over again.
Step 7 — Reapply a Thin Line of White Polish
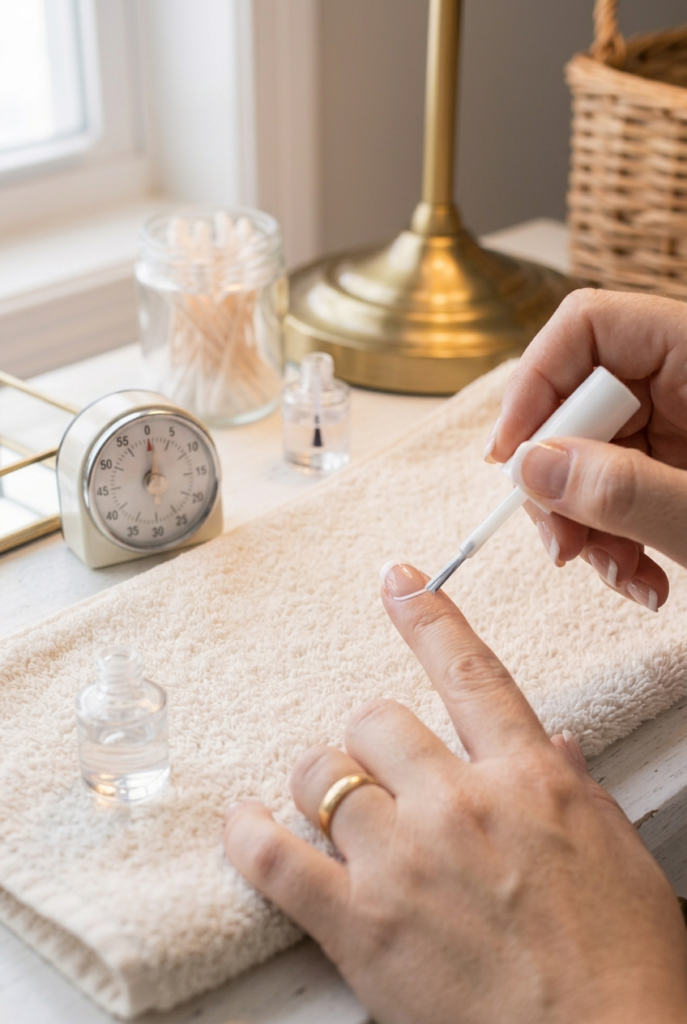
Grab your white polish and wipe the brush once against the bottle neck — you want a thin, controlled amount, not a full loaded brush.
Starting from one side of the nail, drag a light line along the smile line where the smudge used to be.
Thin coats dry evenly and match the original tip better than one thick pass ever will. You can always add a second thin layer, but a thick first coat is hard to undo.
Step 8 — Blend the New Tip Edge
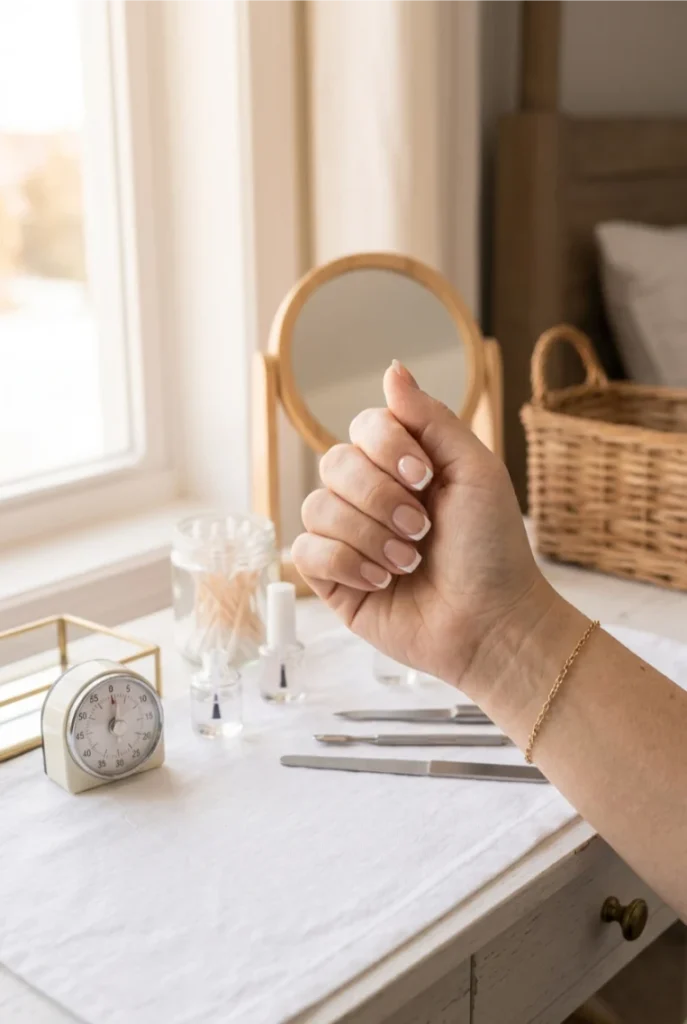
Look at the nail under bright light before deciding you’re done.
Compare the new section against the original tip on either side — thickness, curve, and opacity should all line up.
If one spot looks thinner or patchy, add a second light pass only to that spot rather than recoating the whole tip. Small corrections beat full repaints every time.
Step 9 — Seal with Top Coat
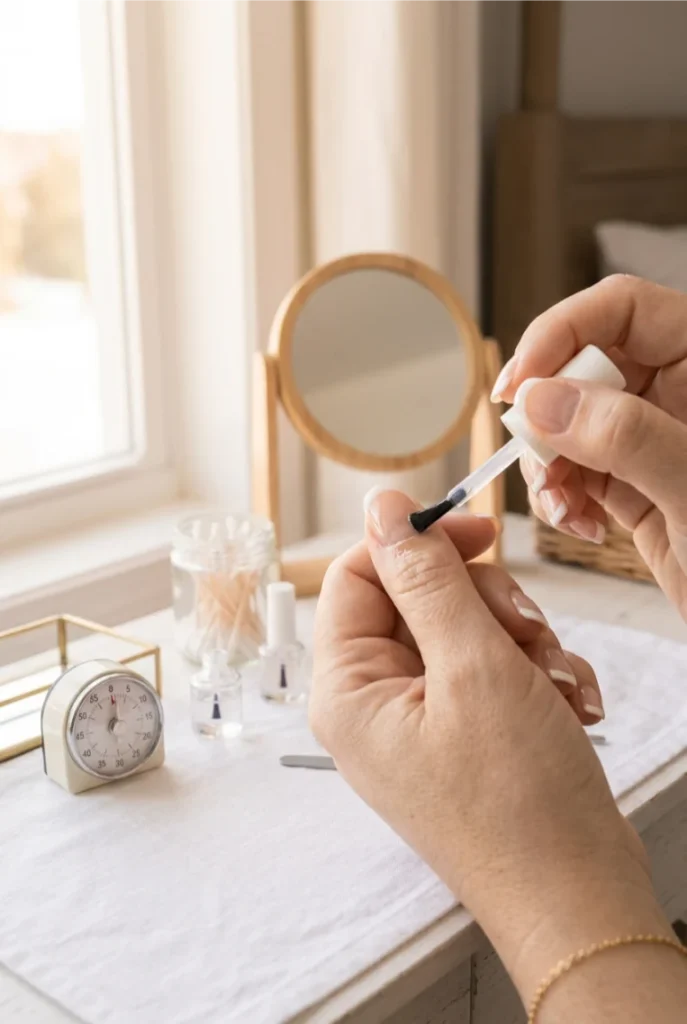
Wait until the white touch-up looks fully dry and matte-free before this step — rushing it will drag the fresh polish.
Sweep one thin layer of top coat across the entire nail, not just the repaired section, so the whole nail has an even shine and the repair line blends visually into the rest of the manicure.
Step 10 — Cure or Air-Dry Fully Before Touching Anything

If you’re using gel polish, cure under your lamp for the time your product recommends — usually 30 to 60 seconds.
For regular polish, give it a full 10 to 15 minutes of air-dry time before putting gloves on, digging through a bag, or doing anything hands-on.
This last stretch of patience is what actually decides whether your fix holds or smudges again by tonight.
Conclusion:
Your tip is fixed, and no one will know it ever smudged. That’s the whole point of learning how to fix smudged french tips the right way — small, targeted repairs beat starting over every time.
Next time you’re rushing to grab your phone right after painting, give it those extra few minutes instead.
Save this guide to your Pinterest board so it’s ready the next time a smudge sneaks up on you.


