
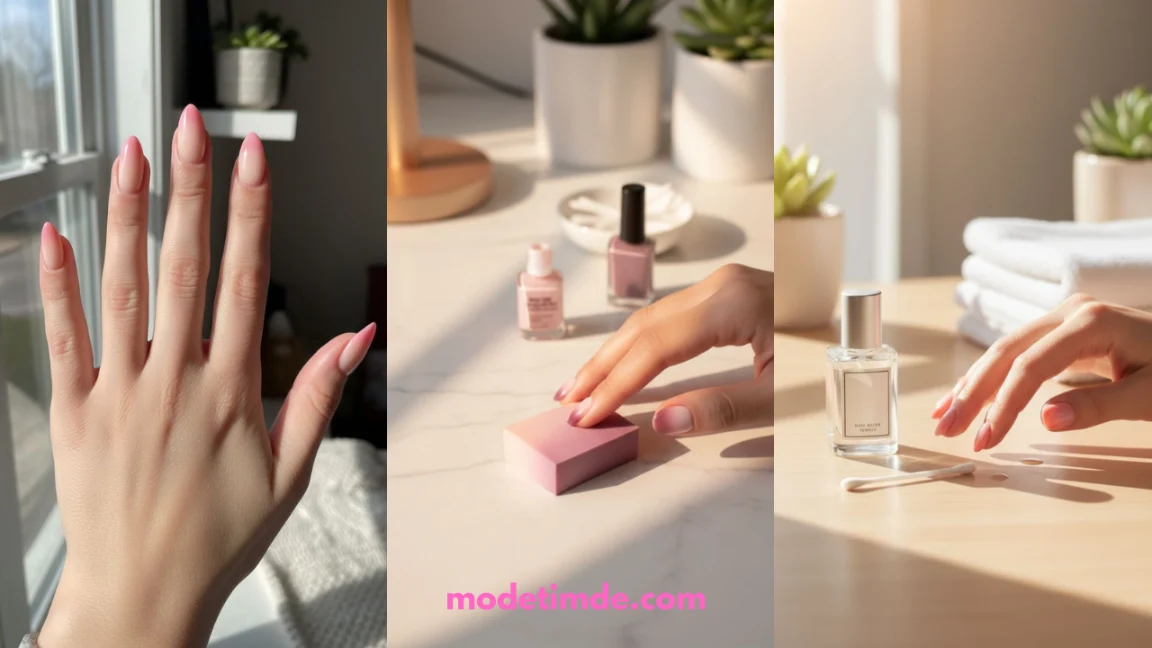
You’ve seen the soft, cloud-like fade on someone else’s nails and thought, there’s no way I can do that with a sponge.
I thought the same thing the first time I tried it — and then smudged pink polish across three knuckles before I got the hang of it.
The trick isn’t a steady hand. It’s technique, and once you know it, this ombre french tips tutorial works the same way every single time.
By the end, you’ll have a soft color fade at the tip of each nail, blended with nothing fancier than a makeup sponge and two polish shades. No airbrush, no salon visit, no gel system required.
The whole process takes about 45 minutes from bare nail to finished shine, and most of that is just letting layers dry.
The blending itself takes practice on your first hand and gets faster on your second.
1. Set Up Your Workspace Before You Start
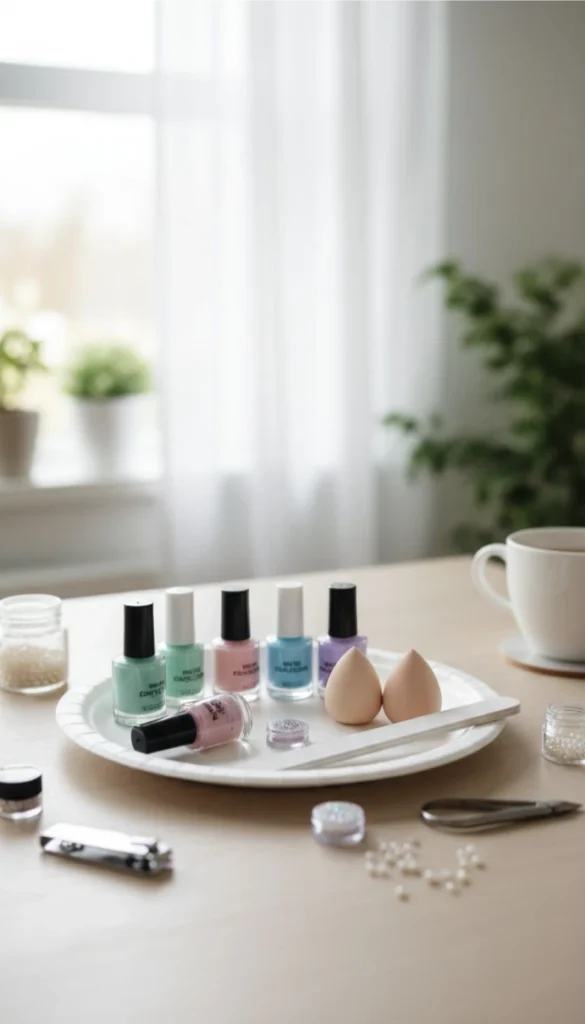
Stopping mid-blend to dig through a drawer costs you the fade — polish dries fast, and a delay of even 30 seconds changes how the colors merge. Get everything within arm’s reach first:
- Your three polishes (base color plus two ombre shades)
- A makeup sponge, cut into three wedges
- A paper plate for blending
- Clear base coat and top coat
- Cotton swabs dipped in remover
Once it’s all laid out, you’re ready to start on clean, bare nails.
2. Shape and Buff Your Natural Nails
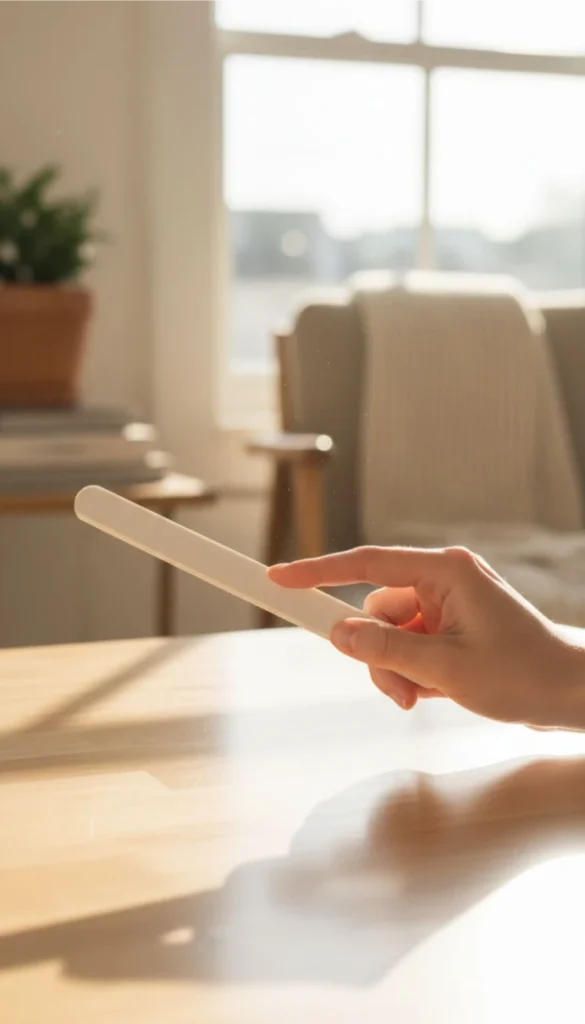
A rounded or squared-off shape both work well for ombre tips, but whichever you pick, keep all ten nails matching in length and shape before you touch any polish.
File in one direction only — sawing back and forth weakens the nail edge and causes peeling later.
Then run a buffing block lightly over each nail, about 10 to 15 strokes, just enough to knock the shine off the plate. That dulled surface gives your base coat something to grip.
3. Apply a Clear Base Coat
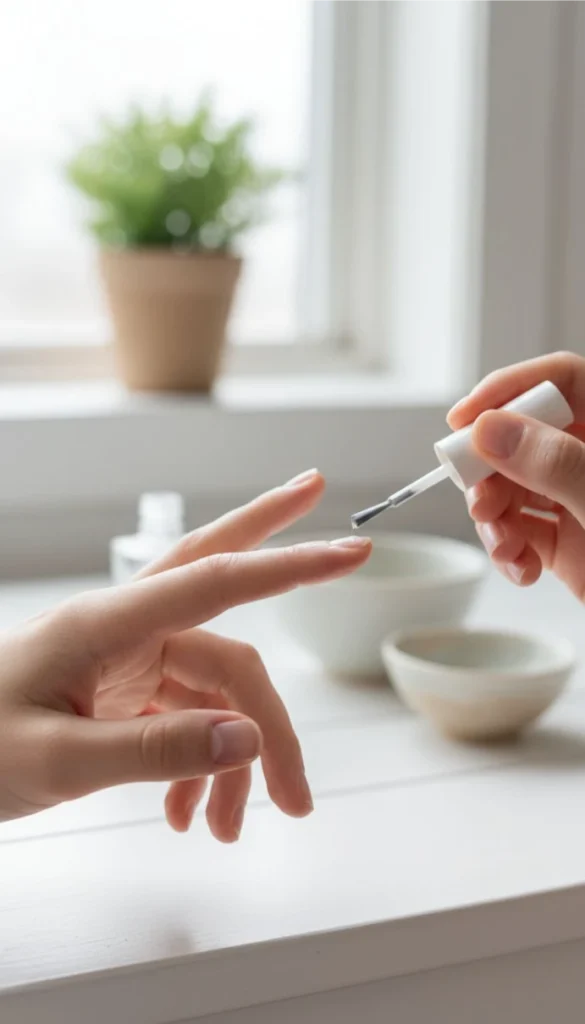
This layer isn’t just protection — it gives the sheer color something even to bond to, so your fade doesn’t end up patchy over bare nail.
Brush on one thin coat: one stroke down the center, then one on each side. Cover the nail fully, including the very edge, but avoid flooding your cuticles. A too-thick layer here takes longer to dry and can wrinkle when you add the next coat.
4. Let the Base Coat Dry Completely
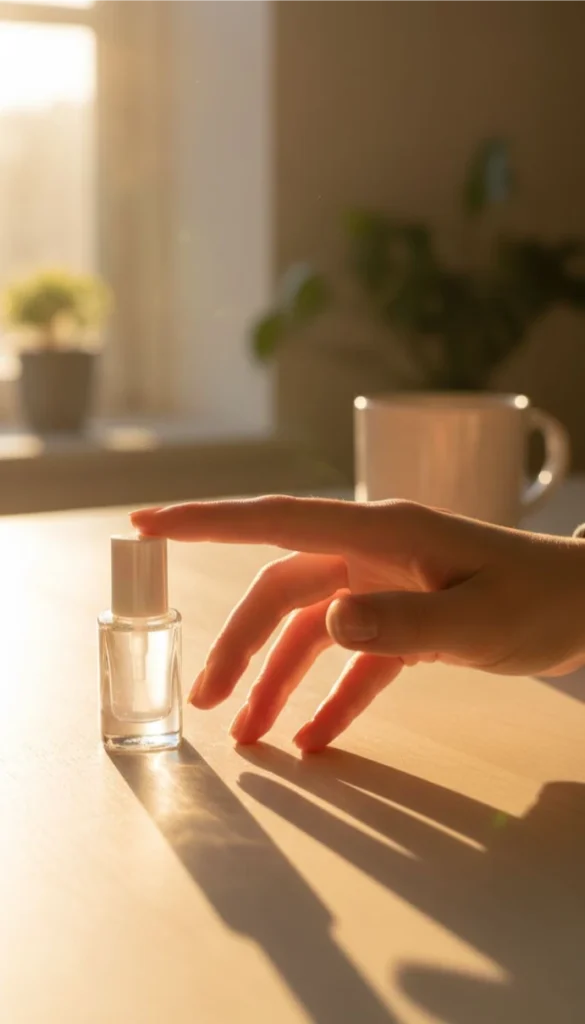
Ten minutes is the real number here, not the five you’re hoping for. Touch the edge of one nail lightly with your fingertip — if any polish shifts or leaves a mark, it’s not ready.
Rushing this step is why fades come out streaky two steps from now, since the sheer color you’re about to add will drag through a tacky base instead of sitting on top of it.
5. Brush On Your Sheer Base Color ok
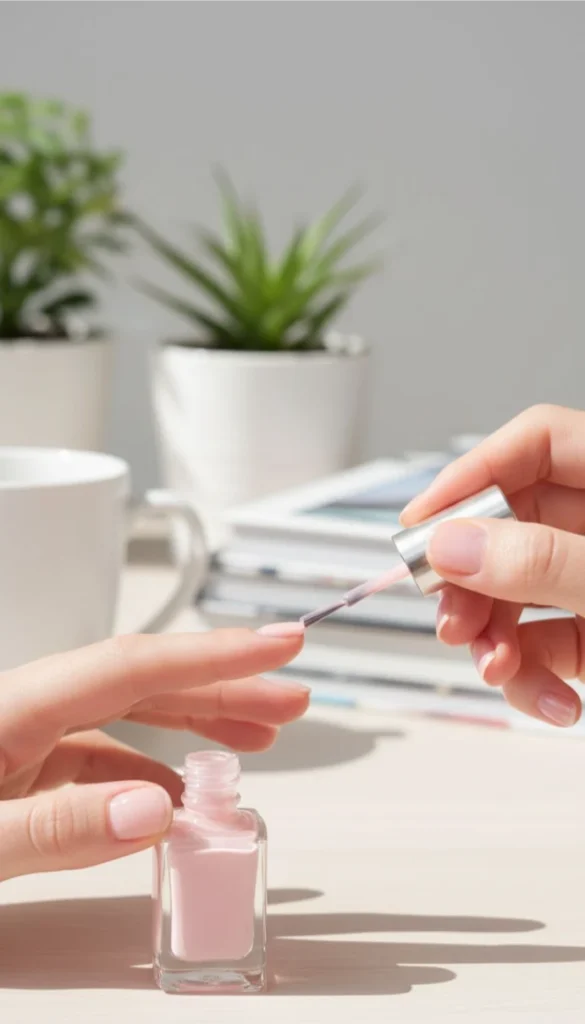
This coat sets the tone for the whole look, even though it barely shows once you’re done.
Choose a pale pink or nude, and brush on one thin, even layer edge to edge. Skipping it and going straight to the ombre shades makes the fade look patchy right at the cuticle line instead of soft.
Let this layer dry for another 8 minutes before touching your sponge — check with the same fingertip test as before.
6. Load Your Sponge With Two Polish Shades
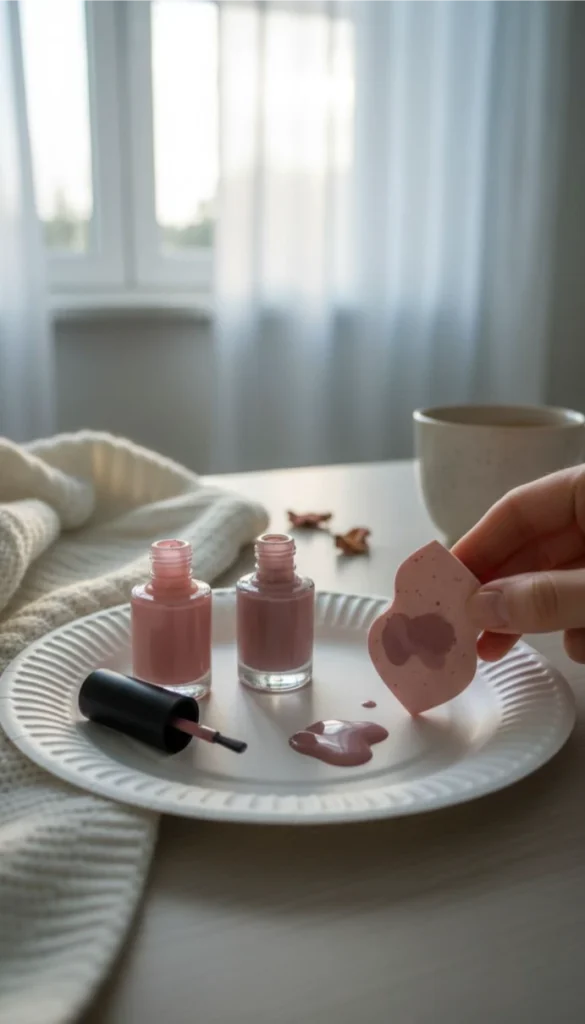
Cut a makeup sponge into small wedges ahead of time, since one gets ruined per hand and you’ll want backups ready. On a clean section of your paper plate or the sponge edge itself:
- Paint a thin stripe of your lighter shade first
- Add a stripe of the darker shade just below it, overlapping slightly
- Work fast — both polishes start drying the moment they hit the sponge
That overlap is where your blend zone lives, so don’t rush past it.
7. Blend the Colors on the Sponge First
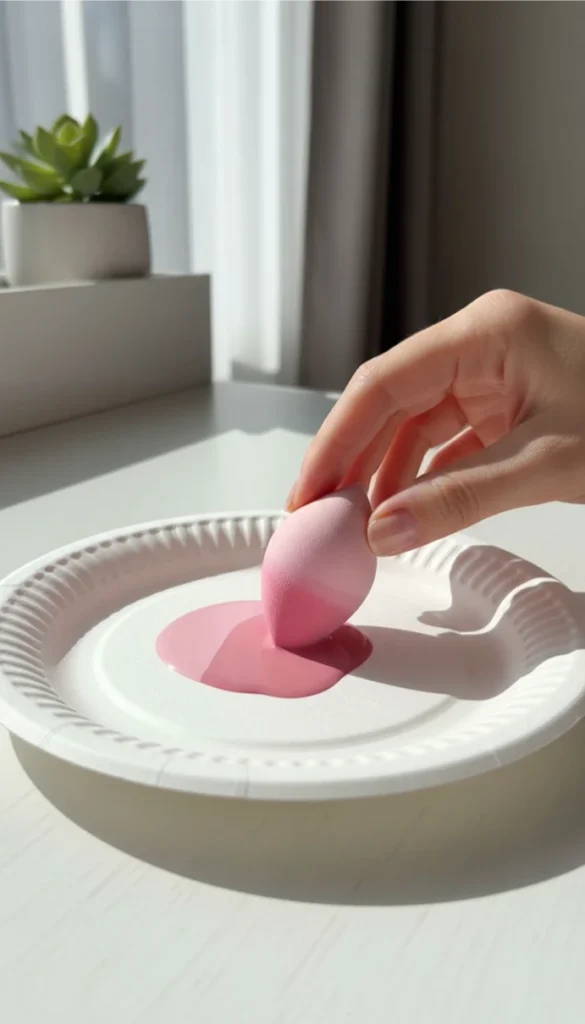
Never press a loaded sponge straight onto your nail — the two shades are still sitting as separate stripes, and you’ll transfer a hard line instead of a fade.
Dab the sponge against a clean spot on your paper plate several times, shifting it slightly left and right with each dab.
Watch the plate, not the sponge: once you see a soft gradient where the stripes used to be, it’s ready for your nail.
8. Press the Sponge onto the Tip of Your Nail ok
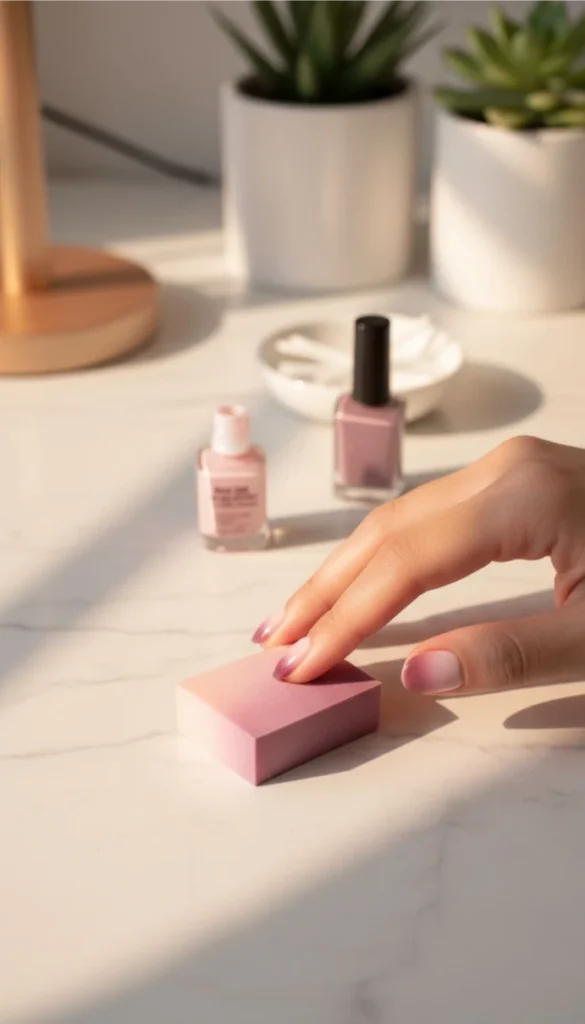
Hold the sponge just above the nail, angled so the darker shade lines up with the tip edge.
Press down firmly in one motion, covering roughly the top third to half of the nail.
Hold for 2 to 3 seconds before lifting, giving the polish enough time to transfer fully instead of leaving a faint, uneven patch.
9. Lift Straight Up and Check the Fade ok
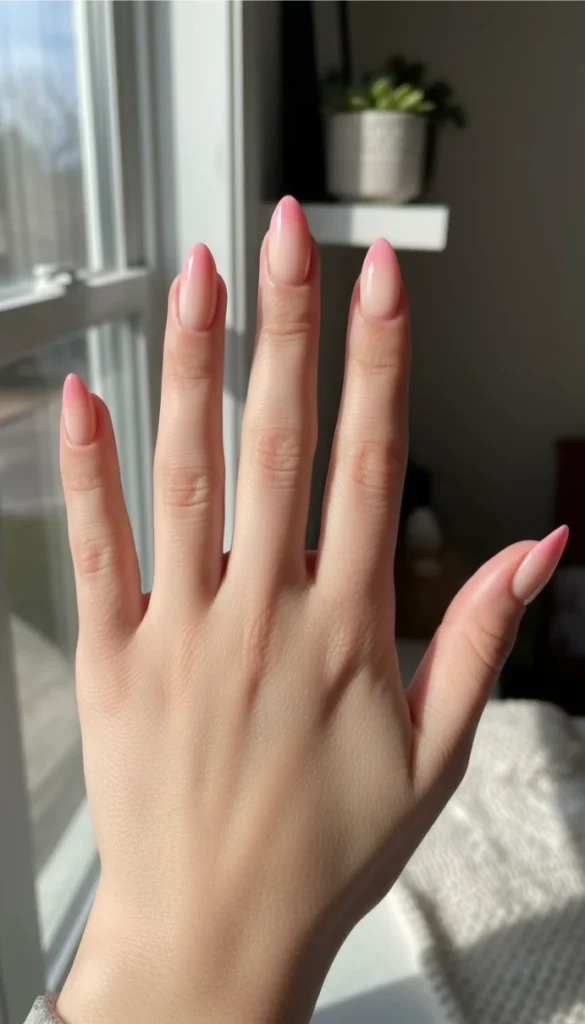
Any twisting or dragging here smears the gradient you just built, so lift away in one clean, straight motion.
Check what landed: you’re looking for a soft blend from light to dark, not a hard edge.
A patchy or too-light result on this first pass is completely normal — that’s exactly why the next step exists.
10. Repeat the Dab for Full Opacity ok
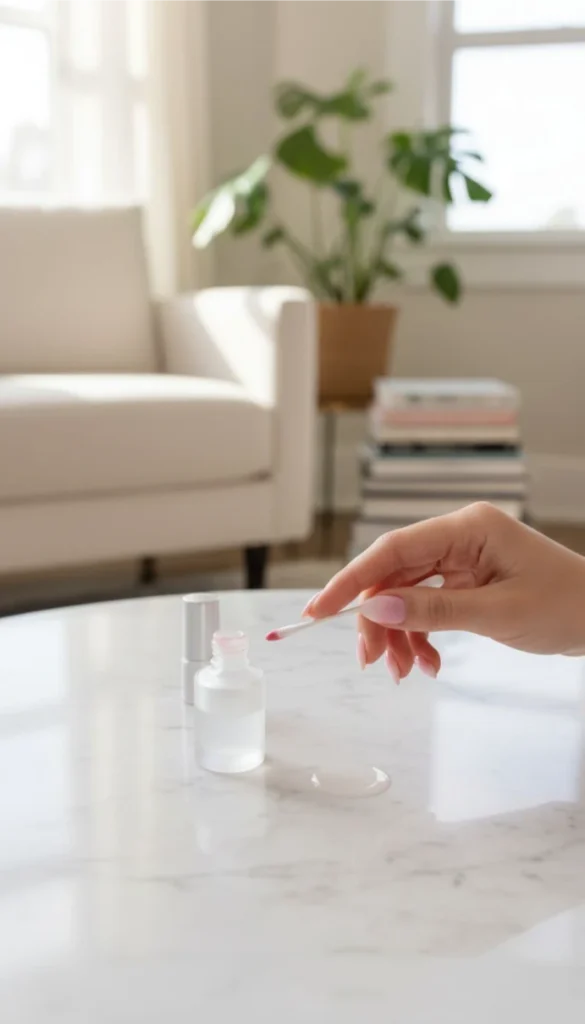
One pass rarely gives you full color, especially with lighter polish shades that need buildup.
Reload the sponge with fresh polish, following the same stripe-and-blend process from before, then press onto the same spot.
Two to three total passes is typical. Let each pass sit for about 60 seconds before adding another — stacking wet dabs on top of each other muddies the fade instead of deepening it.
11. Clean Up the Skin Around Your Nails ok
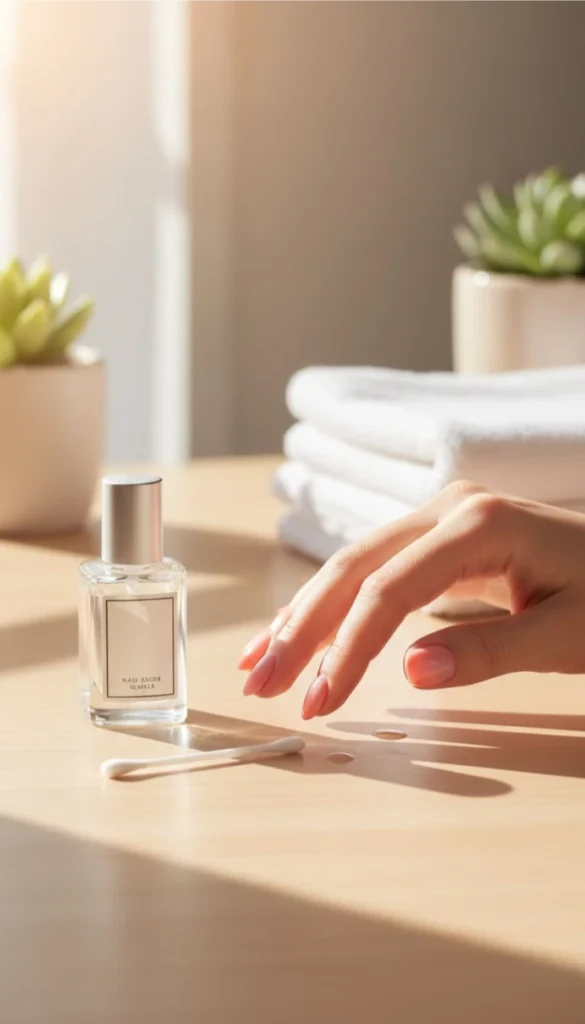
Sponge blending almost always leaves faint color on the surrounding skin, and that’s fine — it’s expected, not a sign you did it wrong.
Dip a cotton swab in polish remover and trace along your cuticle and sidewalls, wiping away from the nail in one direction.
A pointed orange stick wrapped in a bit of cotton works well for tight corners near the cuticle if a full swab feels too bulky.
12. Seal Everything With a Glossy Top Coat ok
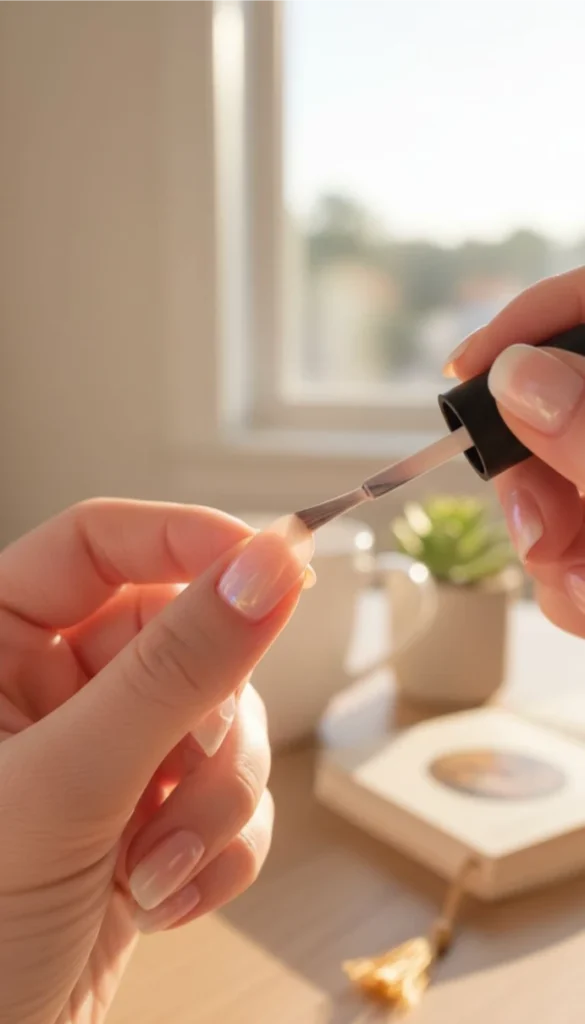
This final layer locks in the fade, adds shine, and buys you a few extra days before chipping starts.
Brush on one even coat, sealing the very tip of the nail with each stroke to prevent early lifting.
Let nails cure for a full 20 minutes without touching anything — texting or digging through a bag too soon is the easiest way to dent a fresh top coat.
Conclusion
Your nails now have that soft, gradient fade you were eyeing on someone else’s hands — and you built it with a sponge, not a steady brush hand.
The technique gets faster every time you do it, so your second attempt will look cleaner than your first.
Next time, try swapping in a bolder color pairing for a more dramatic tip. Save this ombre french tips tutorial to Pinterest so it’s ready for your next manicure night.


