
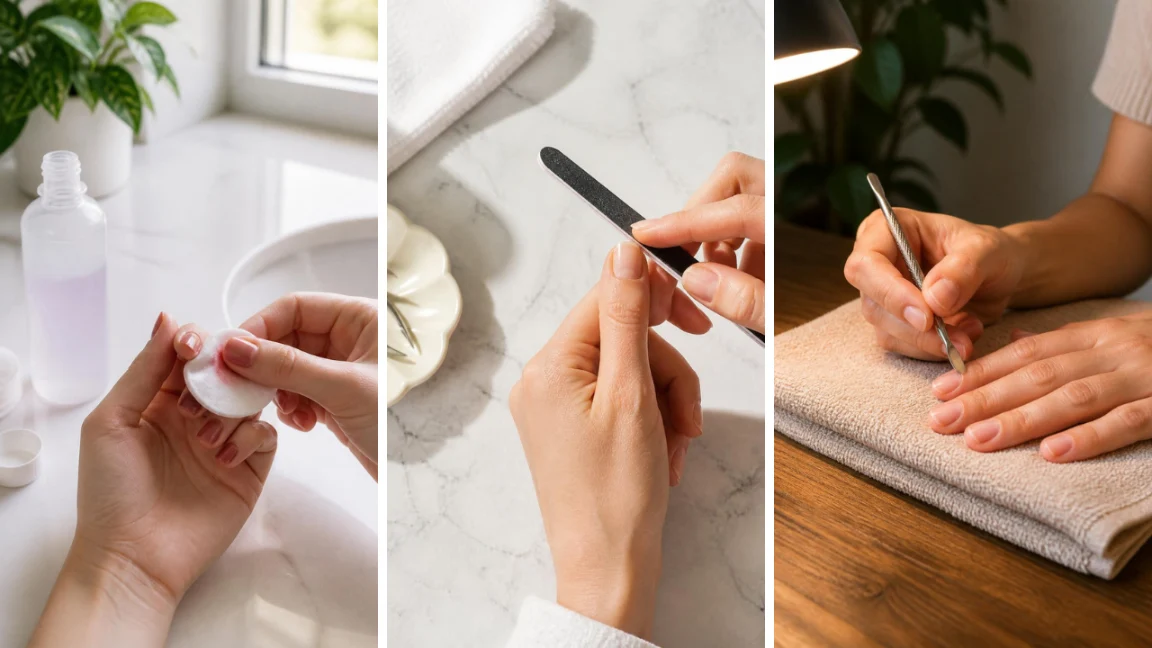
Painting a French manicure at home always looks easy in the tutorial video and never turns out that way on your actual hands.
The white tips smudge. The line goes crooked. One nail looks perfect and the other nine look like a toddler got involved.
If that’s been your experience, the problem usually isn’t your hand-eye coordination — it’s skipping the setup steps that make the tip line easy to control in the first place.
This guide walks through exactly how to do a french manicure at home using a simple guide-and-layer method, the same trick that keeps the white tip crisp without a steady-hand miracle.
You’ll prep the nail properly, build a sheer base that won’t compete with the white, then use a guide to paint a straight tip line even if you’ve never done one before.
The hands-on work takes about 45 minutes. Drying time adds more, so this isn’t a rushed lunch-break project — but it also isn’t hard.
Clear a flat surface, grab a hand towel, and let’s get your nails looking salon-clean.
Step 1 — Remove Old Polish and Wash Your Hands
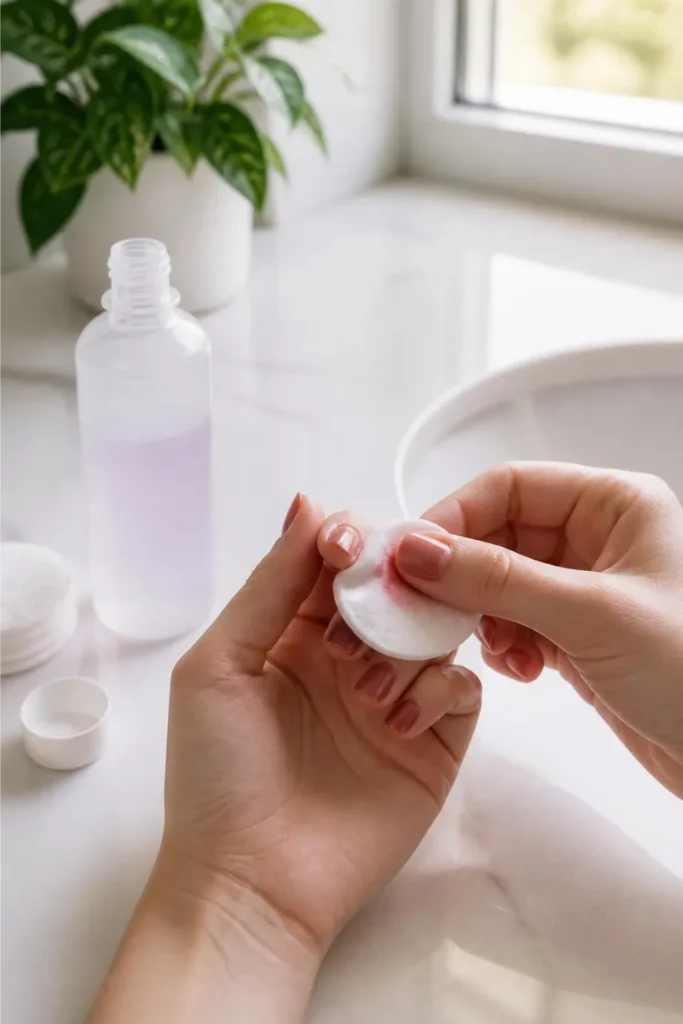
Soak a cotton pad with remover and press it against each nail for a few seconds before wiping — dragging it across dry polish just smears color into your cuticles.
Once every nail is bare, wash your hands with soap and warm water.
This strips away leftover oil from the remover, which would otherwise stop your base coat from sticking properly later.
Step 2 — Push Back Your Cuticles
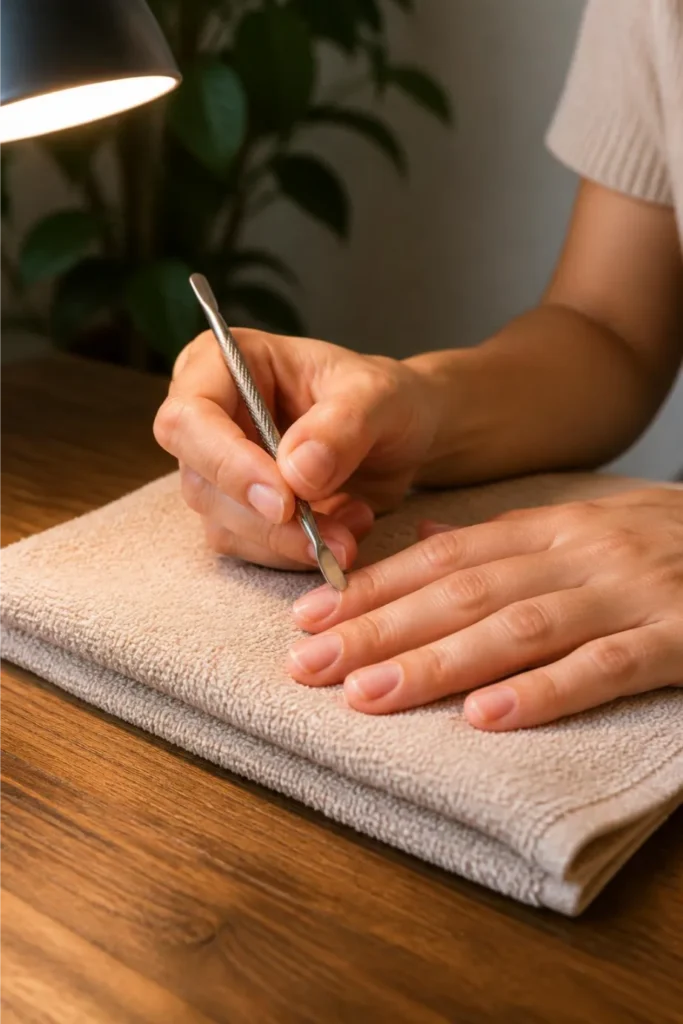
Soften your cuticles first by soaking your fingertips in warm water for 2 to 3 minutes, or apply cuticle oil and let it sit.
Then use a cuticle pusher at a low angle, gently sliding it back in small strokes rather than one long push.
Don’t have a metal pusher? Wrap a washcloth around the tip of an orange stick — it does the same job with less risk of scratching the nail plate.
Step 3 — Shape Each Nail with a File
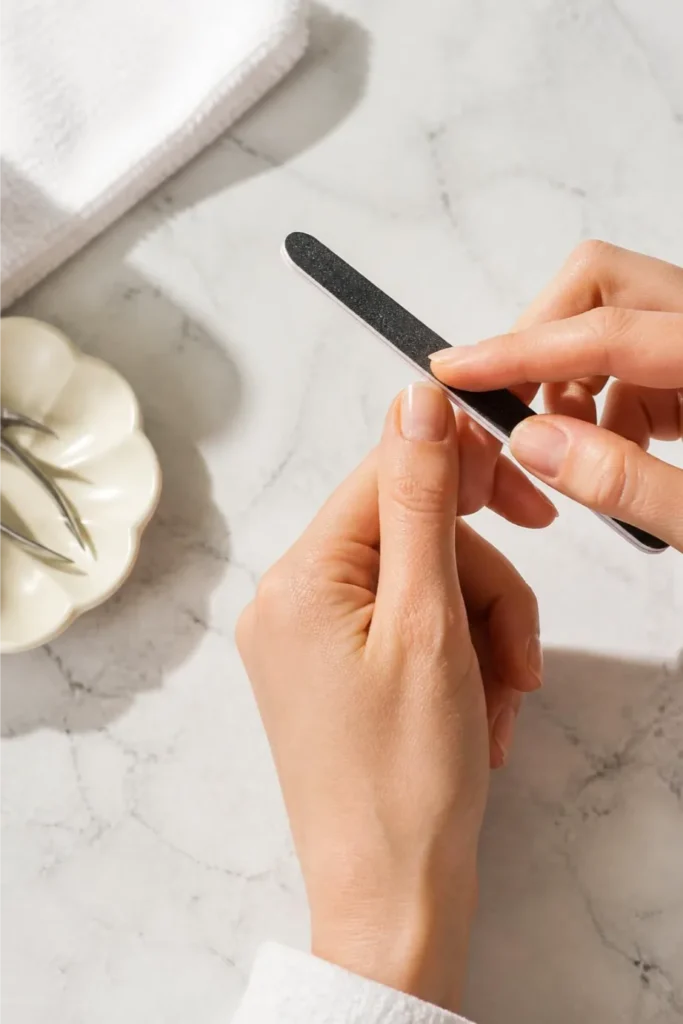
Pick one direction and file only that way — sawing back and forth weakens the nail edge and causes splitting over time.
A rounded square shape holds up best for a French tip because it gives the white line a clean, straight edge to follow.
File slowly, checking both hands from above every few strokes to keep the length even.
Step 4 — Buff the Nail Surface Lightly
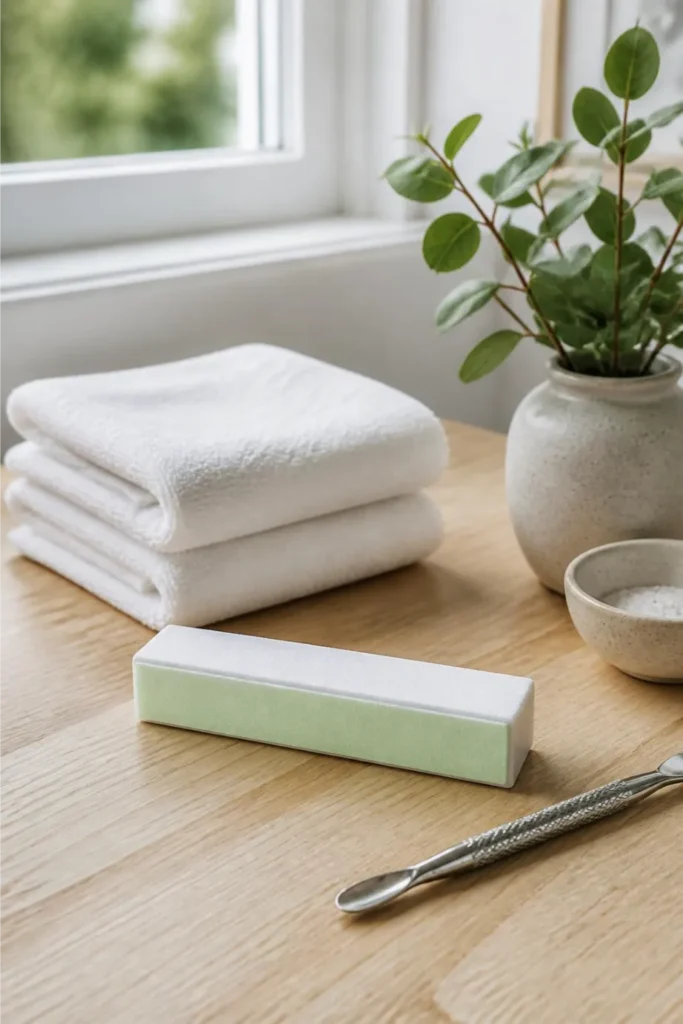
A few passes with the finer side of a buffer block are enough — over-buffing thins the nail and makes it more likely to peel later.
Buff in gentle circles across the top of each nail, just enough to knock down the natural shine.
This gives your base coat something to grip instead of sliding off a slick surface. Skip this step and even a good polish job can lift within a day or two.
Step 5 — Apply a Thin Base Coat
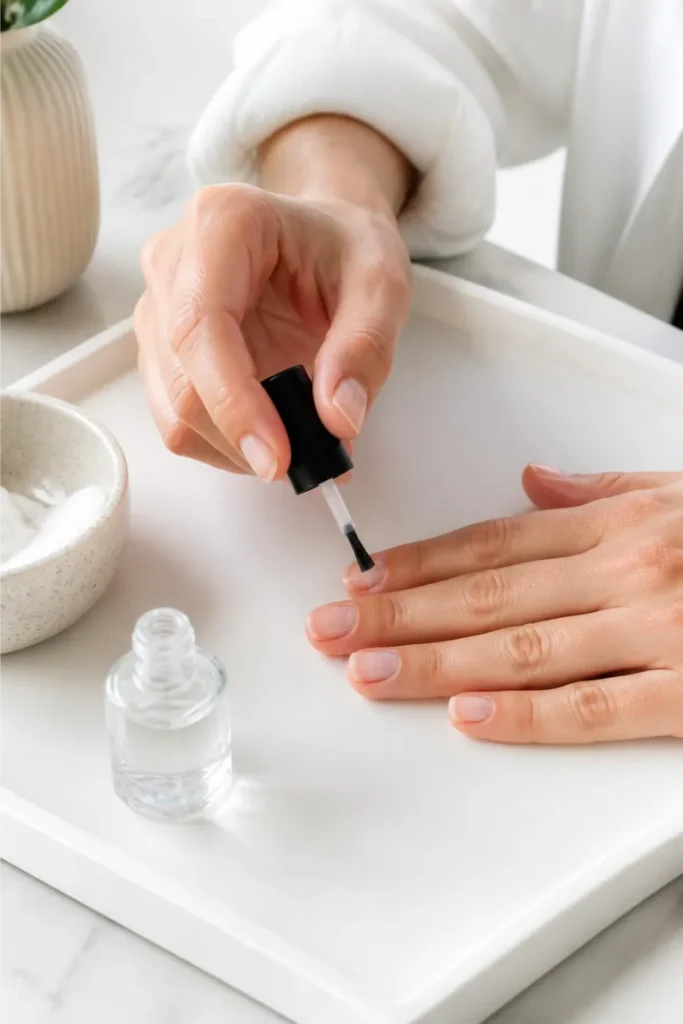
One thin layer, brushed from the base of the nail to the tip in a single stroke. Thick base coats take longer to dry and can trap air bubbles underneath your color.
Cover the entire nail, including the very edge — leaving even a sliver bare gives polish a weak spot to chip from first.
Step 6 — Let the Base Coat Dry Completely
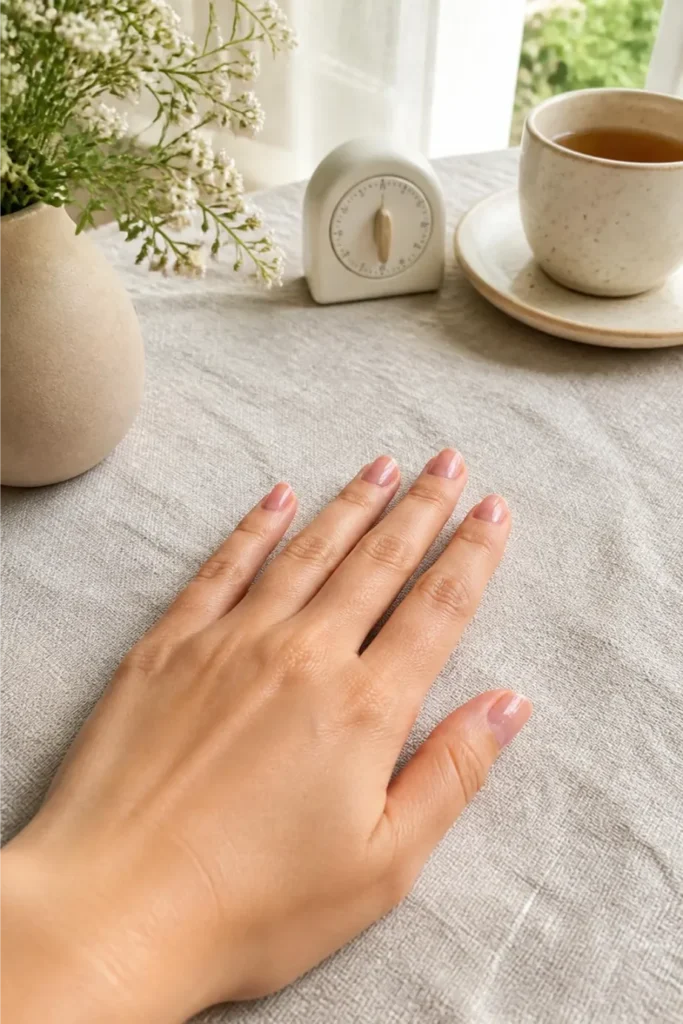
Ten minutes on a timer, hands flat and untouched.
Base coat that feels dry on the surface can still be soft underneath, and pressing on it too soon leaves permanent dents in every layer you add after.
While you wait, this is a good moment to wipe down your workspace or line up your polish bottles for the next steps.
Step 7 — Apply One or Two Coats of Sheer Pink or Nude Polish
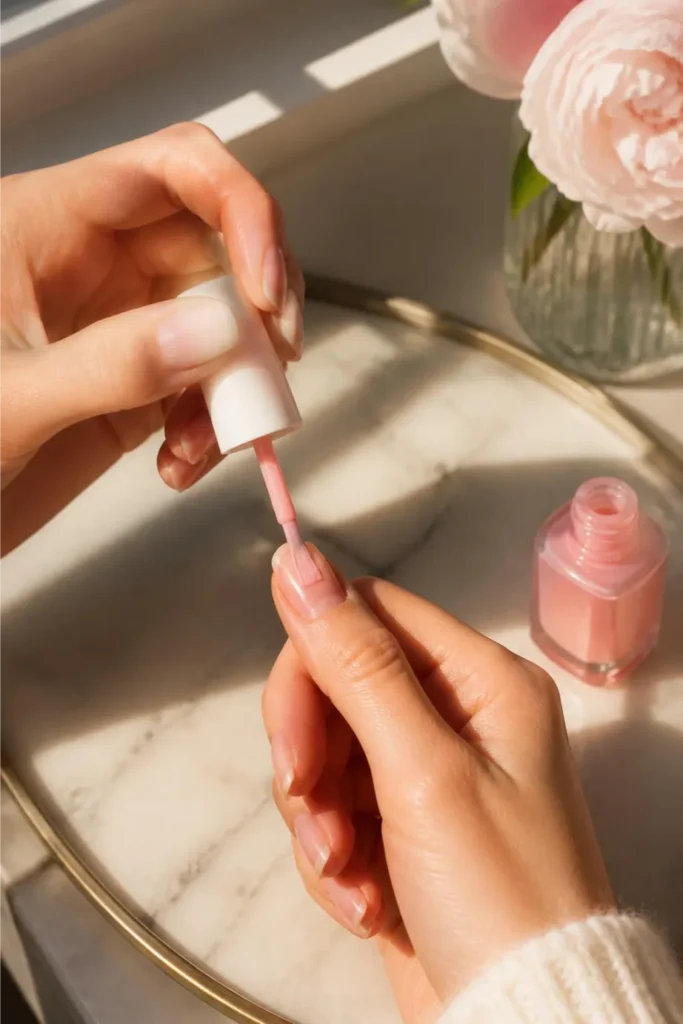
Sheer formulas need buildable layers, so don’t expect full opacity on the first coat — that’s normal, not a mistake.
Paint one thin layer across all ten nails, then decide if a second coat is needed once the first has dried for a few minutes.
Two coats usually gives enough softness without hiding the natural nail underneath, which is the whole point of this base color.
Step 8 — Let the Pink Base Dry Fully Before the Tips
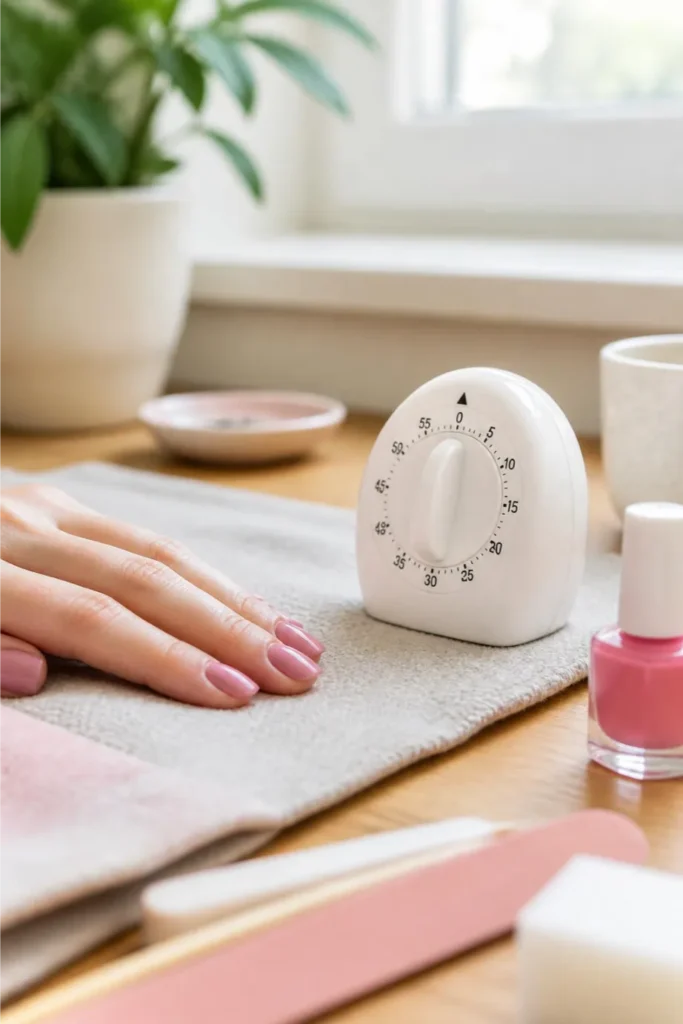
This is the step beginners rush most, and it’s the one that ruins the tip line every time.
Give it a full 15 minutes. If the pink layer is even slightly tacky, your white polish will drag through it and streak pink into the tip instead of staying crisp and white.
Step 9 — Place a Nail Guide Below the Tip Line
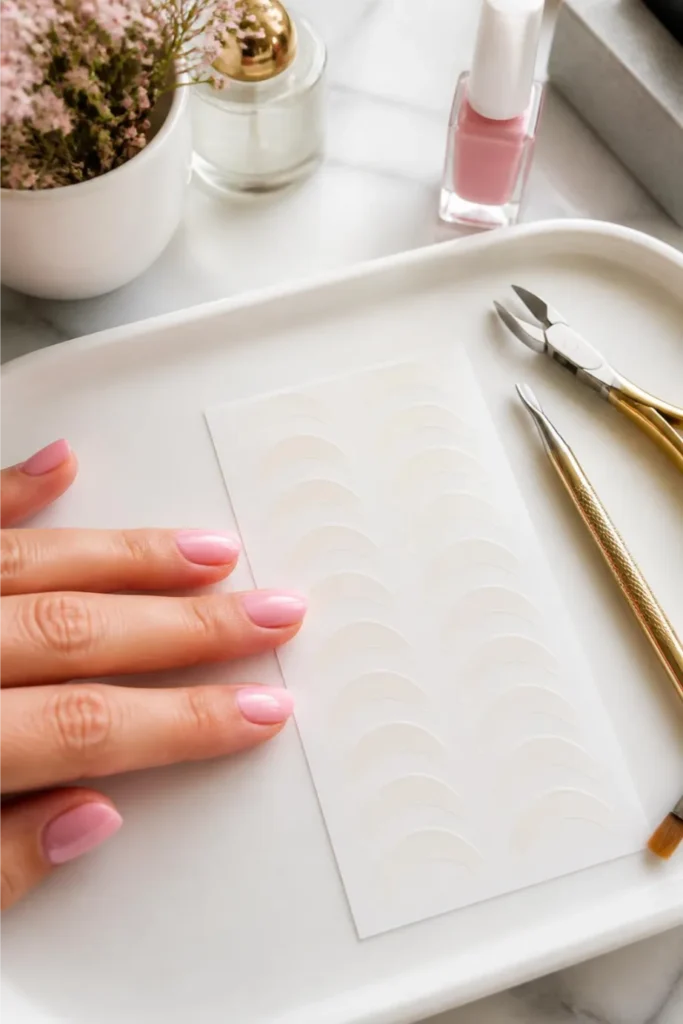
Peel one guide sticker and press it onto the nail at a slight curve, following the natural white line of your nail tip. Smooth down the edges with your fingertip so no polish can seep underneath.
No stickers on hand? A small strip of regular tape, trimmed into a curve with scissors, works almost as well.
Step 10 — Paint the White Tip in One or Two Light Strokes
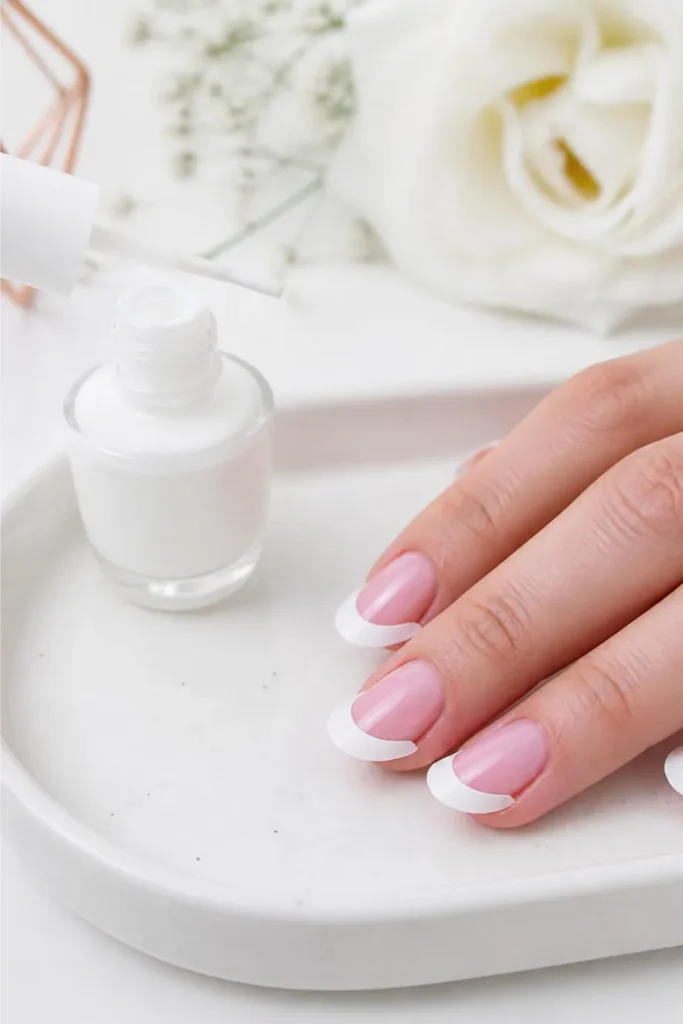
Load your brush with white polish and start from one corner of the guide, sweeping across to the other corner in a single confident stroke.
A second thin pass fixes any patchy spots without overloading the tip. Opaque white polish, not sheer, is what gives that solid salon look — sheer whites turn gray and translucent over the pink base.
Step 11 — Peel Off the Guide While the Polish Is Still Wet
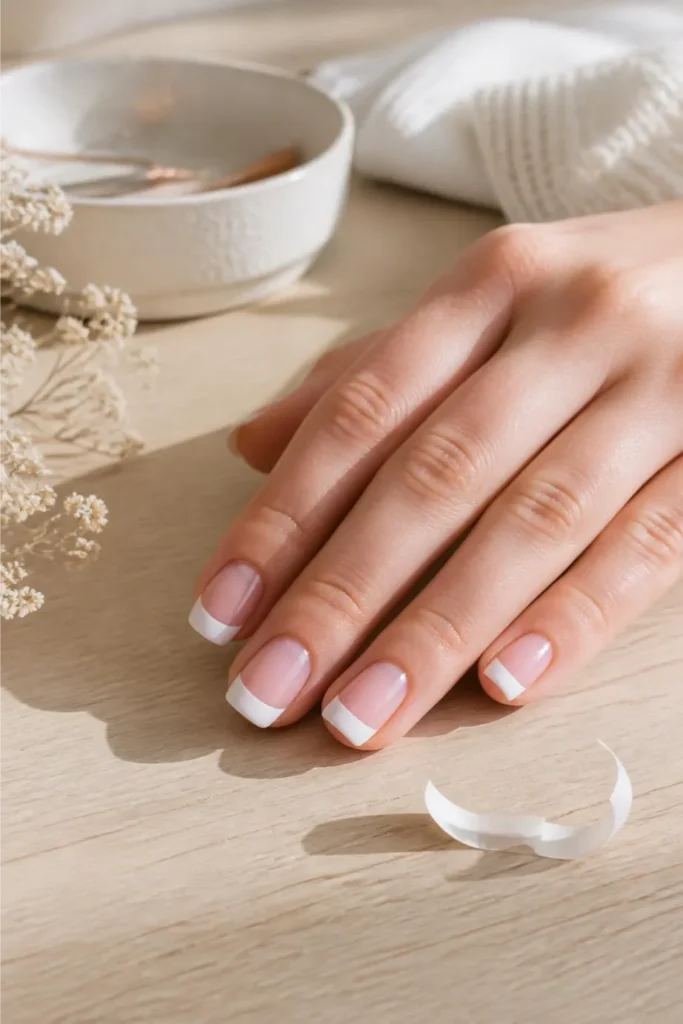
Grab the edge of the guide with your fingernail or tweezers and pull it back slowly, at a low angle, right after painting the tip — waiting until the polish dries makes the guide tear the tip line instead of releasing cleanly.
Pull toward yourself, not upward, to avoid dragging wet polish off the nail.
Step 12 — Clean Up Any Smudges Along the Edges
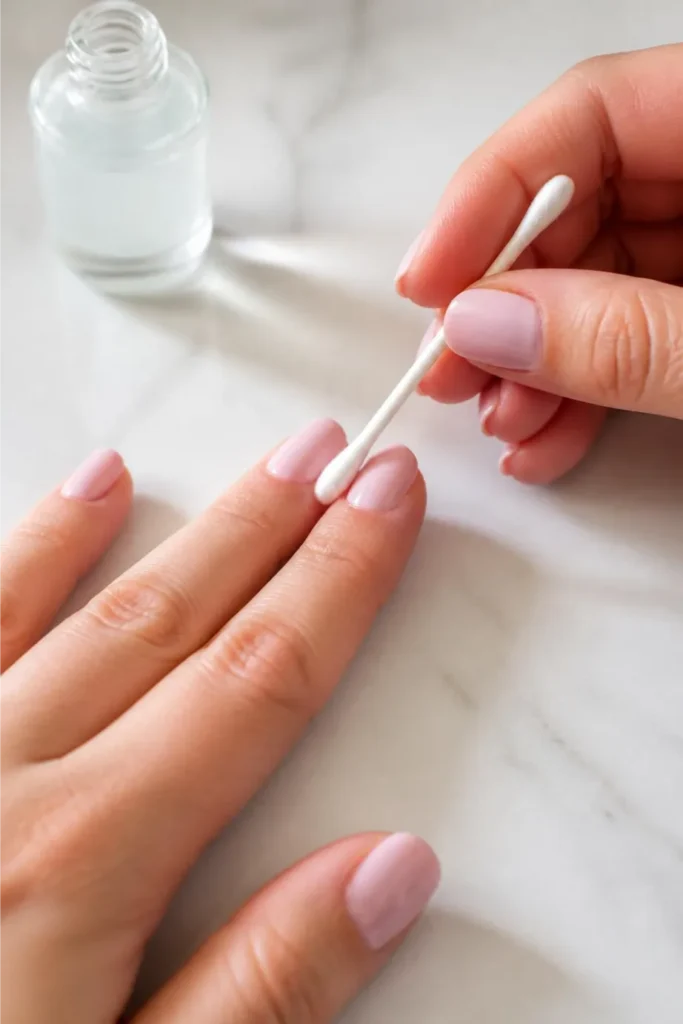
Dip a cotton swab in a little remover and trace along the skin around each nail to lift any stray polish.
Work from the cuticle outward in short strokes so you’re not spreading smudges further onto clean skin.
A pointed makeup brush dipped in remover works even better for tight corners if you have one.
Step 13 — Apply a Top Coat to Seal and Add Shine
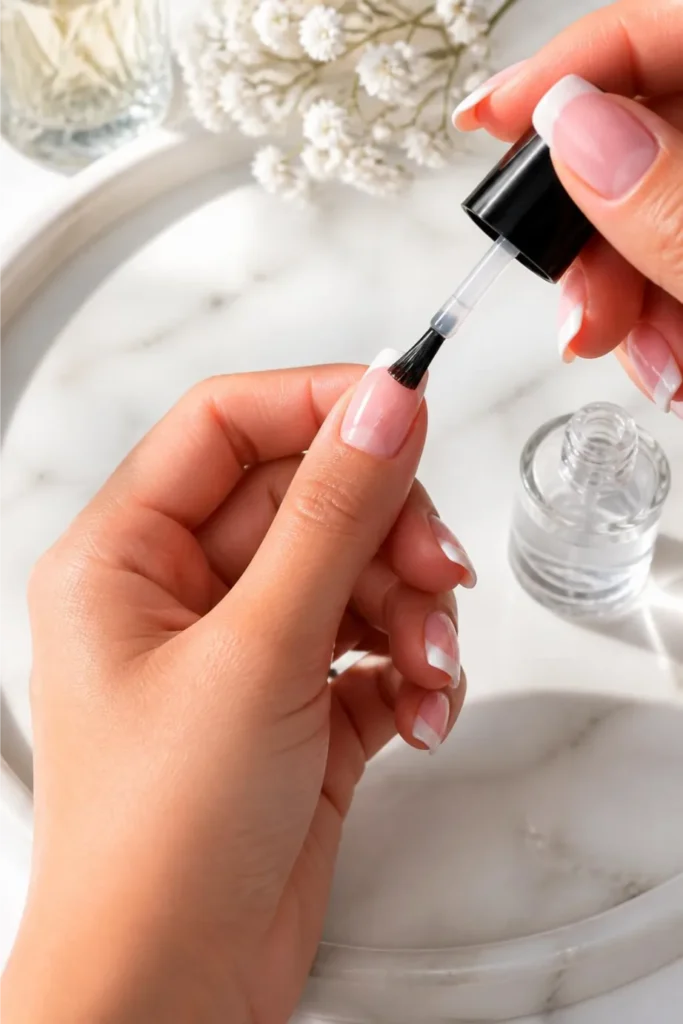
Brush one even layer over the entire nail, making sure it sweeps over the free edge too — this seals the tip so it’s less likely to chip first.
The top coat also blends the slight ridge between the pink base and the white tip, giving the whole nail a smooth, glassy finish instead of two visibly separate layers.
Step 14 — Let Nails Cure Completely Before Touching Anything
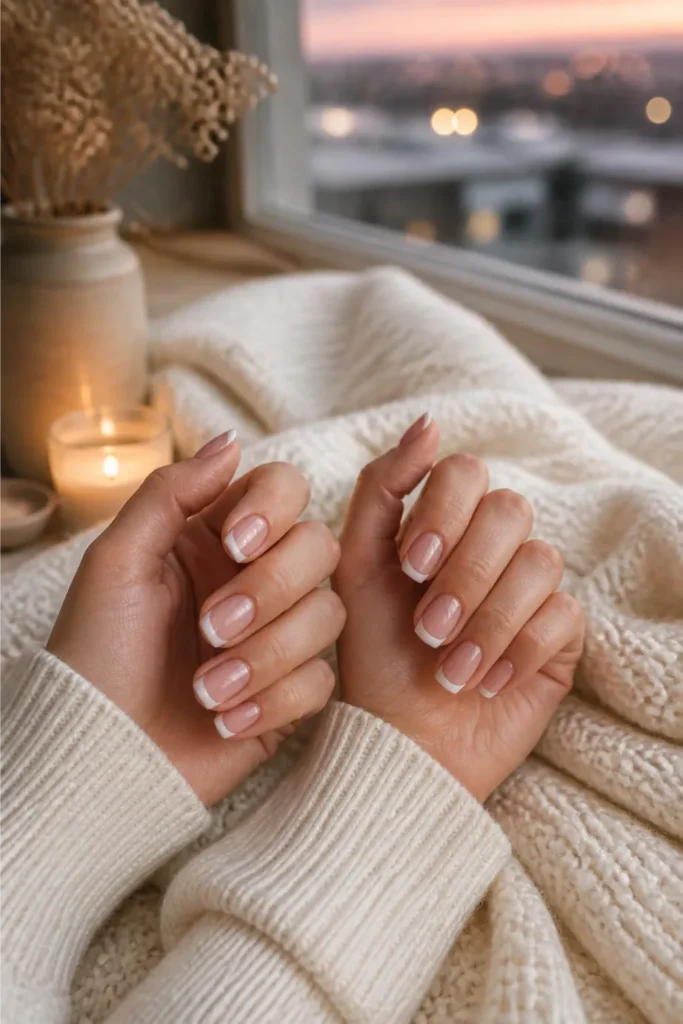
Give your nails a full 30 to 45 minutes before doing anything with your hands, even something as small as tying your shoes.
Dry to the touch isn’t the same as cured — nails can still dent from pressure long after they stop feeling wet. If you’re in a rush, a few minutes under a fan speeds things up more than blowing on them ever will.
Conclusion
That’s a full French manicure done at home, no salon chair required. Your tips should look clean and even, with a soft pink base that actually complements the white instead of fighting it. The guide-and-layer method is the same trick that makes this look repeatable once you’ve done it a couple of times.
Next time, try swapping the pink base for a soft beige or a barely-there lavender — the same steps apply no matter the color underneath. Save this french manicure at home guide to Pinterest so it’s ready next time your polish chips.


