
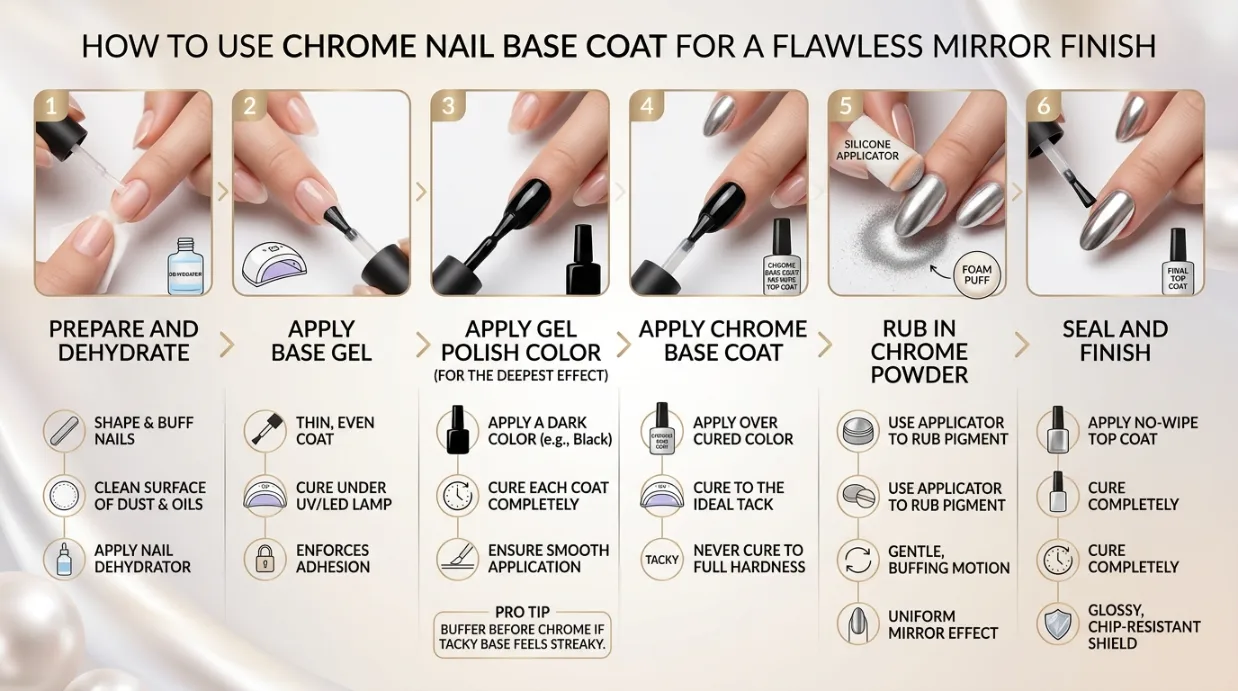
If your chrome nail powder keeps coming out streaky, patchy, or barely metallic instead of that full mirror shine, the base coat underneath is almost always the actual problem — not the powder itself.
Chrome pigment doesn’t stick to skin, ordinary polish, or a rushed manicure; it needs a specific tacky layer to grip onto, and getting that layer right is what separates a salon-level chrome finish from a dull smudge.
This guide walks you through exactly how to prep your nails, apply the right base coat, and time the tricky “sticky” layer chrome actually needs to bond to — including the one 15-second window most beginners miss completely, which is exactly why their chrome fades or smears within a day.
Expect about 35 minutes total, with roughly 20 minutes of hands-on work between coats and curing. It’s genuinely beginner-friendly — no acrylic or dip powder experience required — as long as you follow the order below and don’t skip the curing steps to save time.
By the end, you’ll have a full chrome manicure that actually holds, using the same chrome nail base coat method nail techs use in the salon.
- Nail file & buffer block
- Rubbing alcohol + lint-free wipes
- Gel base coat
- LED or UV lamp
- No-wipe top coat
- Chrome nail powder
- Silicone applicator or soft eyeshadow brush
- Regular sealing top coat
- Prep your natural nail
- Apply a thin base coat layer
- Cure the base coat
- Apply the no-wipe top coat
- Cure the no-wipe layer (carefully)
- Apply chrome powder while tacky
- Buff away excess powder
- Seal with a final top coat
Once your kit is laid out, the very first step decides whether the chrome even has something to hold onto — so let’s not rush past it.
Step 1 — Prep Your Natural Nail Before Anything Else
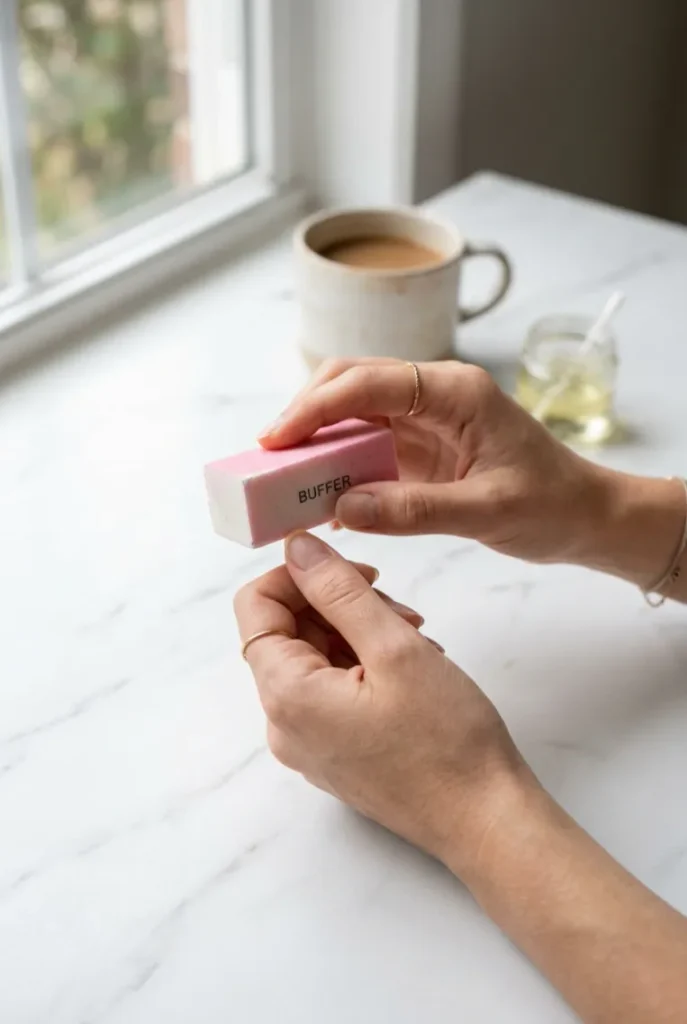
Push back cuticles gently with a cuticle pusher, or an orange stick wrapped in tissue if you don’t own one.
File the nail surface with a 180-grit buffer until the natural shine disappears — chrome base coat needs a slightly rough surface to grip, not a smooth one.
Wipe every nail with rubbing alcohol on a lint-free wipe to remove oil and dust. Skipping this step is why chrome polish lifts within 2 to 3 days instead of the usual 10 to 14.
Step 2 — Apply a Thin Base Coat Layer
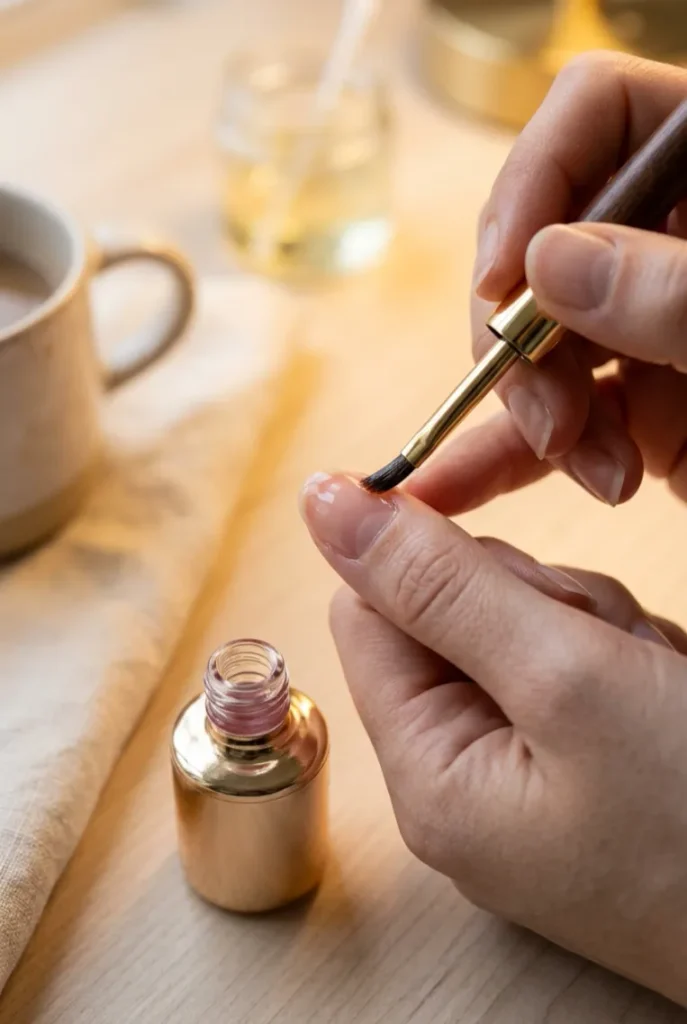
Dip your brush and wipe off the excess against the bottle neck until only a thin film remains on the bristles.
Paint one light coat across the nail, sealing the free edge — the very tip of the nail — so the base coat doesn’t peel from the corners first.
This needs to be a gel-based formula, not regular polish; regular polish won’t cure under a lamp, and chrome simply won’t hold over it.
If the first coat looks streaky, resist going thick — a second thin coat afterward fixes streaks far better than one heavy one ever does.
Step 3 — Cure the Base Coat Under Your Lamp
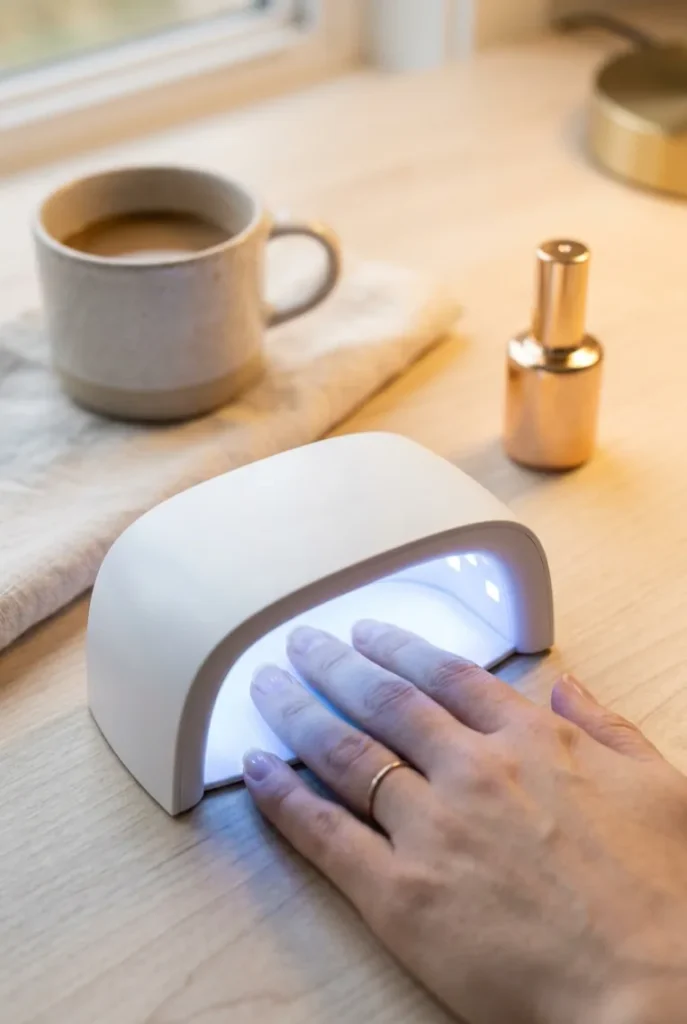
Place your hand under an LED lamp for 30 seconds, or a UV lamp for 60 seconds if that’s what you own — cheaper lamps sometimes need a few seconds longer, so check the wattage on the box.
The nail should look glossy and feel completely hard, not tacky, when you lightly touch the very edge.
Curing too briefly is the top reason base coats stay soft underneath and let the chrome slide out of place before the next layer even goes on — and the fix for that starts in the very next step.
Step 4 — Apply the No-Wipe Top Coat (Chrome’s Secret Layer)
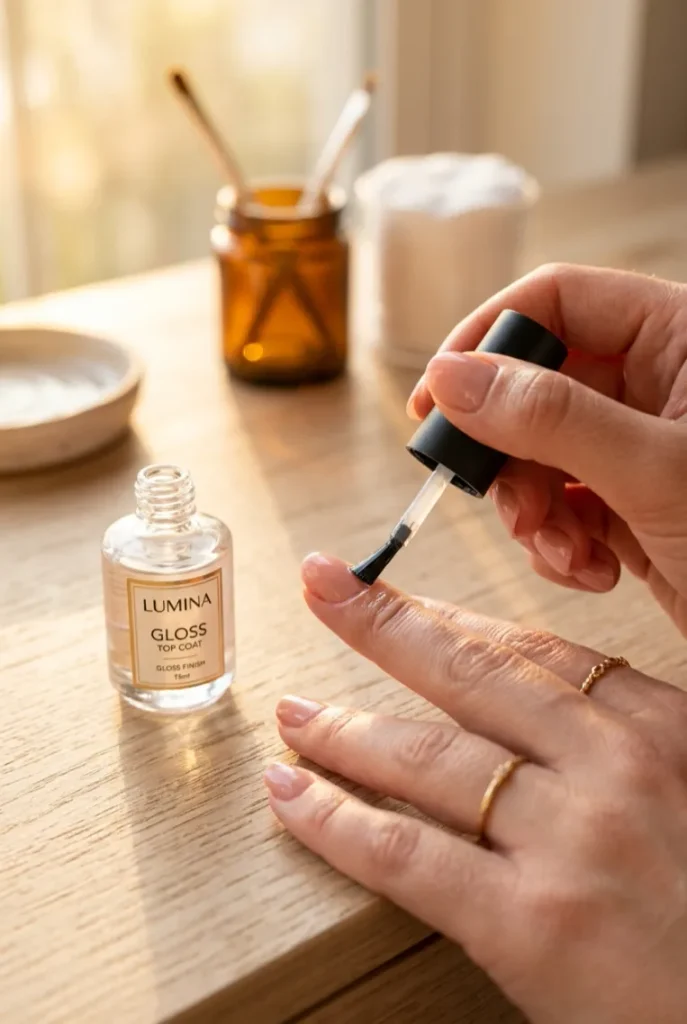
This is the layer most beginners skip entirely, and it’s exactly why their chrome powder never sticks.
A regular top coat cures to a smooth, sealed finish — chrome pigment has nothing to grab onto there. A no-wipe top coat cures differently: it leaves a slightly sticky, tacky film on purpose, which is what the chrome powder actually bonds to.
Brush on one thin, even coat, same technique as the base coat — thin bristle load, one pass, seal the free edge.
Get this layer on evenly now, because the next step — curing it — is the one place where a few extra seconds actually works against you.
Step 5 — Cure the No-Wipe Layer — But Not Too Long
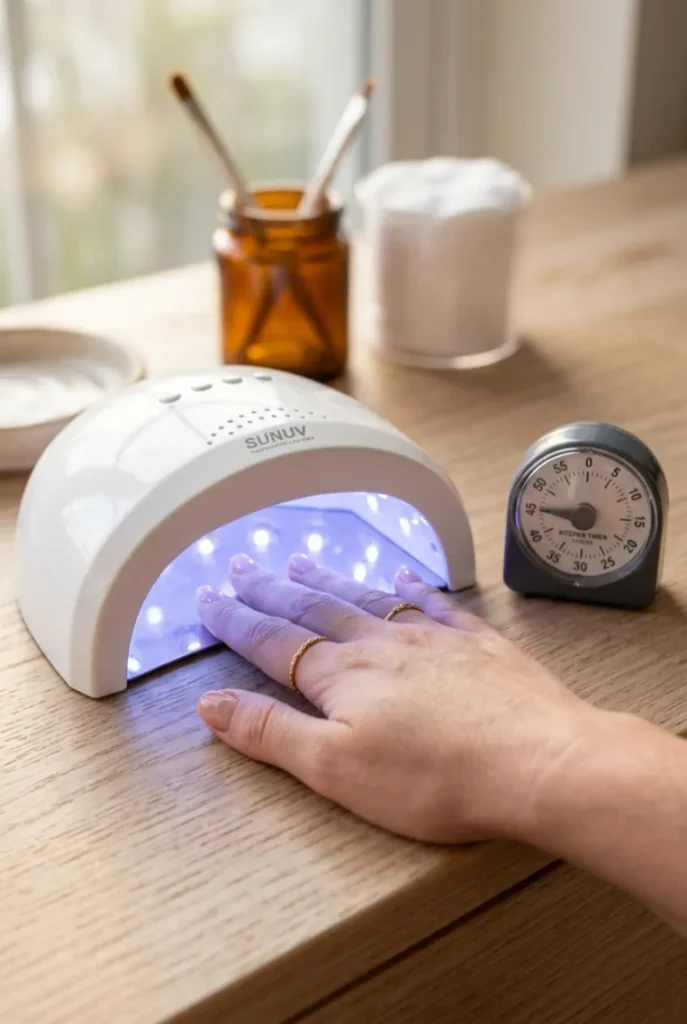
Cure for 30 seconds under LED or 60 seconds under UV, the same timing as your base coat. Here’s the part that trips people up: this layer is supposed to stay tacky, so don’t add extra curing time thinking you’re being thorough. Over-curing burns off the sticky film that chrome needs, and once that film is gone, no amount of pressing powder onto the nail will make it stick evenly again.
Step 6 — Apply the Chrome Powder While the Top Coat Is Tacky
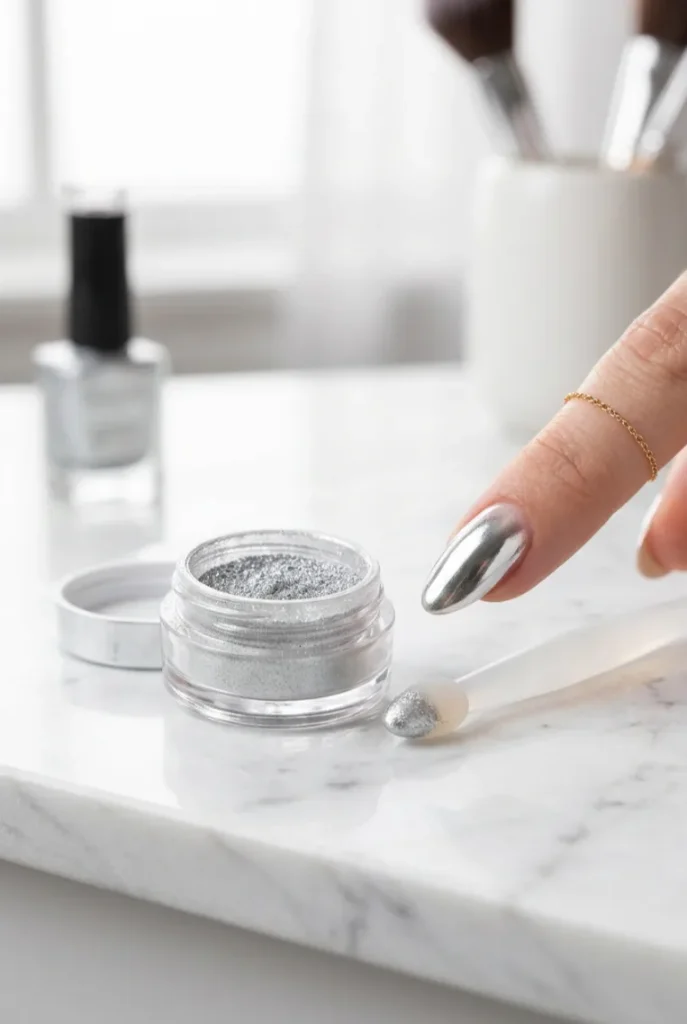
Here’s the window that actually matters: right after curing, that no-wipe layer stays properly tacky for about 15 seconds before it starts setting up on its own.
Work fast — pick up a small amount of chrome powder on a silicone applicator or soft brush, and rub it directly onto the nail in small circular motions.
Cover the entire surface, including close to the cuticle line, since gaps show up as dull patches once the excess is buffed away.
That mirror shine is already sitting under a layer of loose powder right now — the buffing step is what actually reveals it.
Step 7 — Buff the Excess Chrome Powder Away
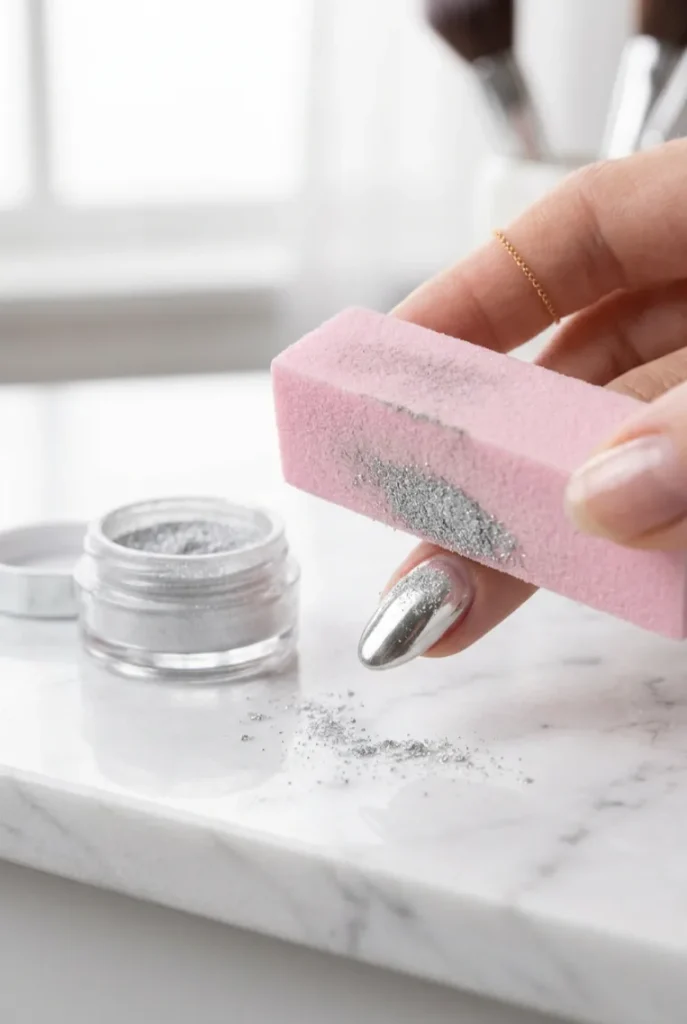
Once the nail feels dry to a light touch, take a soft buffer block or a clean makeup brush and gently sweep off the loose powder that didn’t bond.
Use light, one-direction strokes — pressing too hard or scrubbing back and forth can scratch through the chrome layer itself and dull the shine you just built.
The nail underneath should now look fully mirrored, not chalky or grey.
If any spot still looks dull after buffing, that’s usually a gap from Step 6 where the tacky window ran out before you covered it — a quick dab of extra powder pressed on now, then re-buffed, fixes it without starting over.
Step 8 — Seal Everything With a Final Top Coat
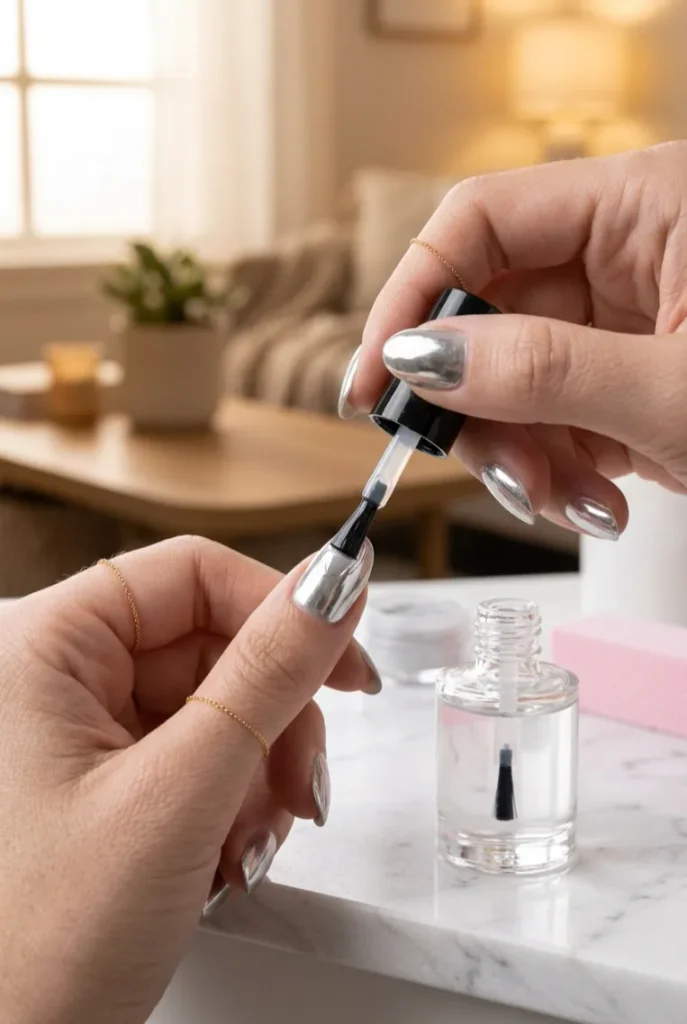
Apply one thin coat of a regular gel top coat over the buffed chrome, sealing the free edge like before.
Cure for 30 seconds under LED or 60 seconds under UV. This final layer locks the chrome pigment in place and protects it from scratching against fabric or keys — without it, chrome finish can start dulling within 48 hours even if every earlier step went perfectly.
- Prep nail (file + alcohol wipe)
- Thin gel base coat, seal free edge
- Cure: 30s LED / 60s UV
- Thin no-wipe top coat
- Cure exactly: 30s LED / 60s UV — no extra time
- Apply chrome within 15 seconds of curing, one nail at a time
- Buff excess gently, one direction
- Seal with regular top coat, cure 30s LED / 60s UV
Wrapping Up
That’s the whole system — and now you know exactly why chrome powder either sticks flawlessly or slides off within a day. it all comes down to that no-wipe layer and the 15-second window right after curing.
Once you’ve done it once, the timing becomes second nature and you won’t even need to think about it.
You’ve got a full mirror-shine manicure using the same chrome nail base coat process nail techs charge for.
Save this one to your board so you’ve got the exact cure times on hand next time you sit down to do it.


