
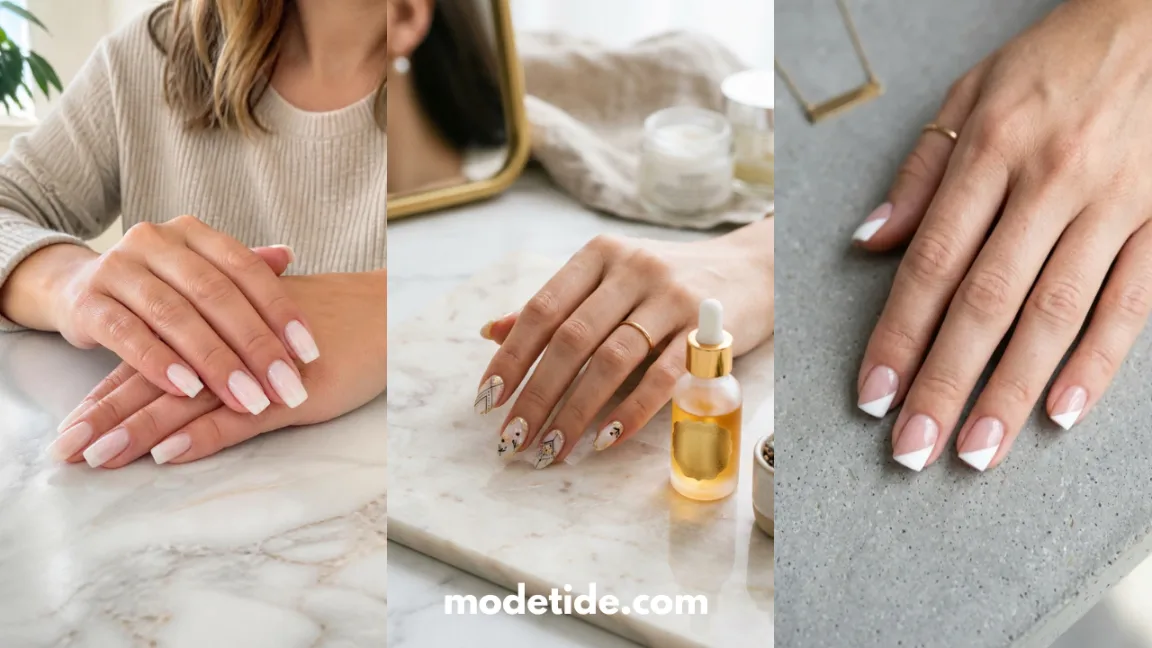
If you have ever looked down at your hands after a manicure and thought your nails still look stubby, the polish was probably not the problem.
The shape was. Most people file straight across or round the tip without thinking about how that shape sits on their actual nail bed, and that one choice can make even a decent length look shorter than it is.
Learning how to make short nails look longer comes down to filing technique, not growing anything out.
The right taper, a pointed or almond tip, and a few polish tricks all pull the eye upward instead of across, and that visual stretch is what creates the illusion.
The hands-on part is quick. Filing and shaping takes about **20 minutes**, and if you paint them, add another **20 to 25 minutes** for polish and drying.
Nothing here requires salon tools or prior filing experience. Grab a file, sit somewhere with good light, and let’s reshape.
Total Time
45 min
Active Time
20 min
Difficulty
Beginner
What You Need
- Nail clippers
- Glass or crystal file (180–240 grit)
- Buffing block
- Cuticle pusher
- Cuticle oil
- Sheer or nude polish
- Thin nail art brush or striping tape
- Glossy top coat
- Cotton pads and acetone (for cleanup)
At a Glance
- Check your natural nail bed shape
- Gather your filing tools
- Trim uneven tips with clippers
- File the sides into a soft taper
- Shape the tip into an almond or soft square point
- Push back and tidy your cuticles
- Buff the surface smooth
- Apply a sheer or nude base coat
- Paint a thin vertical line down the center
- Seal with a glossy top coat
Step 1 — Check Your Natural Nail Bed Shape First
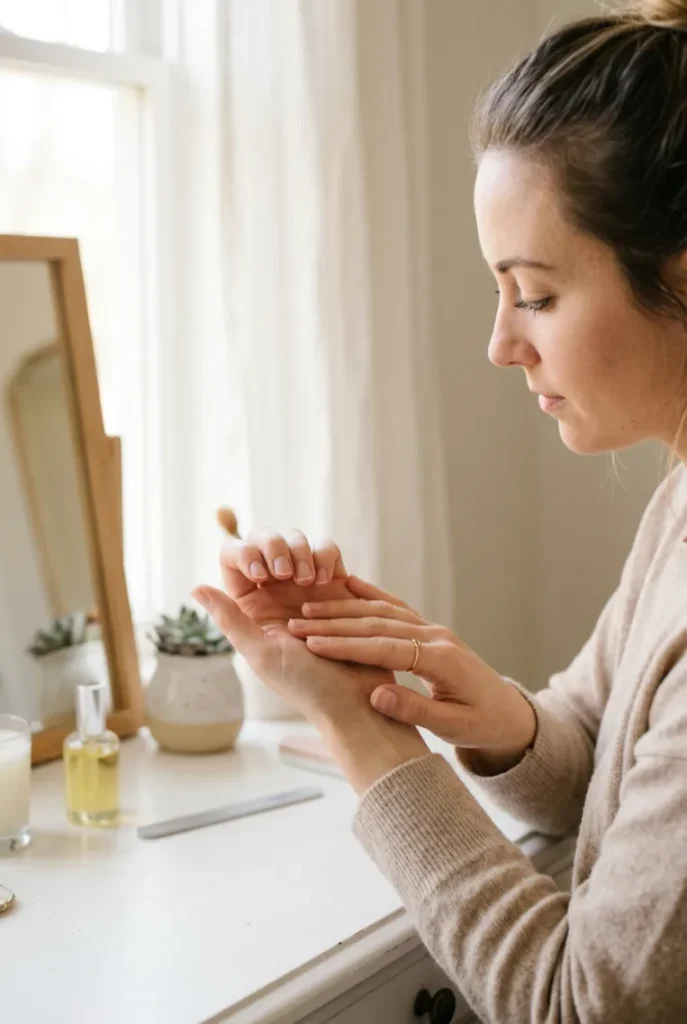
Look at the base of your nail, where it meets the skin. Wide and square beds look longer with a tapered, almond tip.
Narrow beds can handle a pointier shape without looking odd.
This matters because filing against your natural bed shape fights the illusion instead of building it — a shape that looks stretched on one hand can look pinched on another. Take **30 seconds** here before you touch a file.
Step 2 — Gather Your Filing Tools
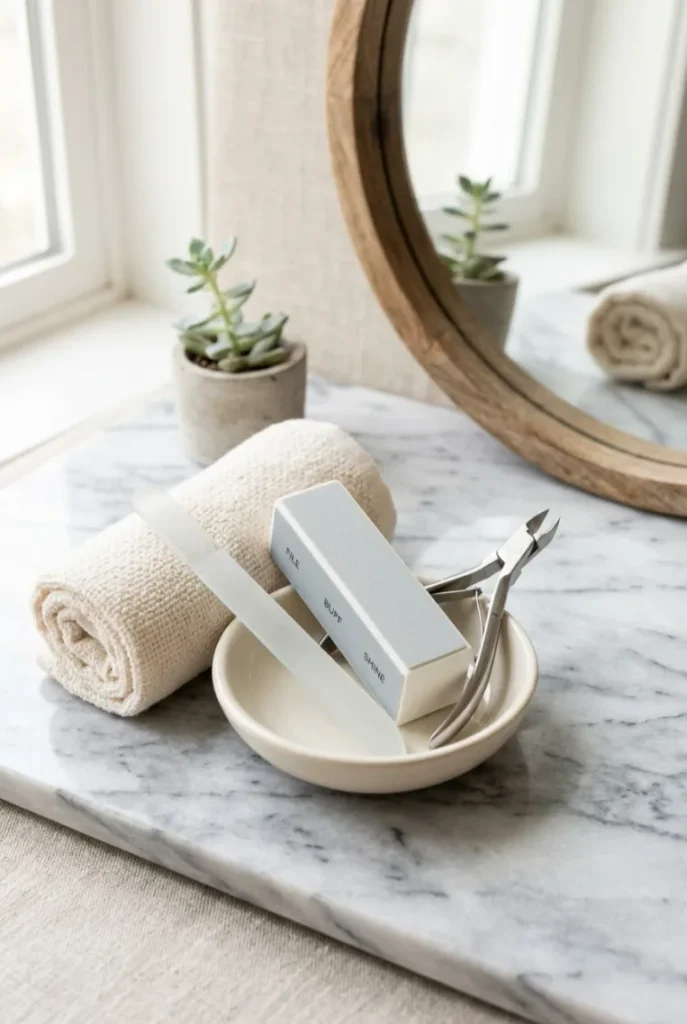
A glass file is worth the small cost over a cardboard emery board.
Glass files cut cleaner and cause less splitting along the edge, which matters more on short nails since there is less length to spare if something goes wrong.
Set your file, buffer, and clippers on a clean, well-lit surface before starting. You will move between tools quickly once shaping begins, and hunting for them mid-step breaks your rhythm.
Step 3 — Trim Any Uneven Tips With Clippers
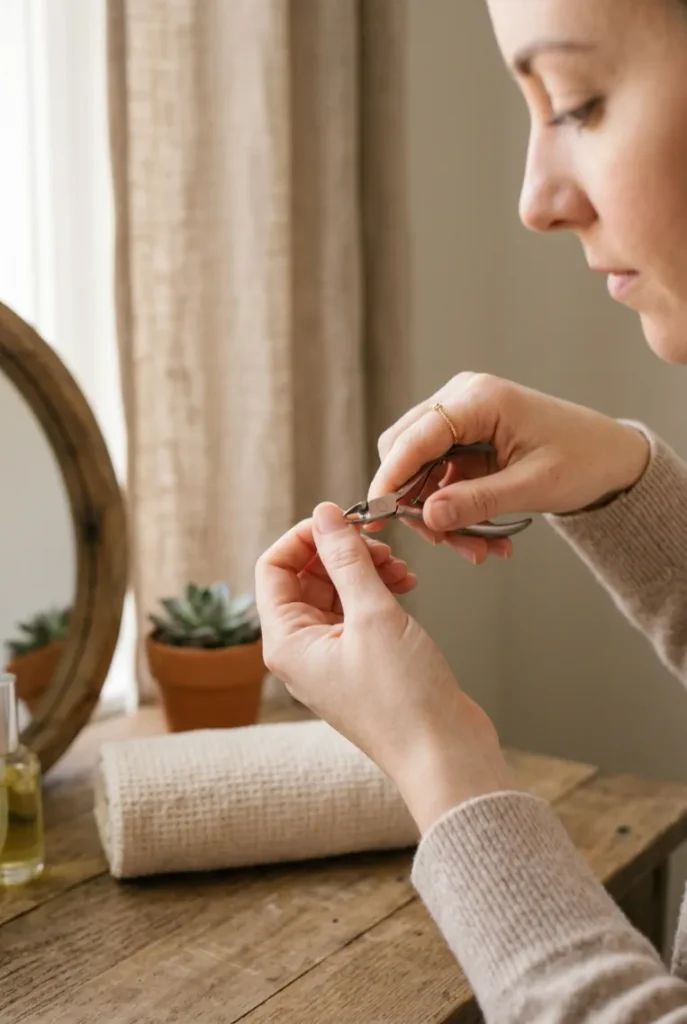
Only trim if your nails are visibly uneven — skip this step entirely if they already sit at a matching length.
When you do trim, cut small amounts at a time rather than one big snip. Leave at least **1 to 2 millimeters** of white tip past the skin; cutting flush to the fingertip removes the exact edge you need to shape in the next step.
Heads Up: Clipping nails too short before shaping is the most common reason this method fails. If you have less than 1mm of white tip to work with, skip clipping and go straight to filing — you need that edge to create the taper.
Step 4 — File the Sides Into a Soft Taper
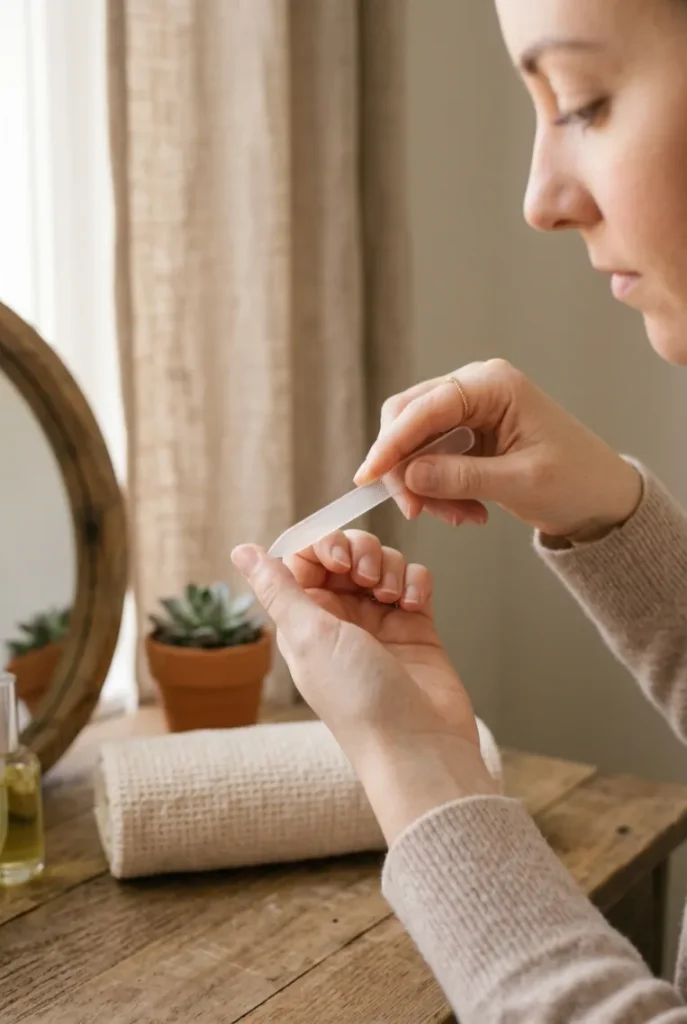
Hold the file at about a **45-degree angle** against the side of the nail instead of flat across it.
Move it in one direction only, sweeping from the outer edge in toward the center — sawing back and forth generates friction that weakens the nail layers and leads to peeling later.
Work each side down gradually, checking your progress from above every few strokes so both edges taper at the same rate. Stop once a gentle curve starts forming toward the tip.
Step 5 — Shape the Tip Into an Almond or Soft Square Point
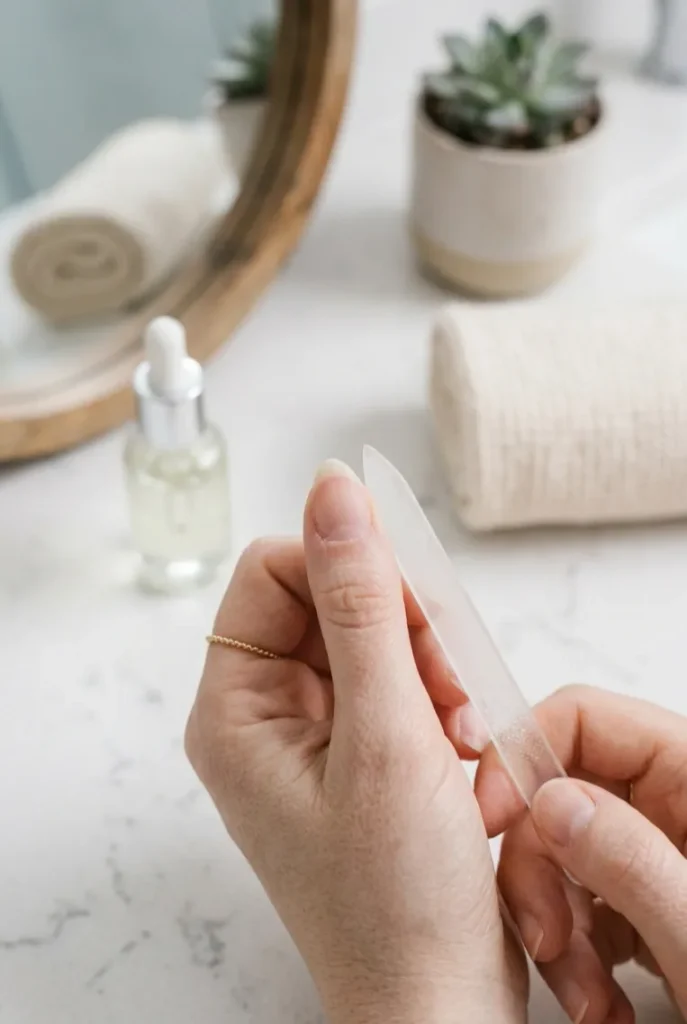
Round the very tip into a soft curve for an almond shape, or angle the two top corners slightly for a soft square.
Almond shapes tend to stretch short nails more, since the point pulls the eye upward instead of stopping it at a flat line.
Pro Tip: Wide nail beds usually look best with almond tips — the point balances the width. Already-narrow beds can go soft square instead, since a sharp point on a narrow nail can look pinched rather than long.
Step 6 — Push Back and Tidy Your Cuticles
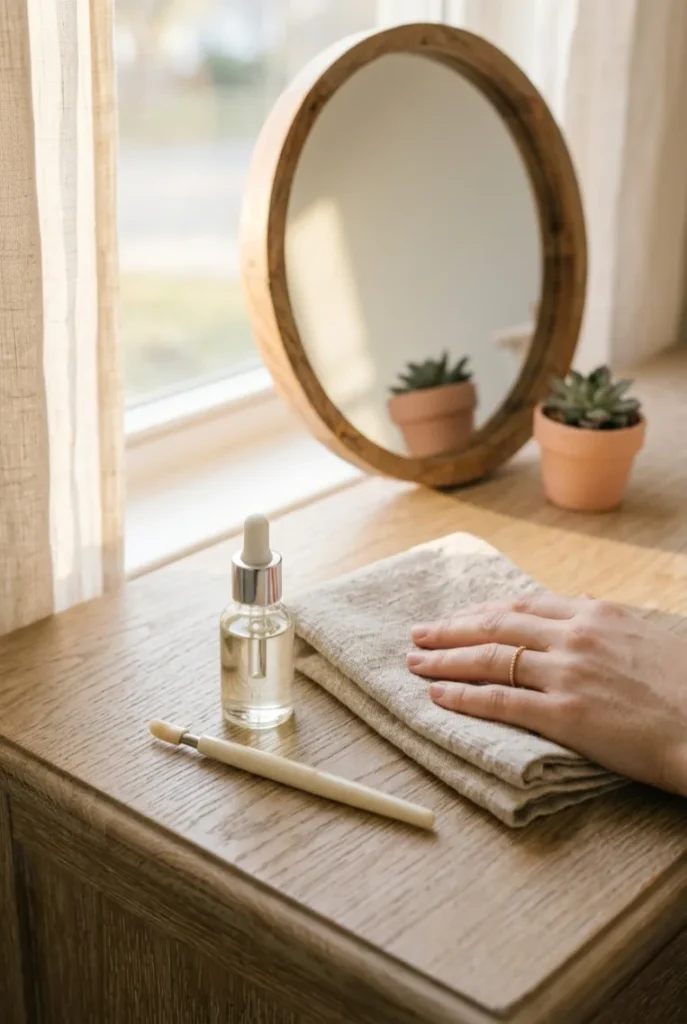
Two minutes here makes the shape look finished instead of just filed. Apply a small drop of cuticle oil and let it sit for **60 seconds** to soften the skin before you touch anything.
– Push cuticles back gently with a rubber-tipped pusher, never a metal scraper
– Work in small circular motions rather than one hard shove
– Wipe away any lifted skin with a dry cotton pad
– Skip trimming the cuticle itself
That last point matters — cuticle skin protects the nail bed from infection, so tidying is about pushing it back, not cutting it away.
Step 7 — Buff the Surface Smooth
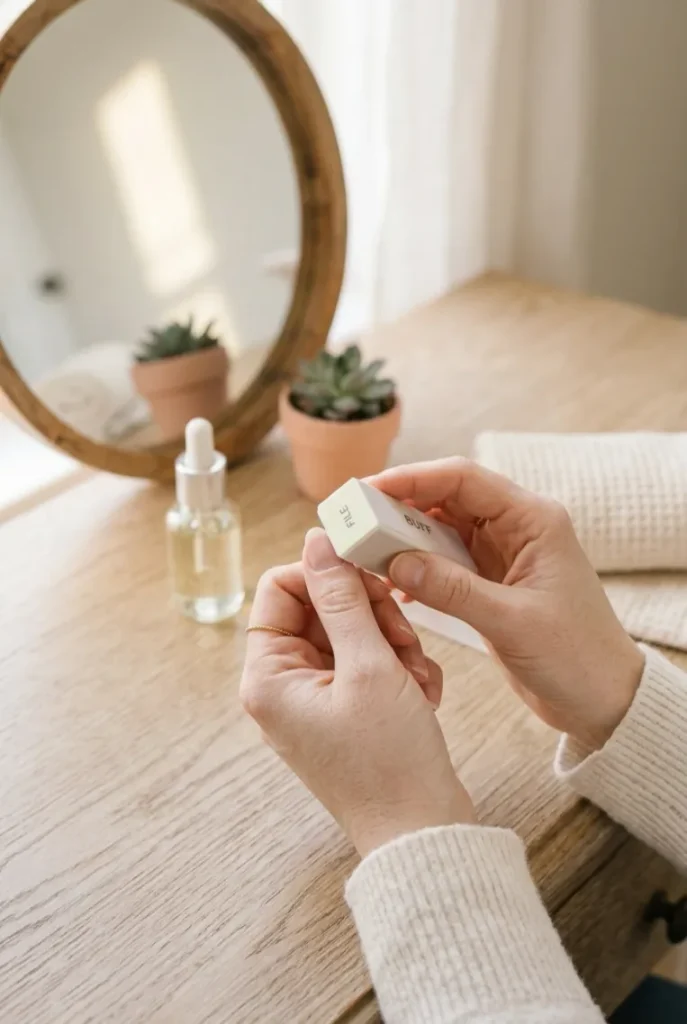
If your nails have visible ridges, this step matters more than it seems. A few passes with a buffing block even out the surface so polish sits flat instead of pooling in low spots and highlighting every bump.
Buff in one direction only, never back and forth, and stop as soon as the ridges fade.
Over-buffing thins the nail plate and leaves the exact spot you worked more likely to bend or peel.
Step 8 — Apply a Sheer or Nude Base Coat
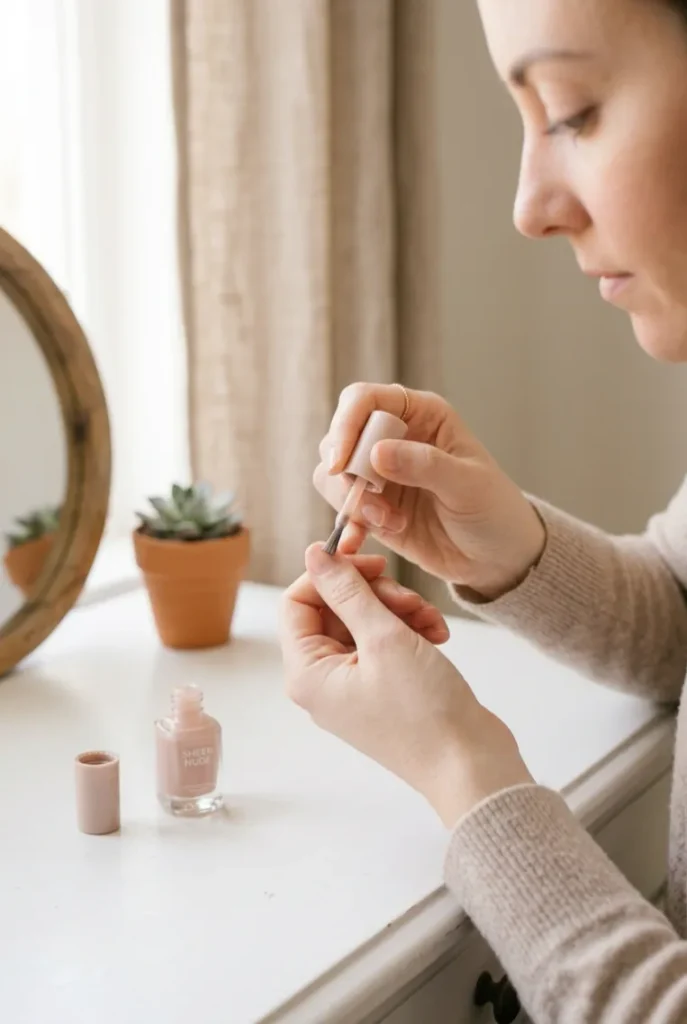
Dark, opaque polish visually shortens nails because it draws a hard stop right at the tip.
Sheer pinks, nudes, and milky whites do the opposite — they blend into the natural nail bed so the eye travels further before it registers where the nail actually ends.
Apply two thin coats, letting each dry for **3 to 4 minutes** before the next. Keep polish off the skin at the sides so the tapered line you just filed stays visible.
Step 9 — Paint a Thin Vertical Line Down the Center
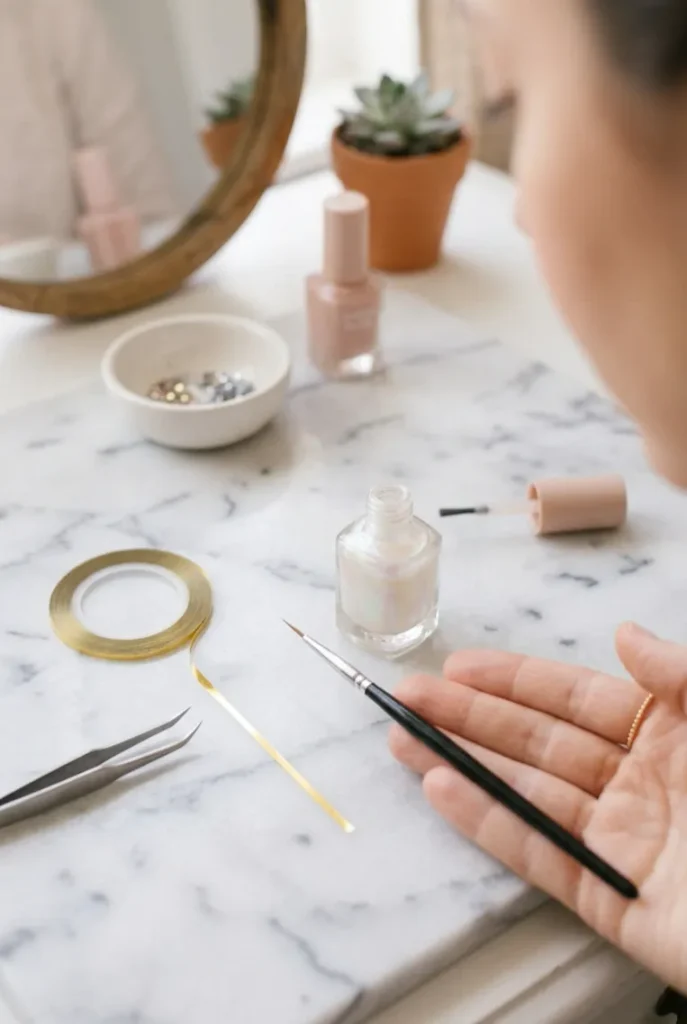
Dip a thin nail art brush into a slightly darker or shimmer polish and draw one straight, unbroken line from cuticle to tip, right down the middle of the nail.
This is the oldest trick for making anything narrow look longer, and it works on nails the same way it works on clothing.
Keep the line under **2mm** wide — any thicker and it starts reading as a design choice instead of an optical stretch.
Pro Tip: No steady hand? Skip the brush and press a thin strip of striping tape down the center before your top coat, then peel it off once everything is dry.
Step 10 — Seal With a Glossy Top Coat

Glossy finishes catch light and reflect it, which reads as smooth and healthy — that shine amplifies every other trick you just did.
Matte top coats flatten light instead, which can mute the vertical line effect and make the tip look shorter again.
Brush on one even layer, sealing the very edge of the tip with each stroke to lock the shape in and slow down chipping.
Let nails cure for a full **20 minutes** before touching anything, since a smudge here undoes the clean taper you just filed.
Common Mistakes
Filing back and forth instead of one direction
This creates tiny splits along the free edge that eventually turn into peeling layers, undoing the smooth taper you just filed.
Choosing a sharp point on a narrow nail bed
A dramatic point can look pinched rather than long on already-slim nails. Soften it into a rounder almond instead.
Painting polish all the way to the skin at the sides
Covering the tapered edge hides the exact shape you filed and flattens the elongating effect.
Skipping cuticle oil before pushing cuticles back
Dry skin resists and tears instead of gliding back, which can leave rough, uneven edges around the nail.
FAQ
Which nail shape makes short nails look the longest?
Almond shapes generally stretch nails the most, since the pointed tip pulls the eye upward instead of stopping it in a flat line.
Does dark nail polish really make nails look shorter?
Yes. Dark, opaque colors create a hard visual stop at the tip, while sheer and nude shades blend into the nail bed and read as longer.
How often do I need to refile the shape?
Touch up the taper every 5 to 7 days as nails grow out, since new growth comes in straight and softens the shape over time.
Can I do this on nails with almost no white tip?
Yes, the taper technique still works on very short nails — just file gently, since there is less edge to spare if you take off too much.
Quick Reference Card
What You Need
Clippers · Glass file (180–240 grit) · Buffing block · Cuticle pusher · Cuticle oil · Sheer/nude polish · Thin art brush or striping tape · Top coat
Steps
- Check your natural nail bed shape
- Gather your filing tools
- Trim uneven tips with clippers
- File the sides into a soft taper
- Shape the tip into almond or soft square
- Push back and tidy cuticles
- Buff the surface smooth
- Apply a sheer or nude base coat
- Paint a thin vertical line down the center
- Seal with a glossy top coat
Conclusion
That is the whole trick — no length required, just the right taper and a few smart polish choices.
You now know how to make short nails look longer using shape alone, and it holds up just as well bare as it does polished.
Once you have the technique down, try it with a soft square tip for a different look on the same nails.
Pin this so you have the shape guide ready next time you sit down with a file.


