
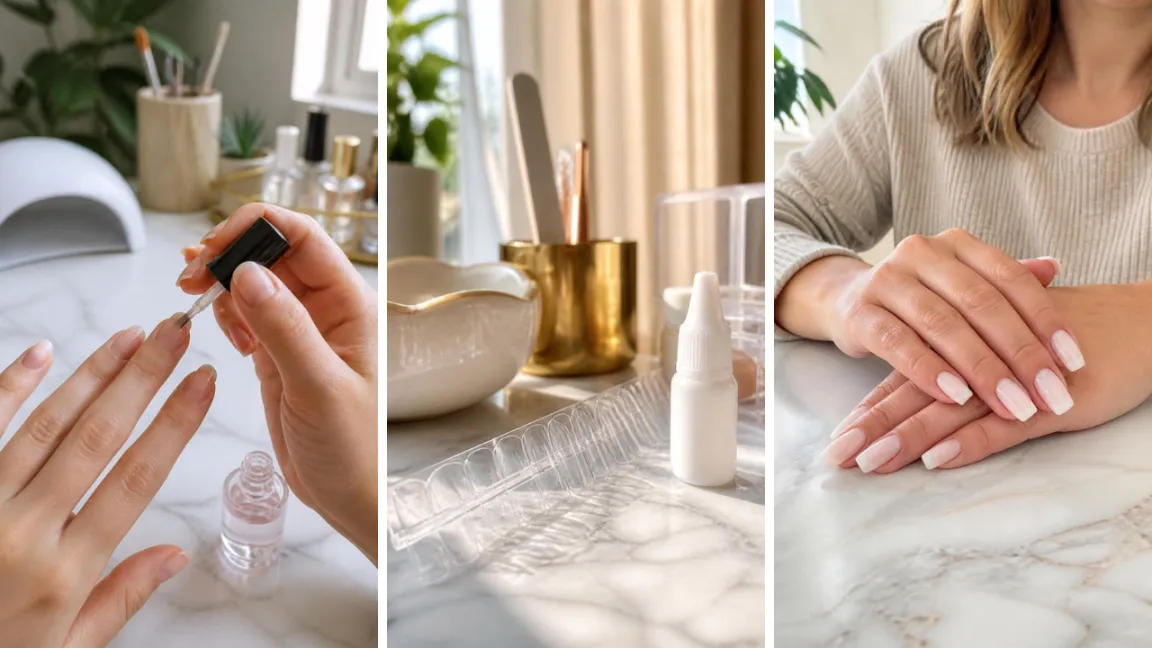
Scrolling through short acrylic nail ideas is the easy part. Actually applying a set at home for the first time is where most beginners get stuck — tips slide on crooked, the acrylic sets before you can shape it, or the finished nail ends up thick and lumpy instead of smooth.
None of that means you’re bad at this. It means nobody walked you through the order things actually happen in.
This guide breaks short acrylic application into steps you can follow one at a time, phone propped up next to your workspace.
You will prep your natural nails, size and glue on tips, mix and apply the acrylic beads, then file everything into a short, rounded shape that looks like it came from a salon chair.
Short nails also forgive small mistakes better than long ones, so this is a forgiving length to start with if it’s your first set.
Plan for about two hours from start to finish, most of it active work.
The acrylic itself only needs a few minutes to cure between steps, so you won’t be sitting around waiting.
Clear a well-ventilated space, lay out your tools where you can reach without standing up, and let’s get your nails ready.
Total Time
2 hours
Active Time
1 hr 45 min
Difficulty
Beginner (Medium Effort)
What You Need
- Nail clippers
- Wooden cuticle stick
- Cuticle nippers
- 180-grit nail buffer
- Nail dehydrator
- Acid-free nail primer
- Glue-on nail tips (assorted sizes)
- Nail glue or tip adhesive
- Tip cutters
- Acrylic liquid (monomer)
- Acrylic powder
- Size 8 acrylic brush
- Dappen dish
- Cuticle oil
At a Glance
- Set up your workspace and gather supplies
- Push back and trim your cuticles
- Buff the shine off each natural nail
- Wipe nails with dehydrator and primer
- Glue on nail tips sized to each finger
- Trim the tips to your desired short length
- Blend the tip seam into your natural nail
- Mix and apply your first acrylic bead
- Build out the nail with additional beads
- Let the acrylic fully cure
- File and shape into the final short shape
- Buff the surface until smooth and even
- Clean the dust from nails and cuticles
- Finish with cuticle oil and hand cream
## Set Up Your Workspace and Gather Your Supplies
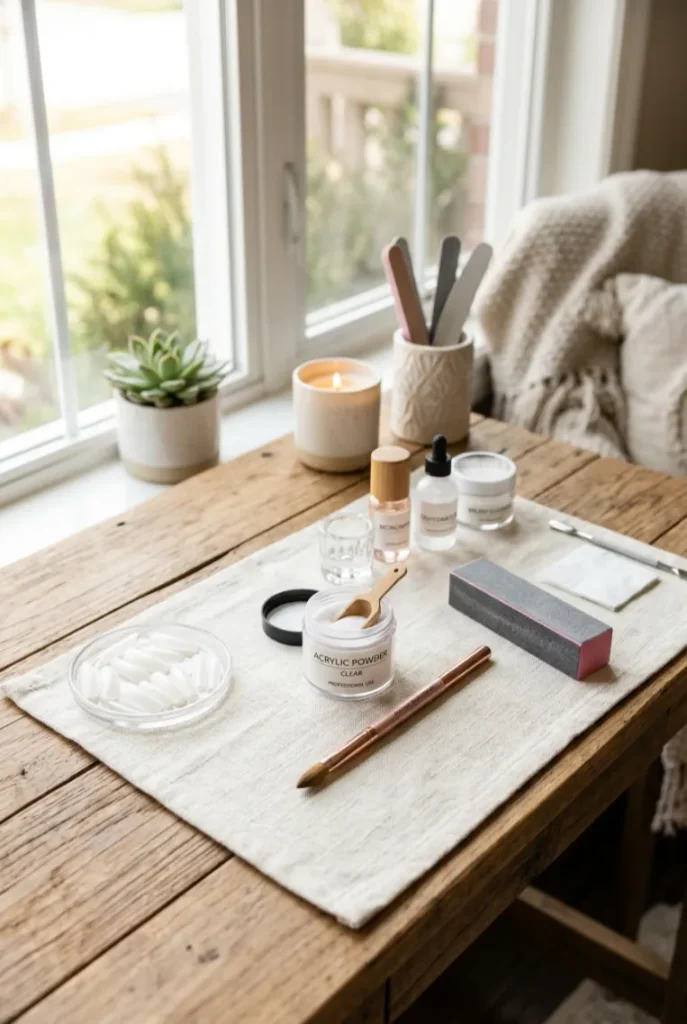
Acrylic liquid has a strong chemical smell, so open a window or point a fan toward your workspace before you touch anything else.
Lay a paper towel or silicone mat down to catch spills and drips.
Set your clippers, buffer, primer, tips, and acrylic brush within arm’s reach now — once the acrylic bead is on your brush, you won’t have a free hand to go digging through a drawer.
A steady chair with strong overhead light, ideally natural daylight, makes the shaping steps later noticeably easier to see clearly.
## Push Back and Trim Your Cuticles
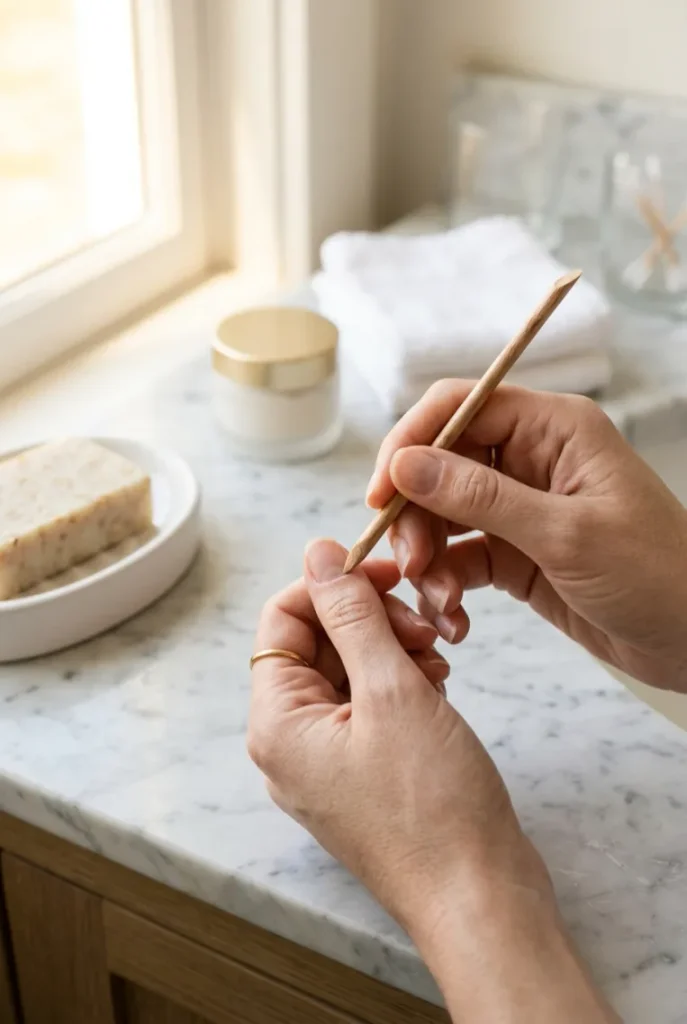
Soak your fingertips in warm water for **2 minutes** to soften the skin.
Push the cuticle back with a wooden stick — never metal, which can nick the nail bed. Trim only loose, dead skin.
Cut too close and it stings once the acrylic goes on, so leave a little behind if unsure.
## Buff the Shine Off Each Natural Nail
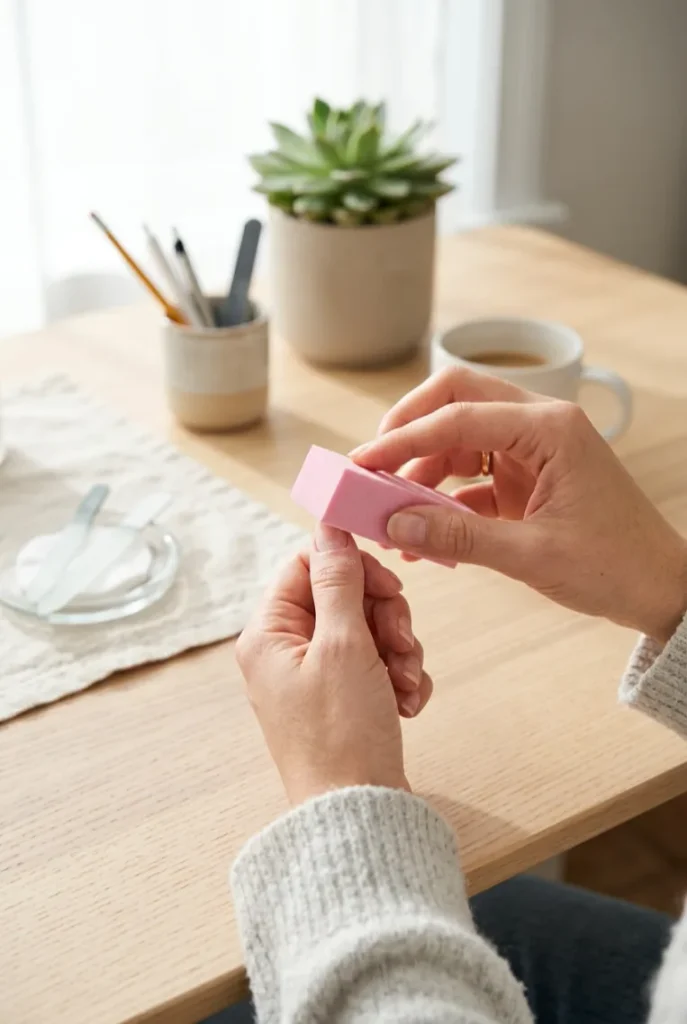
A dull, matte surface is what you’re aiming for here, not smooth shine. Run a **180-grit** buffer lightly across the top of each nail until the gloss disappears.
This isn’t about thinning the nail — it’s about giving the primer and acrylic something to grip onto.
Skip a nail and it will likely lift within the week. One light pass in the same direction is enough.
## Wipe Nails With Dehydrator and Primer
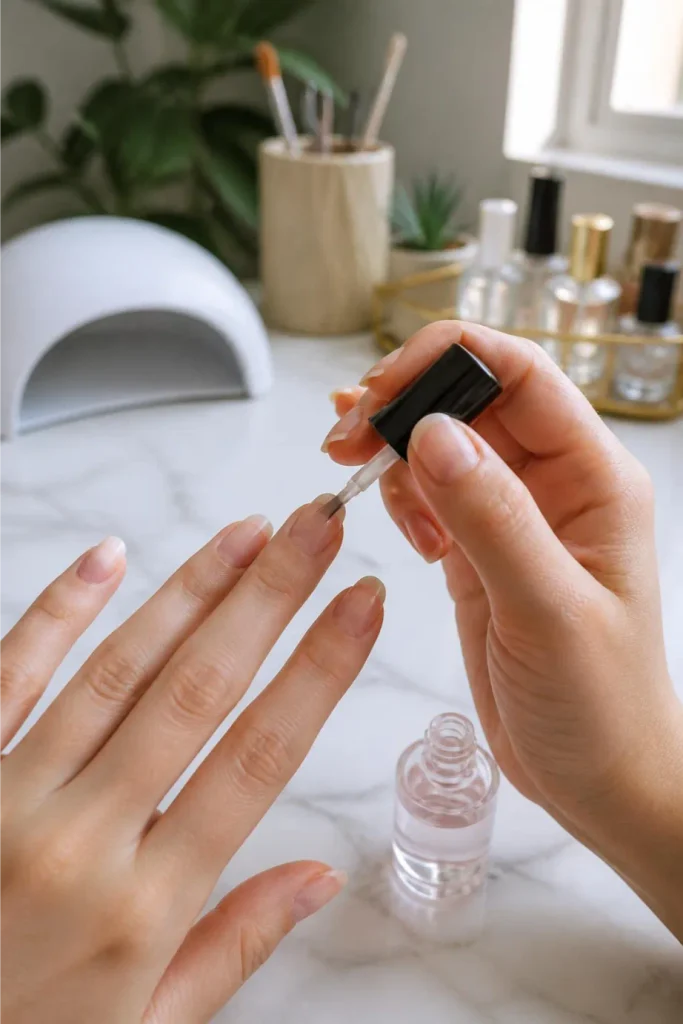
Two thin coats go on before any tip touches your nail. Start with dehydrator, brushed once across the full nail plate to strip oils that acrylic can’t grip.
Let it flash dry for a few seconds, then follow with a thin coat of primer, keeping it off the surrounding skin.
Wait until both coats look fully dry, not glossy or tacky, before moving to the next step.
Heads Up
Primer is acidic and can burn skin if it pools there. If you feel stinging or see redness after applying it, wipe the area immediately with a damp cloth and let it air dry before continuing.
## Glue On Nail Tips Sized to Each Finger
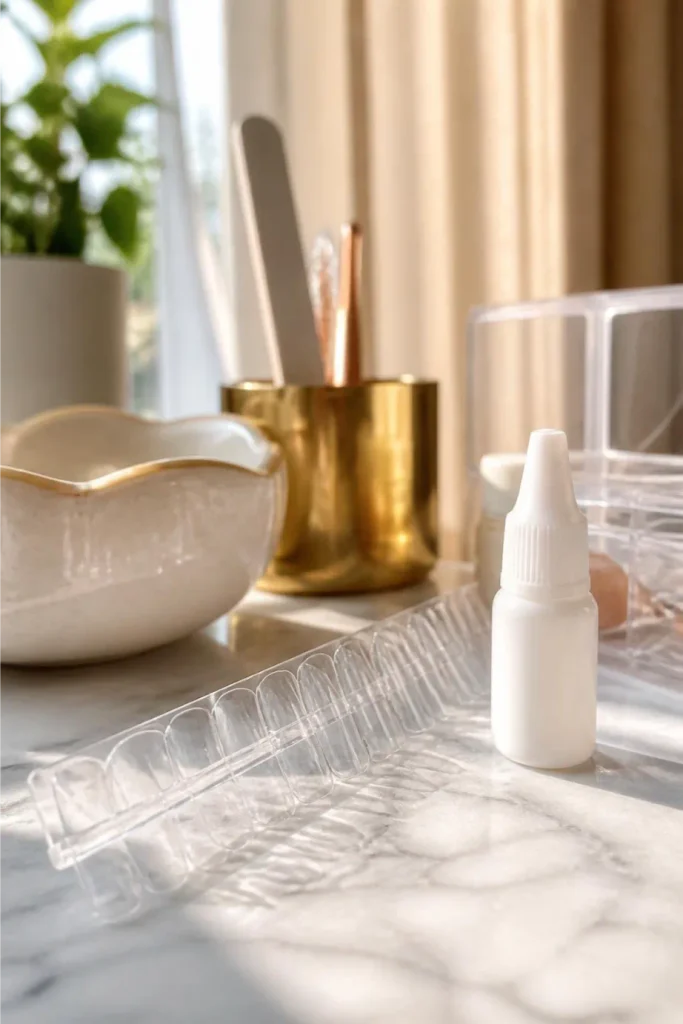
Match each tip to the natural nail’s width edge-to-edge — sizing up leaves excess plastic overhanging the sides. Then:
– Apply a small drop of glue to the tip’s inner well
– Press the tip on at a **45-degree angle**, starting from the cuticle edge
– Hold for **8-10 seconds** until it locks in place
– Move to the next finger only once it feels secure
If a tip pops off later, it’s almost always because the glue didn’t fully cover the well.
## Trim the Tips to Your Desired Short Length
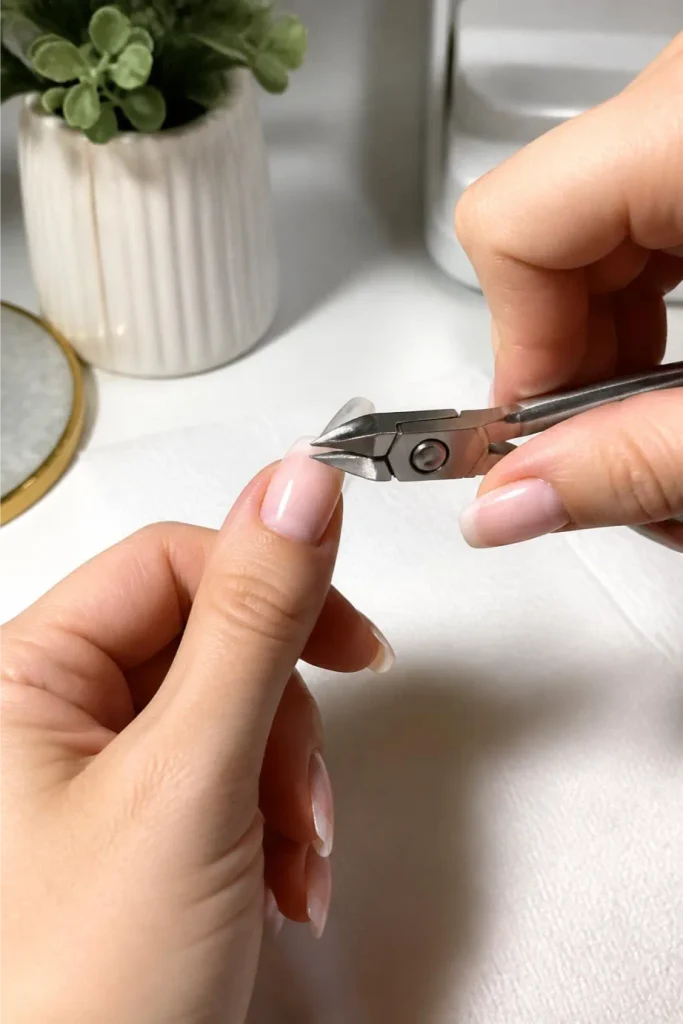
Short doesn’t mean identical for every finger — your thumb tip will need less trimmed off than your pinky.
Use tip cutters to snip length off the free edge in small increments, checking against your fingertip as you go.
Filing away too much later is tedious, so cut conservatively. Aim for a length that sits just past your fingertip, roughly **2-3 millimeters**.
Pro Tip
Buy a tip box with multiple sizes per finger rather than a single size for all ten. Nails vary in width more than most beginners expect, and the right fit means less filing later.
## Blend the Tip Seam Into Your Natural Nail
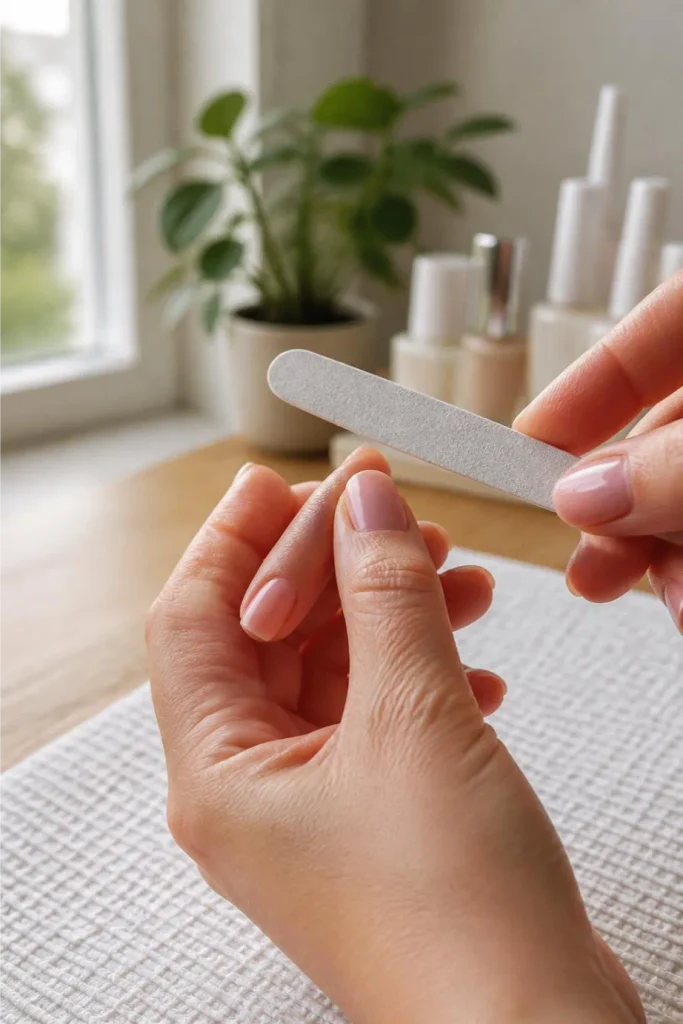
The seam where tip meets natural nail is what gives away a rushed set — a visible ridge you can catch your fingernail on.
File gently across that line with a **180-grit** file, moving in one direction only, until your finger glides over it without snagging.
Don’t press hard here. You’re smoothing plastic, not reshaping the whole nail, and heavy pressure just creates flat spots.
## Mix and Apply Your First Acrylic Bead
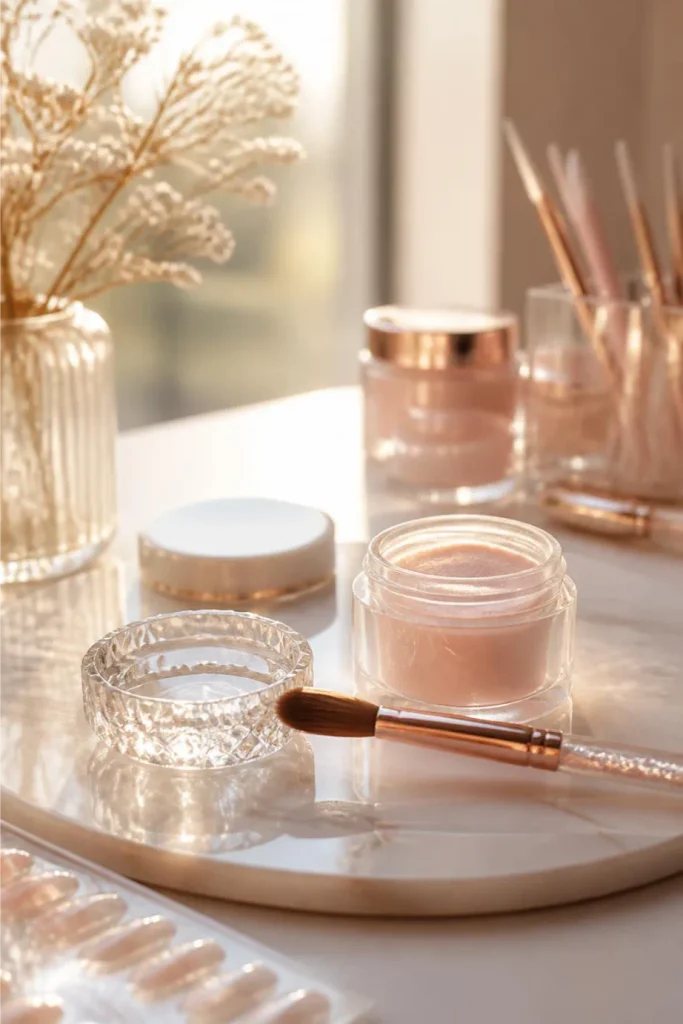
Dip your brush tip into the acrylic liquid, then tap off the excess against the dish rim so it isn’t dripping.
Press the damp brush into the acrylic powder and pull back — a small, round bead should form on the bristles within a couple seconds.
A bead that looks wet and shiny is too saturated; one that crumbles apart is too dry.
Place it near the cuticle first, then use the flat side of the brush to press and stretch it toward the tip before it starts to firm up.
Heads Up
You have roughly 60-90 seconds before the bead hardens. If it starts resisting your brush, stop pushing it around — smooth what you can and let it set. Fighting a half-cured bead is how lumps happen.
## Build Out the Nail With Additional Beads
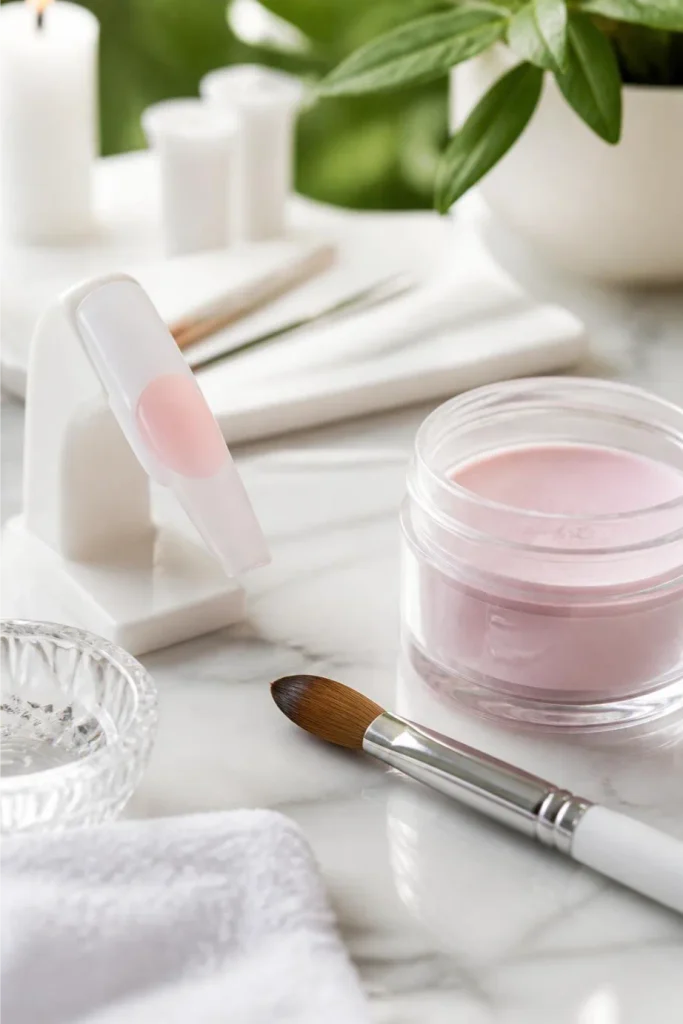
Second and third beads fill in what the first one missed. Work in the same order every time — cuticle area, then center, then tip — so you don’t lose track of coverage.
Each new bead should slightly overlap the last while it’s still soft, blending the edges together rather than sitting as a separate lump.
Three beads is typical for full coverage on a short nail, though thumbs sometimes need a fourth.
## Let the Acrylic Fully Cure
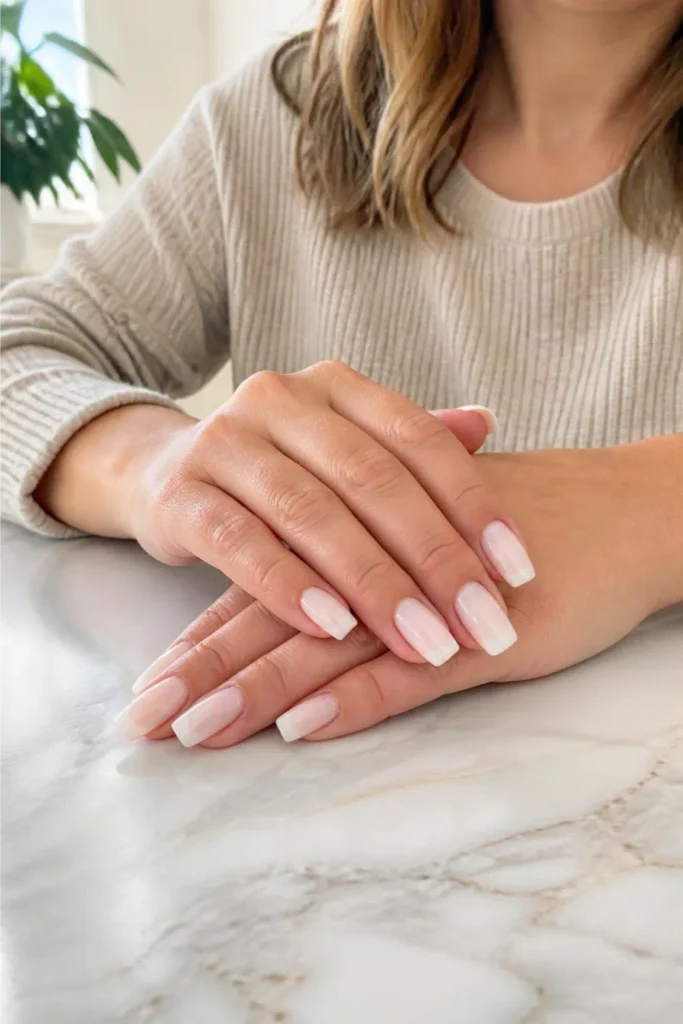
**Five minutes** feels long when your hands are already tired from three fingers of beadwork, but touching the acrylic before it’s ready undoes the shape you just built.
Rest your fingertips flat on the table instead of curling them, which helps the acrylic set evenly rather than pooling toward one side.
You’ll know it’s ready when tapping the nail with another fingernail produces a hard, clicking sound instead of a dull thud.
## File and Shape Into the Final Short Shape
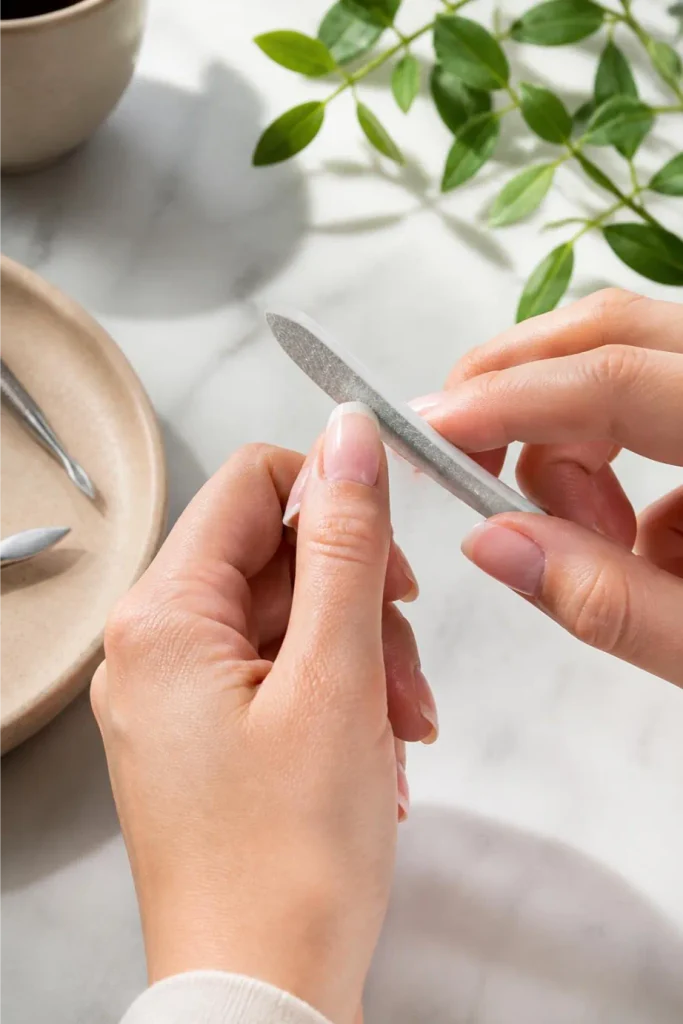
Now the block gets replaced by precision. Start with a **100-grit** file to knock down bulk and establish your rounded shape, working from the outer edge toward the center on each side.
Switch to **180-grit** once the shape looks right, using lighter pressure to refine the edges and remove file marks.
Keep checking the nail from a distance, not just up close — shape mistakes are easier to spot with your hand held at arm’s length.
Pro Tip
File all ten nails to roughly the same shape before moving to the next step, rather than perfecting one hand completely. It’s much easier to spot mismatched shapes when you compare across all fingers at once.
## Buff the Surface Until Smooth and Even
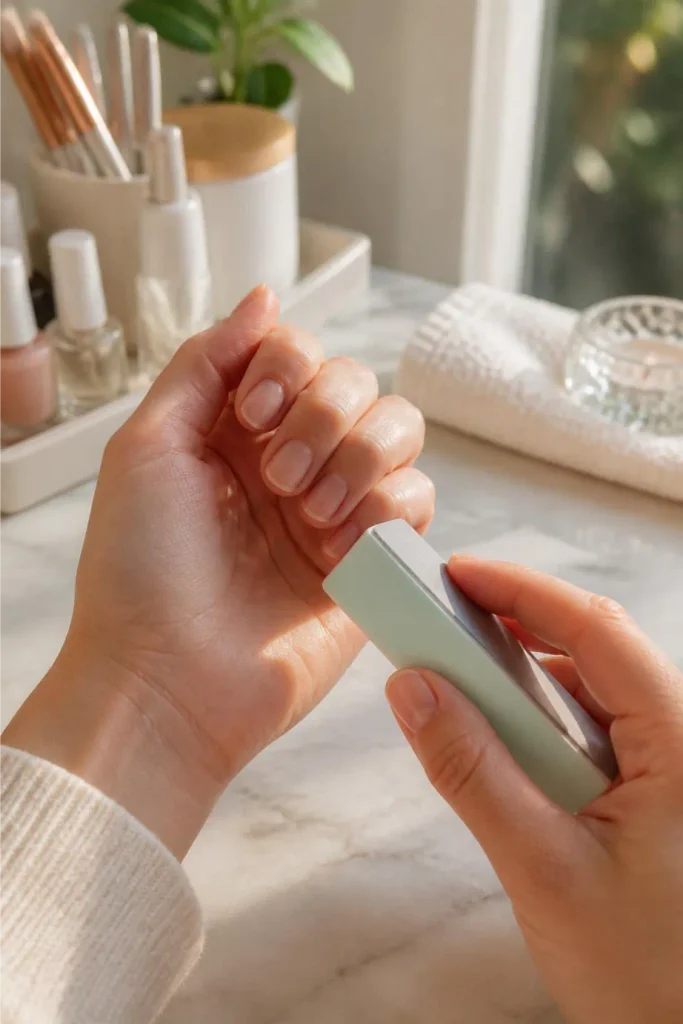
If your file marks still show under bright light, one more pass fixes that.
Use a **240-grit** buffer block in slow, overlapping strokes across the whole nail, then finish with the fine side of a four-way buffer to bring up a soft shine.
Press lightly — buffing too hard generates heat that can feel uncomfortable on the nail bed underneath.
## Clean the Dust From Your Nails and Cuticles
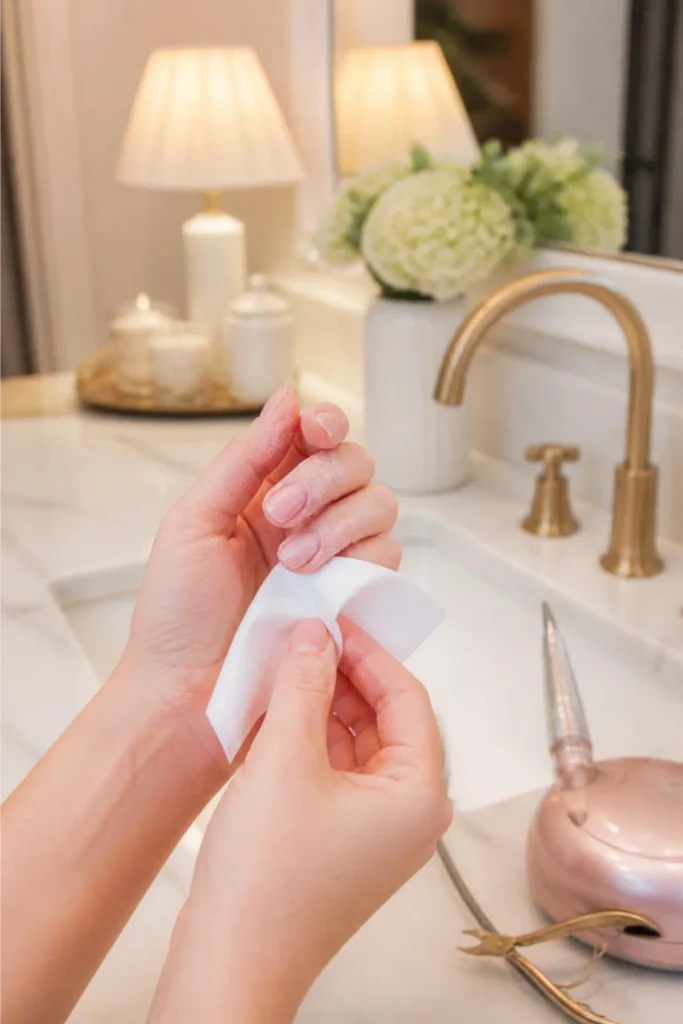
Fine acrylic dust settles into every crease around your cuticles and between fingers, and it’s easy to miss under regular light.
Brush each nail with a soft nail brush first to knock off the bulk, then wipe the whole hand down with a lint-free cloth dampened in warm water.
Check the skin around the cuticle closely — leftover dust there tends to make cuticle oil sit unevenly in the next step.
## Finish With Cuticle Oil and Hand Cream
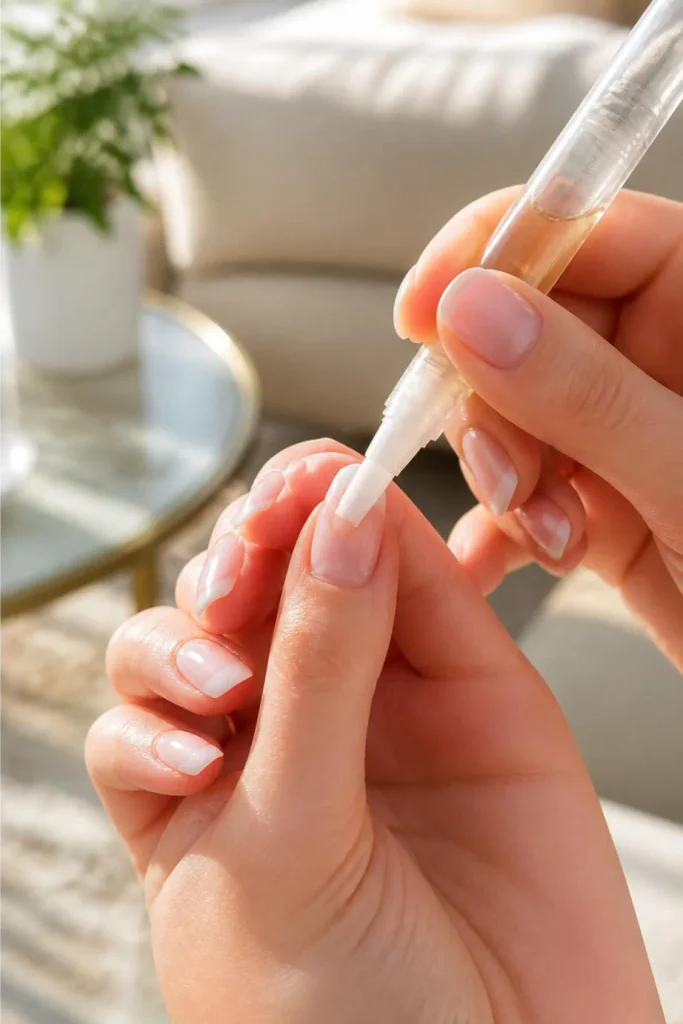
One drop of cuticle oil per nail, massaged into the base with your thumb, brings back moisture the buffing and filing pulled out.
Follow with a normal hand cream over the rest of your hands, avoiding the nail surface itself if you plan to add polish later, since oily residue there can stop polish from bonding properly.
Give your hands a minute to absorb both before you touch anything.
Common Mistakes
Skipping the buffing step to save time
Acrylic bonds to a rough surface, not a shiny one. Skip it and the whole set lifts off within days, no matter how carefully you did everything else.
Loading a too-wet bead onto the brush
A soupy bead spreads too thin and traps air bubbles underneath. Tap off excess liquid until the bead holds a round shape on the bristles before it touches the nail.
Filing before the acrylic is fully cured
Soft acrylic gums up your file instead of shaving down cleanly, leaving a rough, uneven surface underneath. Wait for that hard, clicking sound before you pick up the file.
Letting primer touch the surrounding skin
Primer is acidic and can irritate or burn skin outside the nail plate. Apply it with a light hand and wipe away any that spreads past the nail edge right away.
Sizing tips too wide for the natural nail
An oversized tip leaves overhang on the sides that’s hard to blend cleanly, no matter how much filing follows. Match the tip’s curve to your nail’s edge before gluing anything down.
FAQ
How long do short acrylics last before I need a fill?
Most sets need a fill around the 2 to 3 week mark, once new nail growth creates a visible gap at the cuticle.
Can I skip the tips and sculpt directly on my natural nail?
You can, using nail forms instead of glue-on tips, but it takes more practice to control the shape. Tips are the more forgiving starting point for a first set.
Why does my acrylic smell so strong, and is that normal?
Yes, the monomer liquid has a sharp chemical smell that’s normal for acrylic systems. Good ventilation is the fix, not a sign something went wrong.
What if a nail lifts a few days after application?
Don’t pick at it or try to glue it back down yourself. Trim it short to prevent snagging and reapply that one nail following the same prep steps.
Do I need UV light for this method?
No. Traditional liquid-and-powder acrylic cures in open air, unlike gel, so no lamp is needed at any step in this guide.
Quick Reference: Short Acrylic Nails
Save or print this card for your next set
What You Need
Clippers · cuticle stick · nippers · 180-grit buffer · dehydrator · primer · glue-on tips · nail glue · tip cutters · acrylic liquid · acrylic powder · size 8 brush · dappen dish · cuticle oil
Steps
- Set up your workspace and gather supplies
- Push back and trim your cuticles
- Buff the shine off each natural nail
- Wipe nails with dehydrator and primer
- Glue on nail tips sized to each finger
- Trim the tips to your desired short length
- Blend the tip seam into your natural nail
- Mix and apply your first acrylic bead
- Build out the nail with additional beads
- Let the acrylic fully cure
- File and shape into the final short shape
- Buff the surface until smooth and even
- Clean the dust from nails and cuticles
- Finish with cuticle oil and hand cream
Your nails are done, and they look like it took a lot more skill than it did. That seam you were nervous about blending? It’s smooth now.
That’s the hardest part of any short acrylic nail ideas project, and you got through it.
Next time, try a light color or simple design once you’ve got the shape down.
Save this guide for your next fill, and pin it for anyone else who’s ready to try their first set at home.


