

You filed your nails into a square, and they came out looking like a soft rectangle with wobbly, rounded corners. Sound familiar?
Most beginners hit this wall. The shape is not hard.
The trouble is that nobody explains how to file square nails with a steady angle and the right stroke.
This guide fixes that. By the end, you will have ten nails with straight tips, sides that run parallel, and corners you can see from across the room.
The method works because you shape the tip first, then the sides, then the corners, in that order. Each part builds on the last, so nothing gets rounded by accident.
Plan on about 20 minutes the first time. It takes patience, not skill. Grab a file, sit near good light, and let’s give your nails clean edges.
- Nail clippers
- 180-grit straight nail file (a firm emery board works too)
- 240-grit buffer block or fine file, for smoothing edges
- Acetone-free polish remover and cotton pads (skip if your nails are bare)
- Soft brush (a clean makeup brush or an old soft toothbrush)
- Cuticle oil
- Small clean towel
- Bright light, like a window or a desk lamp
- Remove old polish and wash your hands
- Trim each nail, leaving 1 mm extra
- Set the file flat against the tip
- File in one direction only
- Check that the tip runs straight
- Shape the sides to run parallel
- Sharpen each corner gently
- Tilt the file to smooth the underside
- Match all ten nails
- Buff the edges and brush off dust
- Wash up and apply cuticle oil
Step 1 – Remove old polish and wash your hands

Polish clogs the grit on your file within a few strokes, and then the file slides instead of shaping.
Press an acetone-free remover pad on each nail for 10 seconds, then wipe from cuticle to tip.
Wash with soap and warm water, and dry with a towel. Wait 10 minutes before you file. Nails are softer right after water, and soft nails tear at the edge instead of filing clean.
Step 2 – Trim each nail with clippers, leaving 1 mm extra
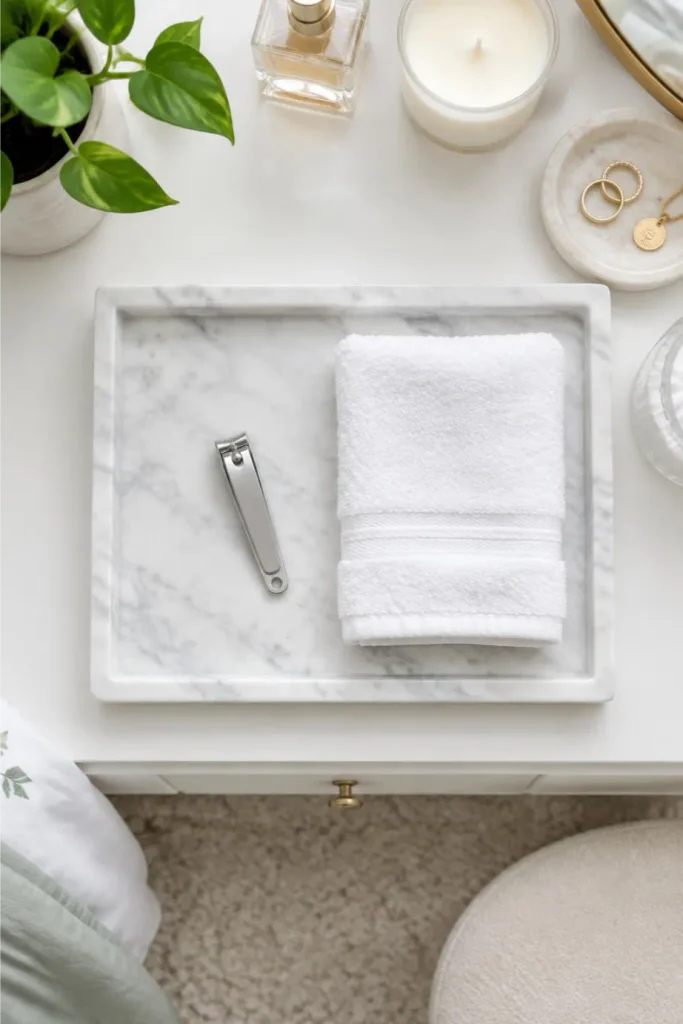
Aim for about 1 mm of white showing past your fingertip. Cut straight across in two or three small snips, not one big bite.
That extra sliver is your filing room, so you are shaping the nail, not rescuing it from a bad cut.
Step 3 – Set the file flat against the nail tip
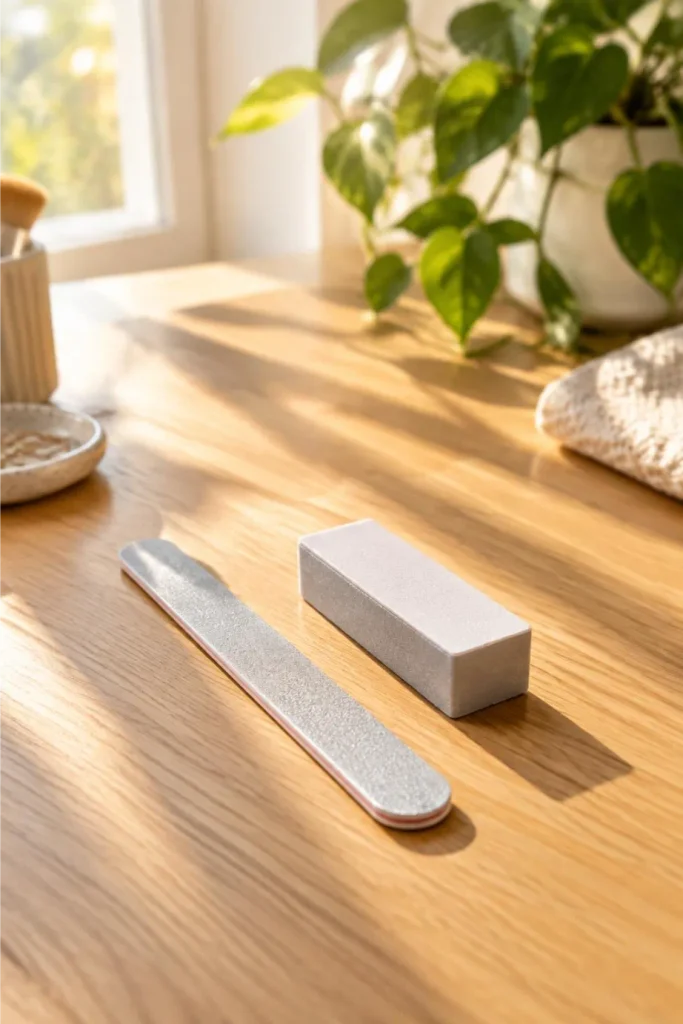
Before the first stroke, check your angle. Hold the file straight up and down against the tip, at 90 degrees to the top of the nail.
A tilted file slants the edge, and slanted edges turn into round corners later. Rest your elbow on the table so your hand stays steady.
Pinch the fingertip lightly with your other hand so the nail cannot flex. (If your file is curved, use the flat side.)
Step 4 – File square nails in one direction, not back and forth
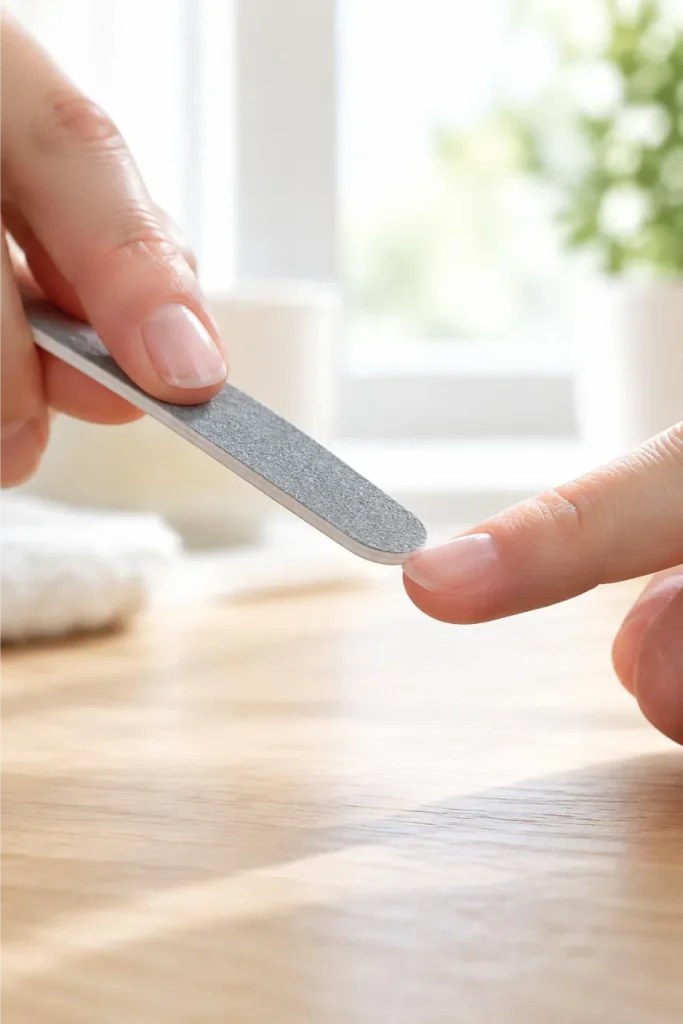
Sawing feels faster, but it catches the thin layers of the nail and pries them apart.
Start at one outer edge and pull the file across the tip in a single stroke. Lift it off, reset, and pull again.
Use 5 to 8 strokes per nail with light pressure.
Stop the moment the white edge looks flat. Extra strokes only remove length you wanted to keep.
Step 5 – Check that the tip runs straight across
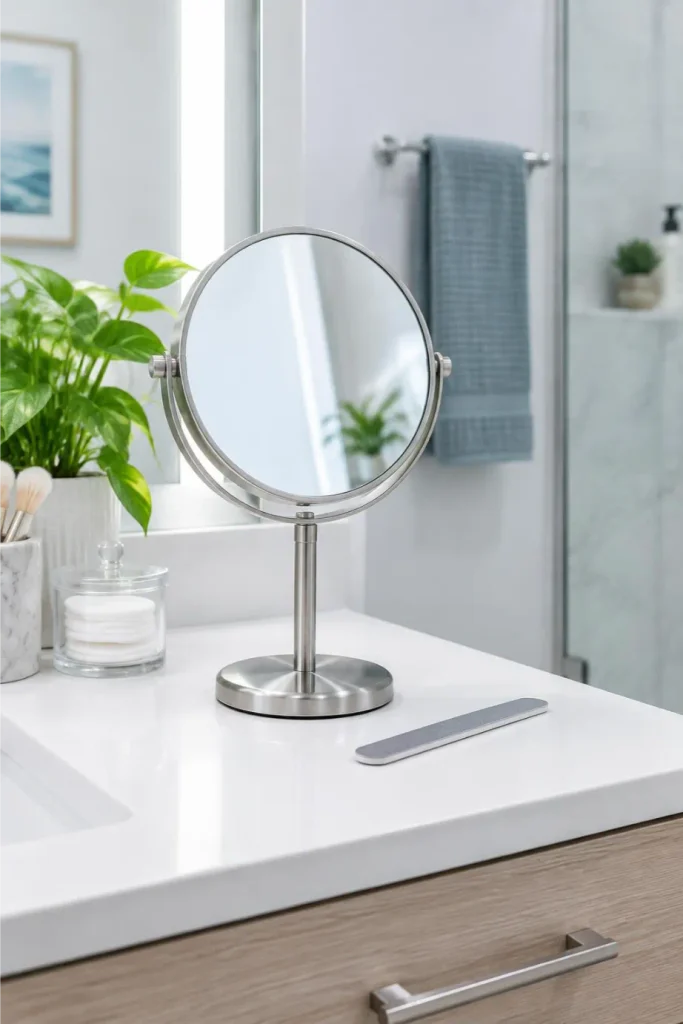
Hold your finger at eye level with the tip facing you. The edge should look like one flat line, not a smile and not a hill.
If the middle bulges, take 2 or 3 more strokes there. If the center dips, file the outer corners down a little.
Step 6 – Shape the sides so they run parallel
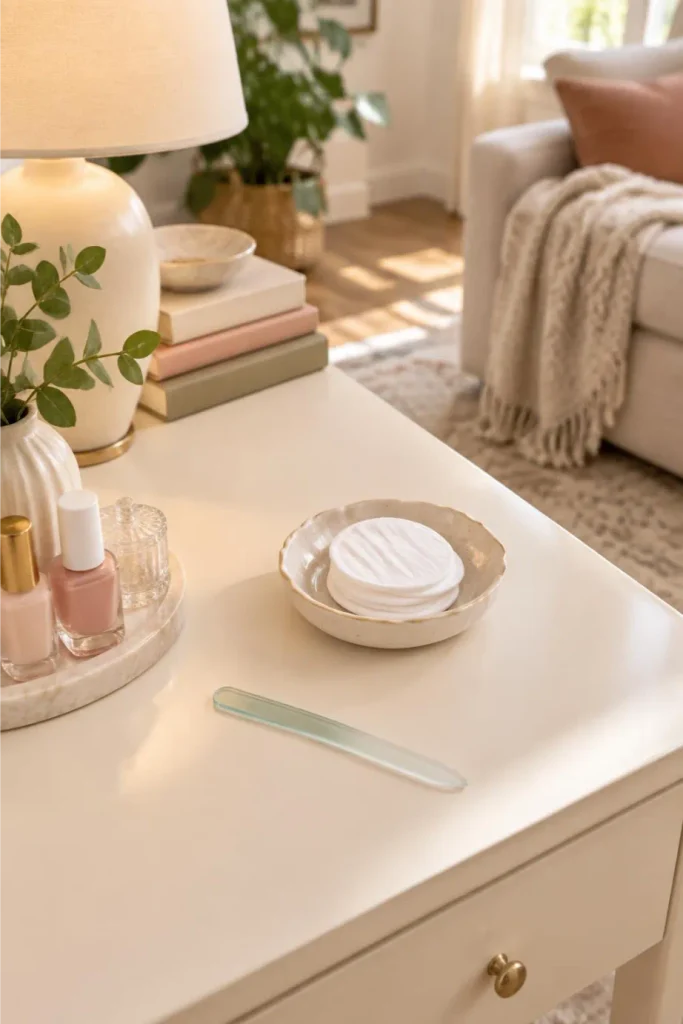
Straight sides are what make a nail look square instead of tapered.
Filing from the base toward the tip also keeps the file away from the tender skin at the sidewall.
Work through these small moves on each side:
- Hold the file against the side wall, in line with your finger
- Stroke from the middle of the nail toward the tip
- Make 3 to 4 light strokes, then stop
- Turn your hand and repeat on the other side
- Hold the nail up and compare both sides
If your file is too wide to reach in, use its narrow edge, or switch to a thinner file.
The sides should look like two straight railroad tracks, the same distance apart from base to tip.
Step 7 – Sharpen each corner with short, light strokes
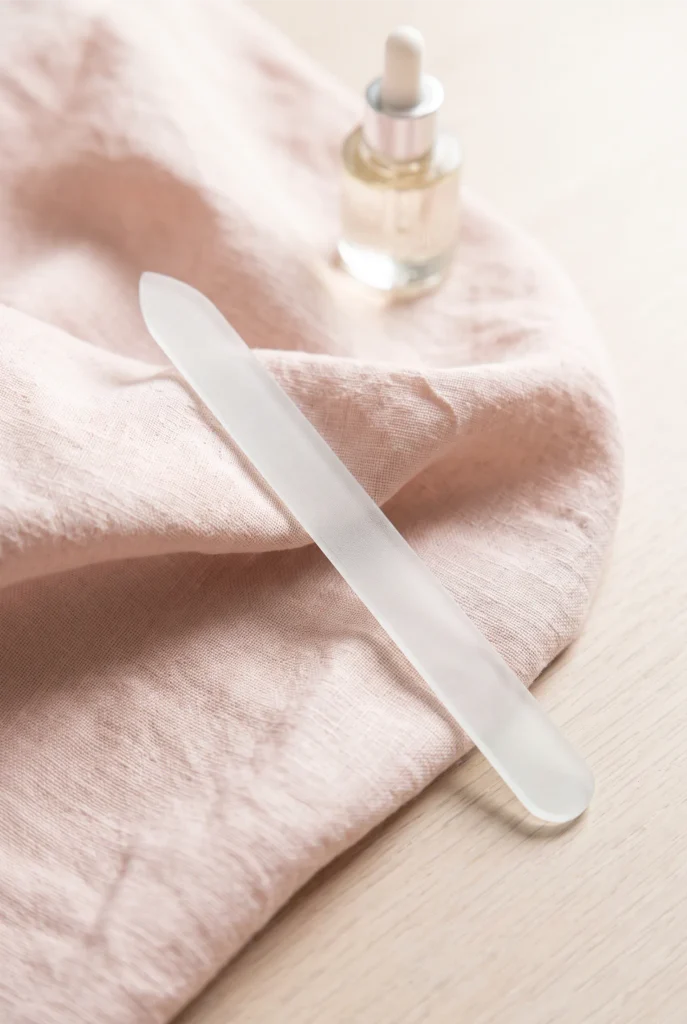
Two light strokes per corner is usually enough. Hold the file at 90 degrees and glide it once from the middle of the tip out toward the corner.
Then glide once from the middle of the side up toward that same corner. Where the two lines meet, you get a point.
Heavy pressure or a rocking wrist shaves the corner off, and you cannot put that nail back. If a corner still looks soft, repeat once, then stop.
Step 8 – Tilt the file to smooth the underside edge
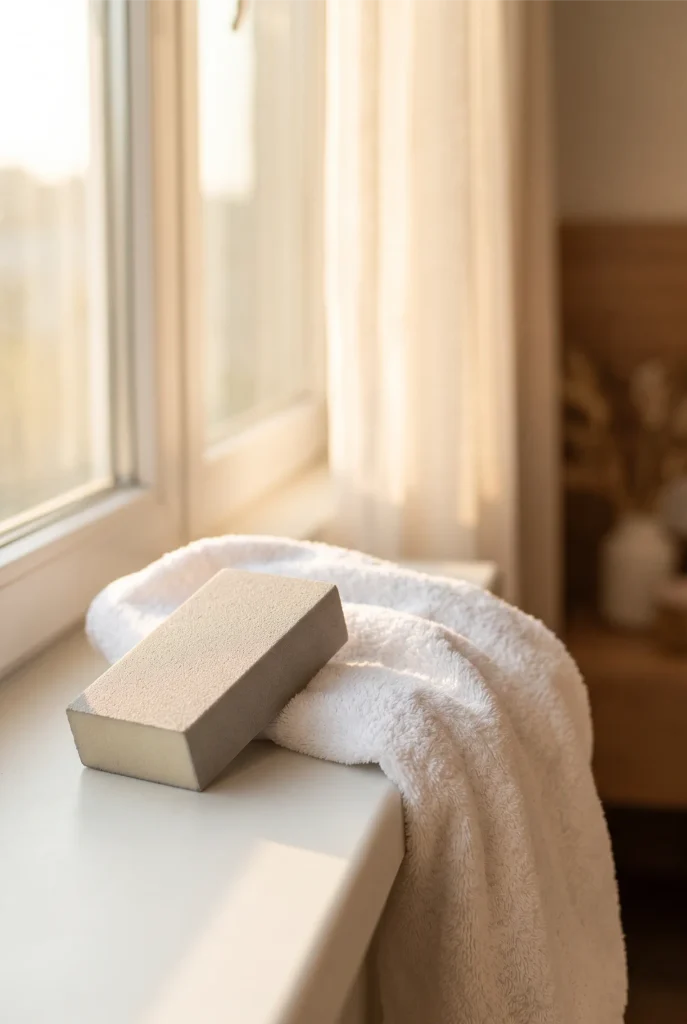
Flip your hand palm up and look under the tip. You will see a thin, sharp ridge left over from filing.
That ridge snags on sweaters and lifts polish later. Hold your 240-grit file at about 45 degrees and make 1 light pass under each nail.
One pass only, because more tilt or more passes thins the tip.
Step 9 – Match all ten nails side by side
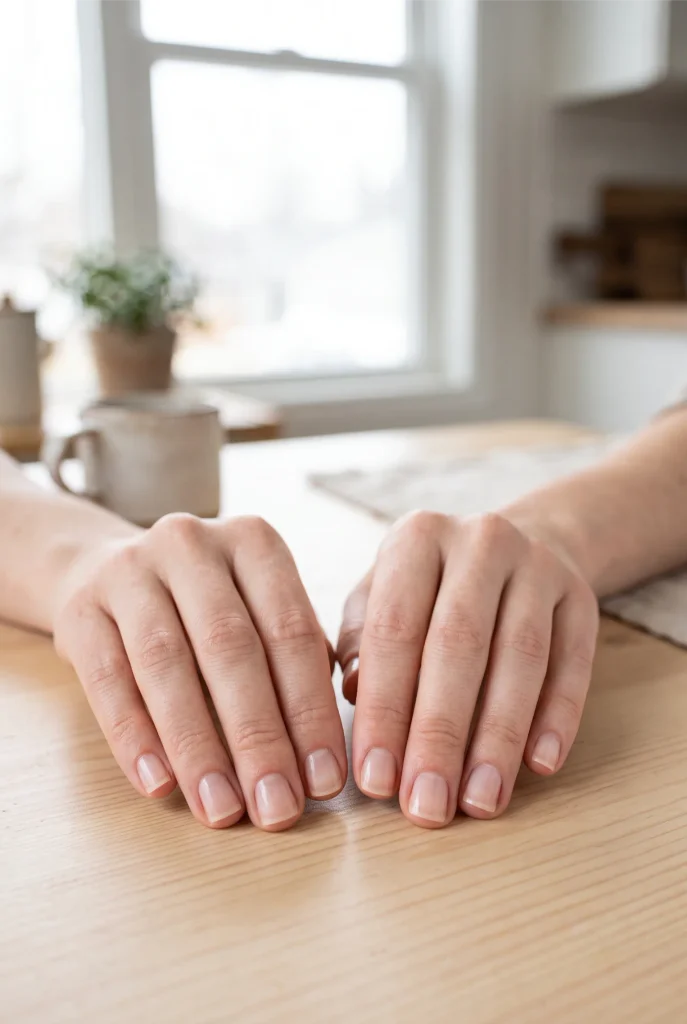
Ten nails should look like one matching set. Lay both hands flat on the table with your fingers together and the tips facing you.
Any nail that sticks out more than 1 mm past its neighbor shows right away. File only the longer nail, using the same one-direction strokes from Step 4, until the line looks even.
Then compare the corners across all ten. They should be the same height and the same sharpness.
Step 10 – Buff the edges and brush away the dust
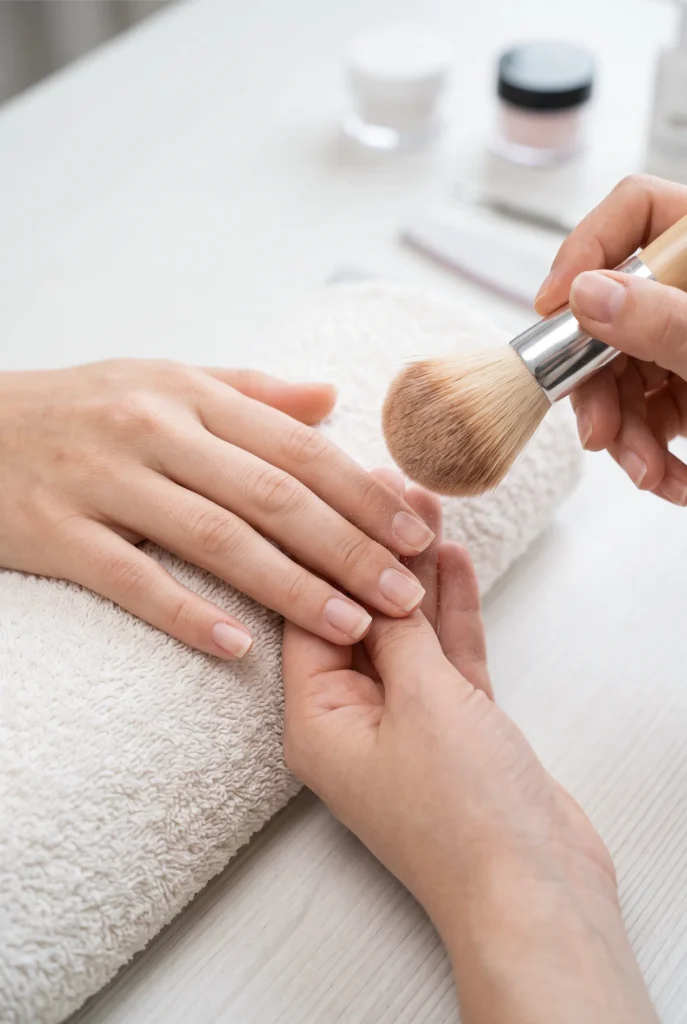
If the tip still feels rough against your thumb, one gentle pass fixes it.
Hold the 240-grit buffer flat and glide it once over the top edge of each tip, with almost no pressure.
Then sweep the dust off with a soft brush, working away from the cuticle.
A dry, clean toothbrush works if you have no soft brush.
Dust left behind gets under polish later and causes bubbles and early chipping.
Step 11 – Wash your hands and apply cuticle oil

Filing dries out the skin around the nail, and dry skin leads to hangnails. Wash with warm water and mild soap to rinse off the last of the dust, then pat dry.
Rub 1 drop of cuticle oil into each nail and the skin around it for about 10 seconds. No cuticle oil? A dab of petroleum jelly or hand cream does the same job.
- Remove polish, wash hands, wait 10 minutes
- Trim nails, leave 1 mm extra
- Hold file flat at 90 degrees
- File in one direction, 5 to 8 strokes
- Check the tip runs straight
- Shape sides to run parallel
- Sharpen corners with 1 or 2 light strokes
- Smooth the underside at 45 degrees
- Compare all ten nails
- Buff edges, brush off dust
- Wash up, add 1 drop of cuticle oil
You did it. Ten nails with straight tips, parallel sides, and sharp clean corners.
Now you know how to file square nails on your own, and it gets faster every time you do it.
For your next step, try a sheer pink or nude polish. Clean square tips show off soft color really well.
Touch up the corners every 1 to 2 weeks and your shape will stay crisp.
Save this guide to your Pinterest nail board so it is ready the next time you reach for your file.


